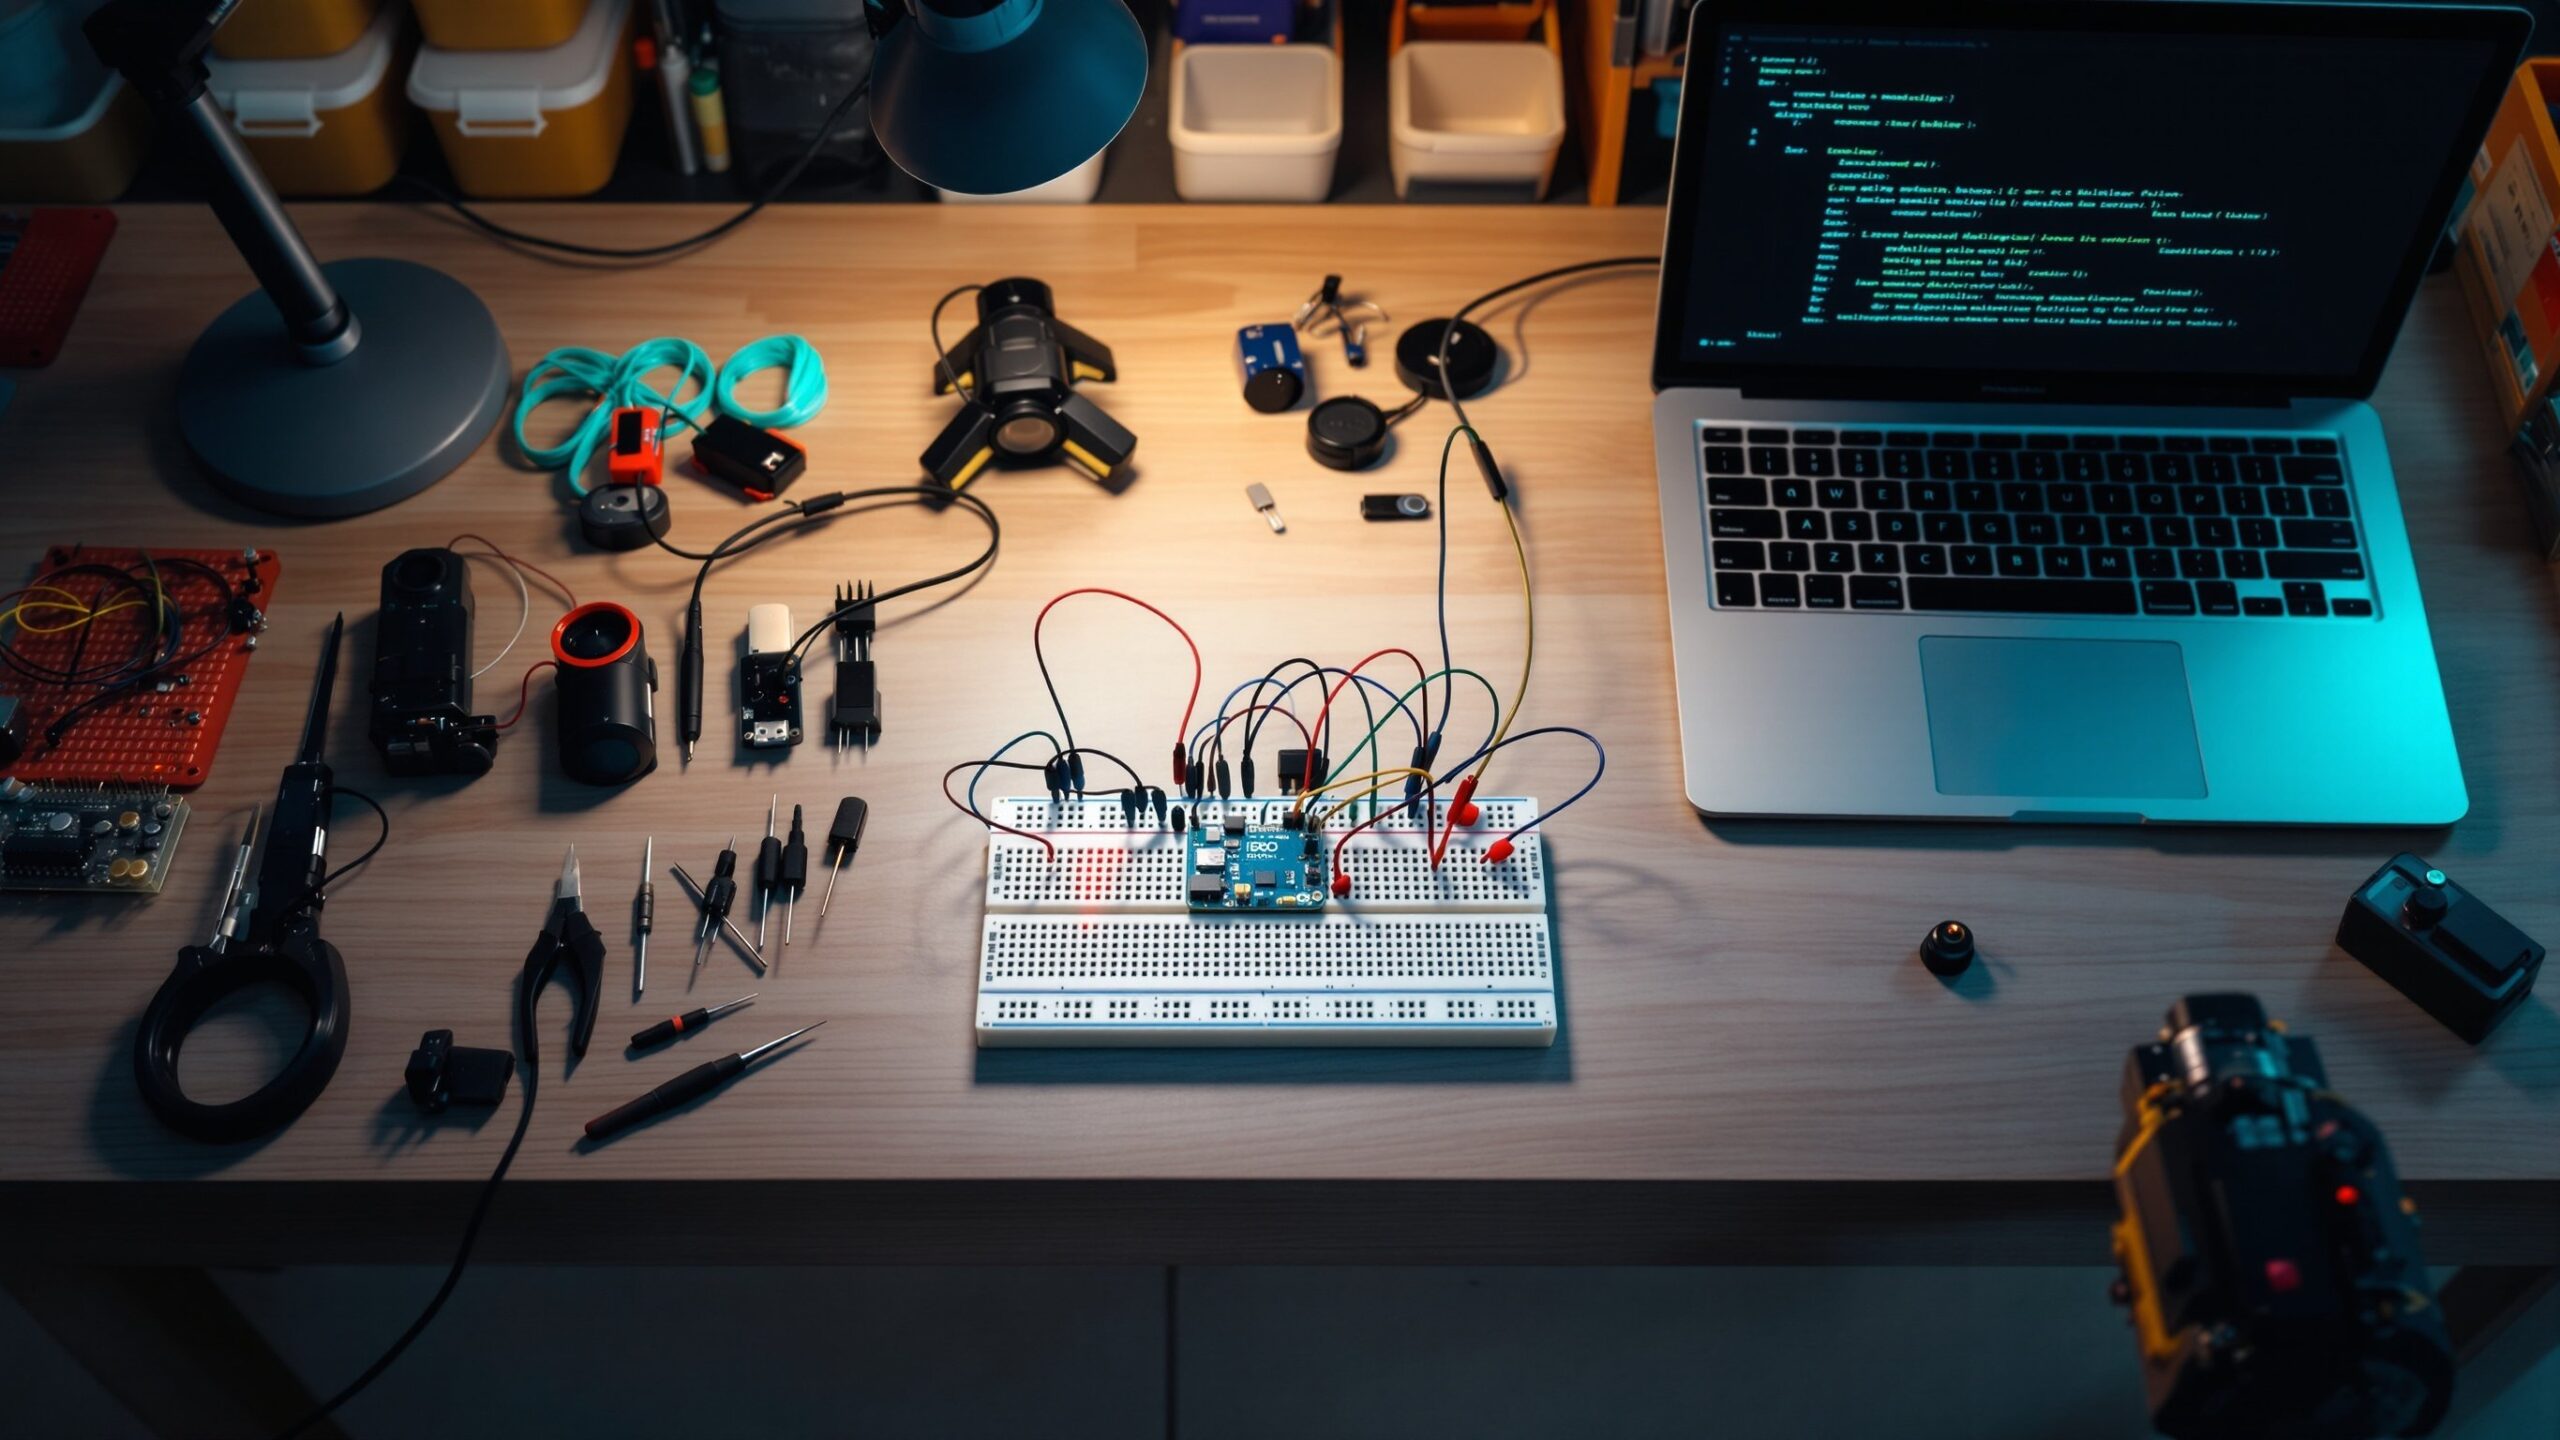
Arduino & Raspberry Pi Builds is where Crank Street comes alive with blinking LEDs, clever scripts, and scrappy prototypes that actually work. This sub-category is your launchpad for turning tiny boards into big ideas—smart home hacks, retro game consoles, sensor dashboards, robot sidekicks, and everything in between. Whether you’re just unboxing your first starter kit or wiring up a full-blown IoT project, you’ll find step-by-step builds, wiring diagrams, code snippets, and “why it works” explainers instead of just copy-and-paste recipes. We’ll show you how to choose between Arduino and Raspberry Pi, how to mix them together, and how to keep smoke inside the components where it belongs. Expect weekend projects, classroom-friendly builds, and ambitious experiments that stretch your skills without breaking the bank. Grab a breadboard, fire up your favorite editor, and plug into Arduino & Raspberry Pi Builds—where every pin is a possibility, and every loop is a chance to make something move, blink, sense, or surprise.
A: Arduino is great for direct hardware control; Raspberry Pi shines when you need an OS, networking, or heavier code.
A: Not at all. Simple examples and copy-friendly starter sketches/scripts will carry you through early builds.
A: Yes—many makers pair a Pi as the “brain” and Arduino as a rugged hardware controller.
A: Respect voltage limits, add resistors where needed, and triple-check wiring before powering up.
A: Try a different cable, port, or power supply, then re-flash a known-good example sketch.
A: Yes—many projects are classroom-friendly and can be done with supervision and simple tools.
A: A starter kit, basic hand tools, and a computer are enough for most early projects.
A: Use color-coding, short jumpers, cable ties, and enclosures once your design stabilizes.
A: Definitely—web dashboards, simple apps, and messaging bots all pair well with Pi-based builds.
A: Post your photos, code, and wiring diagrams on Crank Street and maker communities to inspire others.