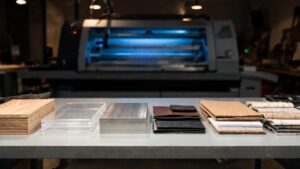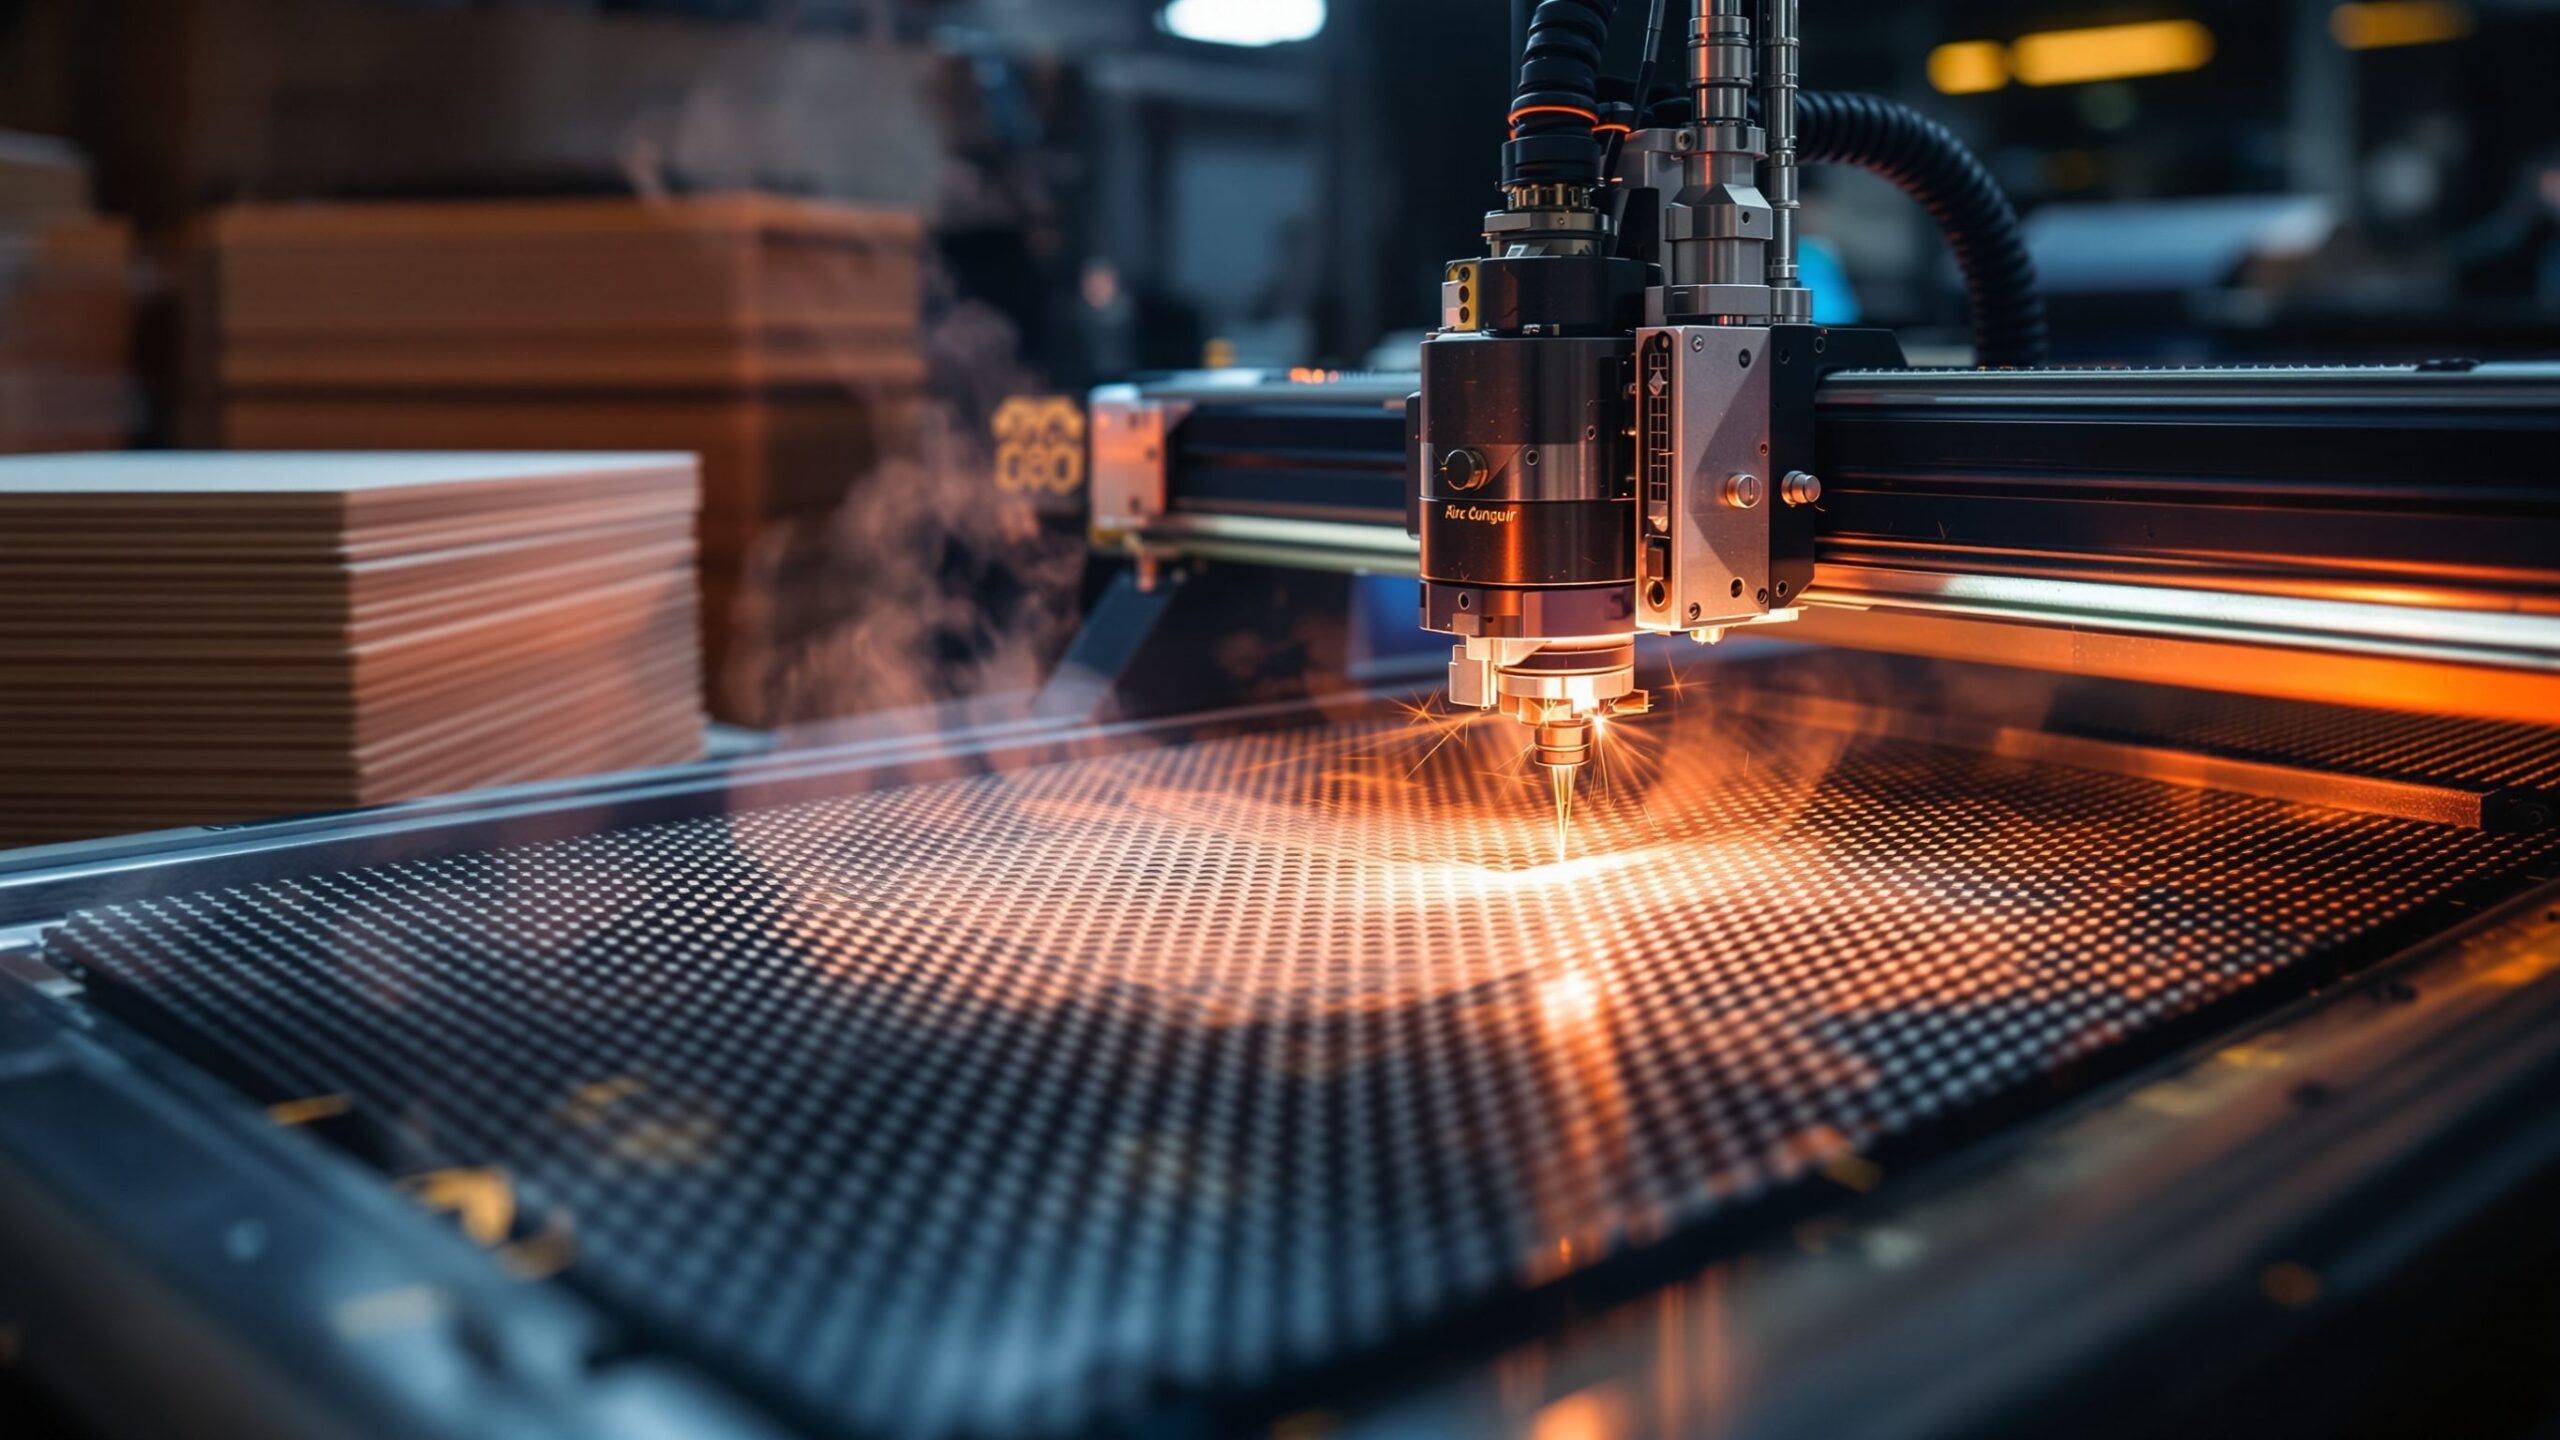
Laser Cutting & CNC Routing on Crank Street is where precise beams and spinning bits turn flat sheets into detailed parts, patterns, and products. This is your lane for cutting, engraving, and carving wood, plastics, foam, and more with pixel-level accuracy and repeatable results. Whether you’re dialing in your first desktop laser or pushing a full-sheet CNC router through hardwood and plywood, you’ll find project ideas, setup checklists, and troubleshooting tips you can actually use. We’ll walk through design-to-cut workflows, fixturing, feeds and speeds, and clean edge quality so your parts fit together the first time. Along the way, you’ll explore layered signs, inlays, boxes, jigs, templates, and custom components that upgrade every other corner of your shop. From quick prototypes to production-ready batches, Laser Cutting & CNC Routing on Crank Street helps you turn lines on a screen into parts on the table—with speed, accuracy, and serious creative freedom, for clients, friends, and yourself.
A: Many beginners start with laser for simple 2D cuts, then add CNC routing for thicker and 3D work.
A: Vector files (SVG, DXF, AI) are ideal for lasers; CNC uses similar vectors plus CAM-generated toolpaths.
A: Plywood, MDF, paper, some plastics, leather, and fabric can work—always verify safety and avoid PVC.
A: Use proper exhaust for the laser and dust collection for the CNC, plus masks and good airflow.
A: Start with manufacturer charts, then test on scrap—adjust depth, feed, and RPM until chips look right.
A: Properly tuned, both laser and CNC can hold very tight tolerances for most Crank Street projects.
A: Yes, within reason—focus on maintenance, cooling, and realistic duty cycles to protect equipment.
A: Mask surfaces with tape, tune power and speed, and use air assist and good focus.
A: Lifespan depends on material and use; inspect often and replace when cuts get fuzzy or noisy.
A: Many makers sell signs, organizers, jigs, and small products—start with repeatable designs and reliable workflows.