
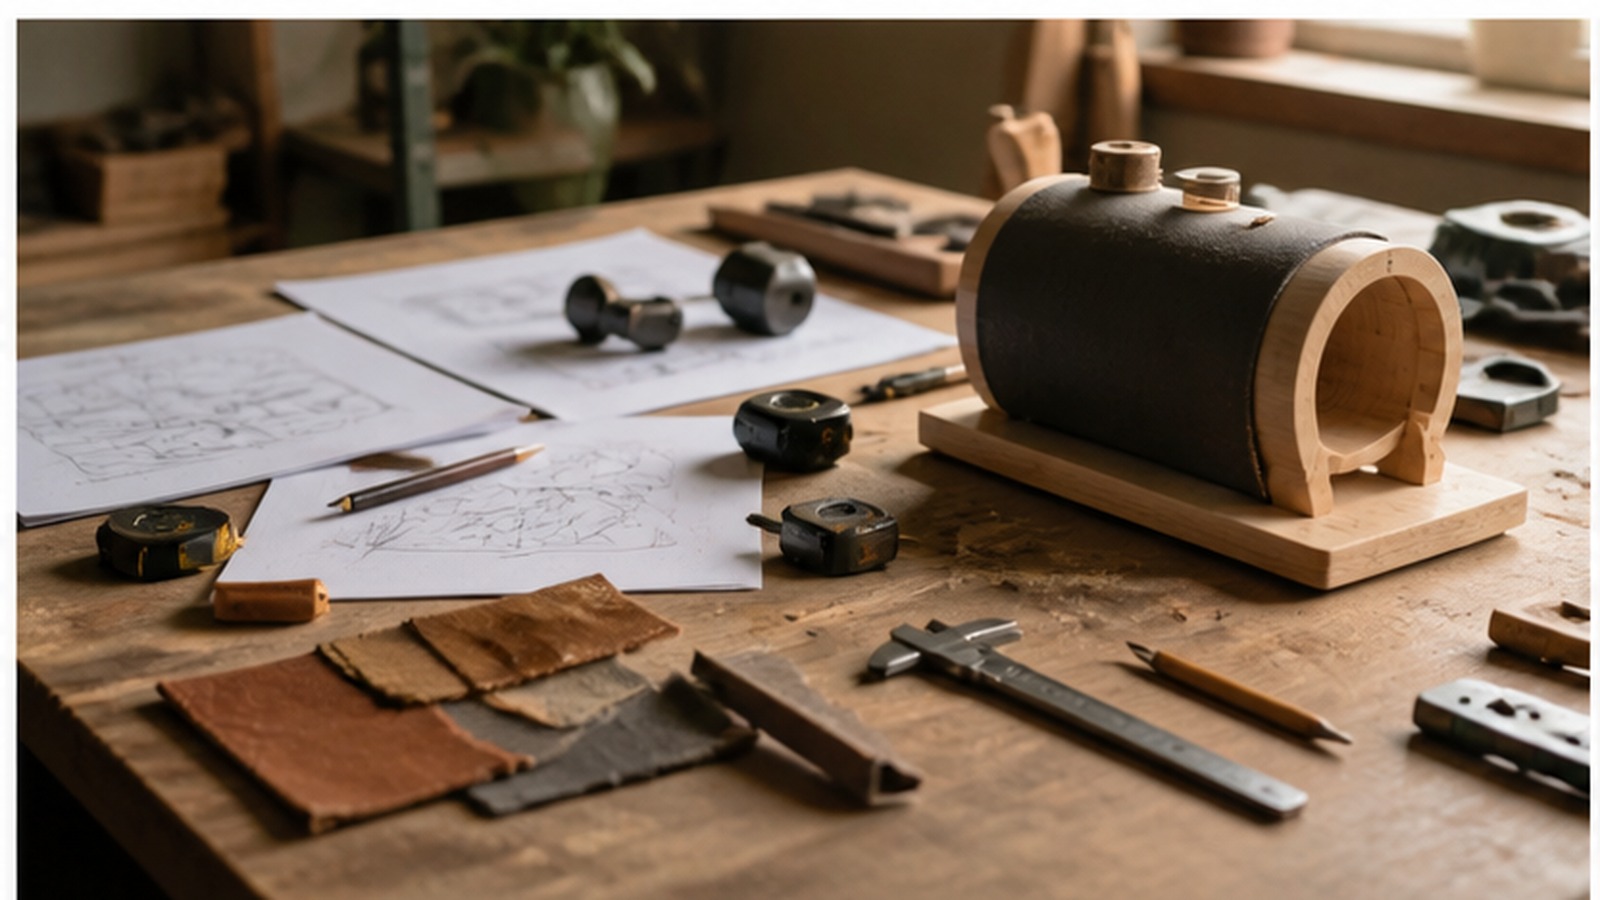
A Finished Object Starts As A Chain Of Decisions
Every build begins with a spark, but finished objects come from a sequence of choices that keeps the spark from dissolving into parts, tabs, offcuts, and half-started experiments. A useful framework does not make making rigid. It gives the idea a path: define what the object must do, name the constraints, test the risky parts early, choose a sensible order of operations, leave room for finishing, and review what the finished piece teaches before moving on.
A: Start with the smallest test that proves one real part of the project.
A: Enough to know the goal, material limits, tool setup, and first safety check.
A: No. It should be clear, testable, and easy to revise.
A: Early failures usually come from poor first layers, wrong temperatures, weak orientation, wet filament, bad supports, and unfinished cleanup.
A: Match the material to load, use, finish, cost, repair, and available tools.
A: Scale after a small test works repeatedly and the cost still makes sense.
A: Save measurements, settings, suppliers, photos, failures, and changes.
A: Rework drops, fit improves, safety is clearer, and results repeat more often.
A: Avoid hiding weak structure, unsafe setup, or unclear decisions under a nice finish.
A: It solves the intended job and teaches a better next build.
Start With The Object’s Job
The first useful question is not what the object should look like. It is what the finished thing needs to do in the real world. A shelf holds weight in a specific room, a jig repeats a specific cut, a storage box must accept certain objects, and a gift has to feel good in someone else’s hands. When the job is plain, decisions stop floating.
Write the job in one sentence and keep it near the workbench. That sentence can be modest, but it should be testable. If the project cannot be described without a cloud of exceptions, the idea may need narrowing before any material is cut.
Define Constraints As Creative Material
Constraints can feel like limits, but they are often the shape of the design. Budget, available tools, storage space, skill level, delivery date, material size, noise limits, dust control, and transportation all influence what can be finished. Pretending those constraints do not exist only delays the moment when they become expensive.
A good framework brings constraints forward early. Instead of saying, “I can make anything,” say, “I can make this with the tools, time, space, and material I actually have.” That honesty usually creates a cleaner object.
Separate The Core From The Extras
Maker projects often grow because every idea suggests another idea. A lamp could have storage, wireless charging, carved texture, hidden magnets, adjustable height, and custom wiring. Some additions may be excellent, but not every good idea belongs in the first build. The core is the smallest version that proves the object should exist.
Put extras on a future-version list. This preserves enthusiasm without letting it take control. Once the core object is completed and used, the next version will be guided by experience rather than imagination alone.
Prototype The Riskiest Truth
A prototype is not a miniature version of the whole project. It is a test of the question that could derail the build. Will the hinge clear? Is the handle comfortable? Does the tab snap? Will the piece stand without tipping? Can the material bend without cracking? Those questions deserve scrap, cardboard, foam, offcuts, or quick printed tests.
Testing the risky part early protects the main build from false confidence. A prototype may look rough, but it gives honest feedback. The maker learns before pride, expensive material, and irreversible cuts make change harder.
Choose An Order That Protects Access
Sequence matters because some operations become impossible after assembly. It may be easier to drill holes before panels are glued, sand inner faces before a box closes, install threaded inserts before finishing, or route an edge while the workpiece is still large enough to hold safely. The best order keeps access available until the related work is complete.
Dry-fitting exposes sequence problems. Clamp the parts, place the hardware, imagine the tool in your hand, and ask whether you can still reach what needs attention. Many frustrating builds are not badly designed; they were assembled too soon.
Use Checkpoints Instead Of Hope
A checkpoint is a moment where the project must prove something before moving forward. Check dimensions after rough cuts, squareness before glue, movement before final fasteners, surface condition before finish, and stability before the object is placed in service. These checks slow the build only briefly, and they prevent much larger delays.
Checkpoints also calm decision making. When a maker knows the next verification step, uncertainty becomes smaller. The project advances by evidence, not by wishing the last step was accurate enough.
Plan The Finish Like A Build Step
Finishing is often treated as the decorative ending, but it can change everything. Paint adds thickness, oil darkens wood, clear coat exposes sanding flaws, outdoor finish needs edges sealed, and drying time can dominate the schedule. If finish is considered late, it may conflict with hardware, joints, or the object’s intended use.
Choose the finish standard early. A shop object may need durability and sealed edges, not showroom gloss. A furniture piece may need test boards, dust control, and patience. Either way, finishing belongs inside the framework rather than after it.
Leave A Trail For The Next Version
A finished object is also a record of decisions. If the build worked, you may want to repeat it. If it failed, you may want to avoid repeating the same mistake. Notes, photos, measurements, sketches, tool settings, and material sources turn a single project into reusable knowledge.
This does not require a formal notebook. A small folder with images and short notes is enough. The key is capturing the lesson while the work is still vivid, before the next idea pushes it aside.
Completion Is A Design Skill
Many makers are better at starting than finishing because starting rewards imagination and finishing demands judgment. Completion asks what is good enough for the object’s purpose, what must be corrected, and what should wait for another version. That judgment improves only through finished work.
The framework is not meant to drain the joy from making. It protects joy by creating a path from excitement to use. A completed object gives the maker something the idea alone never can: feedback from reality.
Review The Object In Use
Let the finished piece live where it was meant to live. Put tools in the rack, books on the shelf, parts in the organizer, or hands on the handle. Use reveals truths that the bench cannot. The review should be generous but specific: what worked, what annoyed you, what surprised you, and what would change in a second version.
That final review completes the loop from idea to object. The project stops being a pile of tasks and becomes a teacher for the next build.
Make The First Drawing Answer Practical Questions
A first drawing does not need to be beautiful, but it should answer questions the build will otherwise ask at the worst possible time. Where does the object touch the floor, wall, hand, shelf, or fastener? Which faces are visible? Which dimensions control comfort or fit? What parts must line up with existing objects? Even a crude drawing becomes powerful when it captures relationships instead of decoration.
Add notes directly beside the sketch. A dimension without a reason may be changed casually later, while a dimension tied to use is easier to protect. The drawing should become a conversation with the build, not a piece of artwork you are afraid to revise.
Estimate Time By Operations, Not Optimism
Makers often underestimate projects because they imagine only the exciting operations. Cutting a part feels like progress, but measuring, setup, layout, sanding, waiting for glue, cleaning squeeze-out, test fitting, hardware trips, finish curing, and cleanup all take time. A framework becomes more realistic when it counts those quiet operations too.
One useful habit is to mark each operation as quick, medium, or slow before beginning. This rough map keeps the schedule from depending on a perfect day. It also shows where a project can be split into sessions that leave the bench safe and the parts understandable.
Design For The Hands That Will Use It
A finished object is not finished only because it matches a plan. It must work for hands, eyes, habits, and context. A handle should feel good when lifted. A latch should make sense without instructions. A storage piece should accept the objects that people actually put away, not the idealized objects from the sketch.
This human test is especially important when building for someone else. Watch how similar objects are used, where frustration appears, and what gets ignored. The best framework keeps the user present from the first idea to the final review.
Use Materials As Collaborators
Material choice is not a shopping detail. Plywood, hardwood, acrylic, aluminum, printed plastic, leather, fabric, and cardboard each bring strengths and irritations. Some bend, some chip, some move with humidity, some melt, some dull tools, and some reveal scratches immediately. The build goes better when the material is allowed to influence the design.
A maker can save trouble by making a small material sample before committing. Drill it, sand it, finish it, bend it, fasten it, or glue it. The sample answers questions that product descriptions cannot.
Build In A Reversible Middle
The early phase of a project is flexible, and the final phase is committed. The dangerous middle is where a maker may glue, cut, drill, or finish before enough evidence exists. A reversible middle uses clamps, temporary screws, tape, mockups, test wiring, and dry assemblies to keep learning possible longer.
This does not mean avoiding commitment forever. It means earning commitment. Once the part has been handled, checked, and tested, irreversible steps become calmer because they are based on contact with the object rather than fantasy.
Accept That Every Framework Needs Judgment
No framework can decide everything. There will always be a moment when the maker must choose between speed and refinement, repair and remake, simplicity and ambition, or stopping and improving. The framework’s purpose is to make those judgments visible. It cannot remove the need to make them.
That is why review matters. Each finished object improves the maker’s internal sense of proportion. Over time, the framework becomes less like a checklist and more like a habit of seeing the whole project before the next cut.
Make Failure Smaller On Purpose
A framework should shrink failure into pieces that can be understood. Instead of risking the entire object on an untested assumption, test the assumption separately. Cut one joint, wire one circuit, finish one sample, bend one strip, or print one bracket. The smaller failure becomes information rather than catastrophe.
This habit changes the emotional tone of a project. The maker stops treating every step as a verdict on talent. The work becomes a series of learnable trials, and the finished object benefits from all of them.
Let The Final Hour Stay Boring
A good build framework tries to make the final hour uneventful. By then, the risky fits have been checked, the finish is chosen, the hardware is ready, and the object has already been handled in dry form. The final hour should not contain surprise design decisions.
This is not always possible, but it is a useful target. When the end becomes calm, the maker can focus on clean assembly, careful touch-up, and a graceful handoff rather than frantic rescue.
Use The Finished Object As A Brief
Once the object is done, it can brief the next project better than the original idea ever could. It shows where the dimensions were generous or tight, where a joint was overbuilt or weak, where the finish worked, and where the user behaved differently than expected.
This review turns completion into momentum. The next build begins with experience, not just another spark.


