There’s a moment every new woodworker knows too well: you step back from a finished project and think, “It’s… fine.” It holds the thing it’s supposed to hold. It stands up. It functions. But it doesn’t look professional. It looks like a first attempt—because, honestly, it is. Here’s the good news: “professional” isn’t a secret club guarded by expensive machines. Professional is a set of decisions. It’s the discipline of clean lines, square corners, consistent spacing, and smooth surfaces. It’s the ability to hide your shortcuts in the right places and spend your time where it actually shows. This guide is about building that look—without needing a table saw the size of a spaceship or a shop full of specialty jigs. You’ll learn which beginner projects naturally come out looking polished, what details instantly upgrade a simple build, and how to finish like you mean it. Because the truth is, most “pro” projects are still simple projects. They’re just finished on purpose.
A: Clean lines, smooth sanding, softened edges, and an even finish.
A: No—good finishing can make pine and plywood look premium.
A: Rough sanding, sharp edges, and uneven stain or finish.
A: Countersink neatly, place screws on the back/underside, or use plugs.
A: A light chamfer or rounded edge instantly improves the feel and look.
A: Uneven sanding and softwood absorption—test on scrap and prep carefully.
A: Yes—careful layout, clamping, and finishing matter most.
A: Keep things square, add bracing where needed, and use glue properly.
A: Repeat a simple project twice—your second build will look dramatically better.
A: Wipe-on finishes in thin coats are forgiving and look smooth.
What “Professional” Really Means in Woodworking
Professional doesn’t mean complicated joinery or exotic hardwoods. It means the project looks intentional. It feels solid. The lines are straight. The surfaces are smooth. The proportions make sense. The finish is even. When someone sees it, they don’t wonder what went wrong—they wonder where you bought it.
The best part is that these are all learnable skills. Professional is the result of habits, not talent. The sooner you aim for those habits, the faster every project improves.
There’s also a mindset shift that helps: stop judging yourself by the design and start judging yourself by the execution. A basic shelf can look premium. A complicated design can look homemade. The difference is the quality of the boring steps: measuring, sanding, edge work, and finishing.
The Beginner Trap: Overbuilding Instead of Refining
Beginners often try to “add value” by adding complexity—extra trim, extra angles, extra features. But complexity is where mistakes multiply. A project looks professional when it’s clean, not busy.
If you want a high-end look, simplify the design and refine the details. A single well-chosen chamfer can make a shelf look modern. Rounded edges can make a box feel boutique. Consistent hardware placement can make an organizer feel like a product. When you’re starting out, the goal isn’t to prove you can build something complicated. The goal is to build something simple so cleanly that it looks effortless.
Project 1: The Modern Wall Shelf With Hidden Strength
Wall shelves are beginner-friendly and naturally “professional-looking” because they live in a clean visual space: a wall. The design doesn’t need much—just a well-proportioned board and a solid mount. The secret is to build it like a product.
Choose a simple shape. Keep the thickness consistent. Sand until it feels silky, especially on the front edge where hands will touch. Break the sharp corners so it feels finished, not raw. If you want the shelf to look especially modern, keep the profile slim and the corners crisp but softened.
Mounting is where shelves either look pro or look like a weekend experiment. Measure carefully. Use a level. Mark from two points. If you can hide the bracket or use a clean cleat system, the shelf immediately looks more expensive because the “how” disappears.
Project 2: The Small Wooden Tray That Looks Boutique
A tray is basically a flat surface with sides, which makes it perfect for beginners—but it’s also a showcase for finishing. That’s why it’s such a powerful “professional look” project. If your sanding and finish are good, a tray can look like something from a high-end home store.
Keep the design minimal: clean sides, consistent reveal, even spacing. If you add handles, place them symmetrically and keep them aligned. The important part is how it feels in the hands. Soft edges, smooth corners, and an even finish make the tray feel premium. Trays also teach you a subtle professional skill: restraint. When you resist over-decorating and focus on clean execution, the piece looks confident.
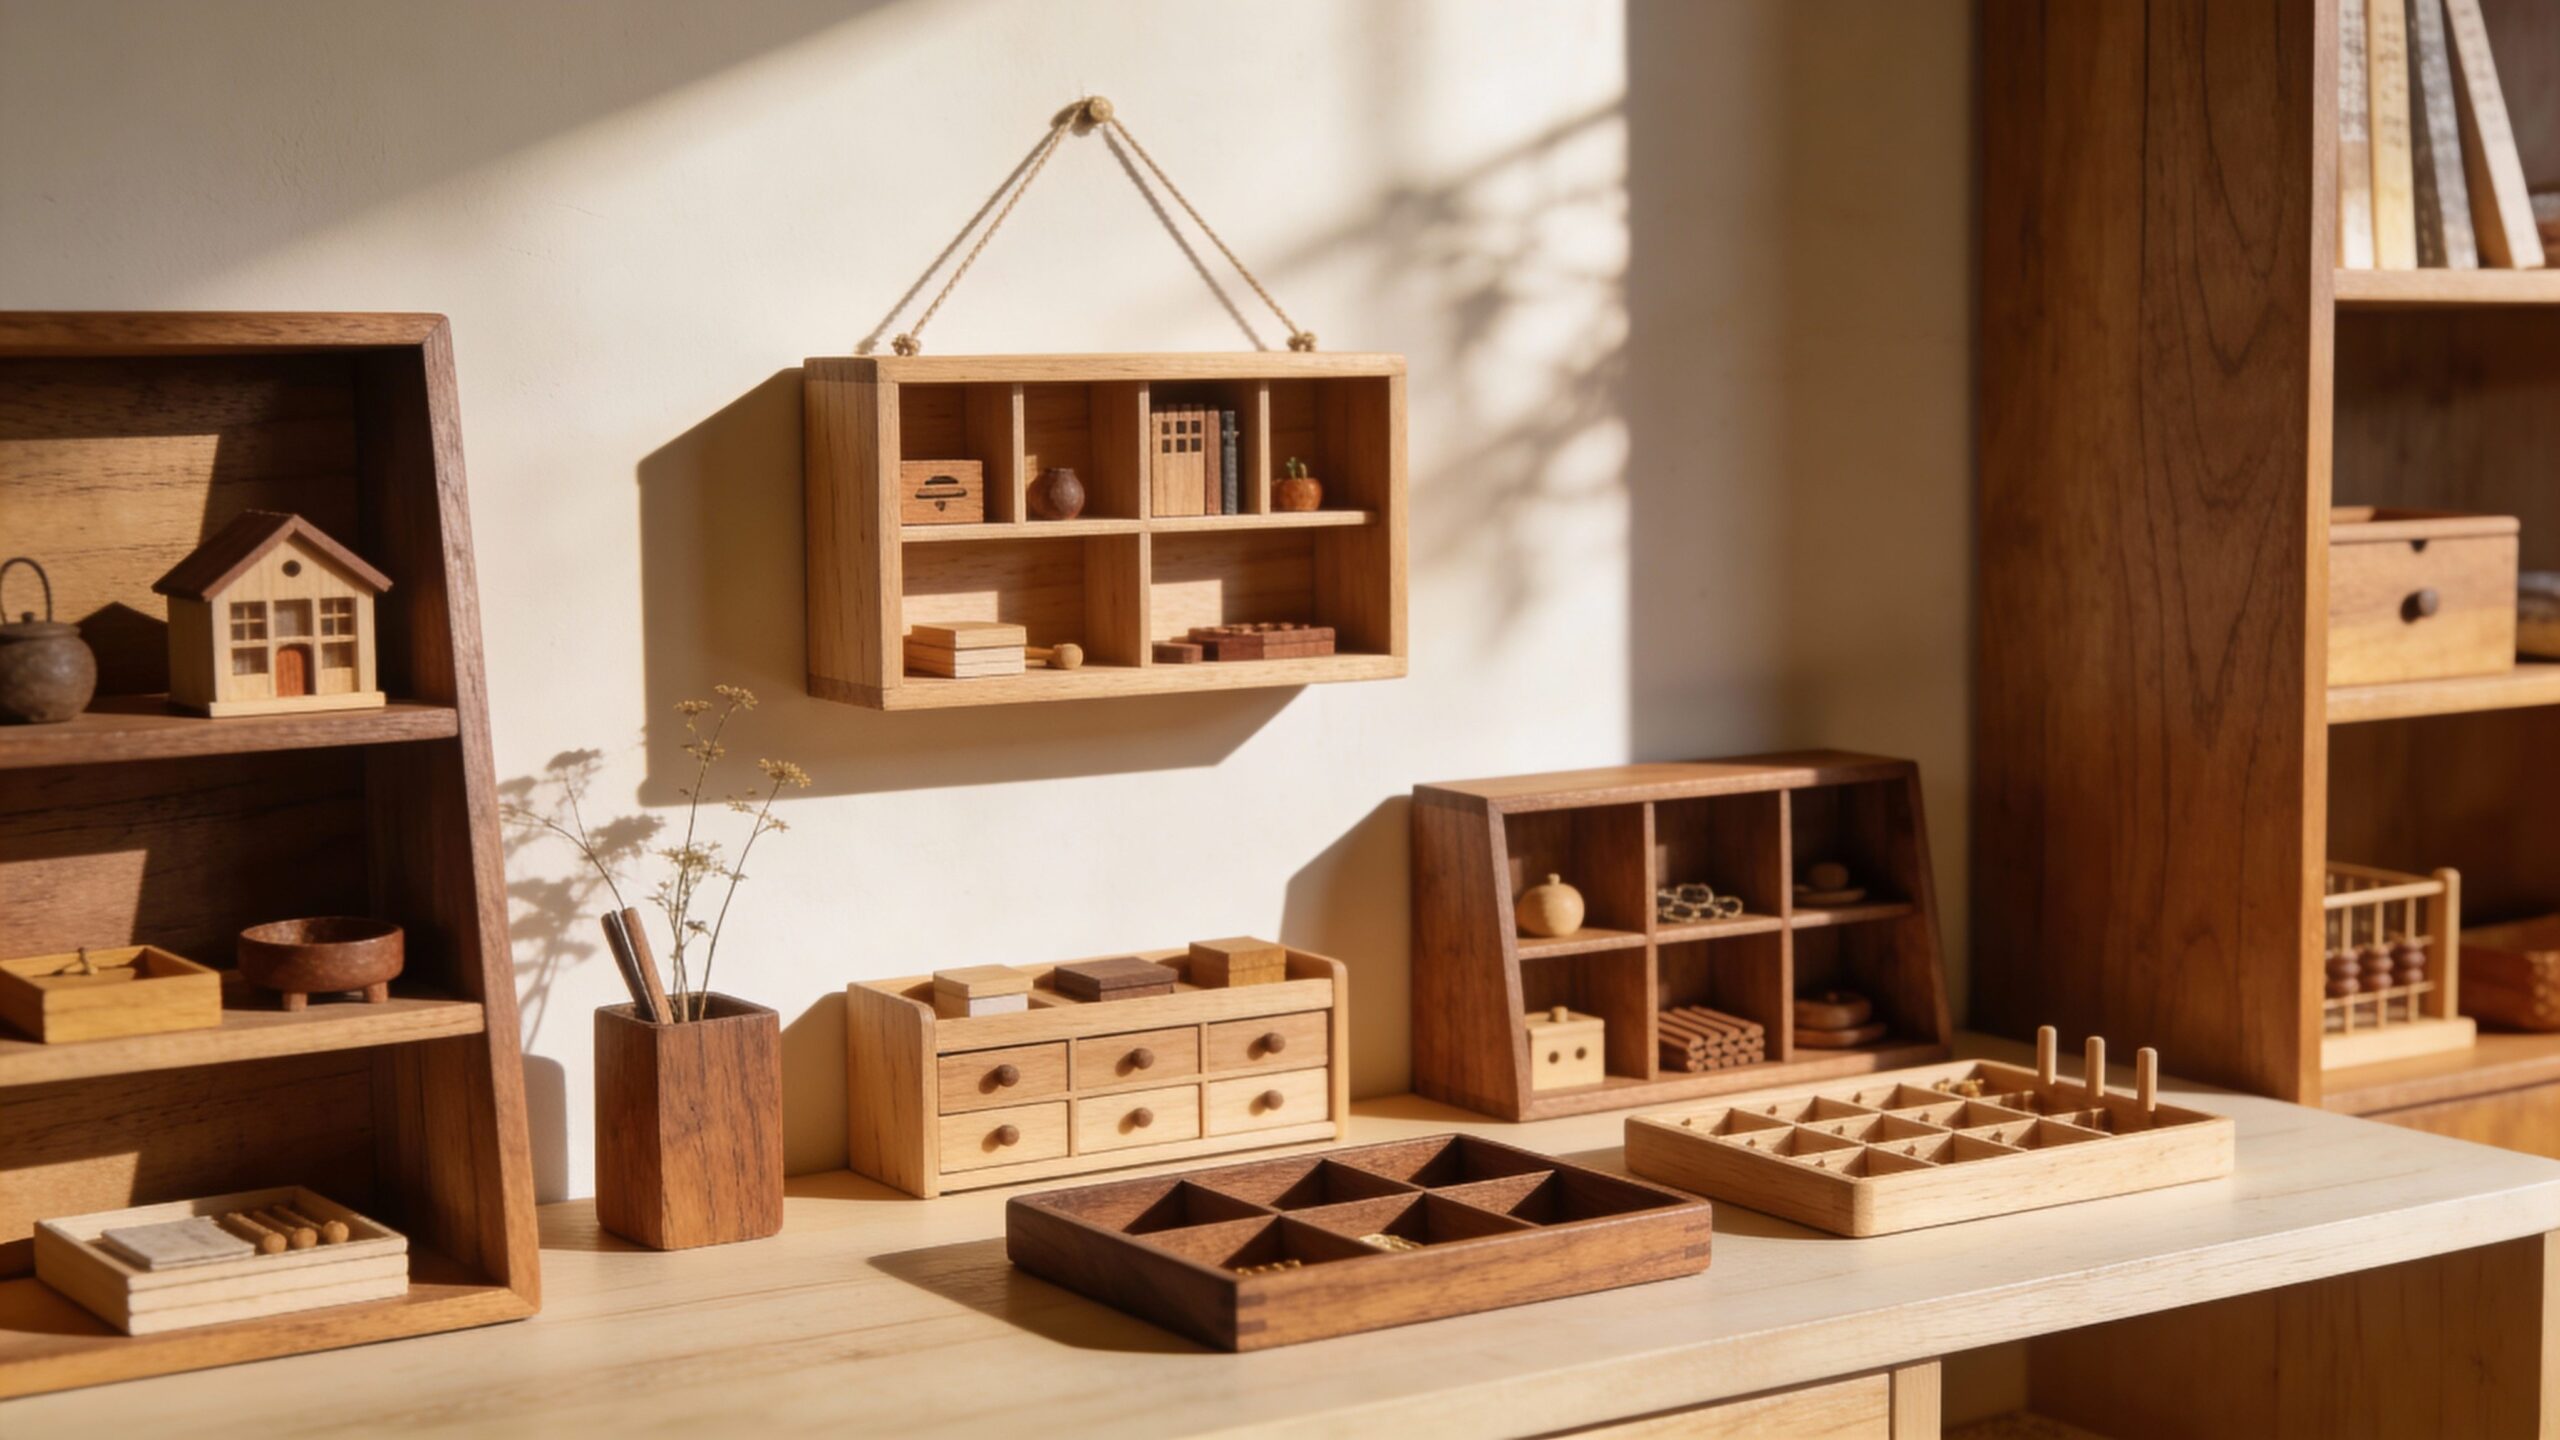
Project 3: The Clean Desk Organizer That Looks Like a Product
Desk organizers have “professional potential” because they’re geometric and repeatable. Straight cuts and square compartments can look extremely modern. The trick is aligning everything so it feels deliberate.
Keep your compartments evenly spaced. Use the same material thickness across the whole organizer. If you’re using screws, hide them where possible or countersink them neatly so they don’t scream “DIY.” If you’re using glue, wipe squeeze-out early so you don’t fight it later with sandpaper.
A desk organizer is also a finishing test: small surfaces show flaws quickly. Good light, careful sanding, and thin coats of finish will make the organizer look like a retail item instead of a shop class project.
Project 4: The Minimalist Coat Rack With Perfect Spacing
Coat racks are deceptively simple—and that’s why they can look so professional. A clean backboard with evenly spaced hooks can transform a hallway, and spacing is the detail that makes it look intentional.
The backboard should have balanced proportions: not too tall, not too skinny. Sand it smooth, soften the edges, and choose hooks that match the style you want. When you lay out the hook spacing, measure carefully and center everything. A small mistake here shows immediately because the human eye is extremely sensitive to uneven spacing. Mount it securely and level it perfectly. A crooked coat rack never looks “handmade in a charming way.” It looks wrong. But a perfectly level, clean rack looks like something installed by a pro.
Project 5: The Simple Box With “High-End” Details
A box is a beginner classic because it teaches fundamentals: square cuts, alignment, sanding, and finishing. But to make a box look professional, you don’t need fancy dovetails. You need a few smart upgrades.
Focus on tight alignment. Make sure the corners meet cleanly. Add a subtle detail like a small chamfer along the top edge or slightly rounded corners. Choose a finish that highlights the grain instead of drowning it. If the lid fits smoothly and the surfaces feel like glass, the box will look premium no matter how simple the construction is.
Boxes also teach patience: the difference between “okay” and “professional” is usually one more sanding step and one more careful finish coat.
Project 6: The Plant Stand That Looks Modern and Intentional
Plant stands are incredibly forgiving structurally, but they look professional when they’re balanced and consistent. Straight legs, clean angles, and a stable stance go a long way.
Use the same cut lengths for each leg. Check square during assembly. Sand the edges where hands might touch. If you want the stand to look designer-grade, keep it minimal: a clean top, simple structure, and a finish that complements the room. Plant stands also reward repetition. Build one, then build a second in a slightly different height. A matching set looks like a design decision, not a one-off project.
The Professional Look Checklist: Four Things That Matter More Than Tools
If you want every beginner project to level up, focus on four areas that consistently create a pro look.
First: measurement and layout. Professional projects start with careful marking. The more accurate your layout, the less you’ll “fix” later. Fixing is where projects get messy.
Second: edge treatment. Sharp edges look unfinished and feel cheap. Softened edges—whether lightly rounded or chamfered—immediately make a piece feel higher-end.
Third: sanding discipline. Sanding is where professional projects are made. Not by sanding forever, but by sanding methodically. Remove scratches before you move to the next grit. Don’t skip steps. Don’t sand in a rush at the end like it’s a punishment.
Fourth: finish quality. A thin, even finish makes wood look rich. A heavy, uneven finish makes it look like a craft project. Thin coats win. Good lighting wins. Patience wins.
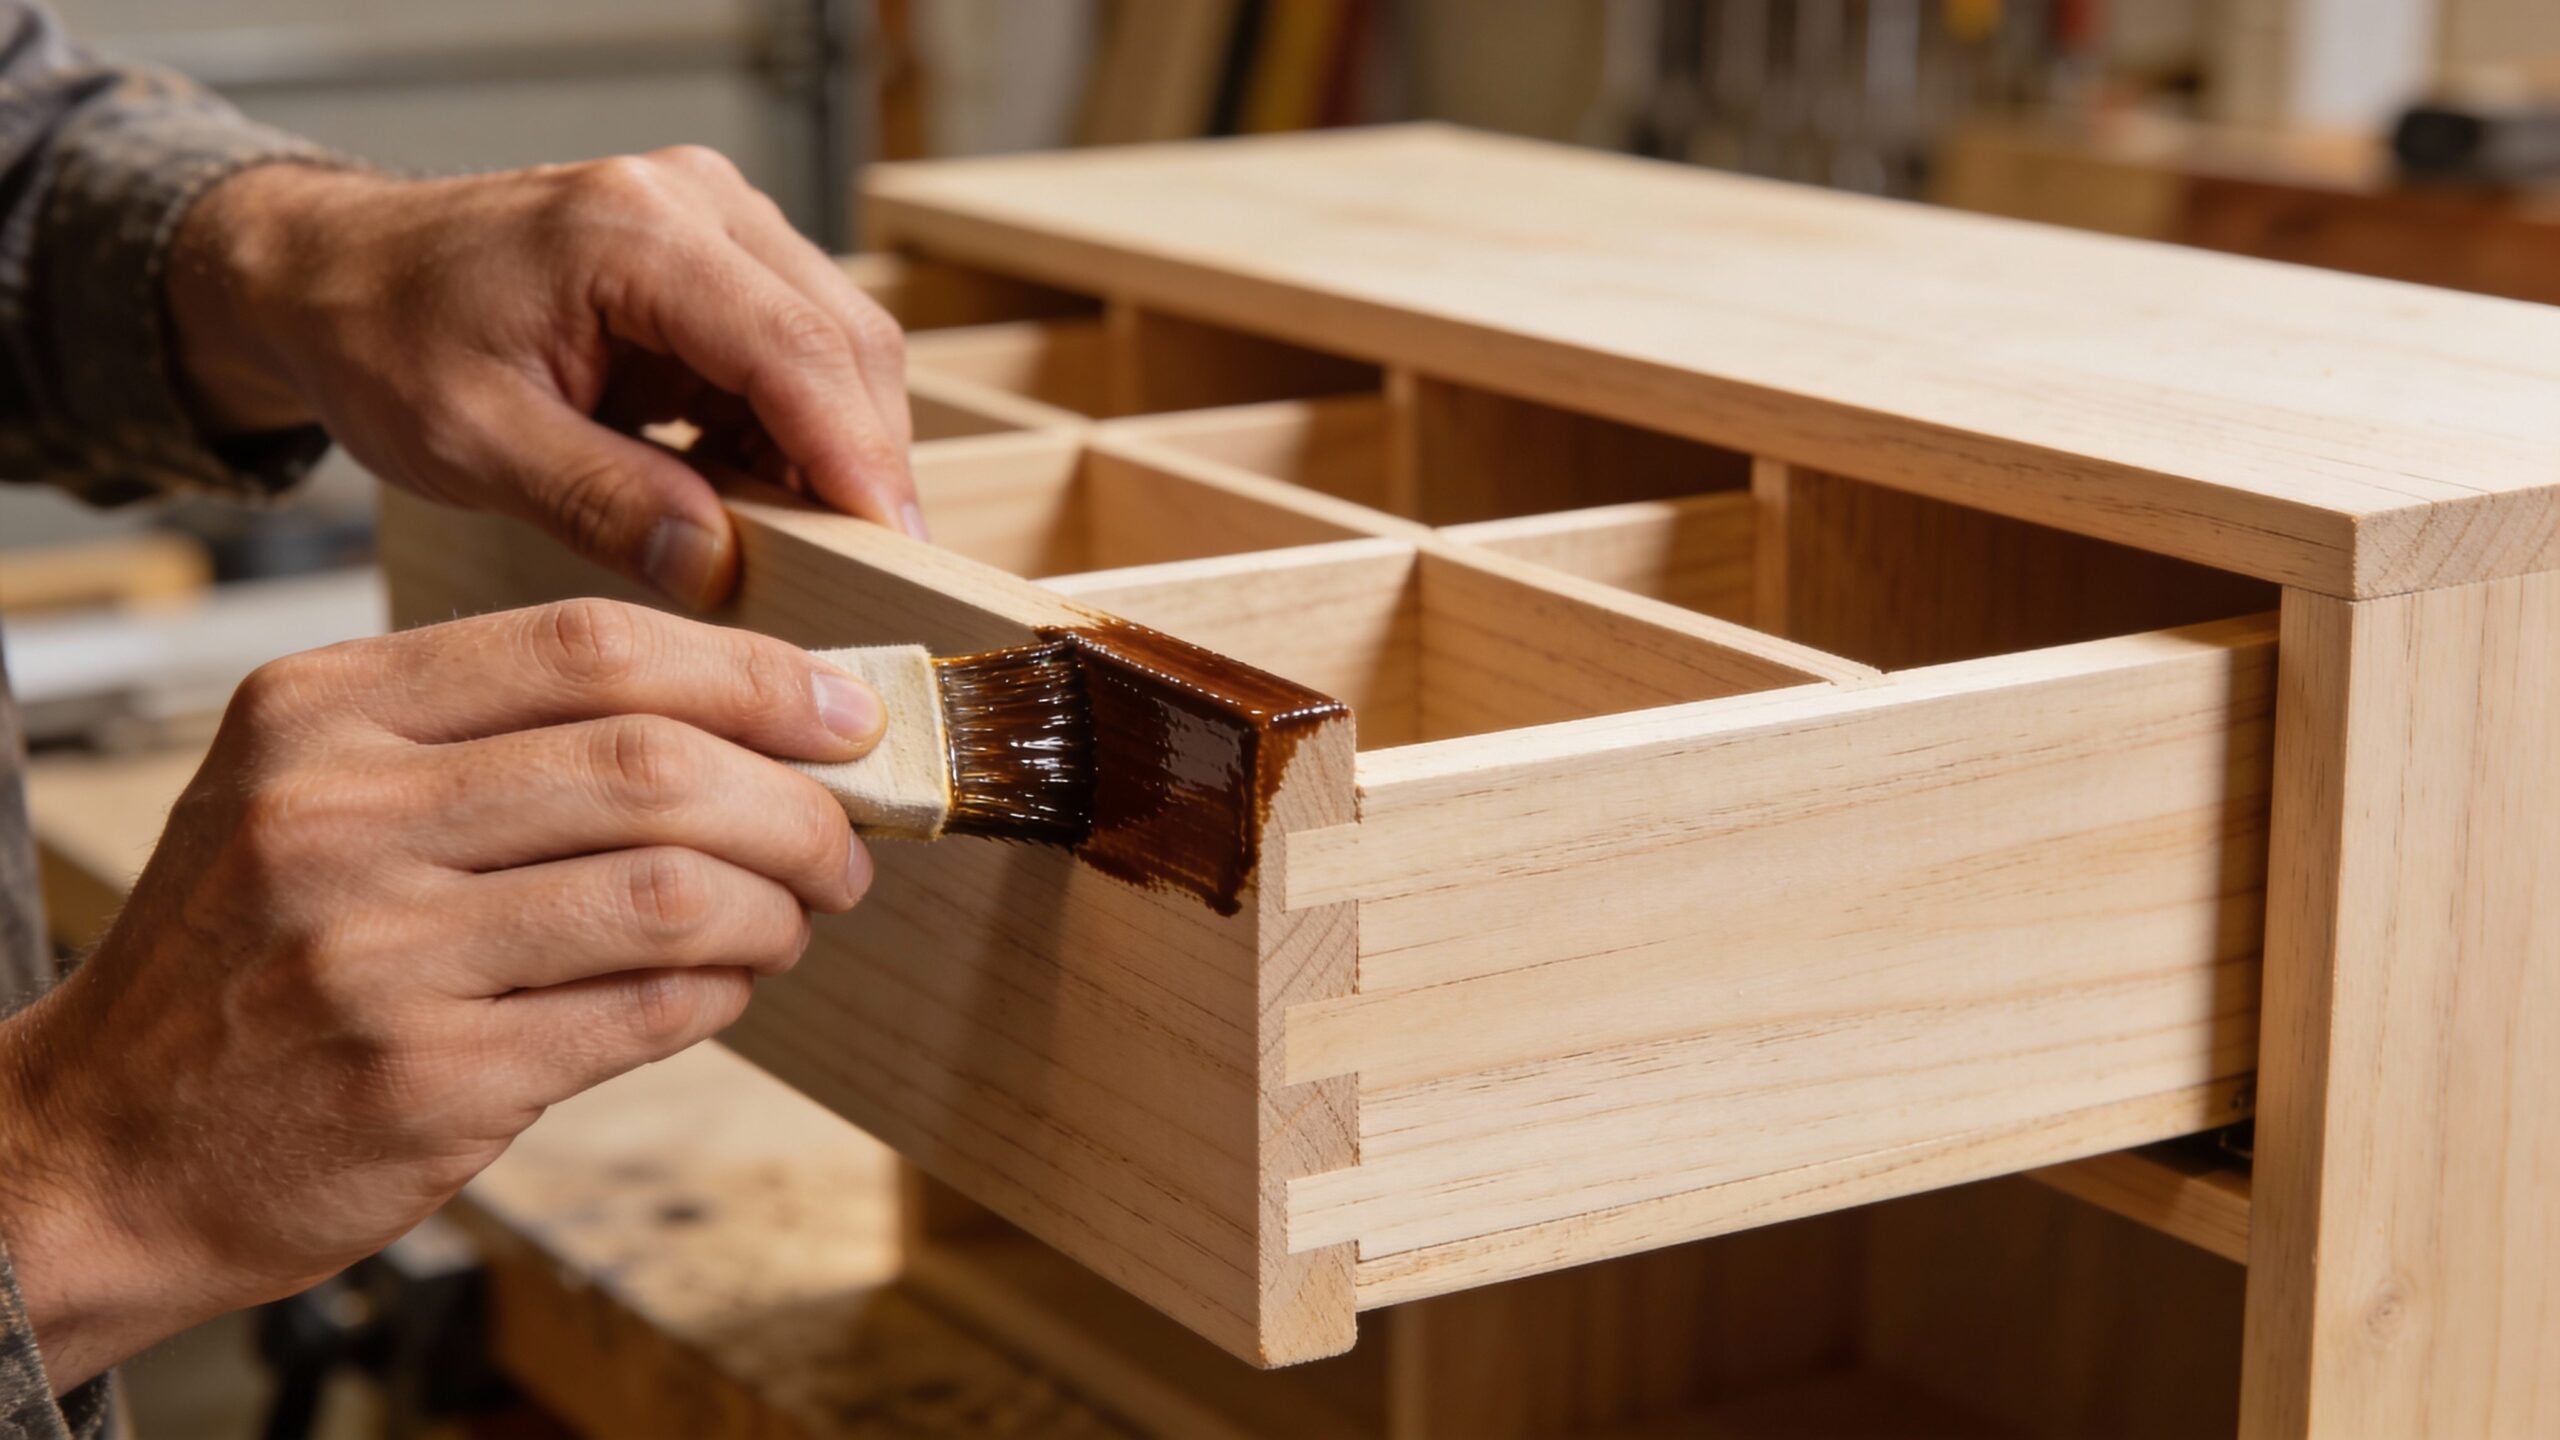
Finishing Like a Pro Without Fancy Products
Most beginners think finishing is about buying the “right” finish. But the finish is only part of the story. The surface prep is the real finish.
If your sanding is uneven, your finish will be uneven. If your edges are rough, your finish will highlight them. If you leave glue residue, stain will expose it like a neon sign.
A professional approach is simple: test on scrap, apply thin coats, and work in good light. Give the finish time to level. Don’t overwork it. If you can master basic wipe-on finishing and clean sanding, your projects will instantly look more expensive.
Choosing Projects That Naturally Look Professional
Some beginner projects are “professional by default” because they’re made of clean geometry and don’t require complex mechanisms. Shelves, trays, organizers, coat racks, and stands all fit this category. They’re simple shapes with big visual impact.
Avoid projects that require perfect moving parts early on, like drawers, sliding mechanisms, or complicated hinges. Those are great skills to learn later, but they’re harder to execute cleanly at first. If your goal is “looks professional,” choose projects where the finish and layout do most of the visual work.
Your Secret Weapon: Repeat One Project Twice
If you want a shortcut to looking professional, repeat a build. Make the same tray twice. Build a second shelf. Make a matching set of plant stands. The first build teaches you the problems. The second build is where you quietly become “good.” Repetition also improves consistency—something professionals rely on. Even if you’re building for your own home, matching pieces look higher-end because they create a cohesive visual story. Your home starts to feel curated rather than patched together.
The Real Win: Confidence You Can See
When beginners talk about wanting a professional look, they’re really talking about confidence. They want to build something and feel proud of it. They want to put it in their home without mentally explaining the flaws to every visitor.
That confidence comes from finishing projects cleanly—and finishing them on purpose. Choose beginner-friendly builds that reward careful layout and sanding. Keep your designs simple. Spend your time on the details that show. If you do that, you’ll be surprised how quickly your work starts to look like it belongs in a store. And once you’ve built a few “store-bought-looking” pieces, woodworking stops feeling intimidating. It starts feeling inevitable.