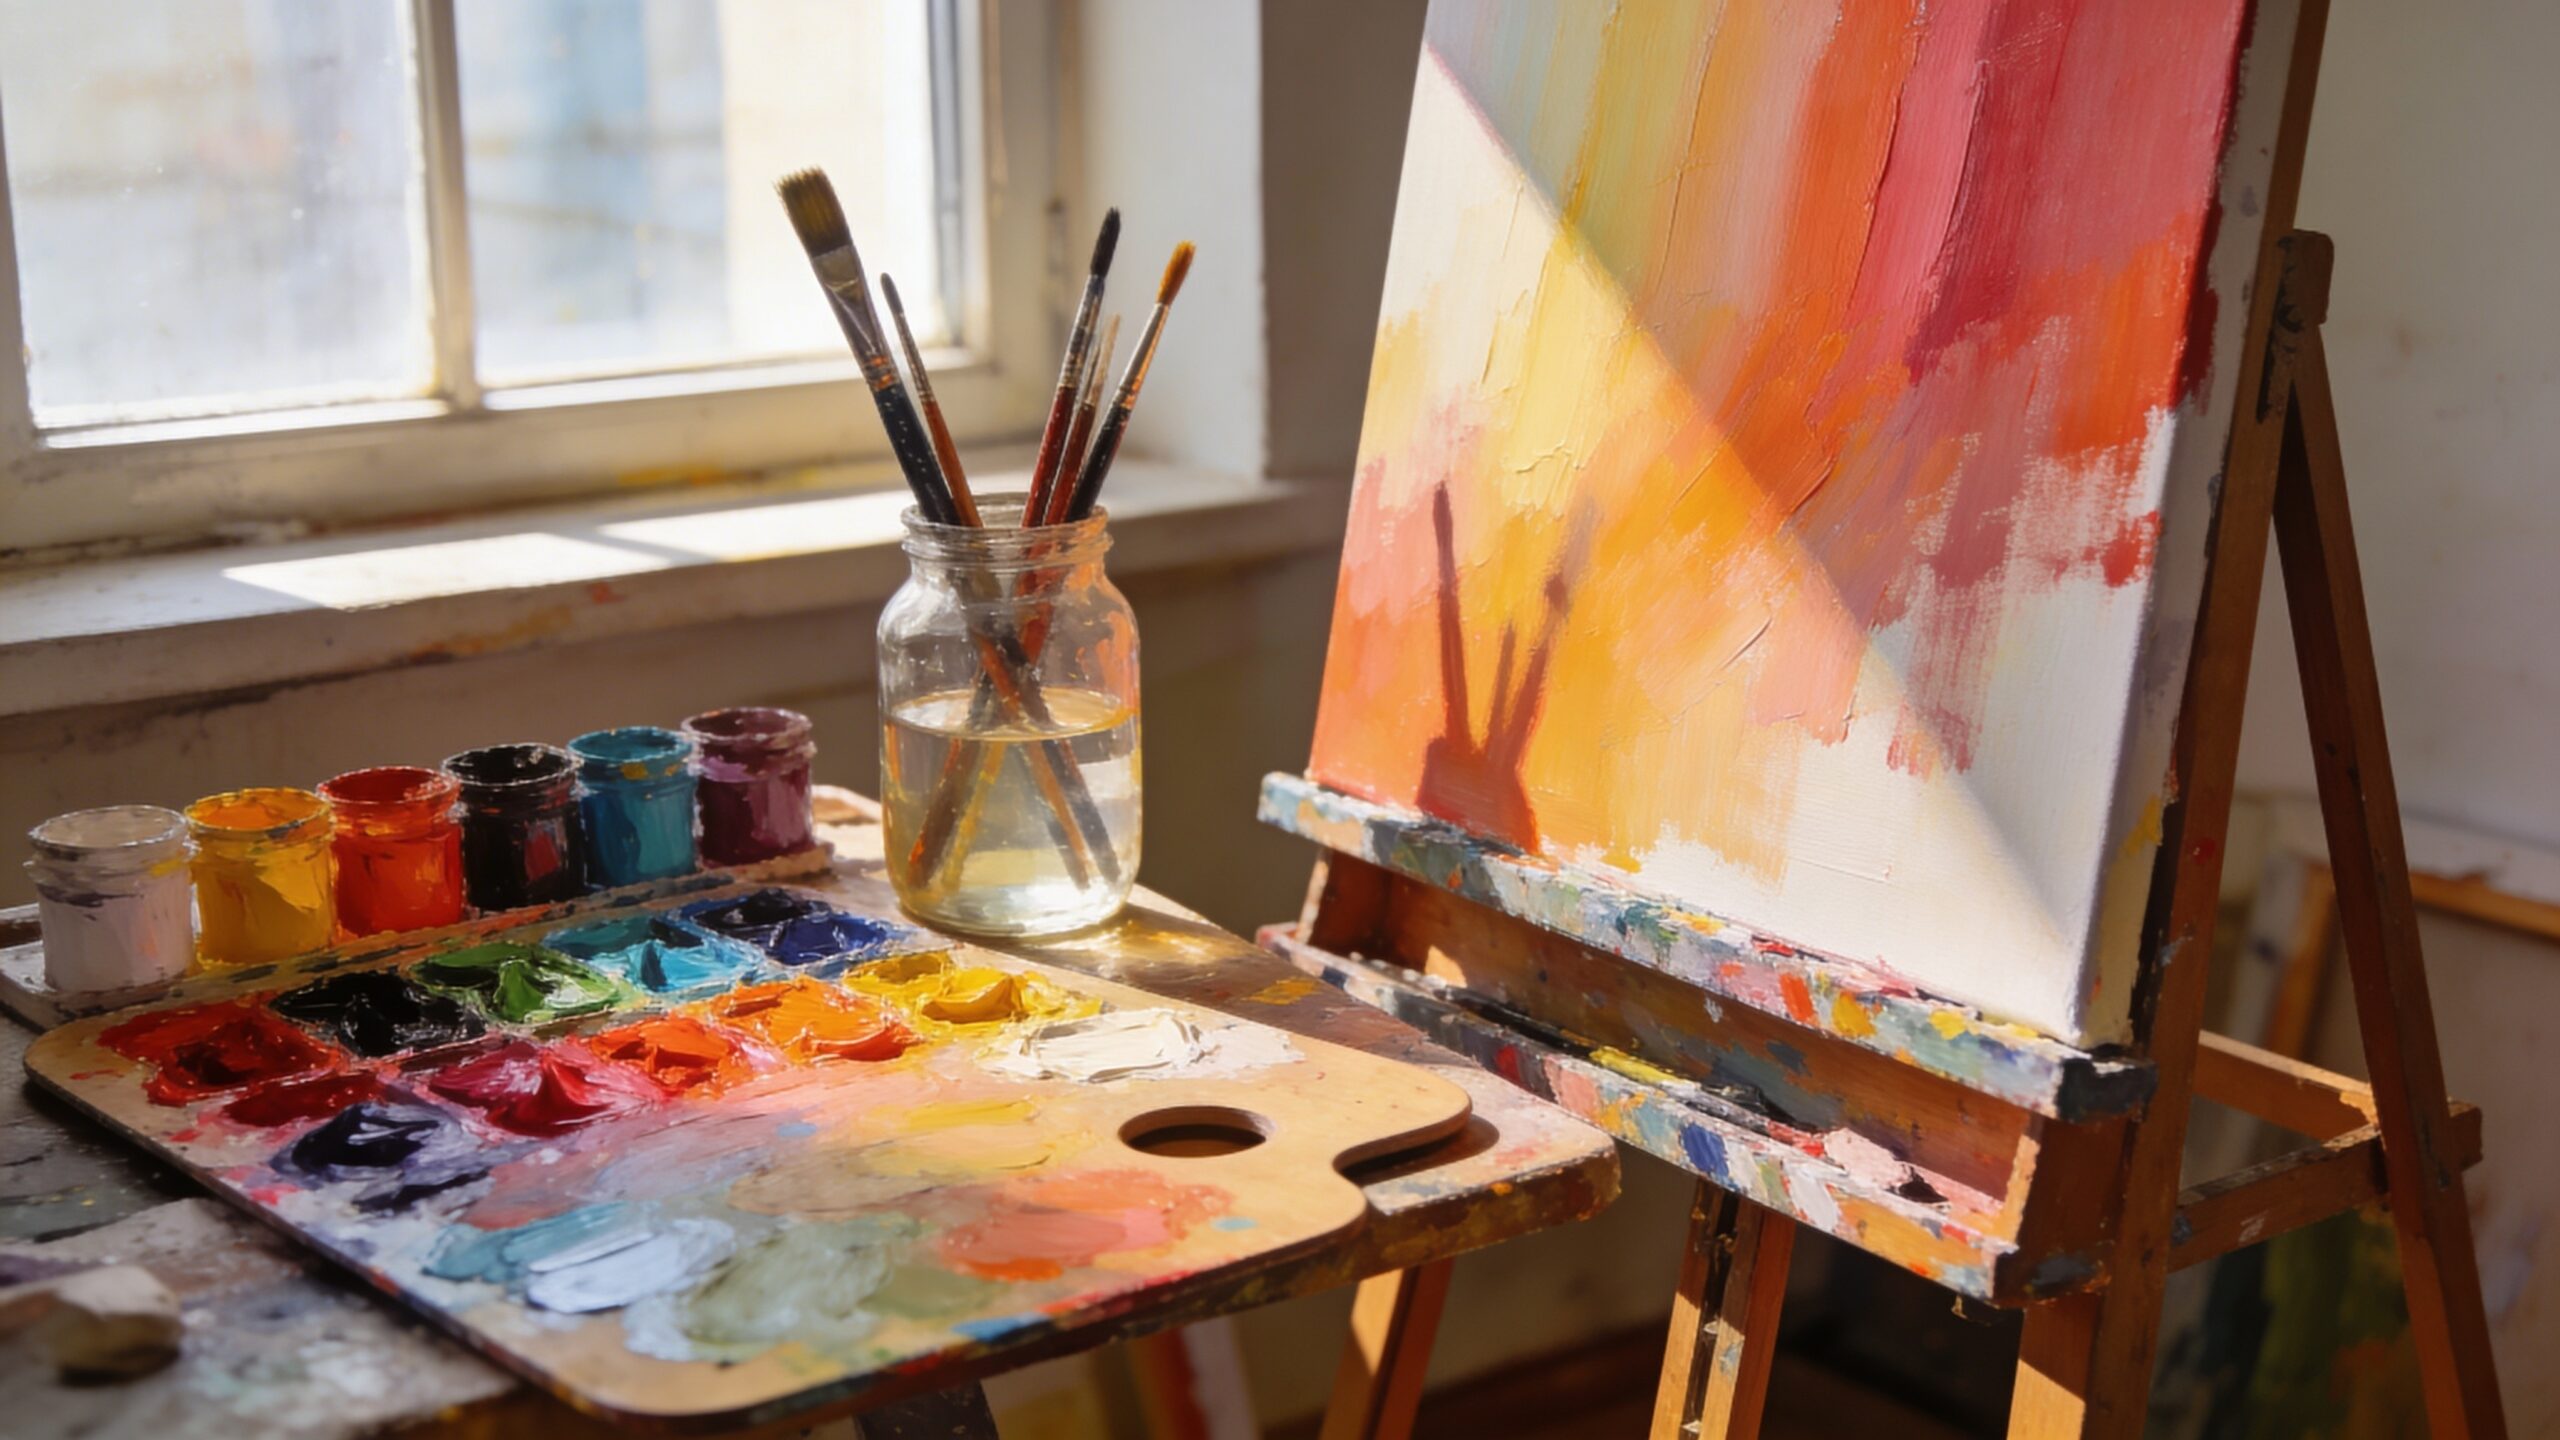
The Art and Science of Color Blending
Color blending is where technical skill meets artistic intuition. It’s the difference between flat, lifeless work and paintings that feel alive with depth, atmosphere, and movement. Whether you’re working with acrylics, oils, or watercolors, mastering blending techniques allows you to create seamless transitions that mimic real-world lighting, textures, and environments. At its core, blending is about controlling how colors interact on your surface. It involves understanding timing, pressure, layering, and the properties of your medium. Professionals don’t just mix colors—they guide them, shaping transitions with intention. When done correctly, blending transforms individual strokes into a unified visual experience that draws viewers in and keeps them engaged.
A: You may be overmixing complements, using dirty brushes, or working paint after it has started to dry.
A: Oils are the most forgiving, but acrylics can blend beautifully with the right medium and timing.
A: Usually both—premix bridge colors on the palette, then refine the transition directly on the surface.
A: Soft filberts and flats are excellent for most smooth transitions, depending on the size of the area.
A: Work in smaller sections, use a stay-wet palette, and add a slow-dry or blending medium.
A: Yes, glazing or layering intermediate tones over the area can soften the transition.
A: Start with two main colors and add one to three bridge tones for better control.
A: The paint may be unevenly applied, drying too fast, or being pushed with too much brush pressure.
A: No, some texture and variation can make a painting feel more natural and energetic.
A: Practice value scales, sky gradients, and simple sphere studies until smooth transitions become automatic.
Understanding Color Relationships First
Before you ever touch brush to canvas, strong blending begins with understanding how colors relate to one another. Complementary colors, analogous palettes, and value shifts all play a critical role in how smooth or jarring your blends appear. When two colors clash in value or temperature, blending them without preparation can result in muddy or uneven transitions.
Professional artists often plan their color pathways in advance. Instead of jumping directly from red to blue, they introduce intermediary hues like violet to bridge the transition. This creates a visual gradient that feels natural rather than forced. By thinking in terms of color journeys instead of isolated tones, you gain far more control over how your blends develop across the surface.
Choosing the Right Medium for Blending
Each painting medium behaves differently, and understanding those differences is essential for effective blending. Oils are often considered the gold standard for blending because they dry slowly, allowing artists to manipulate colors over extended periods. This makes them ideal for smooth gradients and subtle transitions. Acrylics, on the other hand, dry quickly, which can make blending more challenging. However, with the right techniques—such as working in small sections or using blending mediums—you can still achieve excellent results. Watercolors offer a completely different experience, relying on fluid movement and transparency to create soft, organic blends. Learning how each medium responds will help you choose the right approach for your desired effect.
Mastering Brush Control and Pressure
Blending isn’t just about color—it’s about touch. The way you hold and move your brush has a direct impact on how smoothly colors transition. Light, controlled strokes are essential for soft blending, while heavier pressure can create abrupt changes or visible streaks.
Professional artists often use a feathering technique, gently dragging a clean or slightly damp brush across the boundary between two colors. This softens the edge and merges the pigments without overmixing them. The key is subtlety. Overworking the surface can lead to muddy colors, while too little blending can leave harsh lines. Finding the right balance is what separates amateur work from polished, professional results.
The Wet-on-Wet Technique
One of the most effective blending methods is the wet-on-wet technique, where fresh paint is applied onto a still-wet surface. This allows colors to merge naturally, creating smooth, flowing transitions without harsh edges. It’s especially popular in oil and watercolor painting, where extended working time enhances the effect. In practice, this technique requires confidence and timing. You must work quickly enough to keep the paint workable, but deliberately enough to maintain control. When done correctly, wet-on-wet blending produces some of the most beautiful gradients, particularly in skies, water reflections, and soft background elements.
Layering for Controlled Blends
While wet-on-wet blending creates immediate transitions, layering offers a more controlled approach. By applying thin, semi-transparent layers of paint, you can gradually build up smooth color shifts over time. This technique is particularly useful in acrylic and oil painting, where glazes can subtly alter the underlying colors.
Layering allows you to refine your work without risking overmixing. Each layer adds depth and complexity, creating a rich, luminous effect that’s difficult to achieve with a single pass. Professionals often combine layering with blending, using each method strategically depending on the desired outcome.
Using the Right Brushes and Tools
The tools you choose can dramatically influence your blending results. Soft-bristle brushes are ideal for smooth transitions, while stiffer brushes are better suited for textured effects. Flat brushes can help create even gradients, while round brushes offer more precision for detailed blending. In addition to brushes, tools like palette knives, sponges, and even cloth can be used to blend colors in unique ways. Many artists keep a clean, dry brush on hand specifically for blending, allowing them to soften edges without adding more paint. Experimenting with different tools can open up new possibilities and help you discover techniques that suit your style.
Avoiding Muddy Colors
One of the most common challenges in blending is avoiding muddy or dull results. This often happens when too many colors are mixed together or when complementary colors are overblended. The key to preventing this is restraint.
Instead of aggressively mixing colors on the canvas, aim to preserve some of their individuality. Allow subtle variations to remain visible, creating a more dynamic and interesting surface. Cleaning your brush regularly and using fresh paint can also help maintain color clarity. Professionals understand that blending is about harmony, not uniformity.
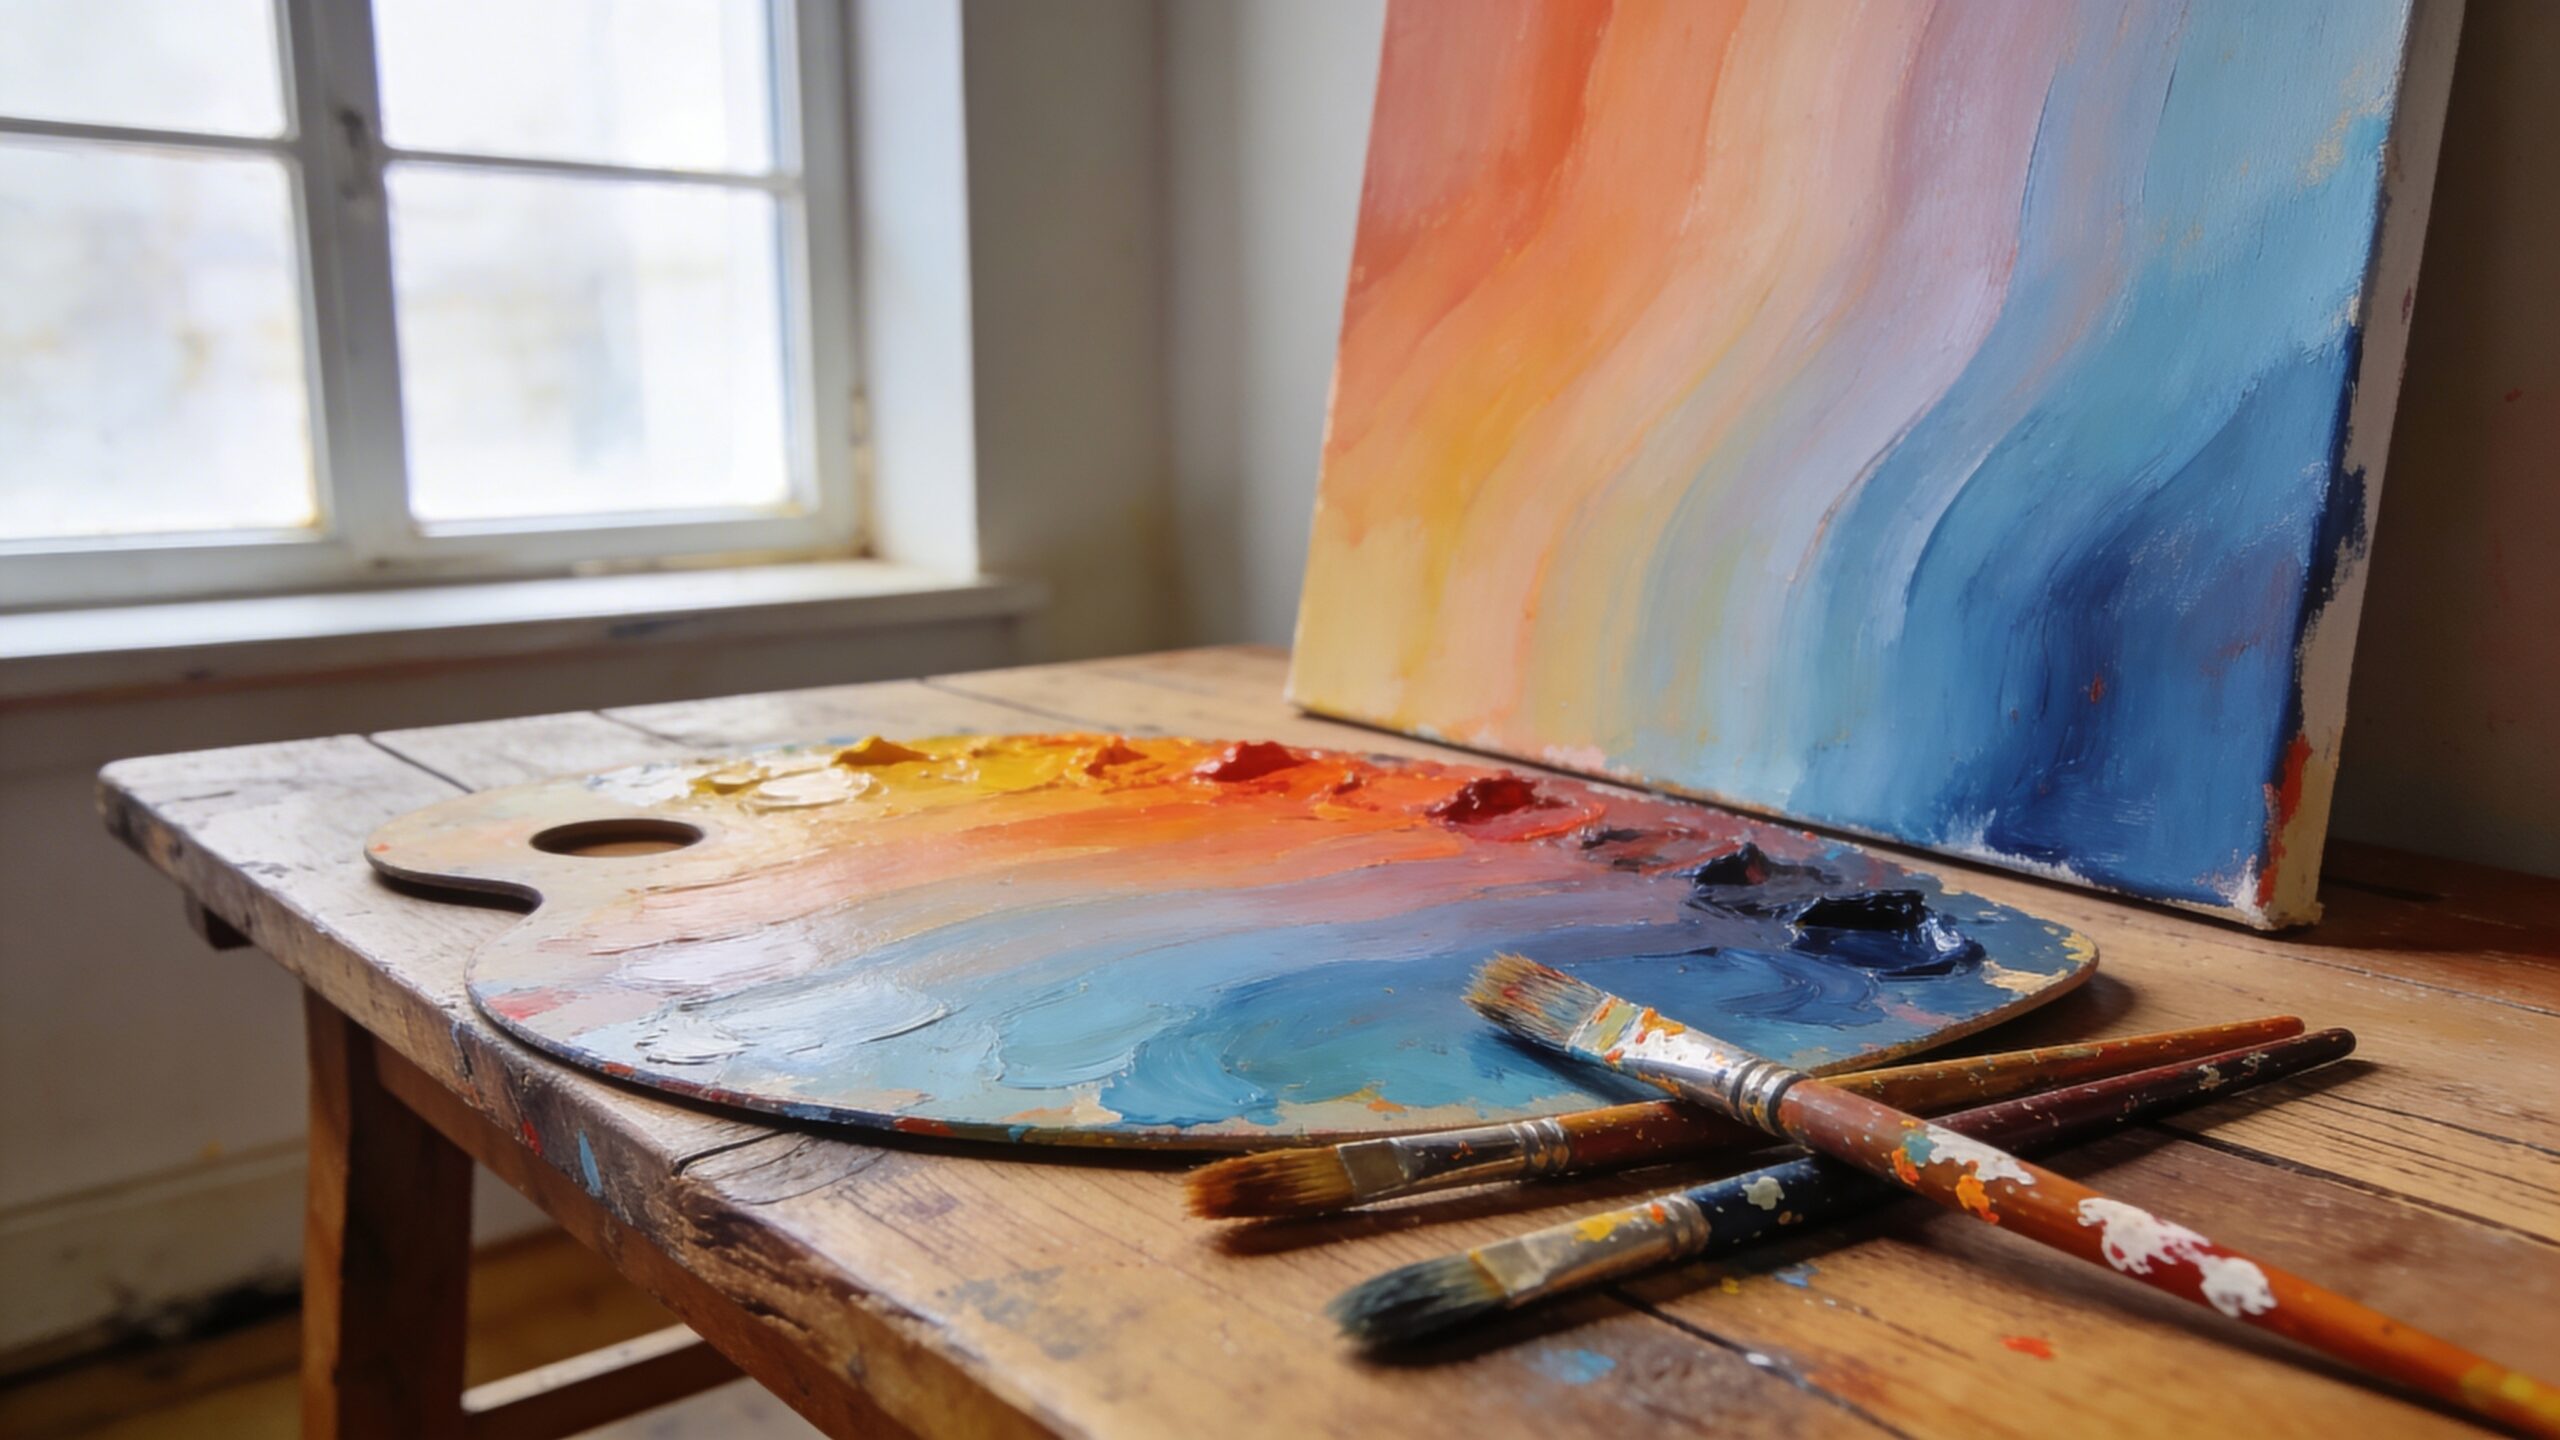
Creating Smooth Gradients
Gradients are a hallmark of skilled blending, appearing in everything from sunsets to skin tones. Achieving a smooth gradient requires careful control of both color and value. Start by laying down your base colors, then gradually bridge them using intermediate tones. Working in small sections can help maintain control, especially with fast-drying mediums like acrylics. Keep your brush strokes consistent and directional, and avoid jumping between areas too quickly. With practice, you’ll develop a rhythm that allows you to create seamless transitions that feel natural and effortless.
Blending for Realism
Realistic painting relies heavily on subtle blending to replicate how light interacts with surfaces. Whether you’re painting skin, fabric, or landscapes, smooth transitions between light and shadow are essential for creating depth and dimension.
In portrait painting, for example, blending is used to soften edges and create lifelike skin tones. In landscapes, it helps convey atmospheric perspective, with distant elements appearing softer and less defined. By studying how light behaves in the real world, you can apply blending techniques that enhance realism and bring your work to life.
Timing and Patience Matter
Blending is as much about timing as it is about technique. Working too quickly can lead to sloppy transitions, while waiting too long can make blending difficult or impossible, especially with fast-drying paints. Learning to recognize the ideal moment to blend is a skill that develops over time. Patience is equally important. Rushing the process often leads to overworked areas and diminished results. Professionals take their time, allowing each layer or section to develop fully before moving on. This deliberate approach ensures that every blend contributes to the overall harmony of the painting.
Practicing Like a Professional
Like any skill, blending improves with consistent practice. Simple exercises, such as creating gradient scales or blending color strips, can help you build muscle memory and refine your technique. Over time, these exercises translate into more confident and controlled painting.
Studying the work of experienced artists can also provide valuable insights. Pay attention to how they handle transitions, use color, and manage edges. By combining observation with hands-on practice, you can accelerate your learning and develop a blending style that feels both natural and effective.
Bringing It All Together
Blending colors like a pro isn’t about mastering a single technique—it’s about understanding how multiple approaches work together. From color theory and brush control to timing and layering, each element plays a role in achieving smooth, professional results. As you continue to practice and experiment, you’ll begin to develop an intuitive sense of how colors interact and how to guide them across your canvas. The goal isn’t perfection, but control—the ability to create the exact effect you envision. With time and dedication, blending will become second nature, elevating your artwork to a whole new level.