Your First Print Is A Workflow, Not A Button Press
A successful first 3D print begins before the printer moves and continues after the part leaves the build plate. The model must be realistic for your machine, the slicer settings must match the material, the bed needs preparation, supports should be chosen intentionally, and the finished part often needs cleanup. When beginners understand the whole path from model to finished object, printing feels less mysterious and failures become easier to diagnose.
A: Choose a small practical object or calibration-friendly model with a flat base and clear learning value.
A: No, using a proven model helps you learn the printer before adding CAD variables.
A: Common causes include dirty bed, poor Z offset, wrong temperature, draft, speed, or unsuitable surface.
A: Use supports only where geometry needs them, and preview their placement before printing.
A: Many beginner parts need modest infill plus adequate walls, but load-bearing parts require more judgment.
A: Watch the first layer and early print behavior before walking away.
A: Printers often make internal features slightly small, so calibration or design clearance may be needed.
A: Use flush cutters, patience, and orientation choices that place support marks in less important areas.
A: Only sand when appearance, fit, or comfort requires it.
Choose A Model That Teaches Clearly
The first print should be small enough to finish quickly and simple enough to interpret. A huge model with many supports can fail for several reasons at once, leaving you unsure whether the problem was adhesion, temperature, support, cooling, or model quality. A small practical part gives clearer feedback.
Good first models include clips, simple boxes, hooks, calibration shapes, tool holders, or small organizers. They show layer behavior, surface finish, and dimensional accuracy without consuming a full spool of patience.
Inspect The Model Before Slicing
A printable-looking model is not always printer-ready. Thin walls, floating details, non-manifold geometry, unsupported overhangs, and awkward orientation can create trouble. Open the model, check its scale, rotate it, and think about how it will sit on the bed. If the model has a natural flat face, use it.
When a part needs strength, orientation matters because layer lines create different behavior in different directions. A hook, bracket, or clip should not be oriented only for beauty if the layer direction makes it weak.
Use A Conservative Slicer Profile
A slicer turns the model into machine instructions, so first settings should be conservative. Use a profile meant for your printer, nozzle, and filament. Choose moderate layer height, ordinary speed, sensible walls, and enough top and bottom layers to make the part solid where it needs to be solid.
Do not change ten settings before the first print. If something fails, too many changes make the cause hard to find. Print, observe, adjust one variable, and print again.
Preview The Print Before Sending It
Layer preview is one of the most useful beginner tools. It shows where supports appear, how infill runs, whether walls look too thin, and how the first layer will contact the bed. If something looks strange in preview, the printer will probably not fix it for you.
Preview also teaches slicing logic. You begin to see why certain surfaces need support, why holes may need clearance, and why print time changes when walls or infill change.
Prepare The Bed Like It Matters
Bed adhesion is the first physical test of the workflow. Clean the surface, seat the plate correctly, let temperatures stabilize, and make sure the nozzle begins at the right height. Watch the first layer as it prints. A good first layer should look attached and consistent, not dragged, wispy, or swollen.
If the first layer fails, stop and fix it rather than hoping the tenth layer will rescue the part. Most failed prints are cheaper to stop early.
Think About Supports Before They Exist
Supports are temporary structures, but they affect the final object. They add time, material, surface marks, and cleanup risk. Rotate the model to reduce supports where possible, and place support scars away from important faces, clips, holes, and visible surfaces.
Sometimes the best support strategy is redesign. Splitting a model, adding a flat face, changing overhangs, or printing a part in two pieces can produce a better finished object than forcing support everywhere.
Remove And Finish With Patience
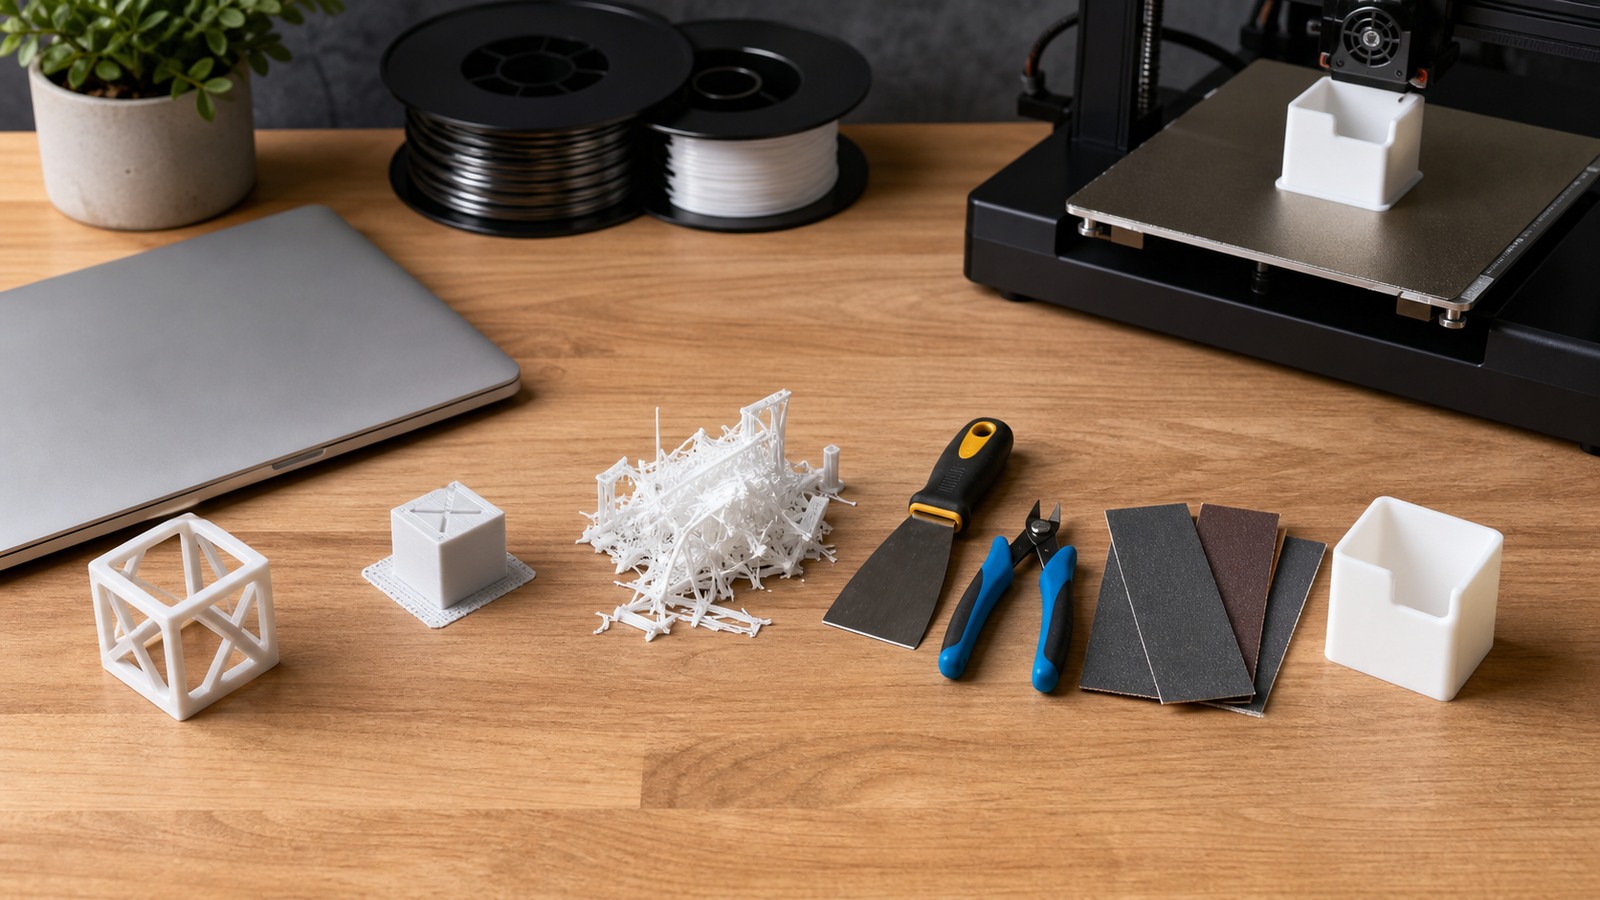
After printing, let the part cool enough to release cleanly. Forcing a warm part can warp it or damage the bed. Remove supports gradually with flush cutters and small movements. Sand, scrape, drill, or deburr only when the part needs it for fit, comfort, or appearance.
A finished object is not always a polished object. If it works well as a bracket, spacer, jig, or container, it may need only light cleanup. Finishing should serve use.
Inspect The Result Like A Maker
Look at the bottom surface, corners, walls, seams, support marks, bridges, holes, and top layers. Each feature tells part of the story. A lifted corner points toward adhesion or cooling. Stringing points toward temperature, retraction, or moisture. Rough support surfaces may suggest orientation changes.
Do not treat the first print as pass or fail only. Treat it as a map of what to learn next.
Keep Notes From The Beginning
Record the filament, printer, profile, temperatures, layer height, infill, supports, bed surface, and any change you made. Notes make the second print easier and prevent the same mistake from becoming a mystery twice.
Your first print becomes valuable when it teaches a repeatable workflow. Choose a manageable model, slice carefully, prepare the bed, watch the start, finish patiently, and let the object show you what the next print needs.
Use The First Print To Learn The Printer’s Language
Every printer communicates through small signs. The first layer shows whether the nozzle is too high, too low, too fast, too cool, or fighting a dirty bed. Corners show whether cooling and adhesion are balanced. Stringing, blobs, gaps, rough top surfaces, and support scars all point toward settings, material condition, or model orientation. A first print is useful because it teaches you how to read those signs.
Do not rush past observation. Watch how filament lays down, how the walls form, and how the printer handles corners. The machine is not only producing an object; it is demonstrating its current state. Beginners who learn to watch become better troubleshooters quickly.
Prepare Filament Like A Material
Filament is not just colored plastic on a spool. It absorbs moisture, varies between brands, and behaves differently by material. PLA is forgiving, but even PLA can string or pop when wet. PETG, TPU, nylon, and filled filaments add more sensitivity. Store filament cleanly and avoid leaving spools where dust, humidity, or tangles create avoidable problems.
Before a first print, check that the filament path is smooth, the spool rotates freely, and the end is clipped cleanly. A snagged spool or chewed filament can ruin a print that otherwise had good settings. Material handling is part of print preparation.
Orient Parts For Strength And Cleanup
Orientation affects strength, support, surface finish, and print time. A part printed upright may look better on one face but break along layer lines. A part laid flat may be stronger or avoid support but show more visible layer texture. There is rarely one perfect orientation; there is a best compromise for the object’s job.
Think about which face people will see, which direction force will travel, where support scars can hide, and how the part will be removed from the bed. This turns orientation from a slicer default into a design decision.
Inspect Finished Parts Before Celebrating
A print can finish and still need inspection. Check whether the base is flat, holes are clear, corners lifted, walls separated, supports damaged surfaces, or dimensions drifted. If the part is functional, test it gently before trusting it in a real assembly. Many beginner parts look successful until a screw, clip, or mating feature reveals the fit problem.
Inspection helps decide whether the next step is sanding, drilling, reprinting, redesigning, or changing slicer settings. The finished object is feedback, not only a result.
Create A Repeatable First-Print Routine
A repeatable routine prevents random troubleshooting. Choose the model, inspect it, slice conservatively, preview layers, clean the bed, load filament carefully, watch the first layer, let the print cool, remove supports patiently, inspect the part, and record what happened. That sequence may sound long, but it quickly becomes natural.
Once the routine is stable, experiments become easier. You can change layer height, support style, wall count, filament, or orientation one at a time and learn from the result. The first print is the beginning of that disciplined curiosity.
Learn When To Stop A Print
Stopping a print early can be the smartest move in the workflow. If the first layer is dragging, corners are lifting, supports have detached, filament is grinding, or the nozzle is printing in midair, continuing usually wastes material and time. Beginners sometimes let a failing print continue because they hope the object will recover. Most of the time, the failure simply becomes larger.
Stopping is not failure. It is process control. Pause, diagnose the visible symptom, make one change, and restart with a cleaner test. This habit keeps troubleshooting calm and prevents a desk full of failed objects that all failed for the same reason.
Treat Post-Processing As Design Feedback
Post-processing reveals whether the model was designed kindly. Supports that are impossible to reach, holes that need heavy drilling, edges that cut the hand, or surfaces that require endless sanding all point back to design and orientation choices. The finishing bench is not separate from the slicer; it reports on the slicer.
After the first print, ask what could make cleanup easier next time. A chamfer, split part, different orientation, larger clearance, thicker wall, or better support setting may reduce finishing more than another hour of sanding. Finished-object thinking should shape the next model before it prints.
Test Fit Before Cosmetic Work
If the part must hold hardware, snap into place, slide over another object, or support weight, test that function before painting, sanding heavily, or gluing anything. Cosmetic work can hide evidence and make reprinting feel more painful. A quick dry fit tells you whether the object deserves refinement.
For first prints, function is the strongest teacher. When a part fits, you learn what worked. When it does not, you learn where clearance, shrinkage, orientation, or model dimensions need attention.
Make One Improvement Per Reprint
When a first print fails, resist changing everything at once. If you alter temperature, speed, support, bed cleaning, filament, and orientation in the same retry, the next result cannot tell you which change helped. A disciplined reprint changes one major variable, then compares the part against the previous attempt.
This habit is slow only at first. Over time it creates a personal troubleshooting map. You learn what a dirty bed looks like, what wet filament sounds like, what poor cooling does to corners, and what orientation changes do to support scars. One-variable troubleshooting turns failure into skill.
Know When The Object Is Finished Enough
A first print does not need to become a museum object. If the part is a bracket, spacer, jig, or organizer, it may be finished when it fits, holds, and has no sharp or messy edges. Extra sanding, filler, and paint can be useful, but they can also hide the simple lesson the print was meant to teach.
Finish to the standard the object needs. That keeps beginner printing practical and prevents every small project from becoming a finishing marathon.
Save The Successful Recipe
When the first print finally works, save the recipe that made it work. Keep the model orientation, slicer profile, filament, temperatures, support choices, and any bed preparation notes together. A successful print is not only an object; it is proof that one combination of choices behaved well on your machine.
That record makes future experiments safer. You can return to the successful recipe, change one thing, and understand the result. This is how beginners move from hoping prints succeed to controlling the process with evidence.