Sharp Tools Make Better Work Feel Easier
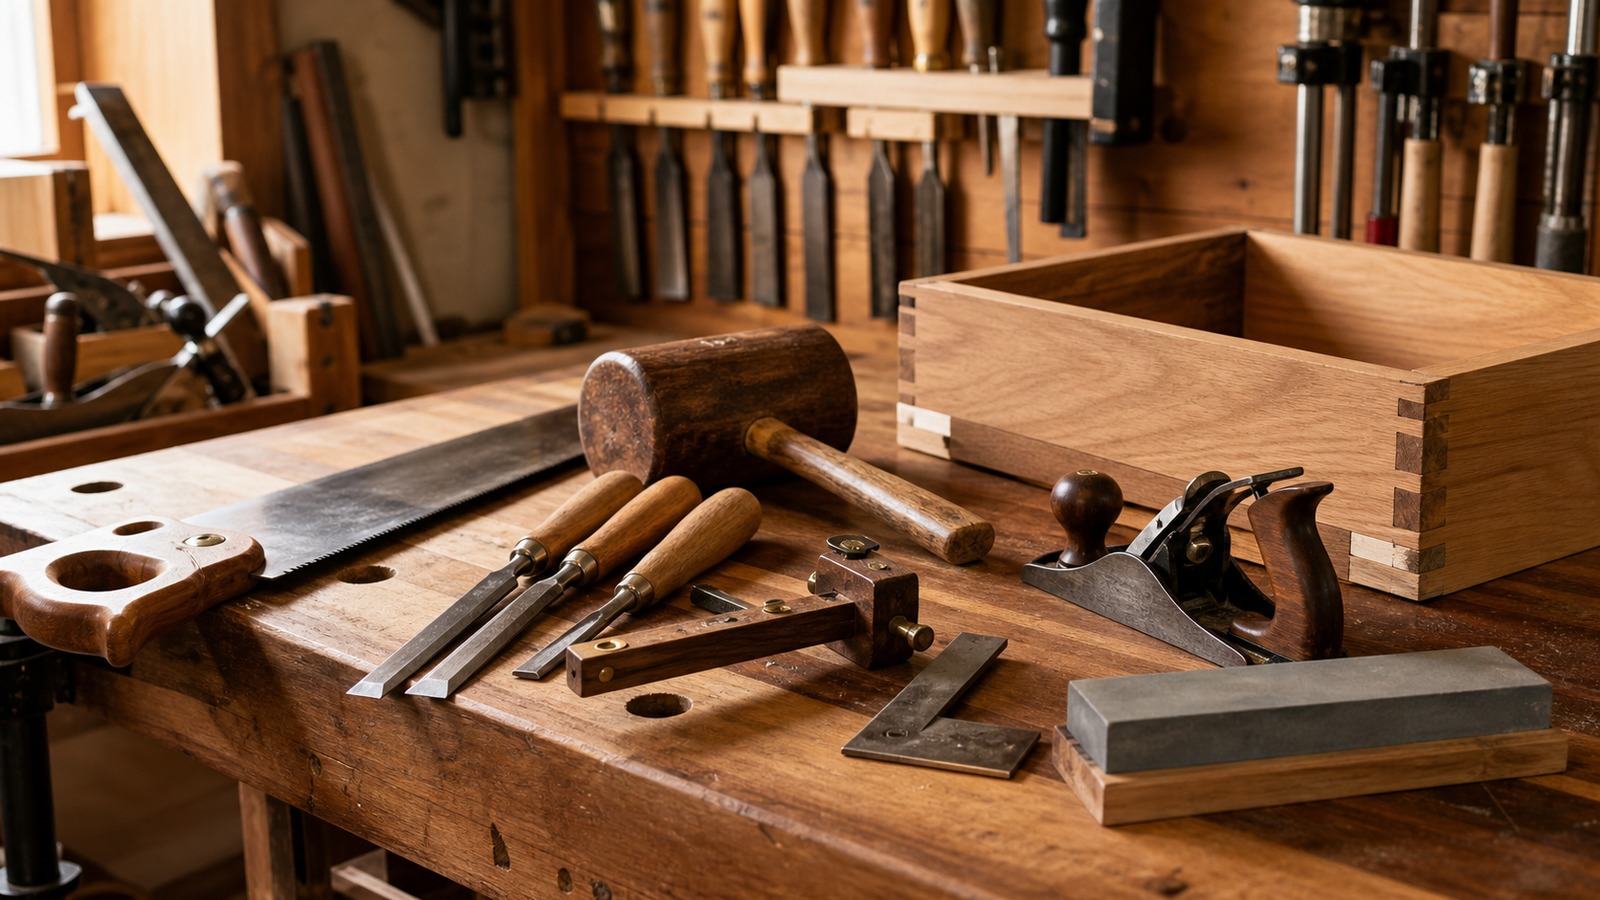
A sharp hand tool is safer, cleaner, and more predictable than a dull one. Chisels pare instead of crush, planes lift shavings instead of chatter, knives mark accurately, and saws track with less force. Sharpening and maintenance are not side chores for perfectionists. They are the habits that let hand tools produce better surfaces, tighter joints, and calmer work with less strain.
A: Sharpen when performance drops, before delicate work, or whenever extra force begins to replace clean cutting.
A: No, a simple reliable sharpening system used consistently is more important than owning premium stones.
A: A micro-bevel is a tiny secondary bevel that makes touchups faster while preserving the main bevel.
A: They need to be flat and refined near the edge; full mirror polishing is optional for many shop tasks.
A: The iron may be dull, poorly seated, unsupported, set too heavy, or used against difficult grain.
A: Stropping refreshes a decent edge, but it cannot replace grinding out damage or restoring geometry.
A: Keep tools dry, clean, lightly protected, and stored away from humid or dusty conditions.
A: Yes, but a guide helps beginners build consistent angles while learning.
A: Dirt, hidden metal, prying, drops, poor storage, and cutting abrasive materials all damage edges quickly.
A: Test it in the material and task it is meant to perform, not only by looking at it.
Sharpening Is Part Of The Cut
A hand tool’s edge controls effort, surface quality, and accuracy. When the edge is sharp, the tool follows layout more predictably and removes material with less force. When it is dull, the maker compensates by pushing harder, changing body position, or accepting rougher results.
That extra force is where safety and quality both suffer. Sharpening is not separate from woodworking; it is preparation for the cut.
Understand The Edge You Need
Not every tool needs the same edge. A paring chisel, mortise chisel, smoothing plane, scrub plane, marking knife, and carving gouge each have different jobs. Edge angle, polish, bevel shape, and durability should match the work. A fragile low angle may slice beautifully but fail quickly in rough chopping.
Beginners should start with manufacturer geometry or common guidance, then adjust based on use. The wood will tell you when an edge is too weak, too blunt, or too rough.
Build A Repeatable Sharpening System
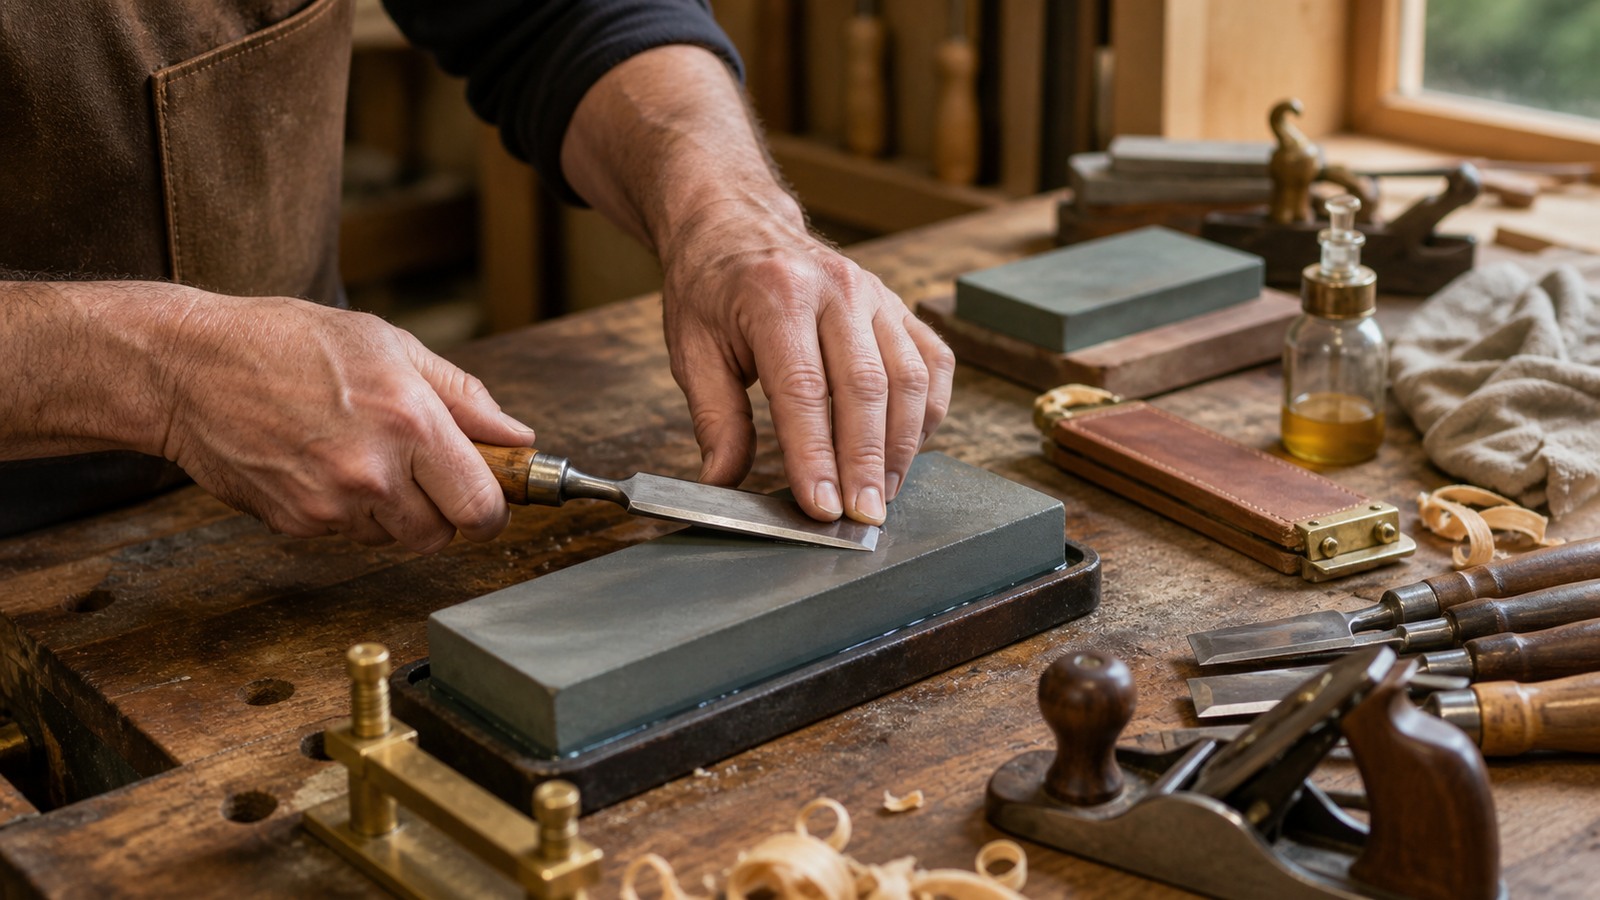
The best sharpening system is the one you will actually use. Water stones, oil stones, diamond plates, sandpaper on glass, and powered systems can all work when used correctly. Consistency matters more than brand loyalty. You need a way to repair damage, refine the bevel, polish or strop, and keep the abrasive surface flat.
If sharpening feels like setting up a science project, it will be delayed. Keep the kit accessible and simple enough for quick touchups.
Flatten Where Flatness Matters
Chisels and plane irons need a reliable back near the cutting edge. If the back is rounded, pitted, or uneven at the edge, the bevel cannot create a clean meeting point. Flatten enough of the back to support the tool’s work, especially near the edge.
Plane soles, chisel backs, and stones all raise the same lesson: reference surfaces matter. A sharp bevel on a poor reference can still disappoint.
Use Coarse Abrasives Only When Needed
Coarse sharpening removes steel quickly, which is useful for nicks, new bevels, and damaged edges. It is not necessary for every touchup. Daily maintenance often begins at a medium or fine stage if the edge geometry is intact.
Grinding too often wastes steel and time. The goal is to remove only enough metal to restore a clean edge.
Strop With Control
A strop can refresh an edge and remove tiny burrs, but it can also round the edge if used carelessly. Keep the bevel supported, use light pressure, and avoid lifting the tool at the end of the stroke. Stropping should refine the edge, not change its shape.
For many hand tools, frequent light stropping between sharpenings keeps work moving. It is a maintenance habit, not a magic fix for damage.
Maintain The Whole Tool
Sharp steel is only part of performance. Handles should be tight, plane frogs should seat well, cap irons should be adjusted, saw plates should be clean, and moving parts should work smoothly. A well-maintained tool feels calm in the hand because nothing is fighting the cut.
Clean resin, dust, glue, and moisture after use. Small care prevents large restoration work later.
Store Edges Like They Matter
A freshly sharpened edge can be ruined in a drawer full of loose metal. Use racks, rolls, edge guards, tills, or divided storage so tools do not hit one another. Keep them dry and accessible.
Good storage also improves workflow. When the tool returns ready, the next session starts with cutting instead of repair.
Let Better Results Reinforce The Habit
The reward for sharpening is immediate. Layout lines become cleaner, shoulders pare flat, planes leave better surfaces, and joints fit with less force. Once you feel that difference, maintenance becomes easier to justify.
Sharp tools do not make skill automatic, but they let skill show up. They reduce struggle so attention can move to grain, fit, and form.
Separate Repair From Routine Honing
A damaged edge and a merely tired edge need different treatment. A chipped chisel, badly rounded bevel, or nicked plane iron may need coarse abrasive work to restore geometry. A tool that was sharp this morning may only need a fine stone or strop. Mixing those two situations wastes steel and time. Learn to look at the edge and decide whether you are repairing or refreshing.
This distinction makes sharpening less intimidating. You do not need to rebuild the edge every time the tool slows down. Frequent light touchups keep tools working and postpone heavier repair sessions.
Use Burrs As Information
During sharpening, a burr tells you that the abrasive has reached the edge. Feeling for a burr carefully can confirm that both sides of the edge have met. Removing that burr cleanly is what turns grinding scratches into a working edge. If the burr is ignored or only folded back and forth, the tool may feel sharp briefly and then fail quickly.
Burr control takes practice. Use light pressure at the final stages, alternate sides when appropriate, and test in wood rather than only on paper or hair. The goal is a clean cutting edge, not a dramatic sharpening demonstration.
Tune Tools To Your Work
A tool used for rough work does not need the same polish as a tool used for final surfaces. A chisel that chops mortises needs durable geometry. A paring chisel benefits from a keener edge. A scrub plane can remove heavy shavings, while a smoothing plane needs finer setup. Maintenance should match the work instead of chasing one universal standard.
This saves time and produces better results. Over-polishing rough tools wastes effort, while under-preparing finish tools creates surface problems. The workpiece should decide the level of refinement.
Prevent Rust Before It Starts
Rust prevention is easier than rust removal. Humidity, sweaty hands, damp leather, green wood, and dusty storage can all attack steel. Wipe tools after use, add a light protective coating when needed, and store them where air can move and edges are not touching damp surfaces. In humid shops, desiccant or enclosed storage may be worth the effort.
Rust near an edge is more than cosmetic. It interrupts the cut and forces extra sharpening. Preventing it protects both tool life and project quality.
Create A Maintenance Rhythm
Maintenance works best as a rhythm rather than a rescue. Wipe tools when they return to the rack, touch up edges before delicate cuts, flatten stones before they become hollow, check plane setup after changing irons, and inspect handles before heavy work. Small habits prevent the long restoration sessions that make hand tools feel fussy.
The payoff is trust. When you reach for a chisel, plane, or knife and know it is ready, the work feels calmer. That trust is one of the pleasures of handcrafting.
Use The Workpiece As The Real Test
Many sharpening tests are entertaining, but the workpiece is the real judge. A chisel that slices paper may still crush end grain if the bevel is too weak or the back is not prepared. A plane iron that feels sharp may still tear out difficult grain if the cap iron, mouth, or depth of cut is wrong. Test tools in the kind of wood and cut they are meant to perform.
This keeps sharpening practical. The goal is not to win a sharpness ritual; it is to make cleaner shoulders, smoother surfaces, and more controlled cuts. If the tool performs well in the work, the edge is ready.
Maintain Handles, Screws, And Bodies
A loose handle, cracked tote, sticky adjuster, clogged plane mouth, or slipping ferrule can make a sharp tool feel unreliable. Maintenance should include the whole tool. Tighten hardware, clean threads, check handles, remove packed dust, and make sure moving parts adjust smoothly. Small mechanical problems often masquerade as sharpening problems.
This is especially true with planes. Iron sharpness matters, but bedding, cap iron fit, lateral adjustment, depth control, and sole condition all influence the cut. A tuned plane is a system, not only a blade.
Make Touchups Convenient
Convenience determines whether sharpening happens soon enough. Keep a strop, fine stone, or touchup plate close to the bench if hand tools are used often. When restoring an edge takes only a minute, you are more likely to do it before the tool damages the work. When sharpening requires unpacking a complicated station, dullness tends to linger.
A small touchup routine also protects concentration. Instead of wrestling with a dull edge for twenty minutes, you pause briefly and return to the work with a tool that behaves. The project moves forward with less frustration.
Respect The Edge During Use
Maintenance continues while the tool is in your hand. Do not set chisels edge-down on the bench, drag plane irons over hidden grit, cut into screws, pry with delicate edges, or toss tools into a pile between operations. Many sharpening sessions are caused by careless handling rather than hard work.
Treat sharp edges as active surfaces. Put tools down deliberately, clear grit from the workpiece, and use rougher tools for rougher tasks. Respect during use keeps the edge longer and makes sharpening feel less like a punishment.
Build Skill With One Tool First
Sharpening becomes easier when you learn one tool deeply before trying to perfect every edge in the shop. A bench chisel is a good teacher because the bevel is visible, the back matters, and the result can be tested quickly in wood. Once that process makes sense, plane irons, knives, and specialty tools feel less mysterious.
This focused approach prevents tool maintenance from becoming overwhelming. Instead of restoring a drawer of neglected tools in one exhausting weekend, make one tool excellent and use it. The improvement in real work will motivate the next edge.
Watch The Shaving, Not Only The Edge
A hand plane’s shaving can tell you whether the edge and setup are working together. A continuous shaving suggests a stable cut, while dust, chatter, tearing, or uneven thickness points toward sharpness, grain direction, cap iron setup, mouth opening, or depth of cut. Chisels give similar feedback through the way fibers sever or crush.
Reading the cut keeps maintenance connected to making. The tool is not maintained for its own sake; it is maintained so the wood responds cleanly.
Sharpen Before Accuracy Suffers
Do not wait until a tool is obviously miserable to use. The best time to sharpen is when the edge first begins asking for extra pressure or leaving poorer surfaces. Touching up early preserves accuracy because the tool still follows the intended line, shoulder, or shaving. Waiting too long means the dull tool has already shaped the work badly.
This habit is especially important before final fitting. A dull chisel can bruise a shoulder, a dull plane can tear a visible face, and a dull knife can wander away from a layout line. Sharpening before accuracy suffers is faster than repairing the damage afterward.