The Secret to a Clean Cut Starts Before the Laser Turns On
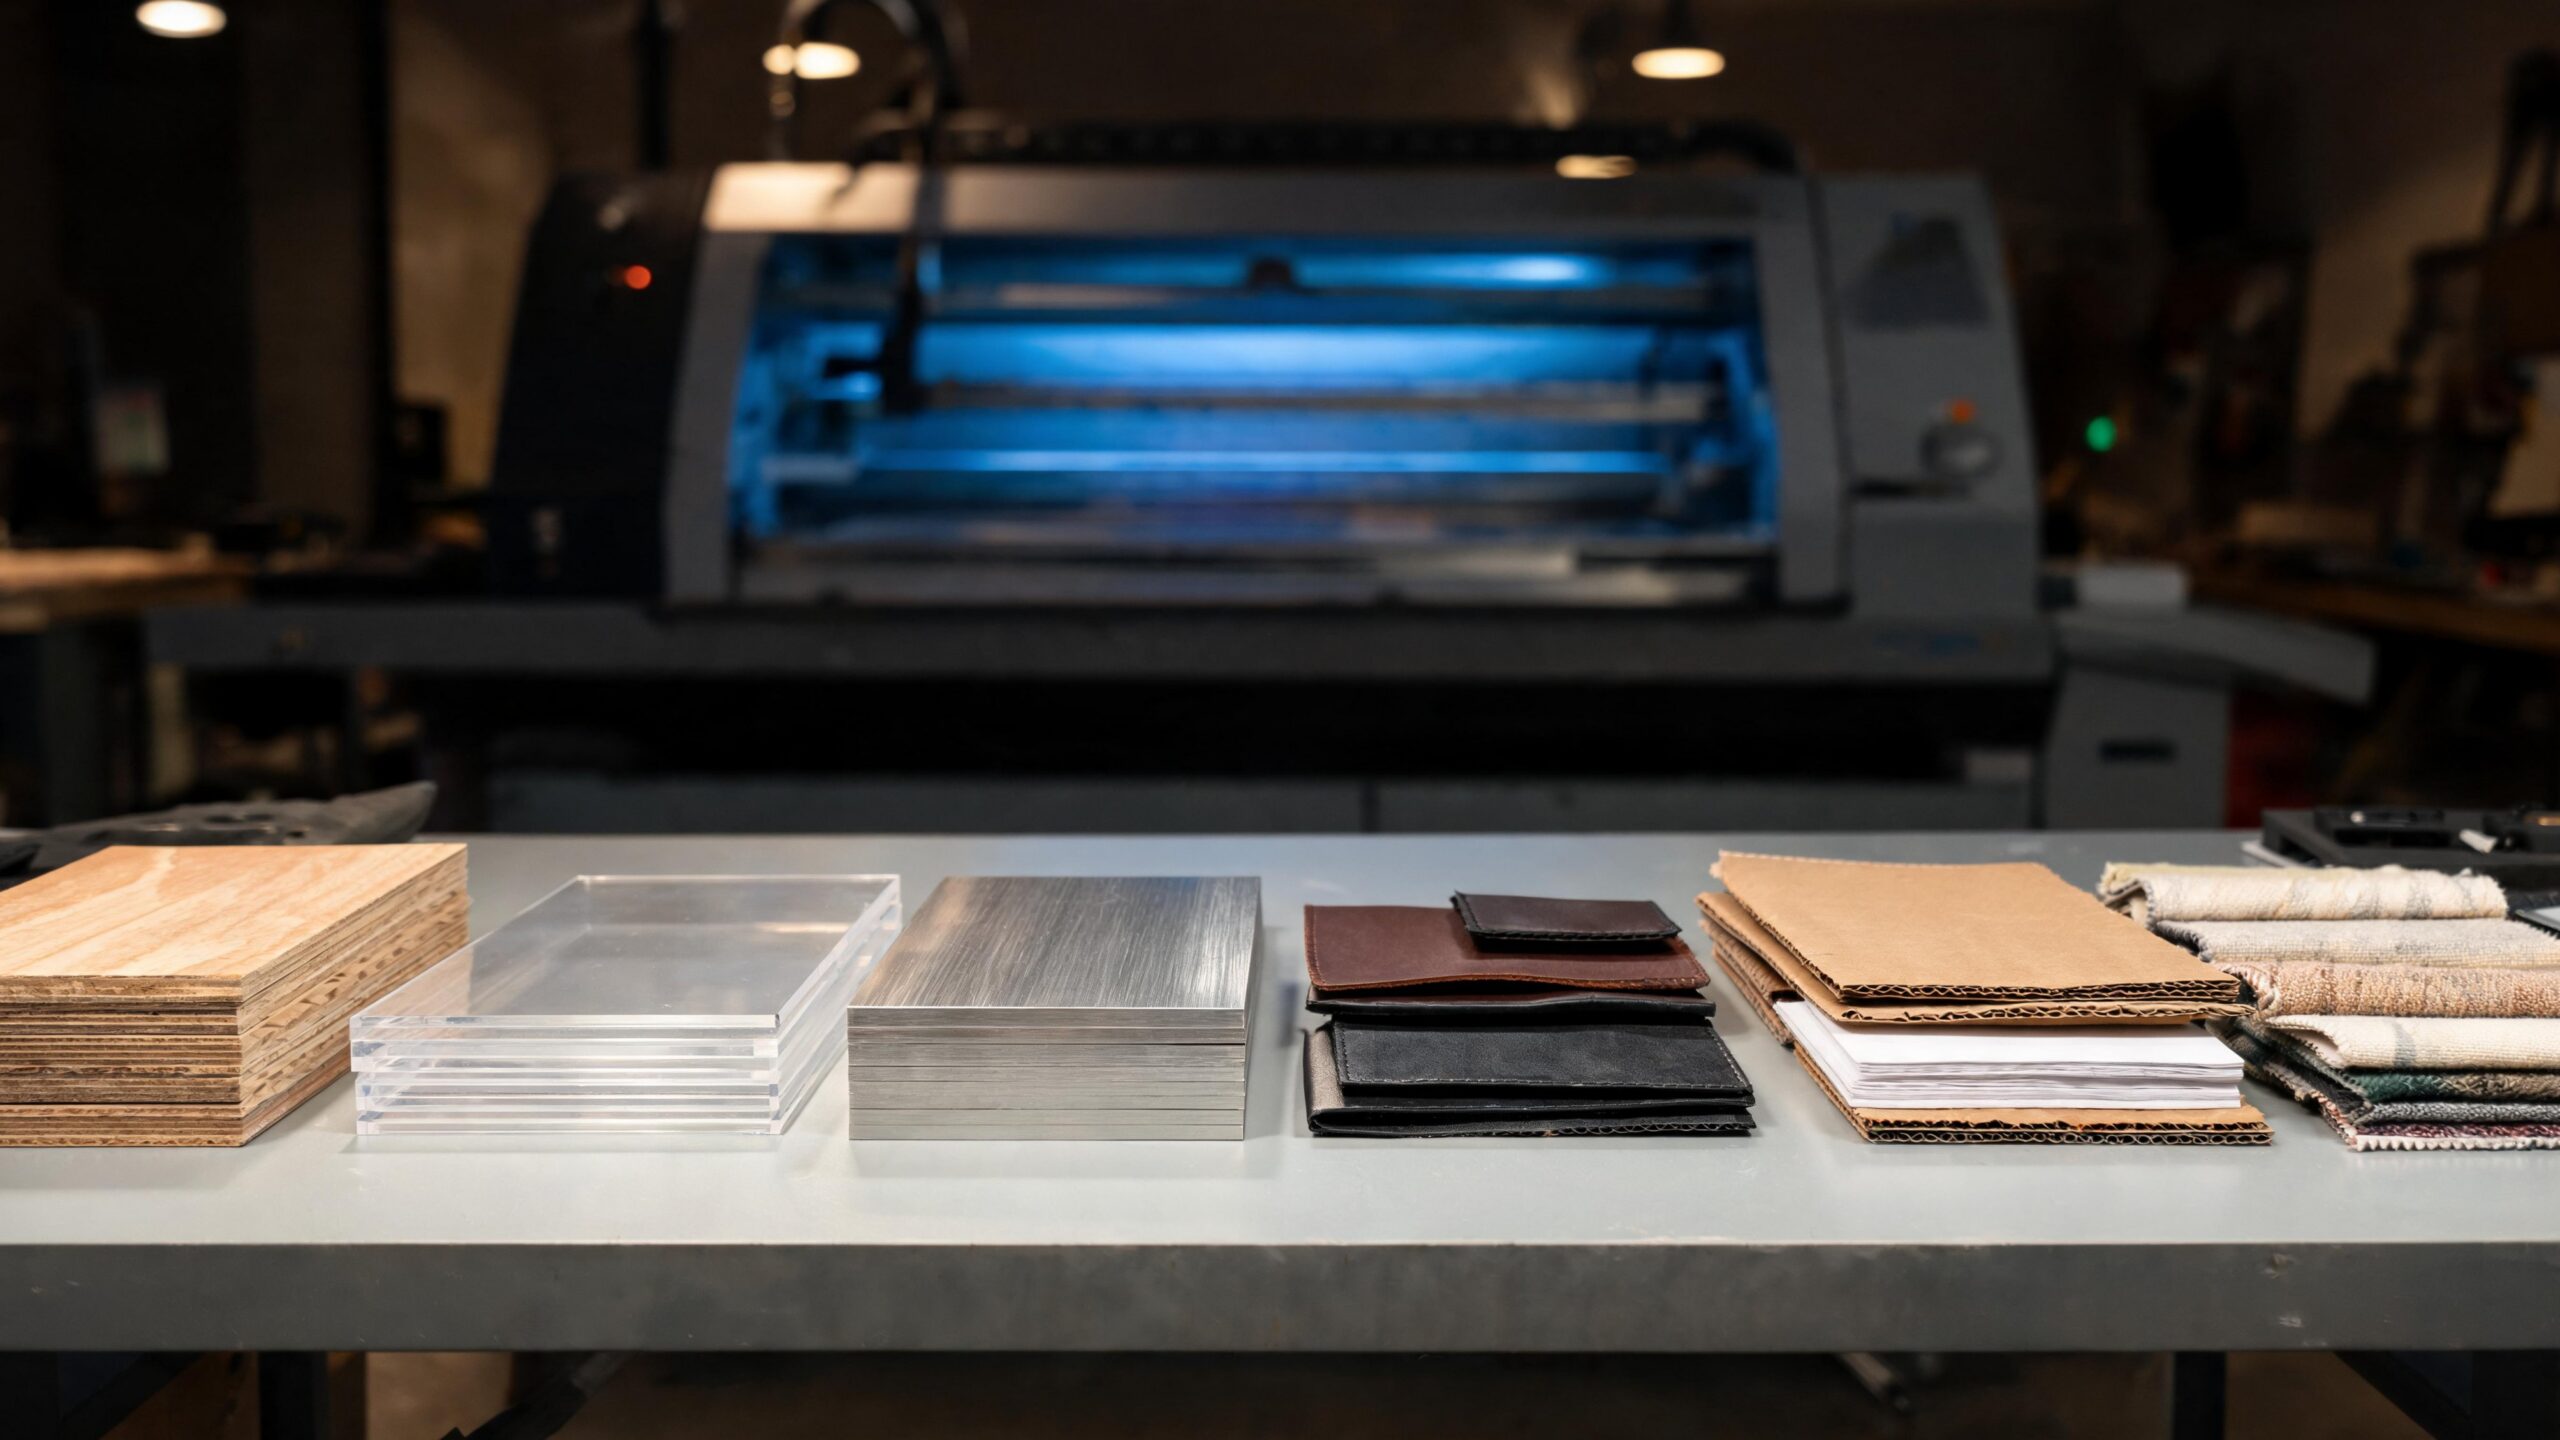
A laser cutter can feel almost magical. You send a file to the machine, the beam races across wood, acrylic, paper, leather, or metal-coated material, and a finished piece appears with crisp edges and polished precision. But behind every clean cut is a file that was designed with intention. The laser does not guess, correct, or interpret your creative vision the way a human maker might. It follows the paths you give it, exactly as they are drawn, with all the brilliance and all the mistakes baked into the design. That is why laser cutting design tips matter so much. A beautiful idea can turn into scorched corners, loose joints, snapped details, or unusable parts if the file is not prepared correctly. Clean laser cutting is not just about machine power or material quality. It is about vector paths, kerf compensation, spacing, scale, line weights, material behavior, and smart construction choices. When your design file is built well, the laser works with you instead of fighting against hidden problems in the artwork.
A: Vector formats such as SVG, DXF, AI, EPS, or production-ready PDF are commonly used, depending on the laser workflow.
A: Common causes include duplicate lines, slow settings, tight spacing, unsuitable material, or excessive heat buildup.
A: Kerf is the thin width of material removed by the laser beam as it cuts through the sheet.
A: Use vectors for cut lines because the laser needs clean paths to follow accurately.
A: Measure the material, test the kerf, and adjust slot widths before cutting the final design.
A: Yes, but they need enough spacing, suitable material, and realistic expectations for strength and handling.
A: Duplicate paths can make the laser cut the same line twice, causing extra burn and wider edges.
A: For cut lettering, outlining fonts helps preserve the exact shape and prevents missing-font issues.
A: Leave enough room to avoid heat buildup and fragile slivers; the best spacing depends on material and thickness.
A: Yes. A small test cut can reveal fit, scale, kerf, engraving contrast, and edge quality before production.
Understand the Difference Between Cutting, Scoring, and Engraving
The first step in preparing laser cutting files is understanding what each type of laser operation does. Cutting means the beam passes all the way through the material, separating one shape from another. Scoring means the laser marks the surface with a shallow line, often used for fold guides, decorative outlines, or alignment marks. Engraving removes or darkens the surface area, creating filled details, textures, labels, patterns, or images.
A clean file makes these operations obvious. Cut lines should be separated from score lines and engraving areas, usually through color coding, layers, or clear naming conventions depending on the software and shop requirements. If your cut, score, and engrave instructions are mixed together, the machine operator may need to guess what you intended. That guesswork can lead to costly mistakes. Professional laser cutting design begins by making every operation clear before production begins.
Build with Vectors, Not Pixels
Laser cutters rely heavily on vector paths for cutting. A vector line is mathematically defined, meaning it can scale cleanly and guide the laser with precision. Pixel-based images, such as JPEGs and many PNGs, are made from tiny squares of color. They may work for engraving, but they are not ideal for clean cutting unless they are converted into proper vector paths. For best results, create laser cutting files in vector-based software such as Adobe Illustrator, CorelDRAW, Inkscape, AutoCAD, Fusion, or similar design tools. Save or export in the format requested by the laser cutting service or machine workflow, often SVG, DXF, AI, EPS, or PDF. Before sending the file, zoom in closely and inspect the artwork. What looks like a perfect outline at normal view may reveal broken segments, duplicate paths, rough auto-traced edges, or tiny unwanted shapes when viewed up close.
Use Hairline Strokes for Cut Paths
One of the most common file preparation mistakes is using thick strokes to represent cut lines. A laser does not cut the visual thickness of a line the way a printer prints ink. It follows the center path of the vector. If a designer uses a thick outline, the file may look correct visually while hiding the actual cut location. In some workflows, thick strokes may even be interpreted incorrectly or converted into filled shapes.
For laser cutting, cut lines are usually set as very thin hairline strokes. The exact stroke weight depends on the software and machine setup, but many workflows use a very small value such as 0.001 inch, 0.01 mm, or a designated hairline setting. The purpose is not to make the line visible as a graphic element. The purpose is to tell the laser exactly where to travel. Clean files keep cut paths simple, thin, and unmistakable.
Account for Kerf Before You Cut
Kerf is the width of material removed by the laser beam as it cuts. Even a highly precise laser removes a small amount of material. That small amount can make a big difference when parts need to fit together. A slot that looks perfect on screen may become loose after cutting. A tab may wiggle. A press-fit joint may fail. A box may not assemble squarely because every edge lost a fraction of material. Good laser cutting design accounts for kerf early. If your design includes interlocking parts, tabs, slots, living hinges, or tight mechanical fits, test the kerf on your actual material and machine settings. Wood, acrylic, paper, leather, and foam all respond differently. Even two sheets of the same nominal thickness may vary slightly. A professional file often includes kerf compensation, meaning dimensions are adjusted so the final cut piece—not just the digital drawing—lands where it needs to be.
Respect the Material Thickness
Laser cut designs are often flat on screen, but they become physical objects in the real world. Material thickness affects slot sizes, tab lengths, bend behavior, edge strength, and assembly order. A design made for 3 mm acrylic may not work in 1/8 inch plywood without adjustment, even though those measurements sound similar. A file designed for cardboard may become too fragile in thin veneer or too tight in dense hardwood.
Before finalizing your laser cutting file, measure the actual material with calipers. Do not rely only on the label or supplier description. Plywood advertised as 1/4 inch may be slightly thinner. Acrylic can vary by manufacturing tolerance. Once you know the real thickness, design your joints and clearances around that number. Clean cuts are not only about edge quality; they are also about whether the finished parts fit the way the design promised.
Leave Enough Space Between Cut Lines
Spacing is one of the quiet heroes of clean laser cutting. When cut lines are placed too close together, the material between them can burn, warp, crack, or fall apart. Thin strips may become brittle. Sharp internal details may char. Small decorative patterns may look impressive in the file but collapse when removed from the laser bed. This is especially important with wood, paper, cardboard, leather, and thin plastics. As a rule, avoid designing fragile slivers unless they are essential to the concept. Give the laser enough material to work with between cuts. For intricate patterns, increase spacing slightly, simplify details, or run small tests before committing to a full sheet. Designs with clean negative space often look more professional than designs overloaded with tiny cuts. The goal is not to prove how much detail the laser can produce; the goal is to create a finished piece that survives handling and looks intentional.
Avoid Duplicate Lines and Overlapping Paths
Duplicate lines are a classic cause of burned edges. If two identical paths sit on top of each other, the laser may cut the same line twice. That means extra heat, wider kerf, darker edges, longer production time, and sometimes ruined parts. Overlapping paths can create similar problems, especially in files assembled from multiple imported elements, copied shapes, or auto-traced artwork.
Before sending a laser cutting file, inspect it in outline mode or wireframe view. Remove duplicate paths, hidden shapes, unnecessary clipping masks, and stacked geometry. Join broken segments where needed and delete stray points. A clean file should contain only the geometry required to cut, score, or engrave the final part. The simpler the path structure, the more predictable the laser result will be.
Simplify Overly Complex Artwork
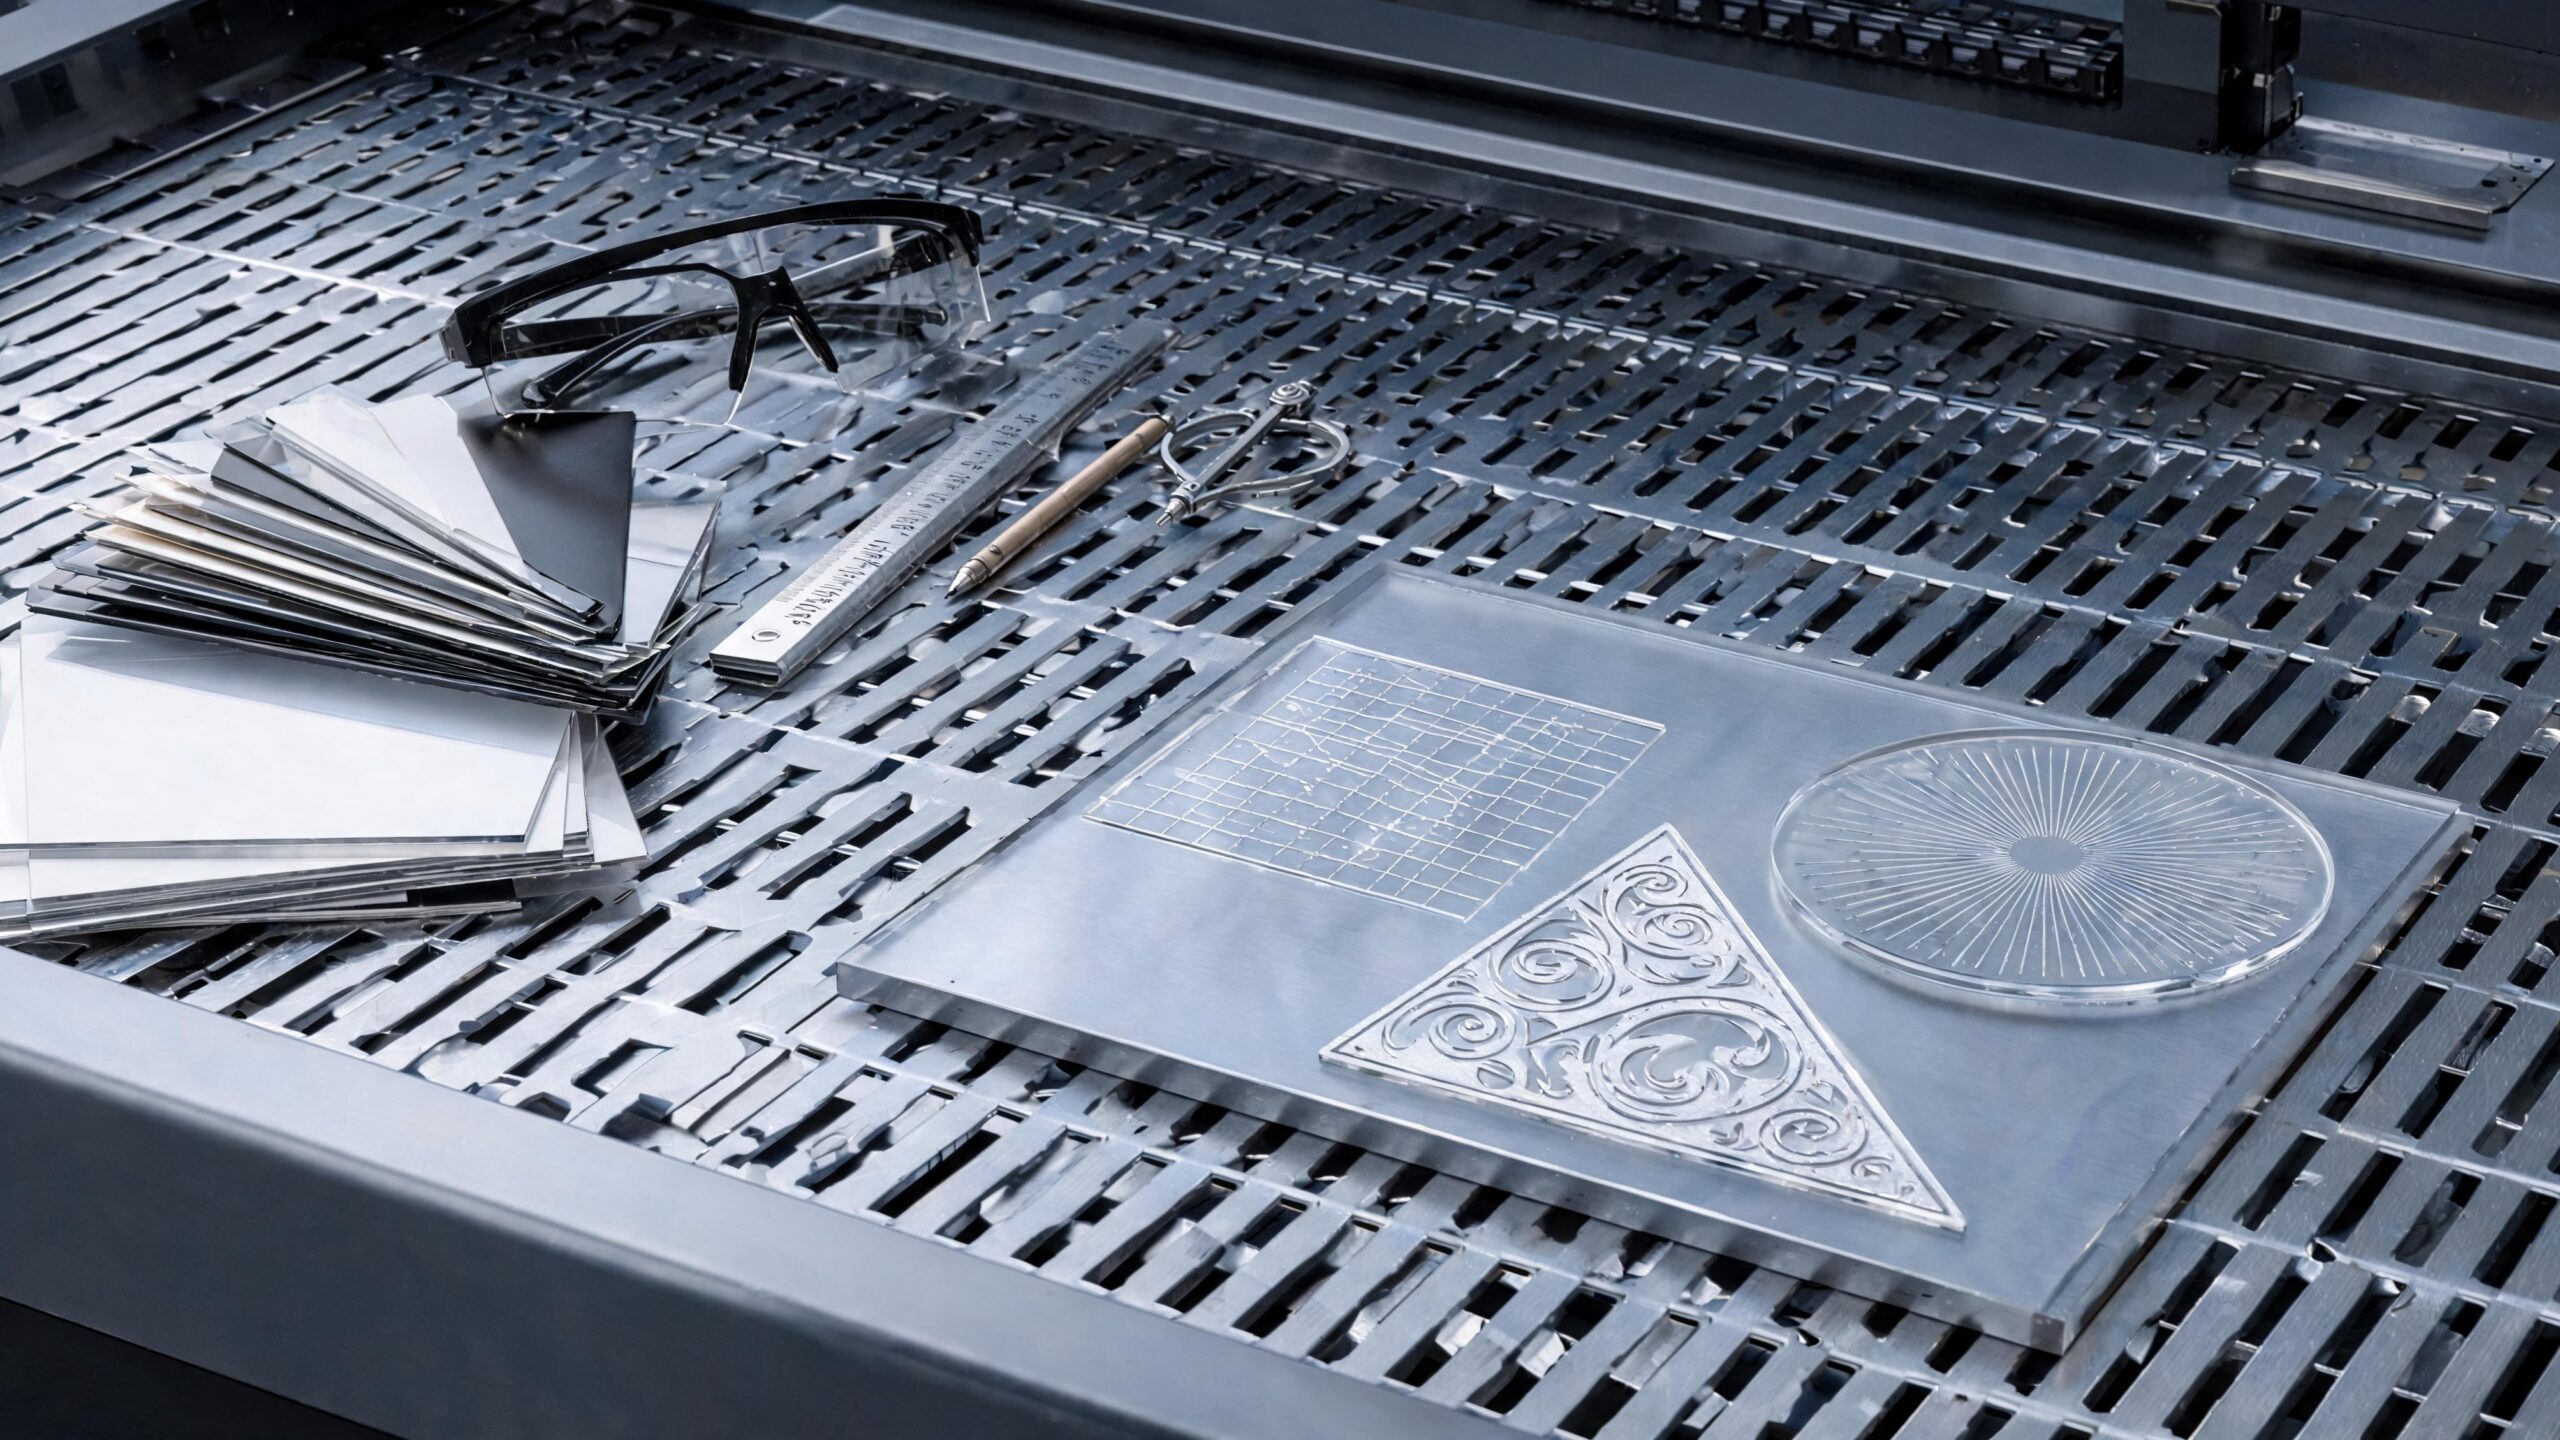
Detail is exciting, but excessive complexity can work against clean laser cutting. Auto-traced artwork often creates thousands of tiny nodes, jagged curves, and uneven edges. The laser may slow down, vibrate, overburn corners, or produce rough results when it has to follow unnecessarily complicated paths. A curve that should be smooth may become a series of tiny straight segments, each one creating a slight change in motion. Simplifying paths helps the machine move more naturally. Use smooth Bézier curves where possible, reduce unnecessary anchor points, and clean up rough traces manually. This is especially important for logos, decorative panels, custom ornaments, architectural models, and intricate signage. The best laser cutting files often look elegant in outline mode: clean curves, deliberate corners, organized layers, and no extra geometry hiding in the background.
Design Corners with Heat in Mind
Corners receive more heat than long straight cuts because the laser slows down to change direction. Sharp inside corners can darken, widen, or weaken depending on the material. In acrylic, stress can concentrate at sharp internal corners. In wood, small points may char. In paper or cardboard, tight corners can become fragile or scorched. A design that looks crisp digitally may need small adjustments to cut cleanly.
Consider adding tiny radii to internal corners when strength matters. Rounded corners distribute stress better and often cut more smoothly. For press-fit parts, dog-bone or relief features may help tabs seat properly when laser kerf and corner geometry interfere. Not every design needs rounded corners, but every design benefits from thinking about how the beam behaves as it moves, slows, turns, and exits a cut.
Use Bridges and Tabs When Parts Might Shift
Small parts can move after they are cut free from the surrounding sheet. If air assist, bed vibration, material tension, or gravity shifts a piece before the job is complete, the laser may mark it incorrectly or collide with raised edges. This is especially true for lightweight materials, tiny components, and nested jobs with many individual parts. A clean file anticipates movement. Temporary bridges or tabs can hold parts in place until the cut is finished. These are small uncut sections that keep the piece attached to the surrounding material. After cutting, they can be trimmed or sanded away. Tabs are especially useful for delicate shapes, production batches, and materials that do not sit perfectly flat. When used carefully, they improve reliability without compromising the final appearance.
Keep Text Laser-Friendly
Text can be beautiful in a laser cut design, but it must be handled correctly. For engraving, text may remain as editable type if the workflow supports it, though outlining fonts is often safer. For cutting, text should be converted to outlines so the laser reads the letter shapes as vector paths. Fonts with ultra-thin strokes, tiny counters, or delicate serifs may not survive cutting, especially at small sizes.
When designing cut-out lettering, remember that interior shapes can fall out. The centers of letters like A, O, D, P, R, and B need bridges or stencil-style treatment if they must remain attached. For engraved lettering, check scale and contrast. Very small text may blur, darken, or lose legibility depending on the material. Clean typography in laser cutting is not just about choosing an attractive font; it is about making sure the font can physically exist after the laser has done its work.
Nest Parts Efficiently Without Crowding Them
Nesting is the process of arranging parts on a sheet to reduce waste. Good nesting saves material, lowers cost, and makes production more efficient. However, aggressive nesting can cause problems if parts are packed too tightly. Heat buildup, narrow scrap areas, and poor airflow can reduce cut quality. Parts may also be difficult to remove without breaking fragile details. Professional nesting balances efficiency with clean fabrication. Rotate pieces to follow grain direction when cutting wood. Keep enough margin around the sheet edge to avoid clamps, warped corners, or inconsistent material boundaries. Group similar operations logically, and avoid placing the most delicate pieces where the material is least stable. A well-nested file feels organized, not crammed.
Match the Design to the Material
Different materials reward different design choices. Acrylic can produce sleek polished edges, but it may crack if stressed or designed with overly tight joints. Plywood is strong and versatile, but it can char, warp, or reveal internal glue layers. MDF cuts consistently but darkens heavily along edges. Paper and cardstock allow fine detail but burn easily. Leather engraves beautifully but may shrink or discolor depending on finish.
The cleanest files are designed for the chosen material from the beginning. A decorative pattern that works in acrylic may need wider spacing in wood. A living hinge that bends nicely in plywood may fail in brittle plastic. A press-fit joint that works in MDF may need different tolerance in cast acrylic. Laser cutting is a partnership between file, machine, and material. Ignore any one of those three, and the final result becomes less predictable.
Test Small Before Cutting Big
A full-sheet laser job can be expensive in time, material, and frustration. Before cutting a large design, create small test pieces that represent the most important features. Test a slot. Test a tab. Test a corner detail. Test a small section of a pattern. Test engraved text at the intended size. These small samples reveal kerf, char, fit, contrast, and fragility before the final piece is committed. Testing is not a sign of uncertainty; it is a professional habit. Even experienced designers test because materials vary, machines age, lenses get cleaned, and settings change. A five-minute test can prevent a failed production run. When you build testing into your design process, your files become smarter, your cuts become cleaner, and your finished pieces look more deliberate.
Organize Layers and Name Them Clearly
A laser cutting file should be easy for another person to understand. If a machine operator, teammate, client, or future version of yourself opens the file, the structure should be obvious. Use layers for cut, score, engrave, reference, dimensions, and notes when appropriate. Remove non-production sketches or lock them clearly if they must remain. Keep colors consistent with the laser workflow being used.
Clear organization prevents mistakes. If red means cut, blue means score, and black means engrave, use that system consistently. Do not leave random colors, hidden layers, or old versions inside the file. A professional file communicates intent immediately. The cleaner the file, the less time is spent interpreting it and the more time is spent producing the final object correctly.
Check Scale Before Exporting
Scale errors are among the most painful laser cutting mistakes because they can make an otherwise perfect design useless. A file may shift from inches to millimeters, import at the wrong size, or scale unexpectedly during PDF export. This is common when moving between software platforms or sharing files with vendors. Always include a known reference dimension or check the artboard size before sending. If your finished part must be 10 inches wide, verify that it is truly 10 inches wide in the final exported file. Do not assume that because it looked right on your screen, it will import correctly elsewhere. Clean cuts begin with clean dimensions. A beautifully cut part at the wrong size is still a failed part.
Prepare for Edge Finish and Post-Processing
Laser cut edges are part of the final design. In wood, edges may be dark and smoky. In acrylic, edges may appear glossy and flame-polished. In paper, edges may be slightly browned. In leather, they may darken and smell after cutting. The design should account for this visual language rather than treating it as an afterthought.
If a piece will be painted, sanded, stained, glued, assembled, or displayed under bright light, plan accordingly. Masking materials can reduce smoke staining. Wider details may survive sanding better than delicate ones. Glue joints may need clean, flat surfaces. Decorative cuts may need enough structure to withstand handling. A laser file is not finished when the shape looks good on screen; it is finished when the physical object can be cut, cleaned, assembled, and used.
Communicate with Your Laser Cutting Service
If you are sending files to a professional laser cutting service, ask for their file requirements before designing too far. Different shops may use different color codes, accepted formats, maximum sheet sizes, minimum detail sizes, preferred stroke weights, and material guidelines. What works perfectly in one production environment may need adjustment in another. Good communication saves time and money. Provide material choice, thickness, quantity, finished size, and any fit requirements. Mention whether dimensions are critical or decorative. If parts must assemble tightly, say so. If engraving depth matters, include that information. The more clearly your file and notes communicate the goal, the better the final result will be.
Design for the Finished Experience
Clean laser cutting is not only technical. It is also emotional. A great laser cut piece feels satisfying in the hand. The edges are intentional. The details are crisp. The parts fit. The design feels balanced, sturdy, and refined. Whether you are making signage, packaging, architectural models, custom gifts, industrial panels, art installations, or retail displays, the file should be built around the final experience.
Think about how someone will pick up the piece, assemble it, view it, photograph it, ship it, clean it, and use it. Add strength where fingers will press. Avoid fragile details where the object will be handled often. Consider shadows, depth, grain direction, transparency, and contrast. The best laser cutting design tips lead to more than a successful cut; they lead to a finished product that feels professional from every angle.
Final Thoughts: Cleaner Files Create Better Cuts
A laser cutter is precise, but precision is not the same as perfection. The machine can only cut as cleanly as the file allows. By preparing true vectors, using correct stroke settings, accounting for kerf, respecting material thickness, removing duplicate paths, simplifying geometry, testing small details, and organizing layers clearly, you give the laser everything it needs to perform at its best. Clean laser cutting is a craft that blends design, engineering, and production thinking. The more you understand how files become physical objects, the more control you gain over the result. When your artwork is clean, your cuts are cleaner. When your dimensions are thoughtful, your parts fit better. When your material choices match your design, your finished piece feels intentional. Great laser cut projects do not happen by accident. They begin with files built to cut cleanly.