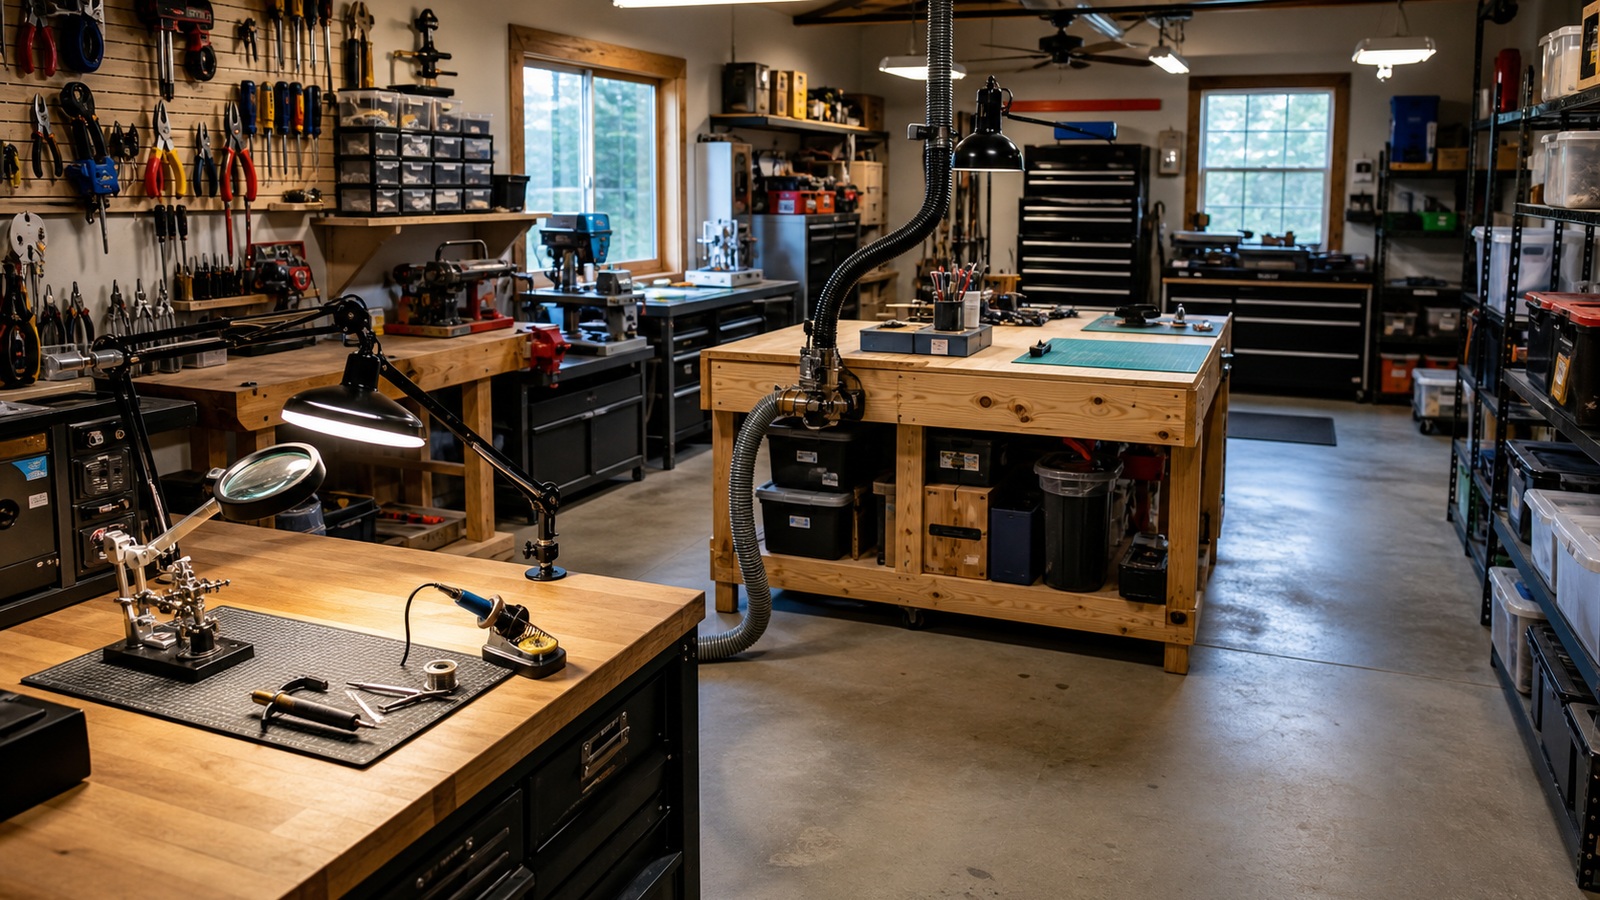
A: It should reduce wasted movement between storage, cutting, assembly, finishing, cleanup, and inspection.
A: Use bright general lighting plus task lights at benches, machines, soldering areas, and finishing stations.
A: Keep measuring tools, pencils, clamps, fasteners, blades, and the current project's supplies within easy reach.
A: Put sanding, sawing, routing, and grinding near dust collection and away from clean electronics or finishing zones.
A: Yes, carts let small spaces shift between tasks without piling tools on the main surface.
A: Buying tools before defining workflow often creates clutter instead of capability.
A: Use wall storage, folding surfaces, labeled bins, narrow carts, and strict project staging.
A: Give chargers a visible, ventilated, clean area away from sawdust and flammable material.
A: Clear tool homes, cleanup rules, labeled project zones, and predictable walking paths.
What Makes This Topic Matter Now
Plan the room around zones before buying another cart or cabinet. Dusty shaping work needs a different home than electronics, finishing, photography, or small-part assembly. When those zones are clear, even a compact shop can feel larger because tools stop competing for the same square foot.
Lighting should be layered, not guessed. Overhead fixtures make the space safe to walk through, but task lights reveal saw marks, glue squeeze-out, solder bridges, and surface defects. Good lighting reduces rework because it lets the maker catch mistakes while they are still easy to correct.
Storage is a workflow decision. Frequently used tools belong at hand height near the jobs that need them, while specialty jigs and seasonal materials can live farther away. If a tool is always on the wrong bench, the shop is giving feedback about its layout.
The best setup leaves room for reset. A sweepable floor, open landing space, labeled chargers, and a clear scrap policy keep the shop from slowly shrinking. A maker space should invite experimentation without making every project pay interest on yesterday's clutter.
Why Small Tolerances Create Big Changes
Turning One Build Into a Repeatable Method
The Next Version Is Already Starting
Why the Work Still Feels Worth Doing
Layout Should Shorten The Distance Between Decisions
A maker space succeeds when the next action is easy to see. The bench should support measuring and assembly, dirty tools should have a controlled zone, and clean tasks should not be buried under sanding dust. Good layout reduces hesitation as much as it saves steps.
Lighting deserves its own plan. Broad overhead light keeps walkways safe, while task lights make pencil lines, solder joints, glue squeeze-out, and finish flaws visible. Shadows can turn accurate work into guesswork, especially late in a session.
The best gear is the gear that has a home. If clamps, bits, chargers, PPE, and measuring tools always migrate, the shop is asking for a storage redesign. A clear tool home protects both momentum and safety.
Shop-Level Takeaway
A shop layout should answer practical questions before they become interruptions. Where does a board land after the cut? Where can glue cure without blocking assembly? Where does a hot tool cool down without making the bench unusable? Those answers shape a space more than any single premium machine.
Lighting is one of the cheapest ways to make a shop feel more capable. A bright room helps with movement, but angled task light helps with judgment: square marks, surface scratches, color changes, squeeze-out, and blade shadows. Makers often blame skill when the real problem is that the work has been poorly lit.
A useful maker space also respects recovery time. Bins for active projects, a clear charging area, and a predictable cleanup path make it easier to stop without losing the thread. The next session starts faster when the previous one ended with a small reset instead of a full archaeological dig.