Design Thinking Is Easier To Understand With A Rough Prototype In Your Hands
Design thinking can sound abstract until it is applied to a simple maker problem. Imagine a tool cup that keeps sliding, a charging cable that falls behind the bench, a clamp rack that blocks a drawer, or a sanding block that hurts your hand. Design thinking is the process of noticing the real frustration, defining what must improve, building a rough version, testing it in the actual situation, and changing the design until it works better for the person using it.
A: Start with the smallest test that proves one real part of the project.
A: Enough to know the goal, material limits, tool setup, and first safety check.
A: No. It should be clear, testable, and easy to revise.
A: Early failures usually come from poor first layers, wrong temperatures, weak orientation, wet filament, bad supports, and unfinished cleanup.
A: Match the material to load, use, finish, cost, repair, and available tools.
A: Scale after a small test works repeatedly and the cost still makes sense.
A: Save measurements, settings, suppliers, photos, failures, and changes.
A: Rework drops, fit improves, safety is clearer, and results repeat more often.
A: Avoid hiding weak structure, unsafe setup, or unclear decisions under a nice finish.
A: It solves the intended job and teaches a better next build.
Begin With A Small Annoyance
The easiest way to understand design thinking is to choose a problem that happens often. A tool cup slides across the bench. A cable falls behind a desk. A clamp rack looks good but hides the clamp you use most. These problems are small enough to test quickly and concrete enough to keep the process honest.
Do not start by naming the object. Start by naming the frustration. The difference matters. If the frustration is pencils rolling away, the solution might be a tray, magnet, slot, clip, cup, or changed bench habit.
Observe The Task In Its Natural Habitat
A maker example becomes useful when it is watched in the place where the problem occurs. If a cable slips behind the bench, look at the bench, the outlet, the tool path, the user’s reach, and what happens during cleanup. A neat prototype tested on a clean table may miss the real problem entirely.
Observation should include the moments before and after the annoyance. Sometimes the visible issue is only the middle of a longer sequence. A clamp rack may fail because clamps are stored too far from assembly, not because the rack shape is wrong.
Define The Improvement In Plain Language
A simple design-thinking statement should be understandable without jargon. Help me keep the charging cable reachable with one hand while the bench is crowded is stronger than create an innovative cable-management solution. Plain language makes the project testable.
The statement should include the person, action, setting, and desired change. That combination prevents the maker from wandering into a cool object that does not fix the everyday use.
Build A Prototype That Answers One Question
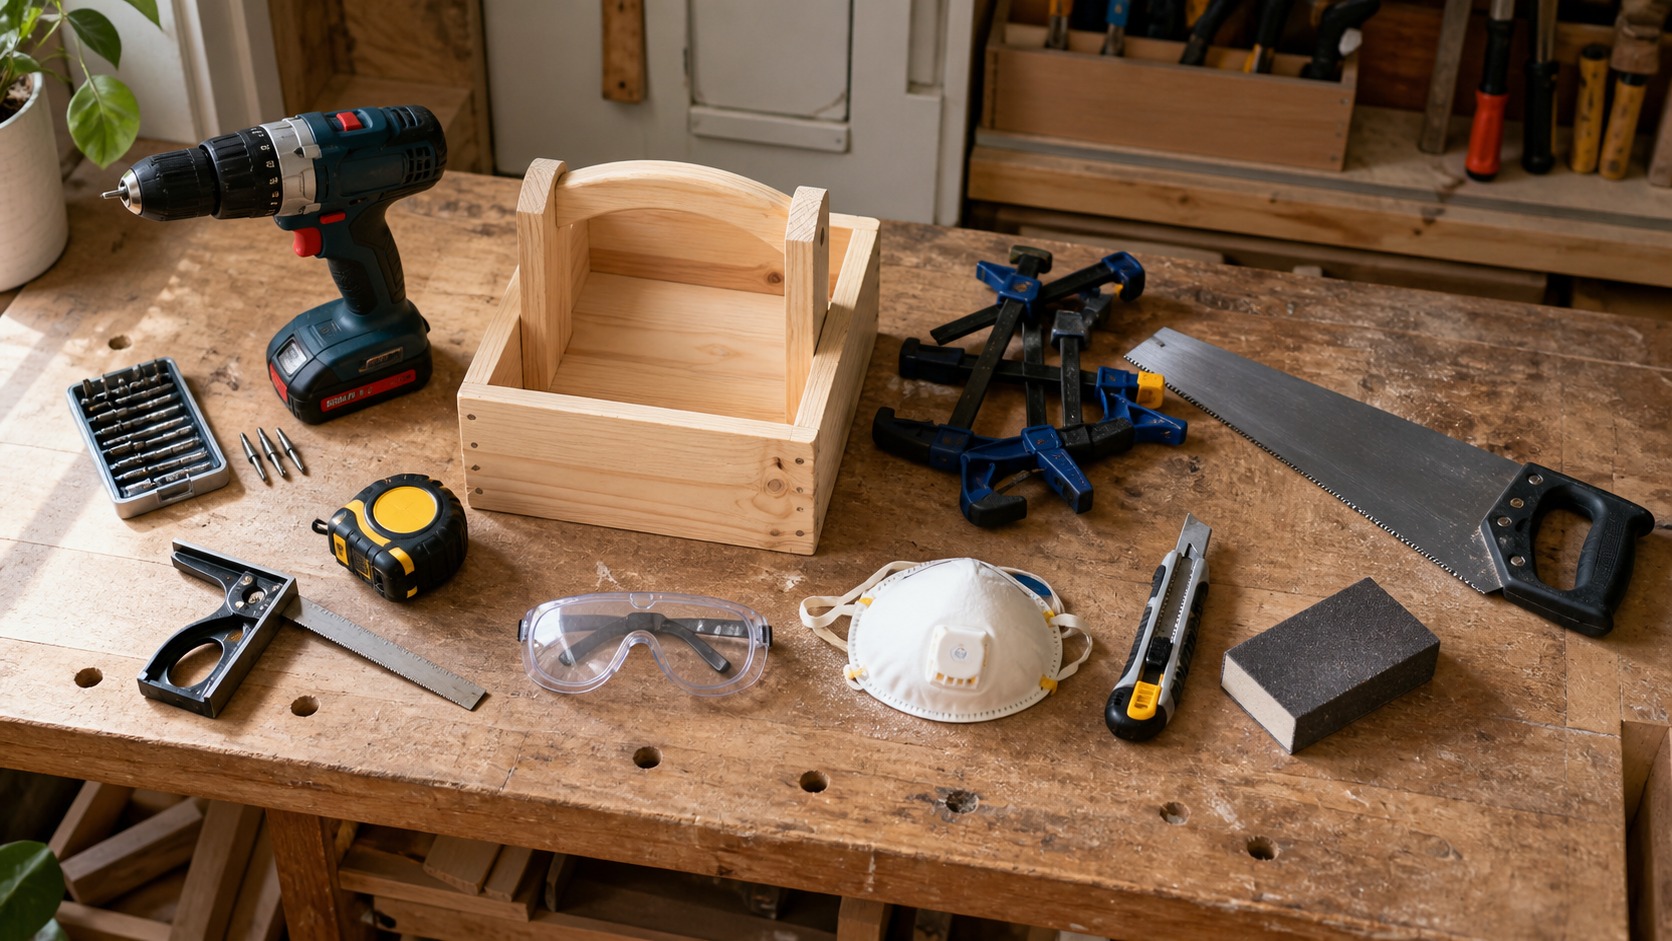
The first prototype does not need to be durable, attractive, or complete. It needs to answer one question. Will the holder fit the bench edge? Can the hand reach the tool? Does the cable stay above the surface? Does the tray tip when carried? Cardboard, foam, tape, and scrap wood are perfect for these early answers.
A single-question prototype keeps the maker from overbuilding. If the question is placement, do not spend hours perfecting joinery. If the question is grip comfort, do not begin with expensive hardwood. Match the prototype to the uncertainty.
Test By Watching, Not Explaining
When someone tests the mockup, resist the urge to narrate every feature. Let the person reach, grab, place, lift, store, or clean without instructions. Confusion is useful. Hesitation is useful. A workaround during testing may reveal a better design than the one you planned.
Ask what felt awkward after the task, not before. People are often better at reacting to a physical experience than predicting what they will like. The prototype gives them something to respond to.
Change The Design For A Specific Reason
Iteration should not be random. Move the holder because reach was poor. Widen the base because it tipped. Add a lip because objects slid out. Change material because the edge flexed. Remove a feature because nobody used it. Each change should connect to evidence from the test.
This is where design thinking becomes practical for makers. The process does not demand a complicated worksheet. It asks for a clear reason behind the next version.
Use Simple Examples To Learn Bigger Habits
A tool holder teaches observation, fit, attachment, and access. A cable guide teaches routing, one-handed use, and cleanup. A sanding grip teaches comfort, fatigue, and material feel. A drill guide teaches alignment, repeatability, and safety. Small examples carry the same habits that larger projects need.
Once those habits are familiar, bigger projects feel less mysterious. You still observe, define, prototype, test, and revise. The materials may become more expensive, but the thinking stays recognizable.
Finish After The Behavior Works
A final version should come after the rough prototype proves the direction. This does not mean the object must be perfect. It means the basic behavior is stable enough to justify better material, cleaner fasteners, smoother edges, finish, and long-term mounting.
Simple maker examples keep design thinking grounded. You can see the problem, hold the prototype, test the change, and improve the next version. That physical loop is why the method works so well in a workshop.
Example One: The Cable Clip
Suppose a charging cable keeps falling behind a workbench. A solution-first maker might immediately design a fancy clip. A design-thinking maker first watches when the cable falls: during cleanup, when a tool is unplugged, when the bench moves, or when the user reaches with one hand. The cause changes the design.
A first prototype could be a folded cardboard hook taped to the edge. If the cable stays visible but snags the user’s sleeve, the second version may move lower or change angle. If tape fails, the next test might use a clamp or screw-mounted scrap. The final clip grows from the task rather than from a decorative idea.
Example Two: The Sanding Grip
A sanding block that makes a wrist ache is another simple design-thinking problem. The maker observes grip pressure, hand size, sanding direction, and how long the task lasts before discomfort begins. The goal may not be a prettier block; it may be a shape that spreads pressure or changes wrist angle.
Foam, clay, or scrap wood can test several grip shapes quickly. The maker can sand for two minutes with each version and record what changes. Only after the hand test works does it make sense to choose a durable material and finish.
Example Three: The Clamp Rack
A clamp rack may fail even when it holds clamps securely. If the most-used sizes are hidden, the rack is too high, or the handles collide with a drawer, the design has not solved the real workflow. Observing a glue-up reveals what access means under time pressure.
A rough rack made from scrap cleats can test spacing before the final wall holes are drilled. The maker may discover that two small racks near different benches work better than one impressive rack in the wrong place.
Example Four: The Drill Guide
A beginner may want a drill guide because holes wander. Observation might show several causes: poor center marks, unsupported parts, dull bits, or an awkward grip. The prototype might be a simple block with a straight pilot hole, tested on scrap stock with the same thickness as the final project.
If the guide improves accuracy but blocks visibility, the next version can add a notch or transparent reference edge. If it slips, add a clamp face. Each change answers one observed weakness.
Example Five: The Carry Tray
A parts tray that spills during movement is a design-thinking gift. The maker can test handle height, wall depth, corner radius, weight, and how the tray is loaded. Cardboard prototypes are excellent because the first question is not long-term durability; it is whether the proportions match the carrying motion.
Watching someone carry the tray may reveal that the problem happens while opening a door, not while walking. That insight could lead to a one-hand grip, a lid lip, or a narrower body. The example stays simple, but the thinking is rich.
The Pattern Behind Every Example
Each example follows the same pattern without feeling abstract: notice a real problem, define the desired improvement, build the smallest useful test, observe what happens, and revise for a reason. The object may be a clip, grip, rack, guide, or tray. The habit is the same.
That is why simple maker examples are so useful. They make design thinking visible. You can point to the first mockup, the failed test, the changed feature, and the final object, then see how each decision learned from the one before it.
Keep The Example Small Enough To Finish
Simple examples work because they close the loop. A maker can notice the problem in the morning, build a cardboard mockup after lunch, test it during the actual task, and make a better version before the idea goes stale. Finishing the loop teaches more than planning a grand project that never leaves the notebook.
Choose examples with low material risk and visible behavior. Holders, guides, grips, spacers, trays, brackets, and small organizers are excellent because success or failure appears quickly.
Ask Better Questions After Each Test
After a prototype test, avoid asking only whether it worked. Ask where the user hesitated, what moved unexpectedly, what felt awkward, what needed two hands, what blocked another task, and what would happen if the object were used for a week. Better questions turn a simple test into a richer design lesson.
The next version should answer one or two of those questions. If the maker tries to fix everything at once, the learning gets muddy. Small changes make cause and effect easier to see.
Let The Final Build Stay Honest
When the final version arrives, it should still show respect for the problem that started the process. Better material, cleaner edges, stronger fasteners, and nicer finish are welcome, but they should not add bulk, confusion, or fragility. Polish should support the solution, not bury it.
This is the quiet power of design thinking for makers. It turns simple objects into evidence-based improvements. The project may remain humble, but the thinking behind it becomes serious.
Use One Example To Practice The Whole Method
A single bench organizer can teach the entire design-thinking loop. Watch where loose tools pile up, define which tools need faster access, tape together a rough divider, use it during one real task, then change the spacing or attachment based on what happened. Nothing about that example is glamorous, but every step is visible.
Repeating the method on small examples builds confidence for larger projects. The maker learns to trust evidence without needing a formal process binder. Over time, observing, prototyping, and revising become ordinary shop habits rather than special project ceremonies.
Keep Notes Simple Enough To Use
Documentation for simple maker examples can be brief. A photo of each version, a few measurements, and one sentence about what changed may be enough. The point is to preserve decisions so the next version starts from memory plus evidence, not memory alone.
Good notes also prevent circular tinkering. If version two already proved that a tall wall blocked access, version four should not accidentally rebuild the same problem. The record keeps the learning honest.
Compare Before Committing
When two simple solutions seem equally promising, build both in rough form and compare them during the same task. A cable hook and cable slot may look similar on the bench but behave differently when the user is wearing gloves or clearing sawdust. Direct comparison keeps the choice grounded in use instead of preference alone.