tools, the promise of creating something entirely from scratch. It’s electrifying, inspiring, and a little intimidating. But with the right skills, that unfamiliar space becomes a world of possibility. Whether you dream of building furniture, crafting small wooden gifts, shaping metal, or exploring mixed-material projects, mastering foundational workshop skills is the key to creativity and confidence. These essential abilities not only make you a more capable maker; they also help you work safely, efficiently, and with results you can be proud of. This guide walks you through the core workshop skills every beginner should learn, breaking them down into approachable, practical insights you can apply immediately. With these skills in your toolbox, your projects will transform from rough attempts into polished, professional-quality builds.
A: Begin with basic measuring, marking, and straight cuts. Build small, simple projects to practice core skills.
A: No. A few reliable hand tools and a basic drill/driver are enough to start building real projects.
A: Slow down on layout, always use a square, and double-check measurements before every cut or drill.
A: Try a simple shelf, tool rack, or small box—projects that use straight cuts and basic assembly.
A: Wear safety gear, keep your work area clean, clamp your workpieces, and never rush complex steps.
A: Sharpen whenever you feel resistance, crushing instead of cutting, or see rough, torn fibers.
A: Every maker does. Use mistakes as practice—patch, trim, adjust, or restart, and record what you learned.
A: Start with stable, easy-to-work species like pine or poplar and avoid twisted or badly warped boards.
A: Yes. Good sanding and surface prep dramatically improve how stains, paints, and finishes look and feel.
A: Add one new skill or tool with each project, and steadily push yourself just beyond your current comfort zone.
Understanding Your Tools: The Heart of Every Workshop
Before a beginner ever makes a cut, drills a hole, or sands a surface, they must first understand their tools. The workshop is full of powerful machines and delicate instruments, each designed for a specific purpose. Knowing what each tool does—and when to use it—forms the backbone of every successful project.
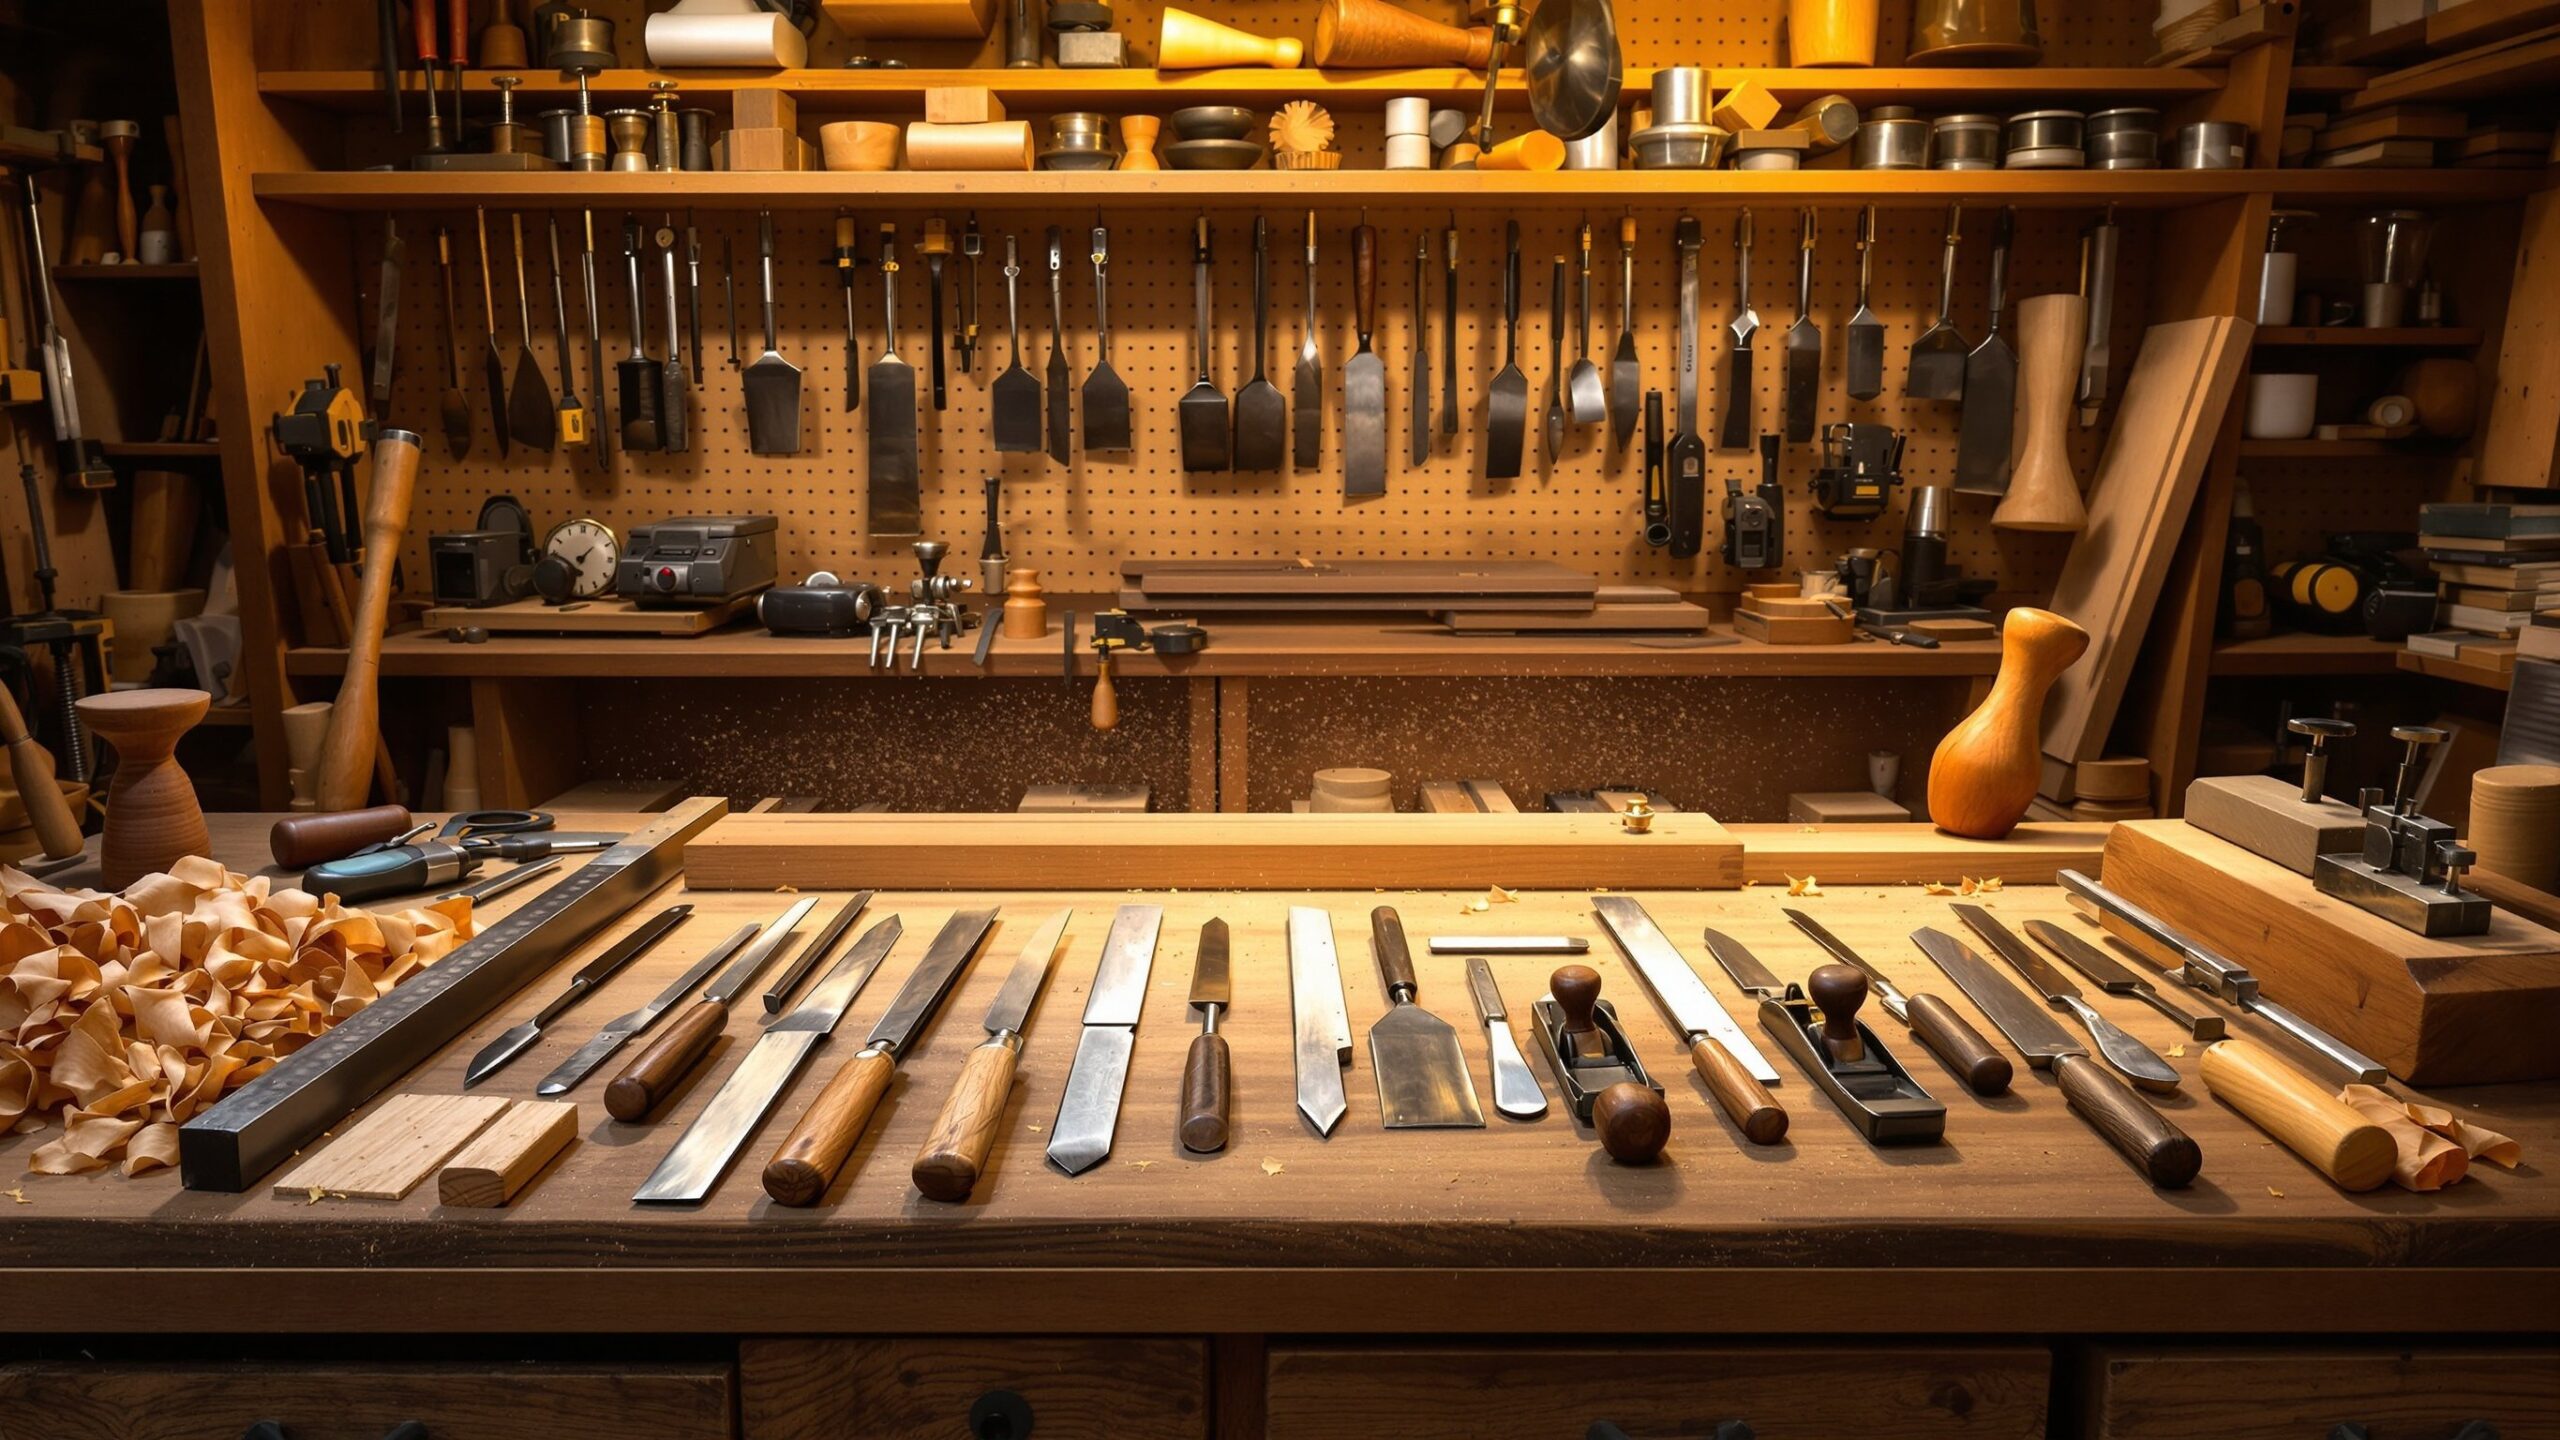
Hand tools are often the best place to begin. A measuring tape, combination square, set of chisels, hand plane, and mallet can teach precision and control in ways that power tools cannot. Learning how wood fibers react to a sharp chisel or how a hand plane glides across grain gives new makers something no instruction manual can provide: intuition.
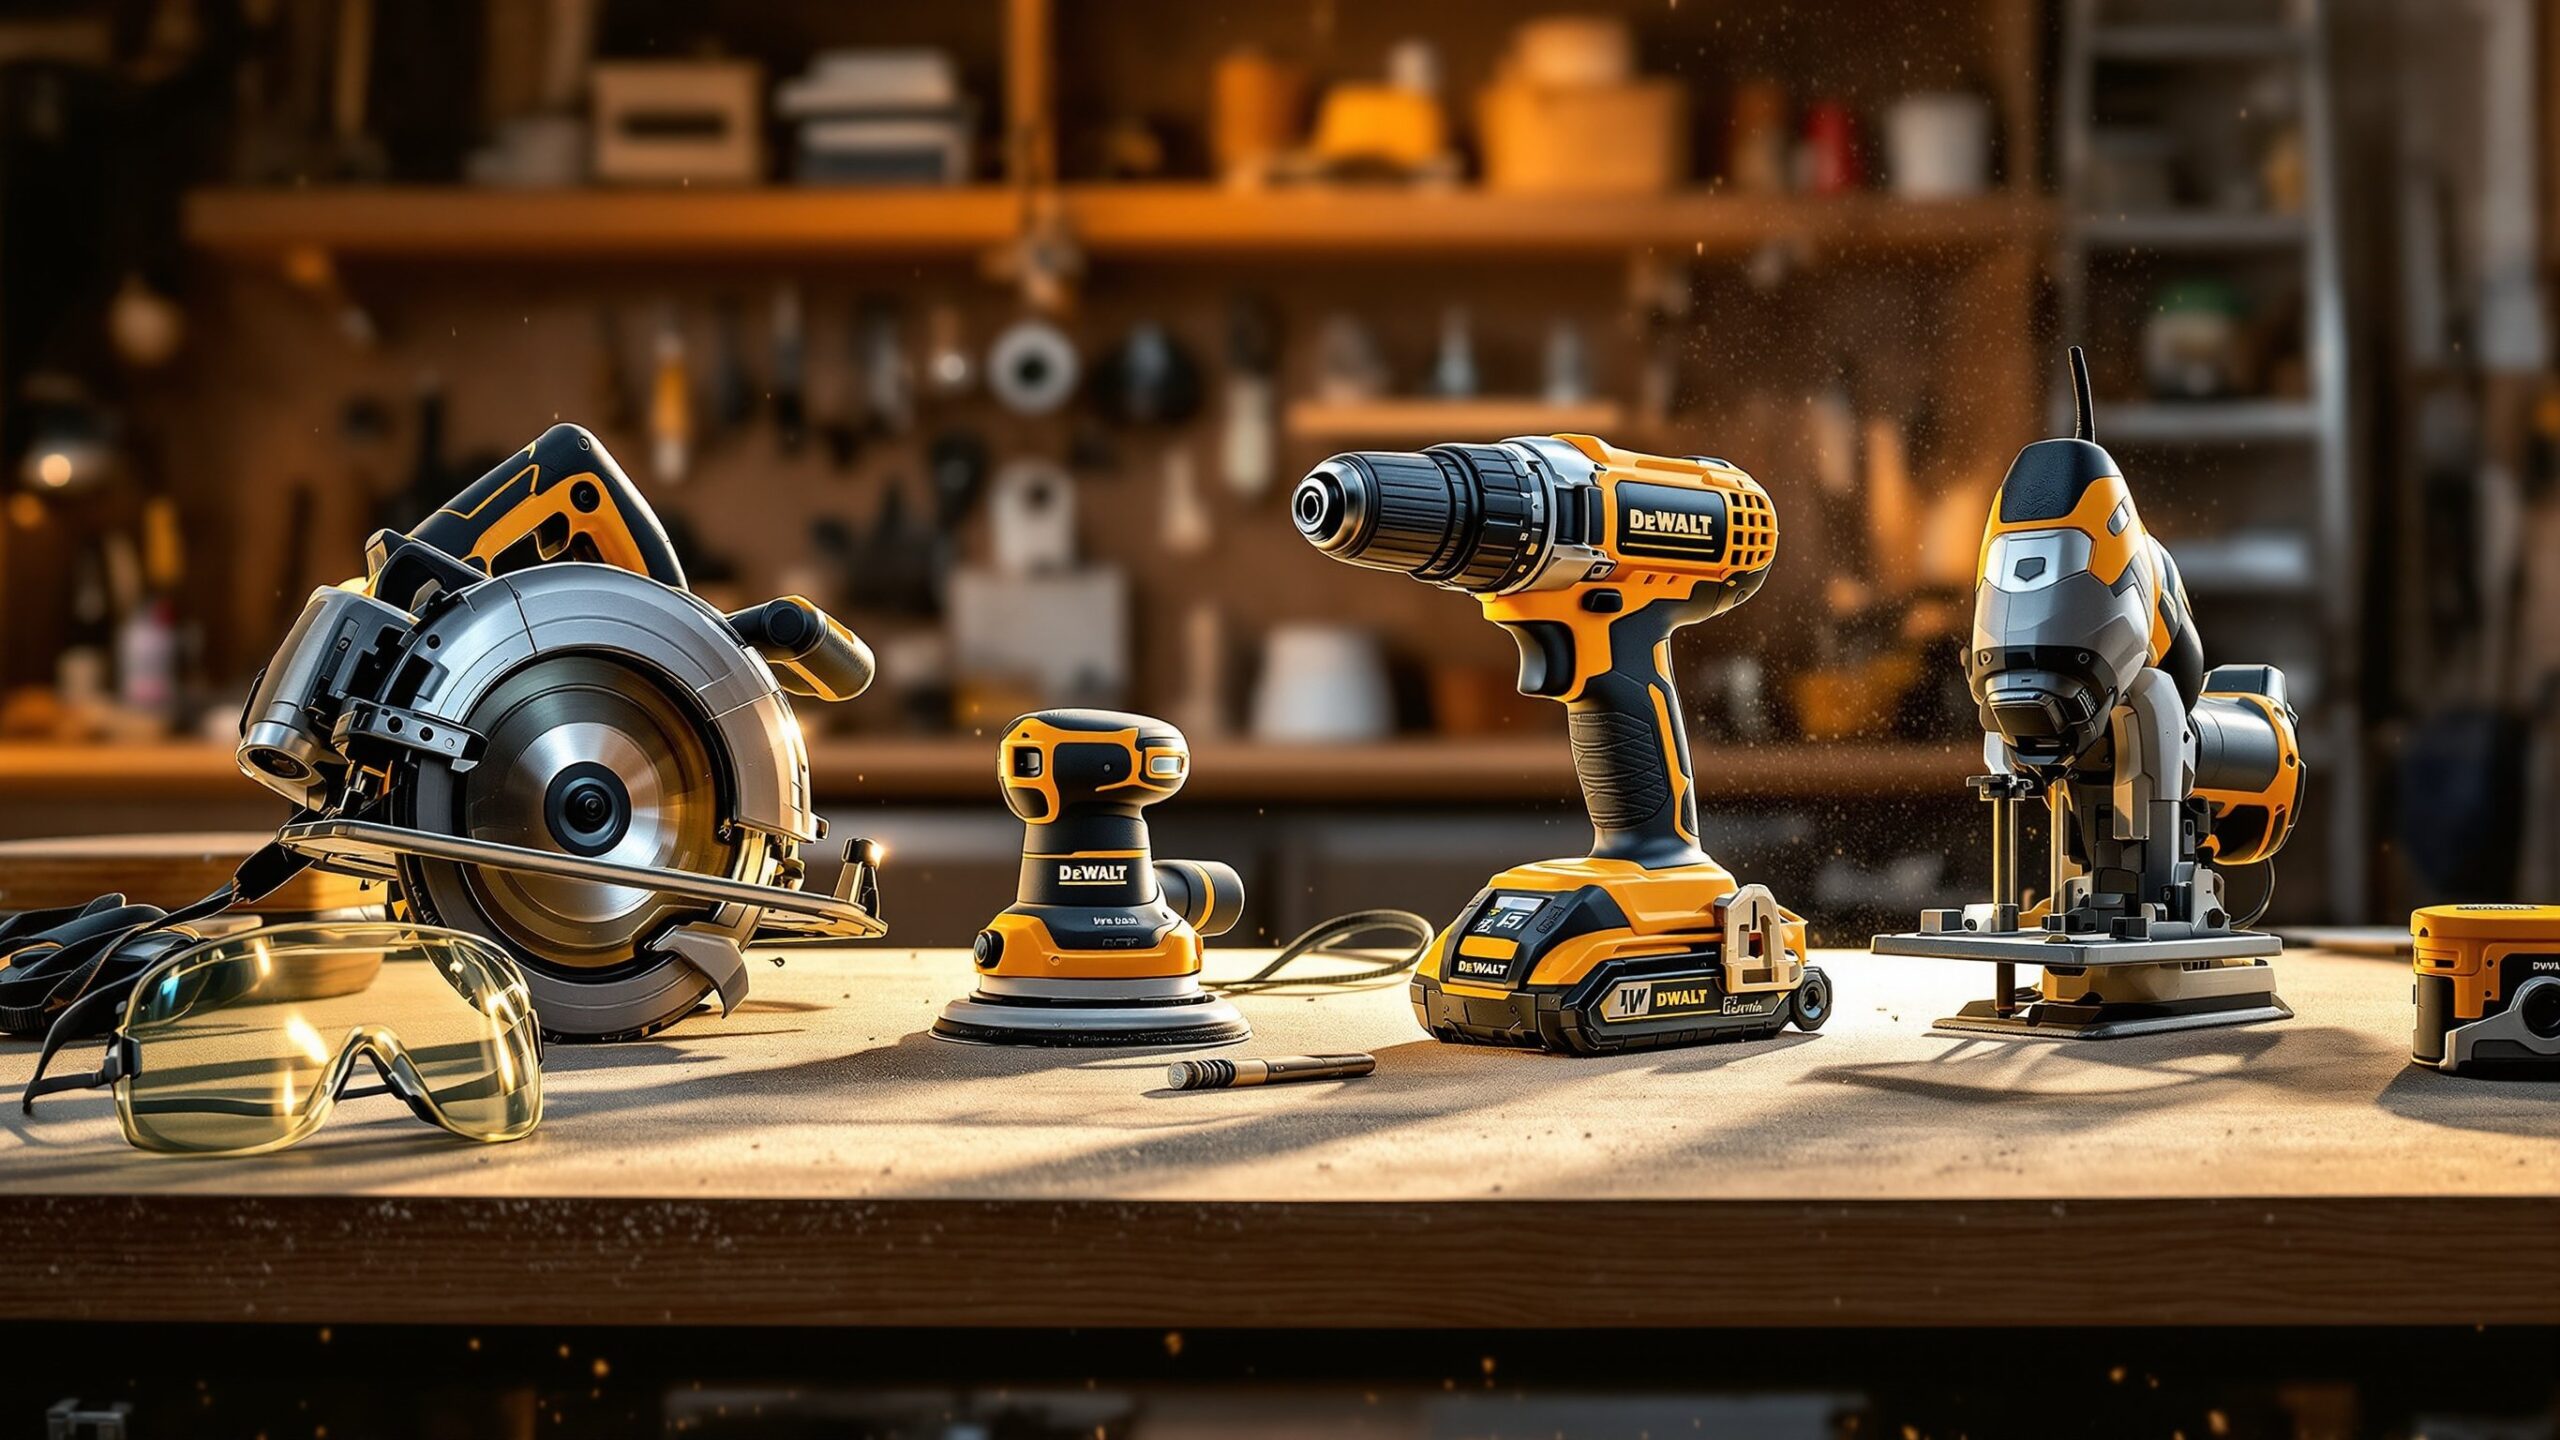
Power tools, on the other hand, introduce efficiency and capability. A beginner doesn’t need every tool in the catalog, but becoming comfortable with a drill driver, circular saw, jigsaw, and sander opens the door to countless projects. Understanding the “feel” of each tool—how it vibrates, how it cuts, how its weight guides the work—helps a maker build confidence, speed, and accuracy. In time, intermediate tools such as table saws, band saws, routers, and drill presses add new levels of precision. But the foundation begins with learning how to handle tools safely and intentionally, respecting their power and appreciating their potential.
Mastering Measurement: The Skill That Defines All Others
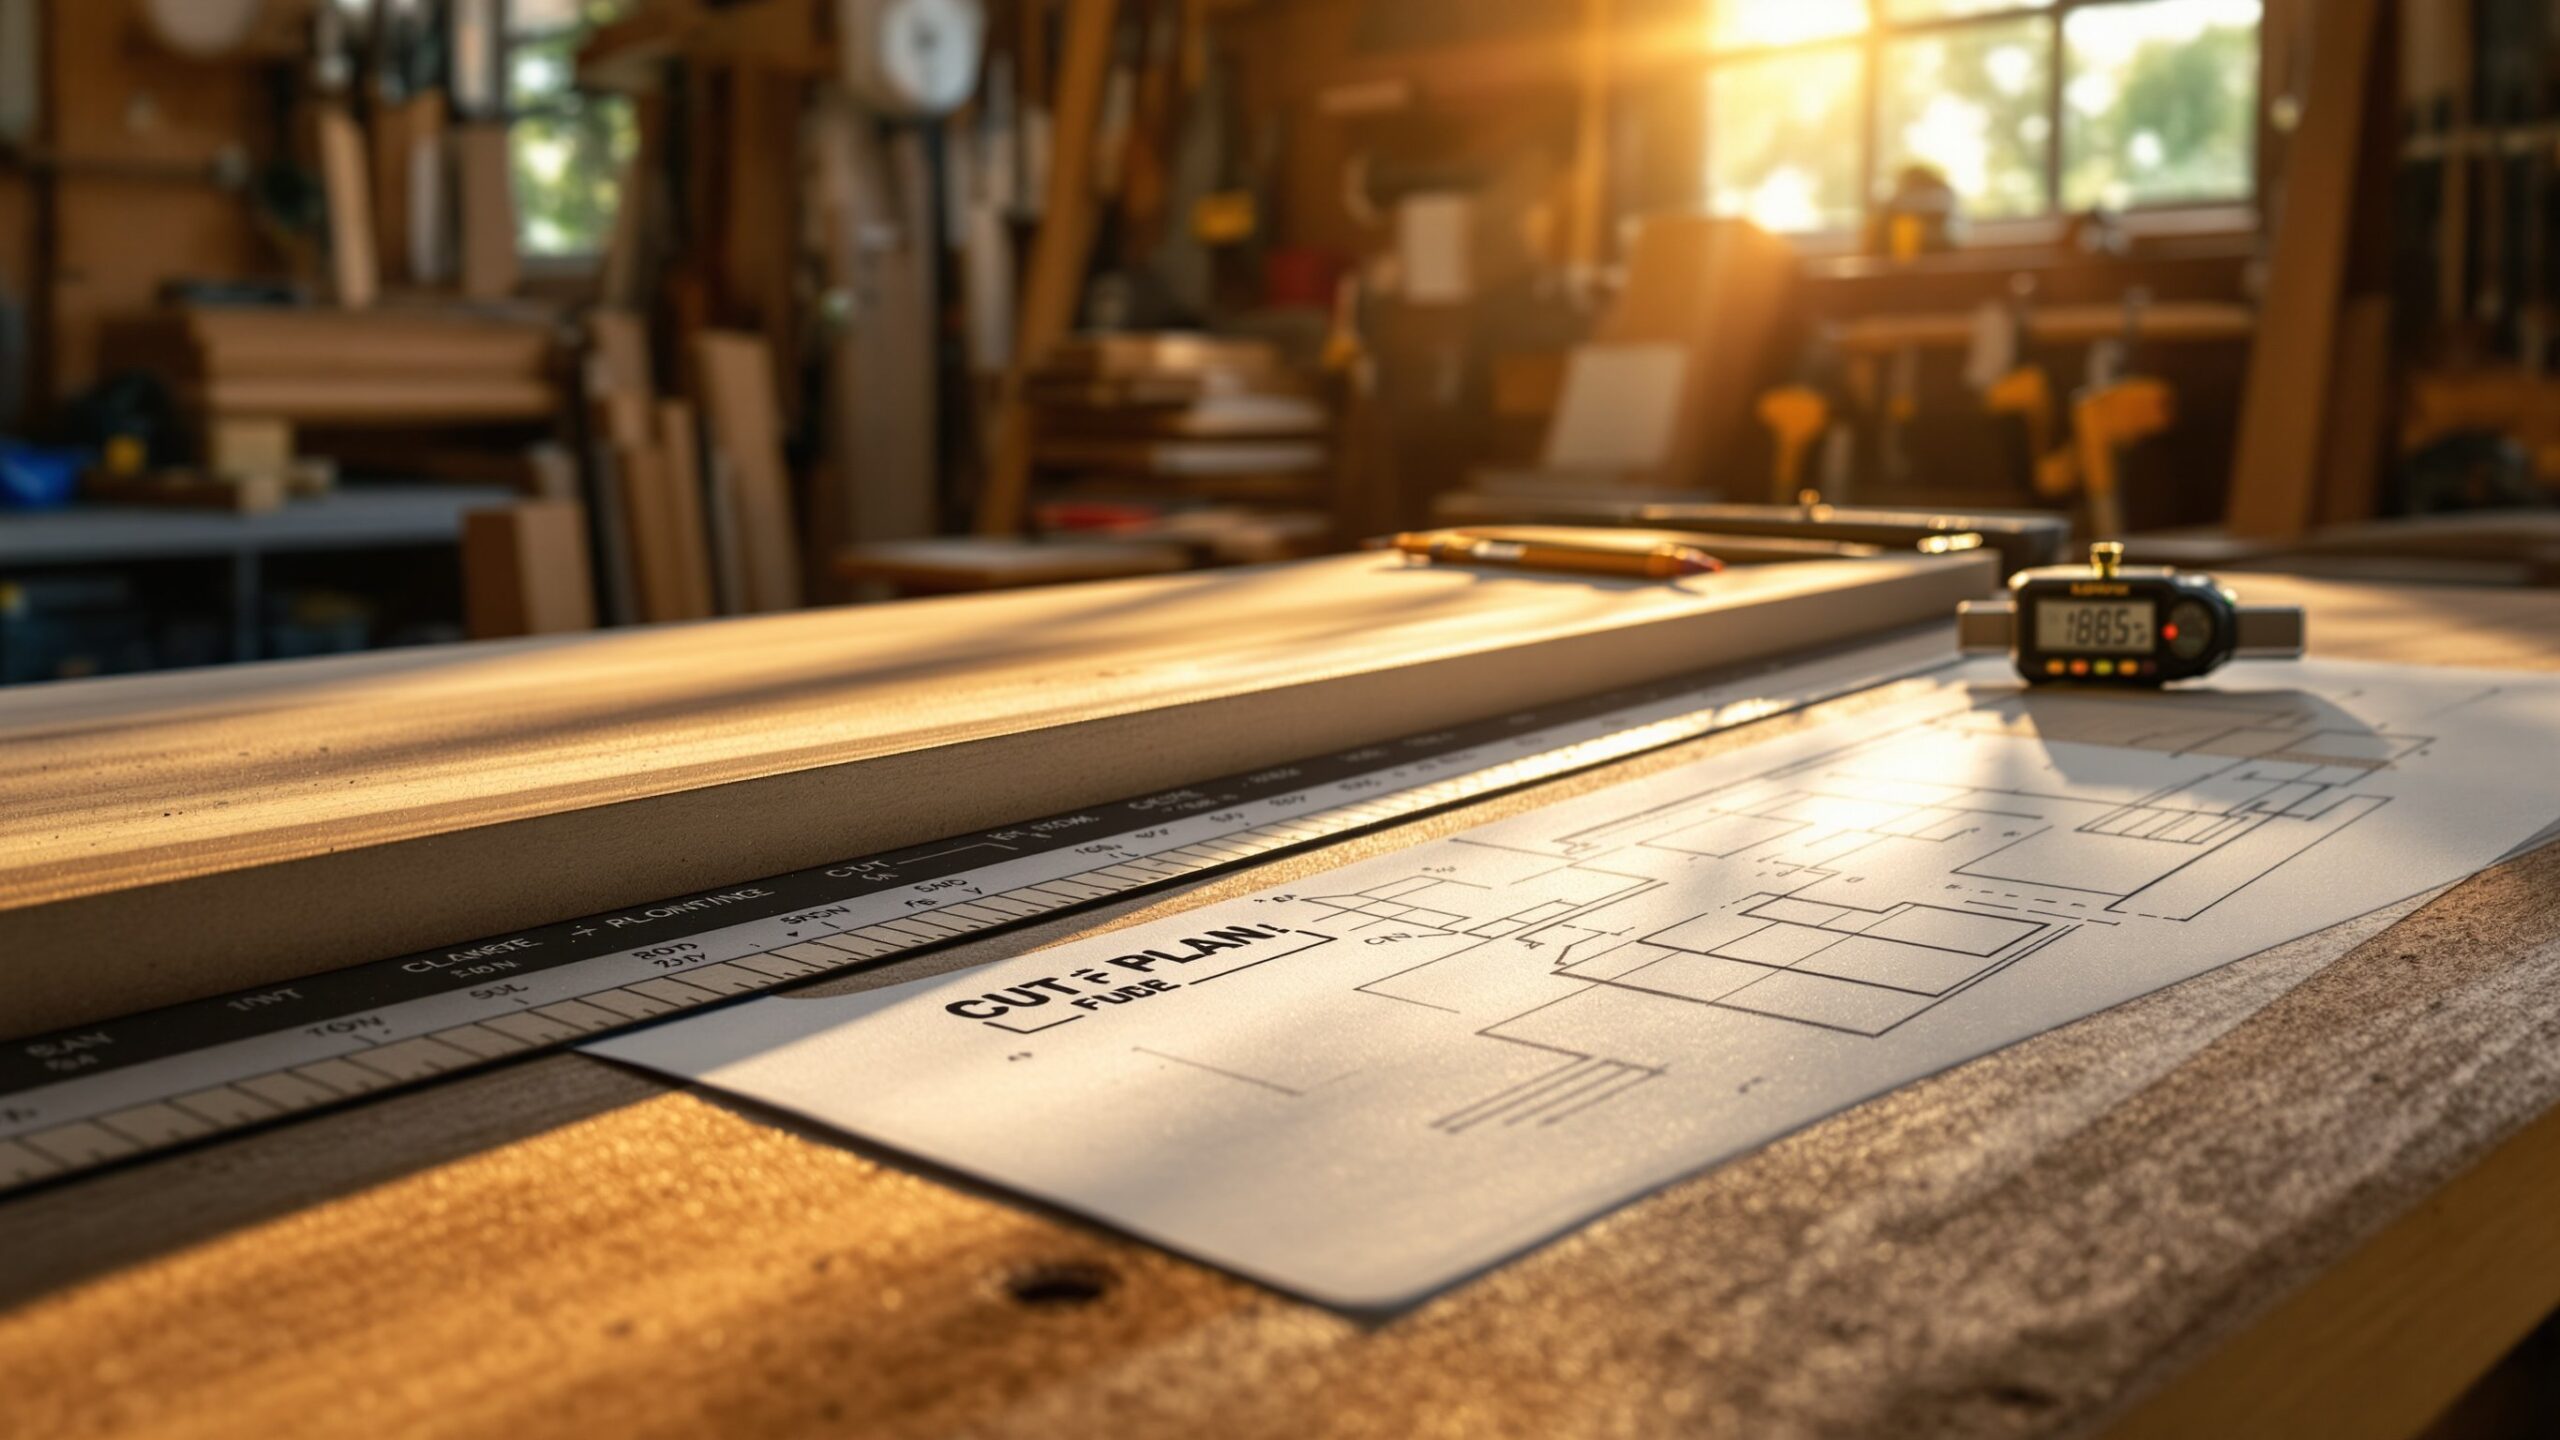
The saying “measure twice, cut once” exists for a reason: measurement is the most important skill in the workshop. Accurate measurement turns creative ideas into buildable plans. It ensures your materials fit together, your cuts line up, and your finished project looks clean and polished. Beginners often underestimate the importance of measuring well. Learning how to properly read a tape measure, use a combination square, mark lines clearly, and maintain consistency across pieces prevents countless headaches later. Precision marking tools—sharp pencils, marking knives, center punches—give you cleaner guidance for your cuts.
Good measurement also means understanding the limitations of your tools. A tape measure is great for layout, but a ruler or caliper might be better for tight tolerances. A square ensures perfect 90-degree angles, but only if the material is milled straight and flat. And while beginner mistakes are inevitable, measurement is the simplest way to reduce them before they become permanent. The more you measure, the more you practice seeing the project before it exists. That’s the real magic of this skill: it trains your mind to visualize, anticipate, and plan with growing clarity.
Cutting with Confidence: From Rough to Refined
Cutting is one of the most exciting—and sometimes intimidating—workshop skills. The first cut into a new board feels like crossing a threshold into real craftsmanship. But cutting well requires more than turning on a saw; it requires understanding the material, the tool, and the line you intend to follow.
Hand saws teach control and technique. Learning how to start a cut gently, maintain line alignment, and let the saw do the work builds foundational skill and patience. Jigsaws help shape curves, circles, and custom patterns, while circular saws quickly break down larger sheets or boards.
As makers progress, the table saw becomes a central station for ripping boards, crosscutting, and creating joinery. The band saw offers exceptional versatility for cutting curves and resawing lumber. But no matter the tool, the principles remain the same: follow the line, maintain control, and cut with intention. Beginners should practice on scrap pieces before moving to final material. This simple habit increases accuracy and reduces fear, making cutting feel less like a gamble and more like a deliberate, satisfying step in the build process.
Shaping and Smoothing: The Art of Sanding and Surface Prep
Once pieces are cut to size, the next stage involves shaping and smoothing the material. This step is often overlooked by beginners, but it significantly affects the final appearance and feel of a project. Sanding is more than rubbing abrasive paper over wood. It’s about working through grits progressively, removing marks from previous steps, and preparing the surface for finishing. Starting too fine won’t remove imperfections; starting too coarse can leave deep scratches. Finding the right balance—and knowing when to progress—turns rough surfaces into smooth, touchable finishes.
Hand tools like files, rasps, and hand planes also play a role in shaping and smoothing. A sharp plane can take whisper-thin shavings that leave a surface smoother than sandpaper ever could. Rasps help refine curves, while files even out edges and corners. Good surface prep includes rounding sharp corners, eliminating tear-out, and inspecting grain direction so finishes absorb evenly. These small details bring a project to life, separating amateur builds from professional-quality craftsmanship.
Joining Materials: The Foundation of Strong Projects
Making a project structurally sound depends on one core skill—joining materials together. Beginners often start with simple joinery methods like screws, nails, and wood glue. When done well, these simple methods are capable of creating surprisingly durable builds.
Learning how to pre-drill holes, clamp properly during glue-ups, and align pieces precisely helps eliminate gaps, misalignment, and weak bonds. As makers grow more confident, they can explore more advanced joinery: dowels, pocket holes, biscuits, dados, rabbets, and mortise-and-tenon joints.
Each joinery method serves a purpose. Some prioritize speed, others strength or aesthetics. Understanding their strengths and limitations helps beginners choose the right connection for each project. A well-made joint not only holds materials together but enhances the overall design, giving projects both integrity and beauty.
Finishing Touches: Bringing Your Project to Life
A great finish elevates a project from functional to beautiful. Finishing is where personality and craftsmanship meet, transforming raw materials into something polished and complete. Beginners should experiment with stains, oils, varnishes, paints, and waxes to understand how each interacts with wood grain. The type of finish depends on the project—outdoor builds demand durability, while decorative pieces may emphasize color or clarity.
Good finishing begins with preparation: dust-free surfaces, gradual sanding, and even application. Rushing this stage leads to streaks, blotches, and uneven tones. Patience and attention to detail reward makers with silky textures and stunning visual depth. Finishing is also an opportunity to express creativity. Layering stains, combining paints with natural wood tones, or using oil to highlight grain patterns all contribute to a project’s final character.
Workshop Safety: The Skill That Matters Most
While creative expression is exciting, safety must always come first. Learning how to protect your hands, eyes, lungs, and hearing is essential in any workshop environment. Beginners should establish safety habits early: wearing protective gear, maintaining clean workspaces, checking tools before use, and never rushing through complex steps. Understanding kickback on saws, proper hand placement, and the importance of unplugging tools during blade changes are non-negotiable skills. Safe habits not only prevent injuries—they also make beginners more comfortable and confident, enabling them to work with focus rather than fear.
Building Maker Mindset: Creativity, Patience, and Confidence
Beyond tools and techniques, workshop mastery requires developing the right mindset. Creativity fuels experimentation, helping you view mistakes as opportunities rather than failures. Patience ensures every cut, measurement, and finish reflects intention rather than haste. Confidence grows with each completed project, reinforcing the belief that the next build will be better than the last.
Every maker starts as a beginner. The difference between a novice and a seasoned craftsperson is practice, curiosity, and resilience. Each new skill compounds on the last, turning the workshop into a place of possibility rather than intimidation.
Your Journey as a Maker Starts Here
Mastering essential workshop skills lays the foundation for a lifetime of creativity. From measuring to cutting, shaping to joining, and finishing to problem-solving, these abilities empower beginners to transform ideas into tangible works of craftsmanship. Every project you complete will teach you more, sharpen your instincts, and build the confidence to tackle increasingly complex challenges. Your maker journey begins with simple skills, but where it leads is entirely up to you. With patience, practice, and passion, the workshop becomes more than a space—it becomes a gateway to endless creativity, discovery, and fulfillment.