A home maker business starts in a surprisingly ordinary place: a corner table, a spare shelf, a weekend project that turns out better than expected. The shift happens when you realize the work isn’t just fun—it’s valuable—and you want to build something repeatable that pays you back. This guide is a true step-by-step blueprint for taking what you already make at home and turning it into a structured business you can grow without chaos, burnout, or constant reinvention.
A: Small, shippable items you can batch-produce with optional personalization.
A: No—an organized corner with clear zones can work extremely well.
A: Find a buyer group with clear needs, strong communities, and repeat purchases.
A: Start standardized, then offer customization as an upgrade for profit.
A: Pick one channel you can show up for consistently, then expand after traction.
A: Batch production, set hours, raise prices, and build systems early.
A: Focus on high-margin products and consistent marketing over volume.
A: Include materials, time, overhead, fees, packaging, and profit margin.
A: It helps, but any consistent traffic source and strong listings can work.
A: After demand is proven and your margins can support reinvestment.
Step 1: Pick a Business Model Before You Pick a Product
Most people start by asking, “What should I sell?” A better first question is, “How do I want this business to run from home?” Your business model determines everything: your schedule, your pricing, your marketing, and how you scale.
A few home-friendly models dominate because they work. One is small-batch inventory, where you make a limited run and sell it until it’s gone. Another is made-to-order, where buyers place orders and you produce within a lead time. A third is personalization-on-demand, where the base item is standardized and the last step (engraving, color choice, name, date) creates the custom feel. There’s also service-based making, like repair, restoration, or local installs, and hybrid models that blend physical products with digital files, kits, or classes.
From home, the best model is usually the one that reduces customer back-and-forth. The more decisions customers have to make, the more messages you’ll answer and the harder it becomes to keep production steady. If you want a calm home workflow, build an offer that’s easy to choose and easy to deliver.
Step 2: Choose a “Specific Buyer” You Can Describe in One Sentence
A profitable niche isn’t a vague category like “handmade decor.” It’s a clear buyer with a clear need. The goal is to become the obvious choice for someone, not one of many options for everyone.
Try this sentence test: “I make ___ for ___ who want ___.” If you can’t fill that in cleanly, your niche is probably too broad. You might make wall-mounted organizers for small apartments, desk accessories for remote workers, minimalist pet accessories for design-focused owners, or durable gear for camping and outdoor hobbies. When you pick a specific buyer, your product decisions get easier. Your photos get easier. Your marketing gets easier. Your pricing gets easier because you’re not fighting bargain expectations from the general public. The best part is that “specific” doesn’t mean “small.” Niches expand fast when buyers recognize themselves in your product.
Step 3: Validate Demand with Proof, Not Hope
A home maker business becomes stressful when you produce inventory that doesn’t move. Before you spend weeks making, validate demand with signals that already exist: what people are searching for, what they’re reviewing, what they’re reordering, and what they complain they can’t find.
Look for products that solve recurring annoyances. People spend quickly on friction reducers: organization, upgrades, replacements, and “make my space feel better” items. Read reviews in your category and pay attention to what buyers wish existed. That’s often where your advantage lives. You’re not competing by being cheaper. You’re competing by being better designed, better finished, or better tailored to a use case.
Validation can also happen in a micro-launch. Make a small batch, photograph it well, post it, and watch what happens. If interest is weak, you didn’t fail—you saved time and got data. That’s business.
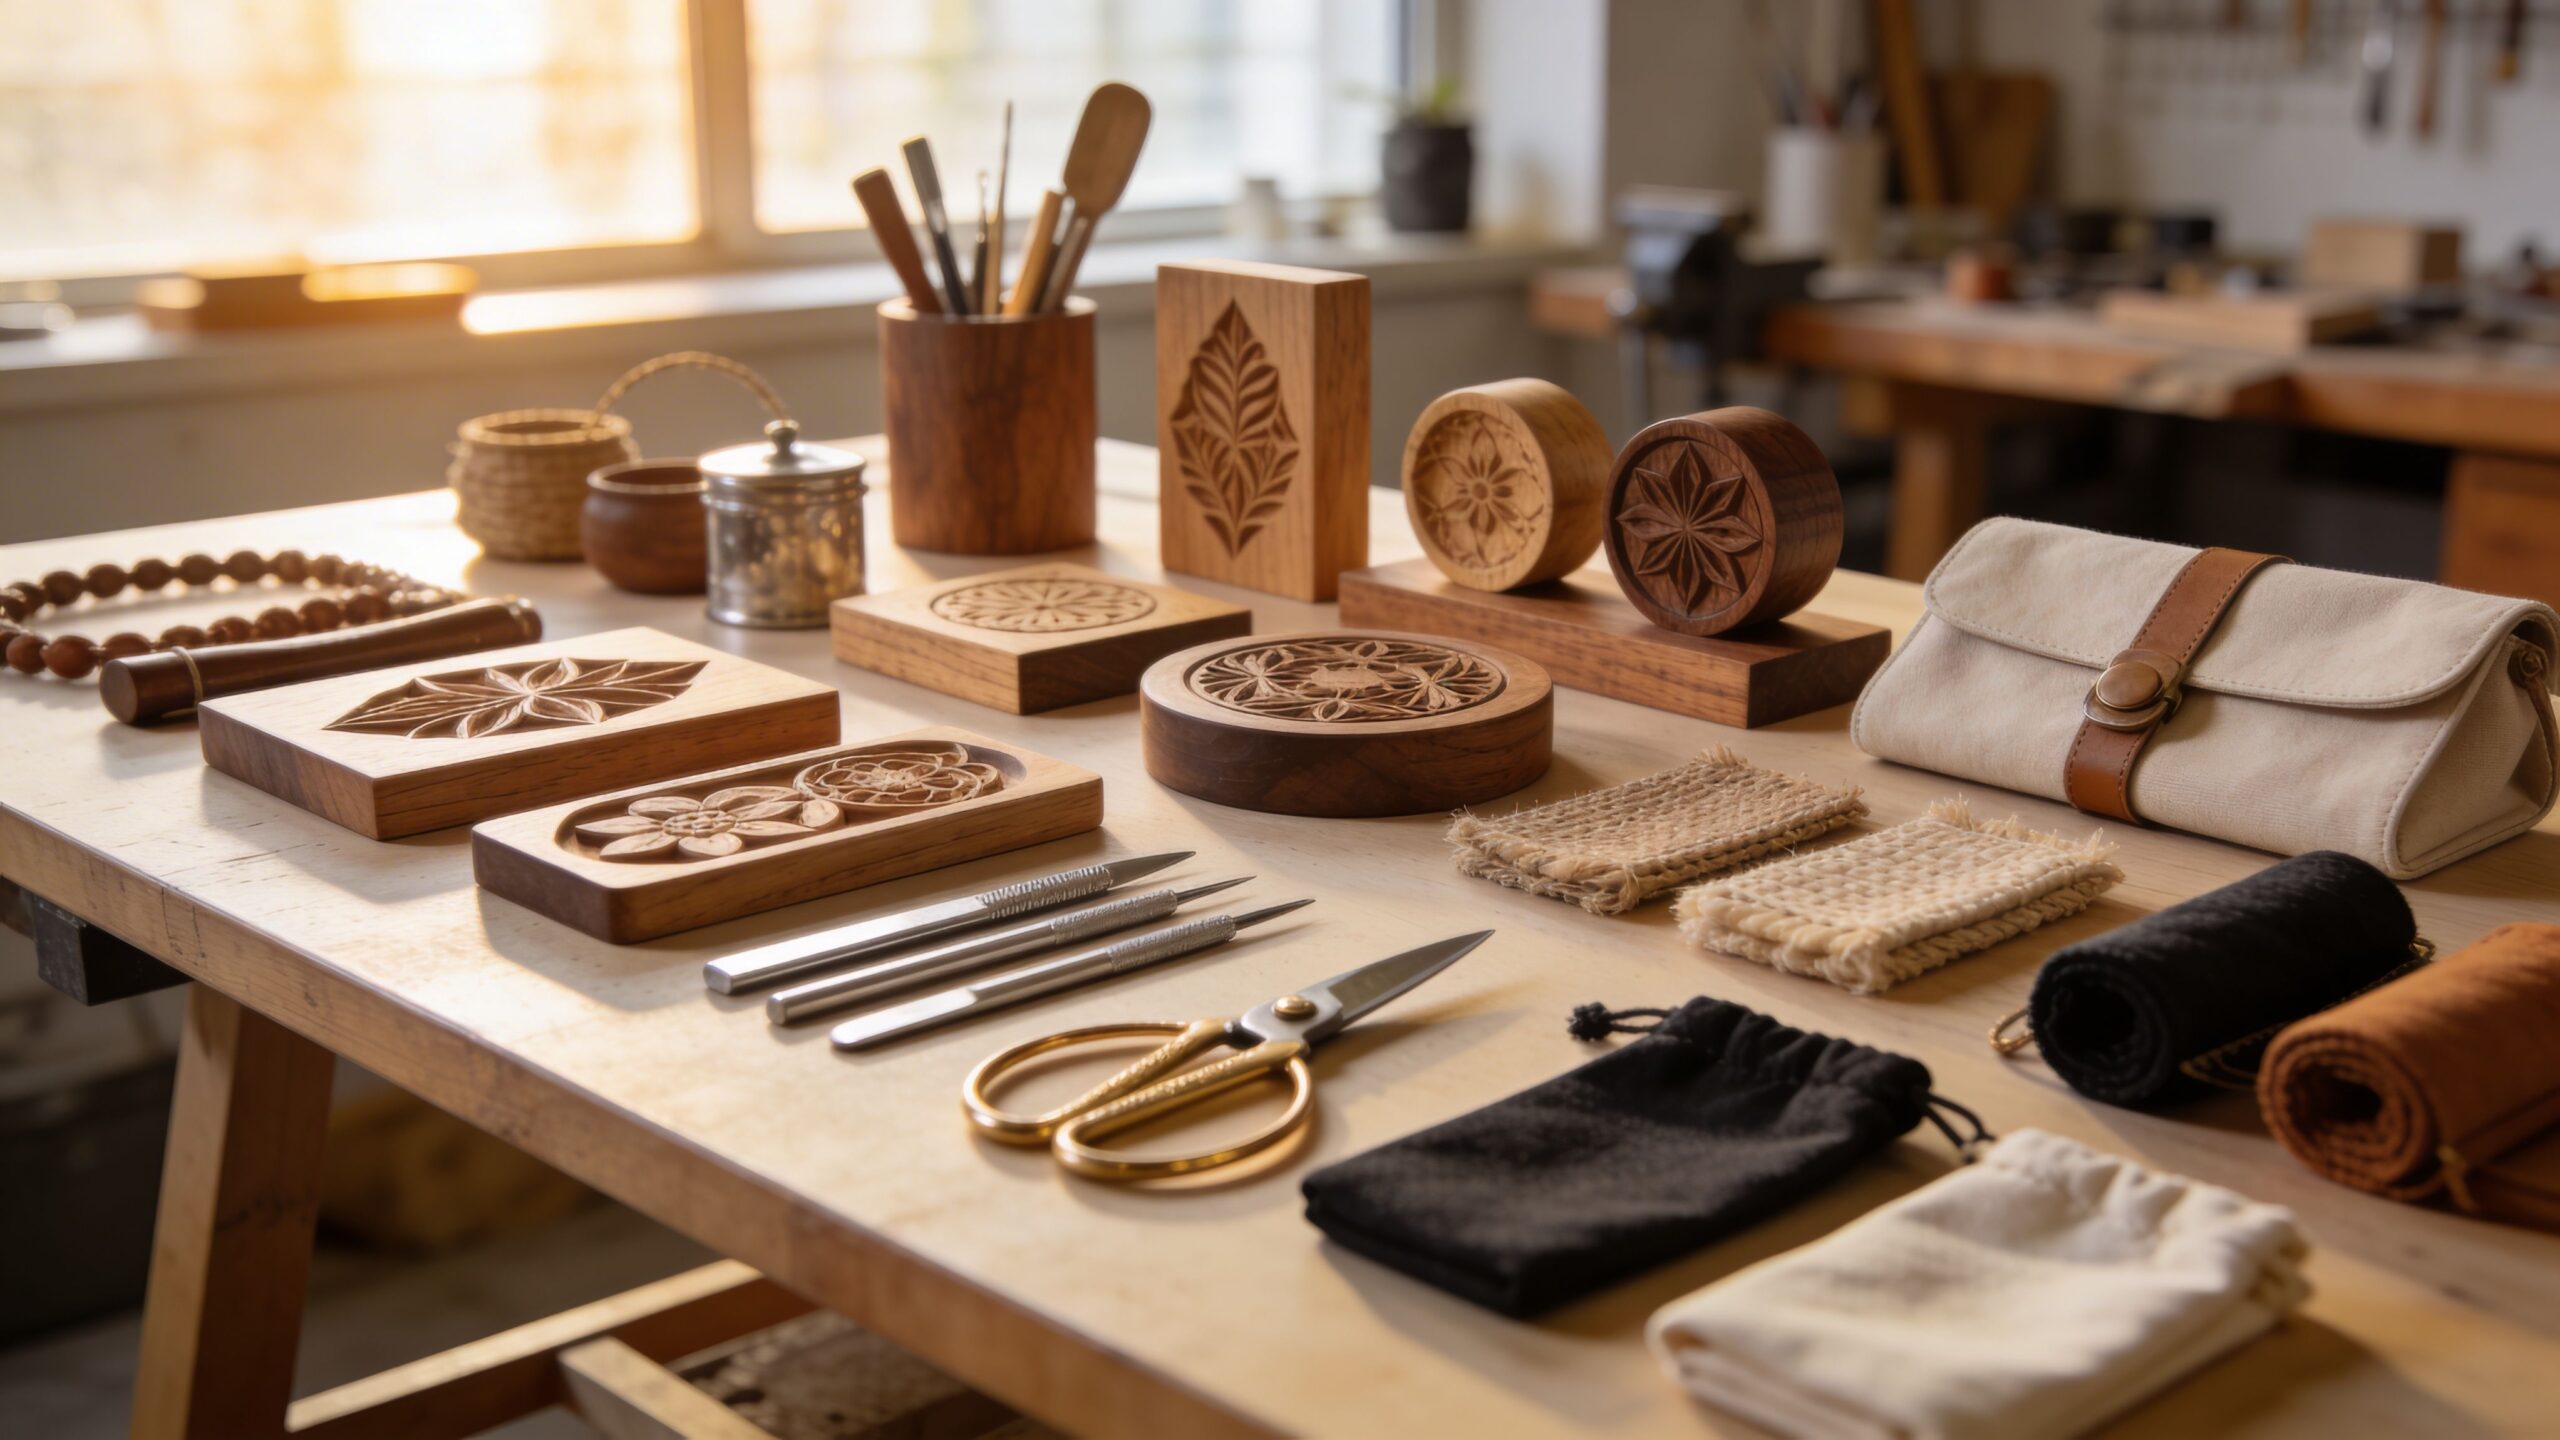
Step 4: Design for Repeatability (The Home Maker’s Superpower)
If you want home-based consistency, you need products that behave the same way every time you make them. Repeatability is what turns creative energy into income.
Repeatable products share materials, sizes, and steps. They use jigs, templates, settings, or patterns that reduce variation. They allow small customization without changing the entire build. They also produce reliably with the equipment you actually have. The point isn’t to remove creativity. The point is to put creativity where it matters: design decisions, signature details, and brand style—while keeping production steady. A powerful trick is to design your product in modules. Create a base item you can make in volume, then offer upgrades that bolt on: premium finishes, personalization, accessory packs, or bundle options. Customers feel choice; you feel control.
Step 5: Build a “Starter Line” of Three Offers
A home business doesn’t need fifty products. It needs three offers that work together. Think of it like a simple menu.
Offer one is your flagship: the main product that’s easiest to understand and best represents your style. Offer two is an upgrade: personalization, premium materials, a higher-end version, or a “deluxe” package. Offer three is an add-on that pairs naturally, raises average order value, and is quick to produce.
This structure helps you sell without pressure. It also protects your margins because customers often choose the upgrade when it’s clearly positioned. Your business grows faster when every sale has the potential to be a bigger sale without extra complexity.
Step 6: Set Pricing That Pays for Your Life, Not Just Your Materials
Home-based makers commonly underprice because costs feel small and scattered. But full pricing includes more than supplies. It includes your time, consumables, packaging, platform fees, overhead, and the hidden labor of selling: photos, messages, listing updates, packing, and post-sale support.
Instead of guessing, price with a system. Calculate your true unit cost and choose a margin that leaves room for growth. If your product is priced so tight that one mistake ruins the week, your pricing is too low for sustainability. Profit is not a luxury; it’s what makes the business stable. Also remember that price is a signal. When you present your work professionally—consistent photos, clean branding, clear listings—higher prices feel natural, not shocking.
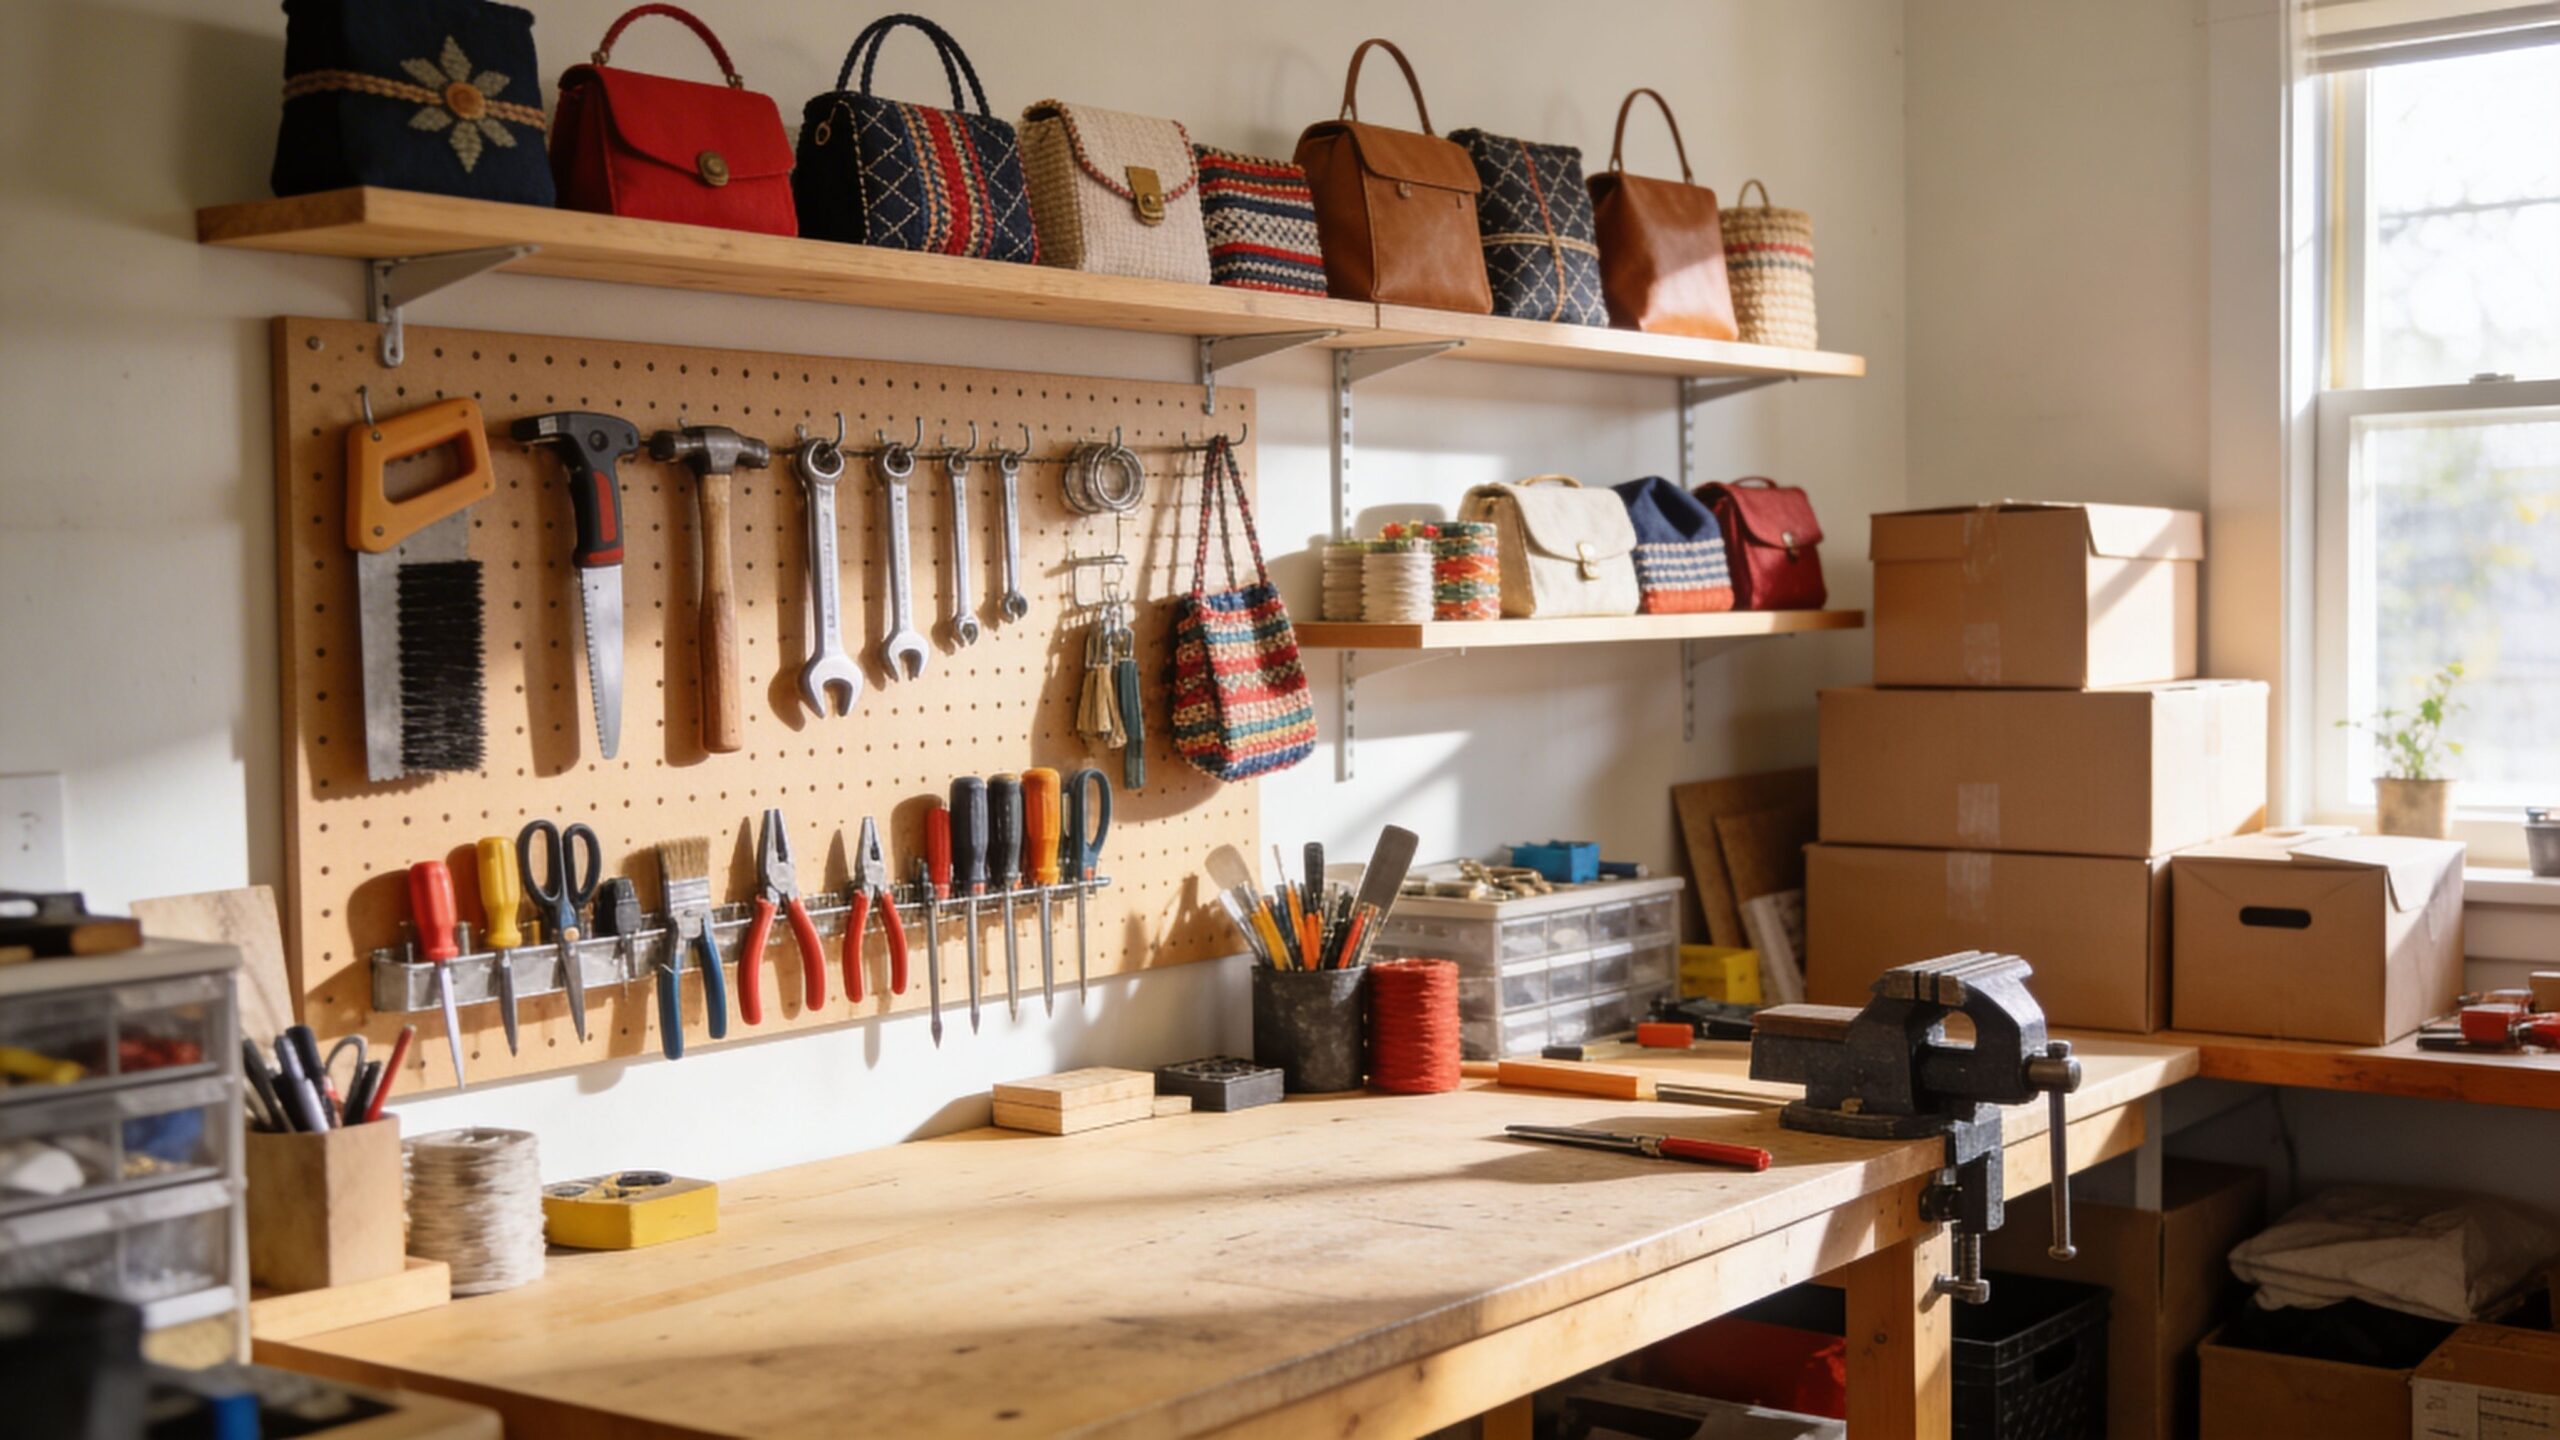
Step 7: Make Your Home Workflow “One Direction”
A home workshop becomes chaotic when you constantly reset your space. The fix is flow. You want work to move in one direction: materials → production → finishing → quality check → packaging → shipping.
Create stations if possible, even in small spaces. A production surface. A finishing surface. A packing surface. When you separate them, you reduce mistakes and mental fatigue. You also speed up your process because you’re not re-learning where things are every time you start.
If your business involves dust, fumes, or heat, treat safety like part of your brand. Ventilation, storage, and basic fire awareness aren’t extra—they’re the cost of being a professional.
Step 8: Create Photos That Sell Trust
Online buyers can’t hold your work, so they buy based on confidence. Your photos are confidence. You don’t need a perfect camera. You need consistent lighting and clean composition. Show scale. Show detail. Show the product in context so buyers understand how it fits into their life. A single product can look cheap or premium depending on lighting, background, and angles. That’s why photography is one of the fastest ways to increase conversion and justify price. Consistency matters most. When your shop looks cohesive, buyers assume your production is cohesive too.
Step 9: Write Listings That Answer the Buyer’s Quiet Questions
A strong listing anticipates doubt and answers it before the customer asks. Buyers want to know: What is it? What problem does it solve? What size is it? How durable is it? How will it arrive? How long will it take? What are the options? What makes yours different?
Write in plain language and focus on outcomes. If it’s an organizer, explain what it organizes and how it improves the space. If it’s a personalized gift, explain the “moment” it fits: new home, wedding, graduation, anniversary. Buyers purchase stories as much as objects.
When your listing is clear, you’ll get fewer questions and more orders—a huge win for a home-based business.
Step 10: Pick One Launch Channel and Commit for 30 Days
Spreading across five platforms is a common trap. Choose one place to sell first and commit long enough to learn. Whether it’s a marketplace, your own site, social DMs, or local events, consistency beats variety.
In the first month, your goal is not perfection. Your goal is learning: which product gets attention, what price converts, what photos perform, what objections show up, and what buyers ask for. That feedback is priceless. It tells you what to refine. Once you have traction, you can expand. But expansion works best when the foundation is stable.
Step 11: Use Marketing That Fits Home-Based Reality
Marketing doesn’t need to be loud. It needs to be steady. Home makers win with “proof content”: behind-the-scenes builds, satisfying process clips, before-and-after transformations, packaging moments, and real use-case demonstrations.
The trick is repetition. People rarely buy the first time they see you. They buy after they’ve seen you consistently enough to trust that you’ll deliver. That’s why small creators often outperform big brands in niche markets: you feel human, and humans build trust faster.
Choose a simple content rhythm you can sustain. Consistency keeps your shop alive even when you’re not posting viral content.
Step 12: Build Systems That Protect Your Time
If you want your maker business to feel like freedom, you need systems that keep it from becoming a constant inbox job.
Create standard responses for common questions. Use templates for listings. Build a packing checklist. Track inventory so you don’t get stuck mid-order. Set clear lead times and boundaries on custom requests. The more decisions you eliminate, the more energy you keep for making and improving. A home-based business is limited by your time. Systems create more time without you working longer.
Step 13: Scale with Better Offers, Not Just More Orders
The easiest way to scale from home is to increase profit per order. Add bundles. Add premium upgrades. Offer gift packaging. Introduce limited editions. Improve photography and raise pricing gradually. These moves increase income without doubling workload.
Over time, consider a second stream that doesn’t require shipping: digital plans, templates, workshop classes, or DIY kits. These can turn your expertise into scalable income while your physical products build your brand. Scaling should feel like refinement, not chaos.
Step 14: Know the Two Metrics That Decide If You Go Full-Time
If you’re aiming for full-time, two numbers matter more than everything else: your monthly profit and your production capacity. Profit tells you if the business can support your life. Capacity tells you if you can fulfill demand without breaking. When profit is consistent for months—through normal seasons, not just peaks—and your workflow feels stable, you’ll know you’re building something real. The goal isn’t to “work all the time.” The goal is to build a maker business that can pay you without consuming your home.
Your Home Is Enough
You don’t need a dream workshop, a giant following, or a perfect launch. You need a clear buyer, a repeatable offer, profit-first pricing, and the patience to improve week by week. Starting from home isn’t a disadvantage—it’s a training ground. It forces you to design smarter products, build better systems, and earn trust with consistency.
Your first version won’t be perfect. That’s the point. Make the first batch. Launch it. Learn fast. Refine. Repeat. That’s how a home project becomes a home business—and how a home business becomes a real income.