A Build Journal Turns Making Into Reusable Knowledge
A finished project shows what worked once, but a build journal shows how it happened. Notes, photos, sketches, settings, measurements, costs, material choices, failures, and decisions become a record you can return to when the next project starts. A good build journal does not need beautiful pages or perfect diagrams. It needs enough honest detail to help you repeat successes, avoid old mistakes, and understand why the project changed along the way.
A: No, paper, digital notes, photos, spreadsheets, or a mix can work if the record is easy to keep.
A: Start with the goal, constraints, materials, dimensions, and the next decision you need to make.
A: Detailed enough that future you can repeat, repair, or understand the project without guessing.
A: Yes, failures often contain the most useful information for future builds.
A: Update at decision points, after tests, before changing settings, and when something surprising happens.
A: Setups, hidden assemblies, mistakes, finish samples, measurements, and final use photos are especially useful.
A: It can if overdone, so keep entries brief and focused on decisions, evidence, and next steps.
A: Record material, hardware, consumables, machine time, shipping, and tools bought for the project.
A: Messy notes are fine if they preserve useful information honestly.
A: It turns each project into evidence you can compare, repeat, and refine instead of relying on memory.
Decide What The Journal Is For
A build journal can serve several purposes: remembering dimensions, tracking settings, explaining decisions, sharing a project, pricing a product, teaching a class, or improving the next version. Knowing the purpose keeps the journal from becoming either too thin or too precious.
For most makers, the best purpose is simple: help future you restart the project, repeat the success, and avoid the same mistake. That standard keeps entries practical.
Capture Decisions While They Are Fresh
The most valuable notes are often the reasons behind changes. You switched material because the first one warped. You moved a hole because a clamp needed clearance. You changed infill because a bracket flexed. If those reasons are not recorded, the final object hides the learning.
Write decisions in plain language. A sentence is enough when it preserves the logic.
Use Photos As Evidence
Photos capture information that words miss: clamp placement, wire routing, support scars, finish color, jig orientation, hidden fasteners, and the exact shape of a failure. Take photos before disassembly and before cleanup erases the clues.
Good photos do not need to be artistic. They need to be clear, close enough, and stored where the project notes can find them.
Record Measurements That Matter
Not every number belongs in the journal, but critical dimensions do. Actual stock thickness, hole spacing, slot width, finished size, hardware clearance, and machine settings can save hours later. Record the numbers that would be annoying or risky to rediscover.
When possible, record actual measurements after the part is made, not only planned dimensions. The difference between planned and real can explain future fit issues.
Document Settings And Materials
Digital fabrication, finishing, sharpening, welding, and electronics all depend on settings and materials. Filament brand, nozzle temperature, laser power, CNC bit, sanding grit, finish schedule, glue type, and wire gauge can all matter. A journal turns those variables into a repeatable recipe.
Include the material source when consistency matters. A plywood panel, filament spool, or finish product may change between suppliers.
Make Failure Useful
A failure entry should be factual first. What happened? What changed? What material was used? What settings were active? What did the failed part look like? Then write the next test. This keeps frustration from turning into vague conclusions.
Failure logs are especially useful when the same problem appears later. You can compare evidence instead of starting from scratch.
Track Versions Without Complexity
Version tracking can be simple. Use folders, filenames, sketches, photos, or numbered prototypes. The goal is to know which file made which part and why the design changed. This matters when old files remain on a computer and look temptingly final.
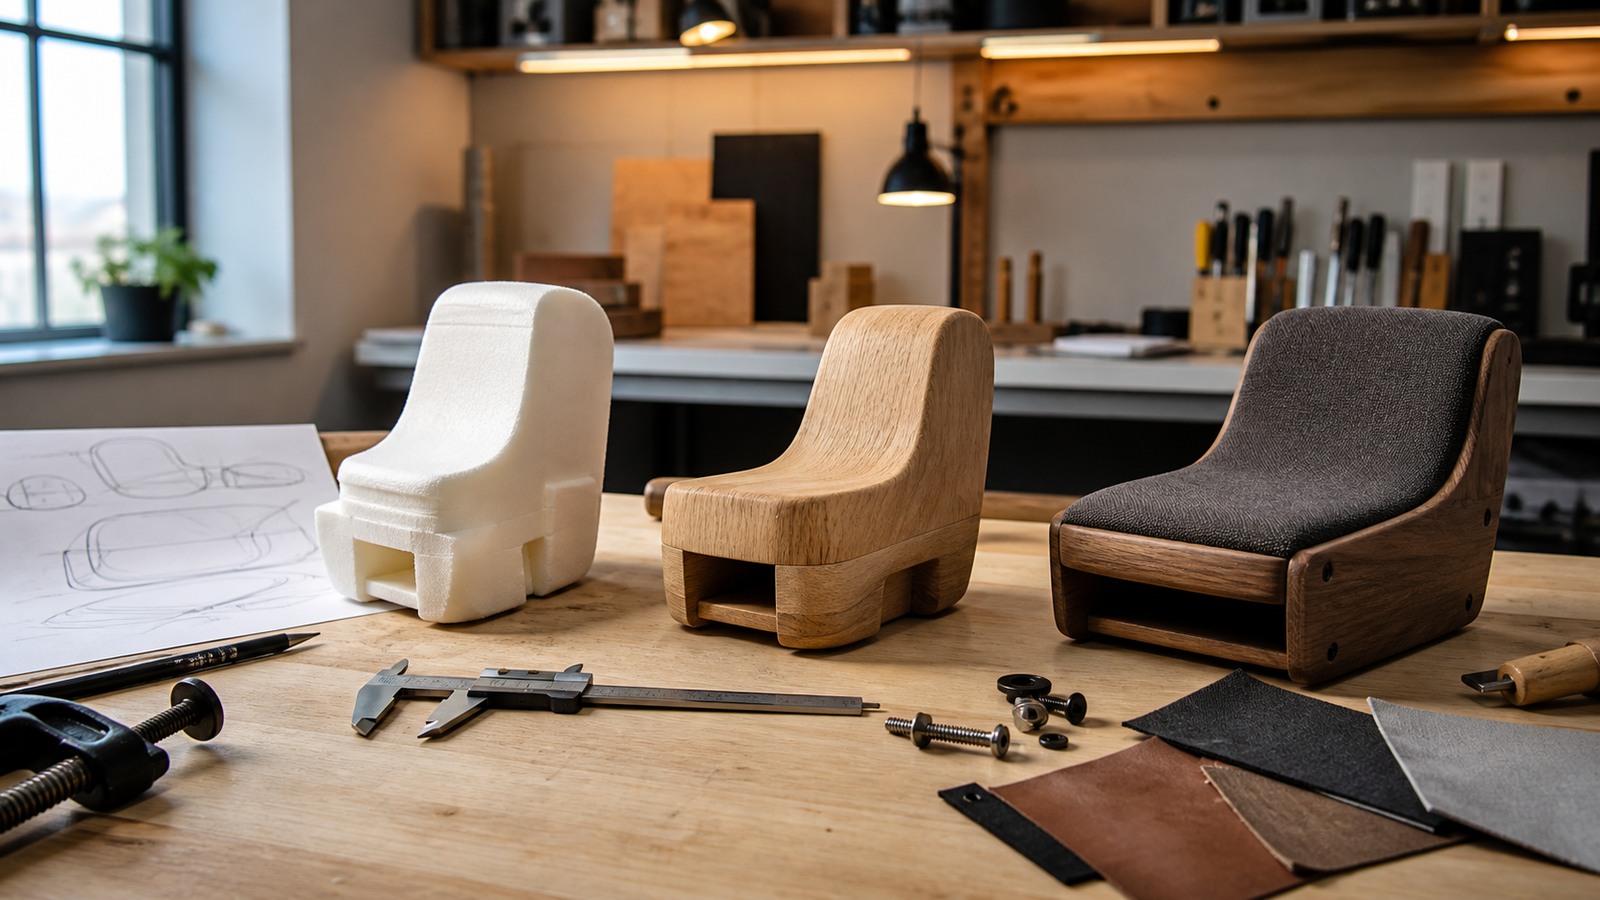
For physical prototypes, label or photograph them in sequence. Seeing the evolution often reveals which change actually improved the project.
Review The Journal After Completion
After the project is finished, write a short review. What would you repeat? What took longer than expected? What material surprised you? What tool setting worked? What would you change before building another? This final reflection turns the journal into skill growth.
The review can be brief, but it should be honest. The point is not to make the project look perfect; it is to make the next project smarter.
Keep The Habit Lightweight
A journal that requires perfect handwriting, edited photos, and polished diagrams may not survive real shop work. Keep it light. A few notes, a few useful photos, and a clear next step are enough for most sessions.
The best build journal becomes part of making rather than a separate performance. It catches the thinking that would otherwise disappear, then hands that thinking back to you when you need it.
Choose A Format That Survives Shop Reality
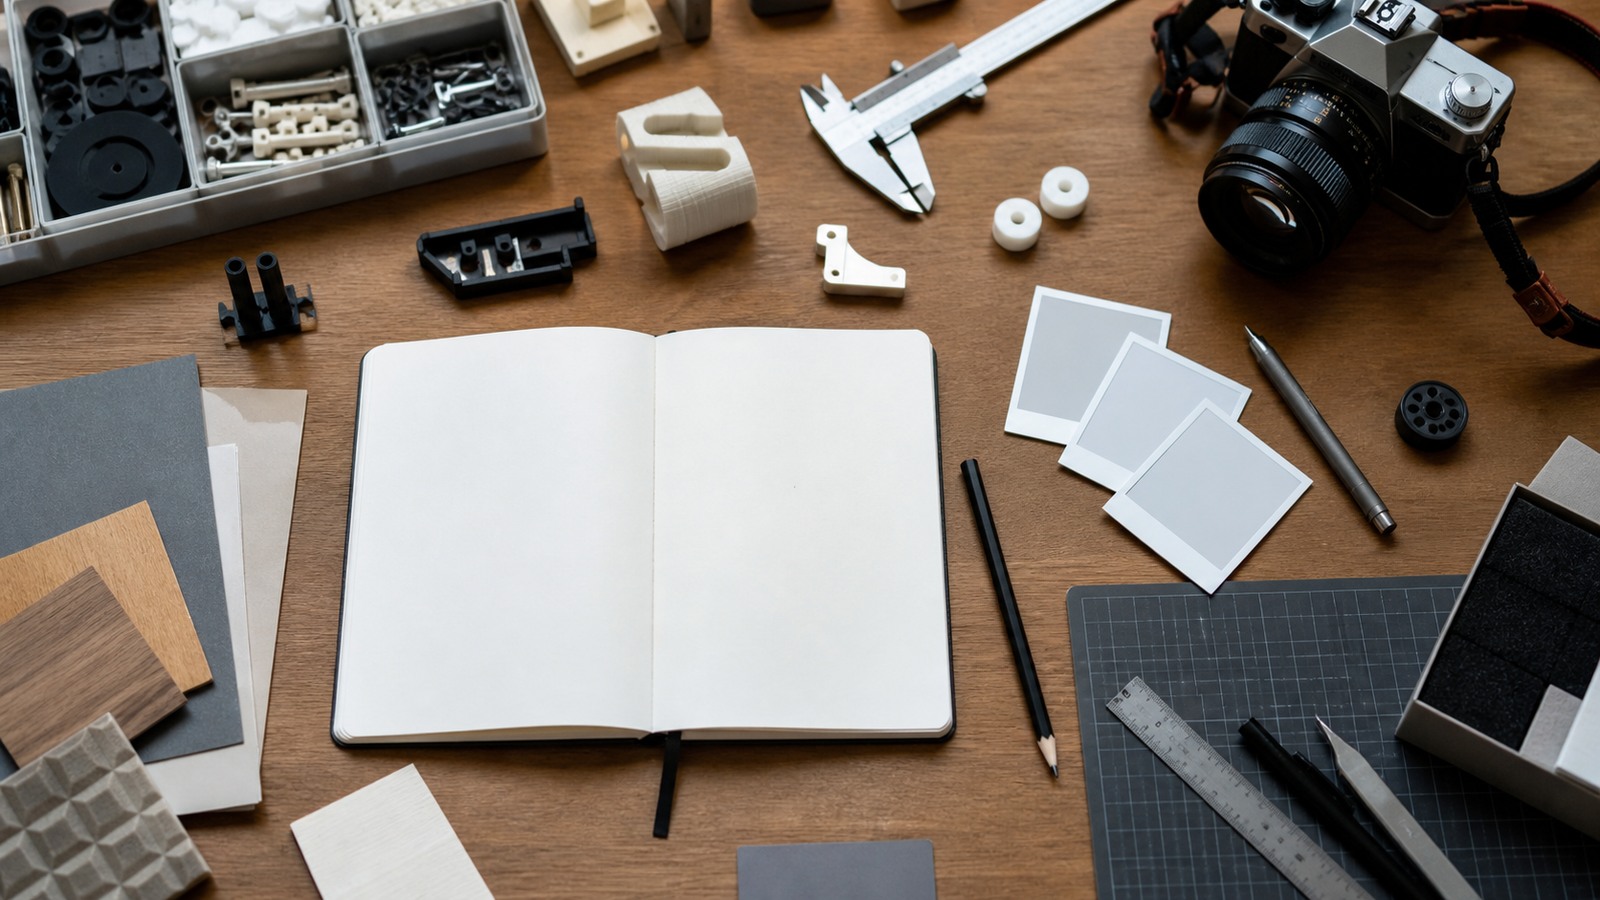
The best journal format is the one you will keep using with dusty hands, interrupted sessions, and imperfect lighting. A pocket notebook, binder, tablet, phone notes, shared folder, spreadsheet, or project management board can all work. The format matters less than whether entries are easy to create at the moment decisions happen.
Many makers use a hybrid system: quick paper notes at the bench, photos on a phone, and a digital folder for files and final summaries. That is fine. The journal should serve the project, not become a fragile ritual.
Record Decisions, Not Every Thought
A build journal does not need to capture everything you considered. It needs the decisions that changed the project and the evidence behind them. Why did the material change? Why did the hole move? Why did the print orientation shift? Why did the finish schedule change? Those notes are the ones future you will want.
This keeps the habit lightweight. If journaling requires an essay every session, it may disappear. A few practical sentences can preserve the important reasoning without slowing the build.
Use Journals To Improve Estimates
Project journals are excellent for learning how long work actually takes. Record rough time spent on design, cutting, sanding, printing, finishing, assembly, cleanup, and rework. Over several projects, patterns appear. Maybe finishing always takes twice as long as expected, or file preparation is the hidden time cost in digital fabrication.
Better estimates help with planning, pricing, and deciding project scope. They also reduce frustration because the next project begins with more realistic expectations.
Connect Files, Photos, And Physical Parts
A useful journal connects digital files, photos, and physical prototypes. If a printed bracket belongs to a certain CAD file and slicer profile, record that link. If a jig produced a successful part, photograph the setup and note the stop positions. If a finish sample worked, mark the sample and photograph the product sequence.
Projects often fail to repeat because the knowledge is scattered. The journal brings the pieces back together.
Turn The Final Review Into The Next Plan
At the end, write a short review while the project is still fresh. What worked, what failed, what surprised you, what would you buy differently, what setting should be reused, and what step deserves a better jig next time? This review turns one finished object into a better starting point for the next one.
The final review is also a confidence builder. It shows that skill is accumulating. Even a messy project can leave behind clearer judgment, and the journal makes that progress visible.
Make Restarting Easy
Many projects pause for days or weeks. A build journal makes restarting easier by recording where the work stopped, what decision comes next, what settings were last used, and what parts still need to be made. Without that record, a paused project can feel heavier than it is because the maker must reconstruct the whole context before touching a tool.
End each entry with one next action. It might be cut the second side panel, test the PETG bracket fit, sand to the next grit, order longer screws, or revise the hinge clearance. A clear next action lowers the friction of returning.
Track Costs Without Letting Them Dominate
Cost tracking is useful for products, commissions, teaching, and personal budgeting. Record material, hardware, consumables, machine time, shipping, tool purchases, and failed attempts when they affect the real cost of the project. This helps future estimates become more honest.
The journal does not need accounting perfection. Even rough cost notes reveal patterns: which materials create waste, which processes require hidden supplies, and which tools were bought for one job but became useful later. Better cost awareness improves planning without turning making into paperwork.
Use Journals For Safety Learning
A build journal can record safety lessons too. Near misses, awkward clamping, unexpected fumes, dull blades, poor lighting, or confusing machine behavior should be written down while the memory is fresh. These notes are not about blame. They are about making the next setup safer.
If a project involved a risky workaround, document the better fixture or process you would use next time. Safety knowledge improves when it is captured as specifically as design knowledge.
Create Searchable Project Memory
Digital folders, tags, filenames, or indexes can make old project knowledge searchable. If you often print parts, record filament and settings where search can find them. If you finish wood, keep finish schedules and sample photos together. If you build products, connect costs, suppliers, and version notes.
Searchable memory turns a pile of past projects into a personal reference library. The value grows slowly, then suddenly becomes obvious when an old note solves a new problem in minutes.
Let The Journal Show Your Progress
A build journal also records growth. Early entries may show confusion, rough sketches, and repeated mistakes. Later entries show better questions, cleaner setups, and faster diagnosis. That progress can be easy to miss when attention stays on the flaws of the current project.
Reviewing old journals can be encouraging and practical. You see which skills improved, which mistakes disappeared, and which ideas deserve another attempt. The journal becomes evidence that making is not only producing objects; it is building judgment over time.
Make The Journal Useful During Repairs
Repair work is where old notes become surprisingly valuable. A journal can reveal the finish used on a tabletop, the screw length hidden under a bracket, the filament used for a printed replacement part, or the wiring route inside an enclosure. Without those notes, repair starts with detective work.
Document hidden details before they are covered. Photos of hardware, wire paths, interior blocks, glue surfaces, and mounting points may seem unnecessary during the build, but they can save hours later. A repair-friendly journal makes the project more durable.
Share Only What Helps The Audience
A private build journal can contain messy reasoning, failed attempts, and shorthand. If you share the project publicly, choose the details that help someone else understand the build: key decisions, dimensions, materials, mistakes, and lessons. You do not need to publish every note for the journal to be valuable.
This separation keeps documentation honest. The private journal captures the real process, while the shared version teaches clearly. Both have a place.
Keep The Next Project In Mind
The best journal entries are written for the next project as much as the current one. A note about a clamp setup, finish test, failed print, or supplier delay may not feel important today, but it can save the next build from repeating the same detour. Write entries as if future you is a capable maker with a poor memory.
This attitude keeps the journal practical. You are not writing a diary of every shop moment. You are leaving useful clues for the next decision, the next repair, and the next version of your work. The value appears when an old note answers a new question before another mistake has to teach it.