Why Steel Welding Is One of the Most Valuable Maker Skills
Steel welding is one of the foundational skills of metal fabrication and modern manufacturing. From construction sites and automotive shops to home garages and professional fabrication facilities, welding steel allows builders to create strong, permanent metal structures from simple raw materials. Whether you want to build furniture, repair machinery, fabricate brackets, or construct large frames, welding opens the door to nearly unlimited creative and practical possibilities. For beginners entering the world of fabrication, steel is the ideal starting material. It is strong, affordable, widely available, and forgiving compared to many other metals. With the right tools and a basic understanding of welding techniques, even a first-time welder can begin creating functional projects within a short period of practice. Learning to weld steel also builds a deeper understanding of heat, metallurgy, and structural strength. As molten metal fuses together under controlled heat, you begin to understand how metal behaves and how strong joints are formed. These principles apply across many industries including manufacturing, construction, automotive repair, and artistic metalworking. This guide will walk you through the fundamentals of welding steel step by step. By understanding the tools, safety practices, and core welding techniques, you can begin developing the skills needed to fabricate durable steel structures in your own workshop.
A: With practice and proper guidance, beginners can learn basic welding quickly.
A: MIG welding is usually the easiest method to start with.
A: Yes, shielding gas protects the weld from contamination.
A: Incorrect heat, travel speed, or dirty metal surfaces can cause poor welds.
A: It is best to grind rust away before welding.
A: Welding arcs can exceed 6,000°F.
A: Mild steel around 1/8 inch thick is ideal for practice.
A: Yes, with proper ventilation and safety equipment.
A: Not always, but grinding can improve appearance.
A: Basic skills can be learned in weeks, but mastery takes years.
Understanding the Basics of Steel Welding
At its core, welding is the process of joining two pieces of metal by melting them and allowing the molten metal to fuse together as it cools. When done correctly, the welded joint becomes as strong as the surrounding metal, forming a permanent structural connection.
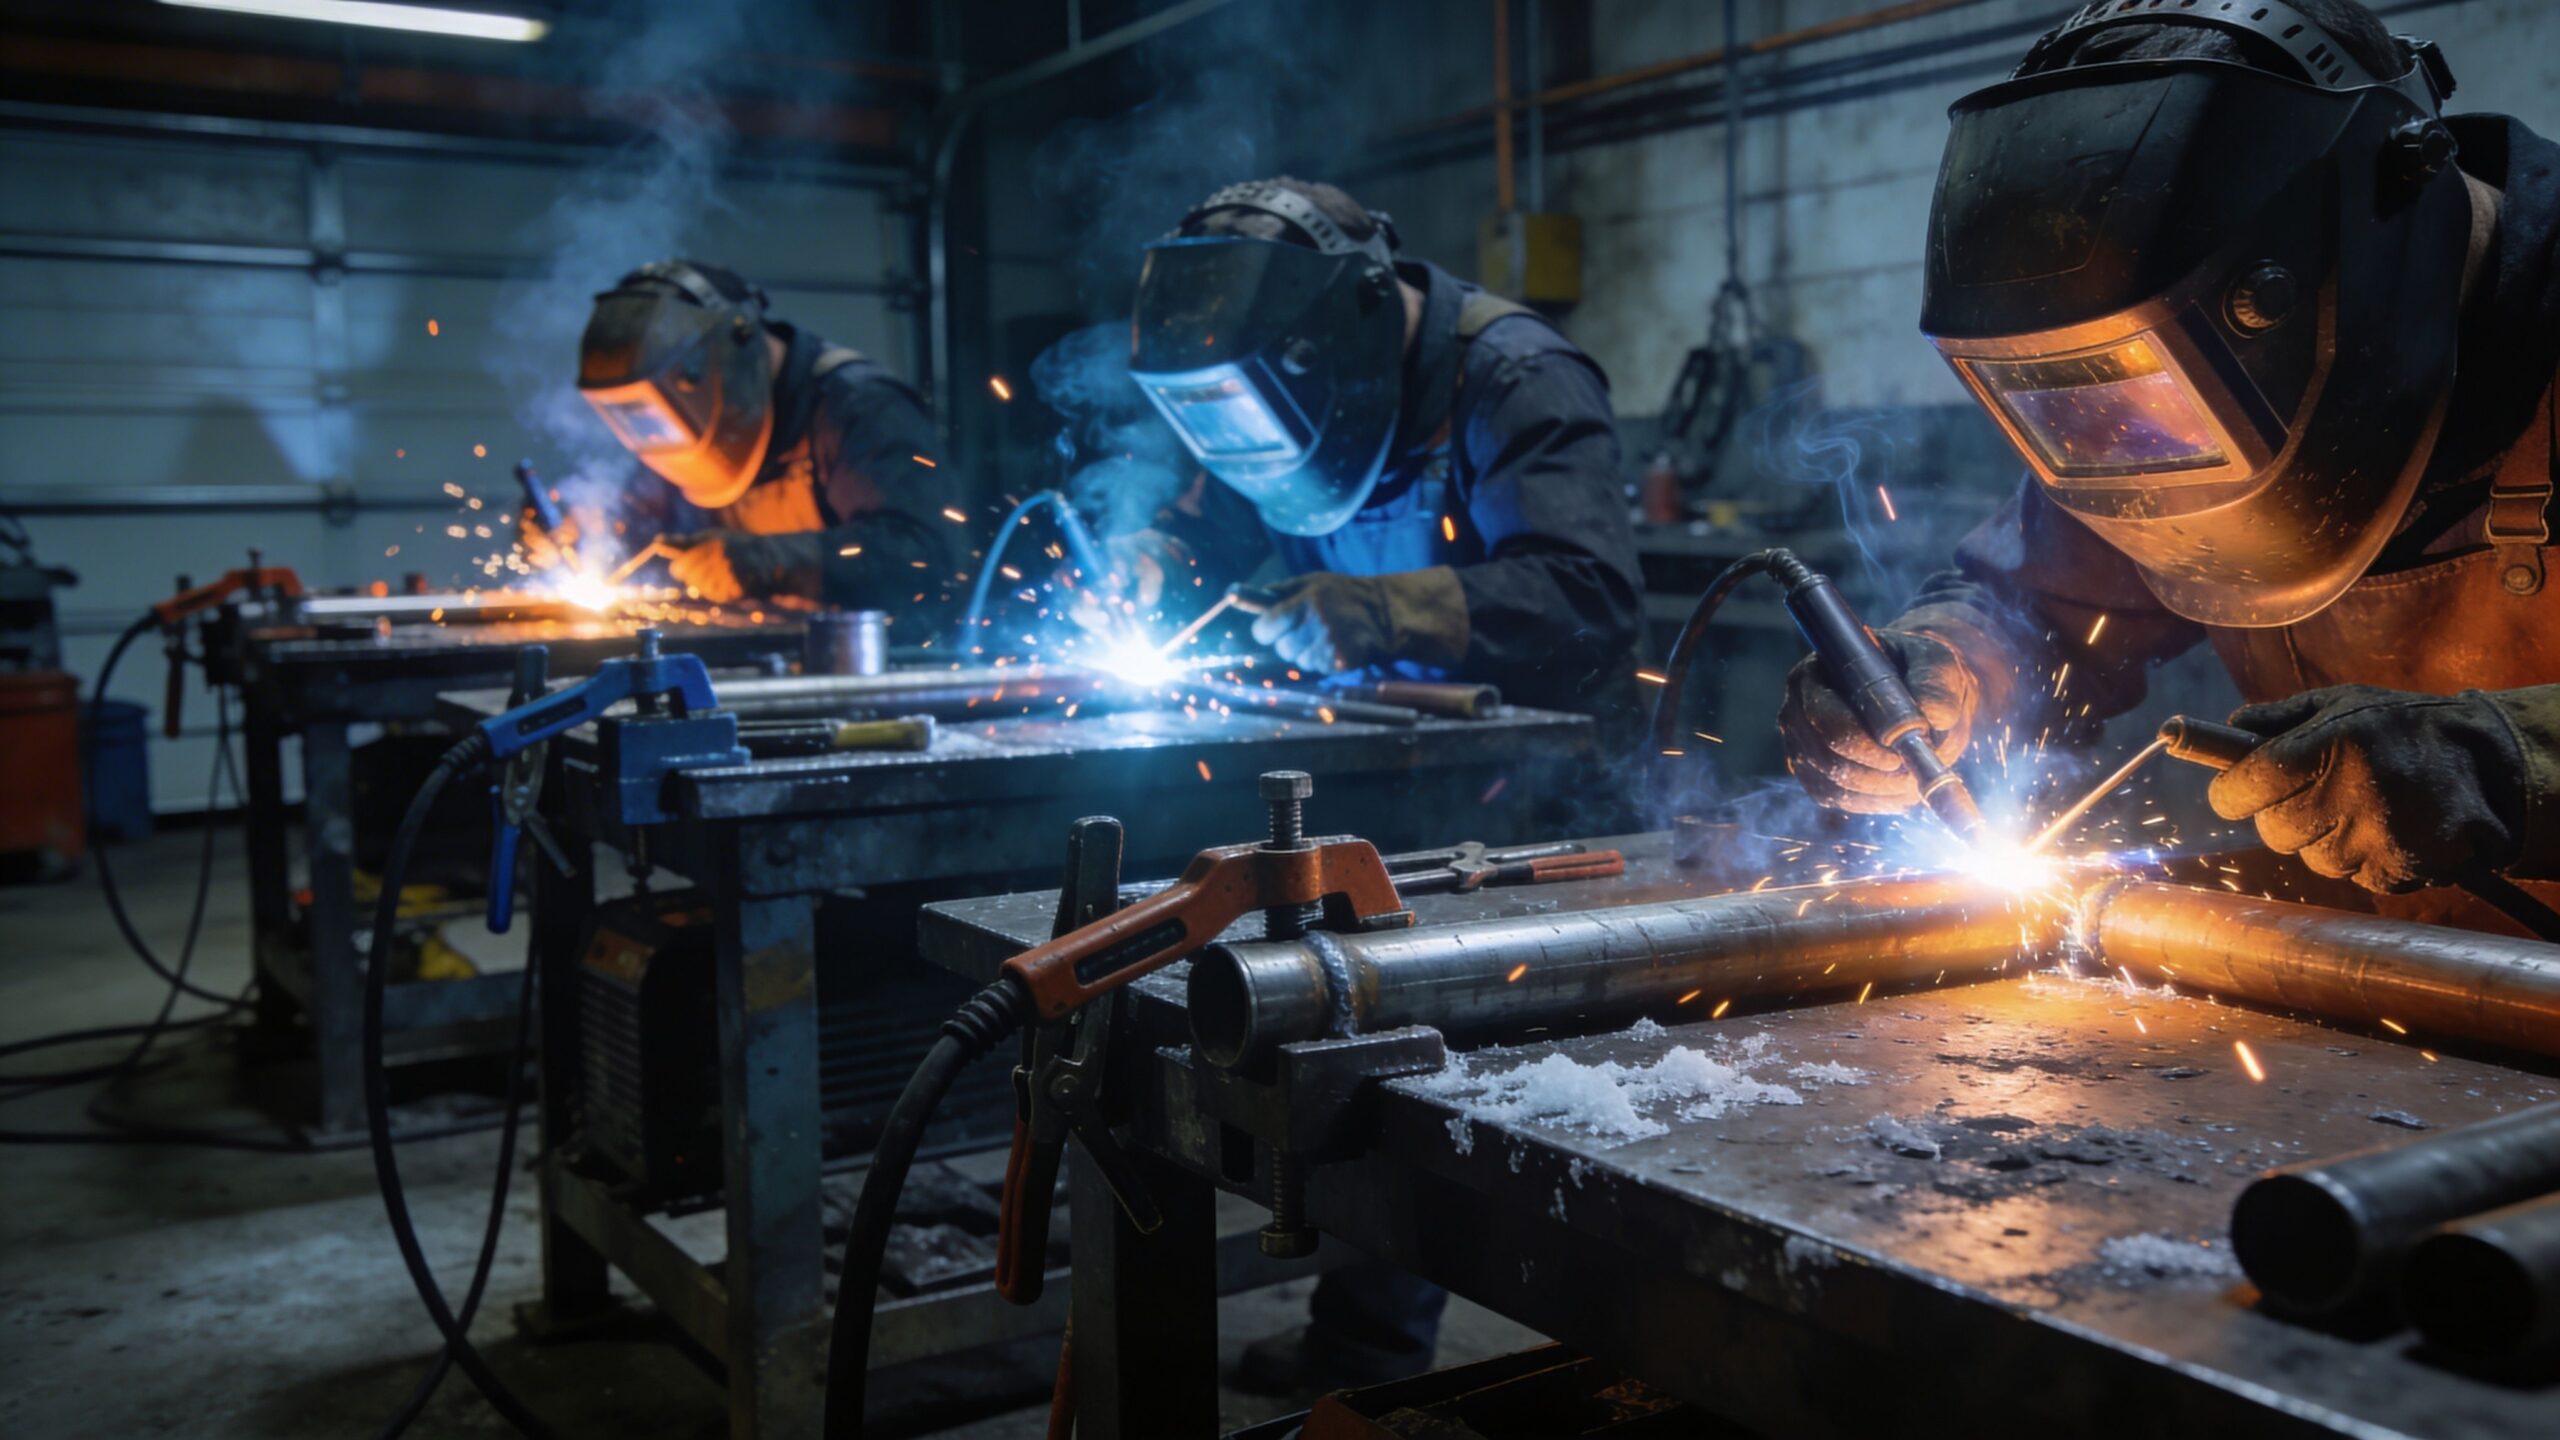
Steel welding typically uses an electric arc to generate intense heat. This arc forms between the welding electrode and the steel surface, instantly raising temperatures high enough to melt the metal. As the metal cools, it solidifies into a continuous bond.
There are several common welding methods used for steel. MIG welding, also known as Gas Metal Arc Welding, is widely considered the easiest method for beginners. It uses a continuously fed wire electrode and shielding gas to create smooth welds quickly. TIG welding offers greater precision and is often used for high-quality fabrication work, though it requires more practice and control. Stick welding, also called Shielded Metal Arc Welding, is a rugged method commonly used for outdoor and heavy structural work.
For beginners learning how to weld steel, MIG welding is usually the best place to start because it is easier to control and produces consistent results.
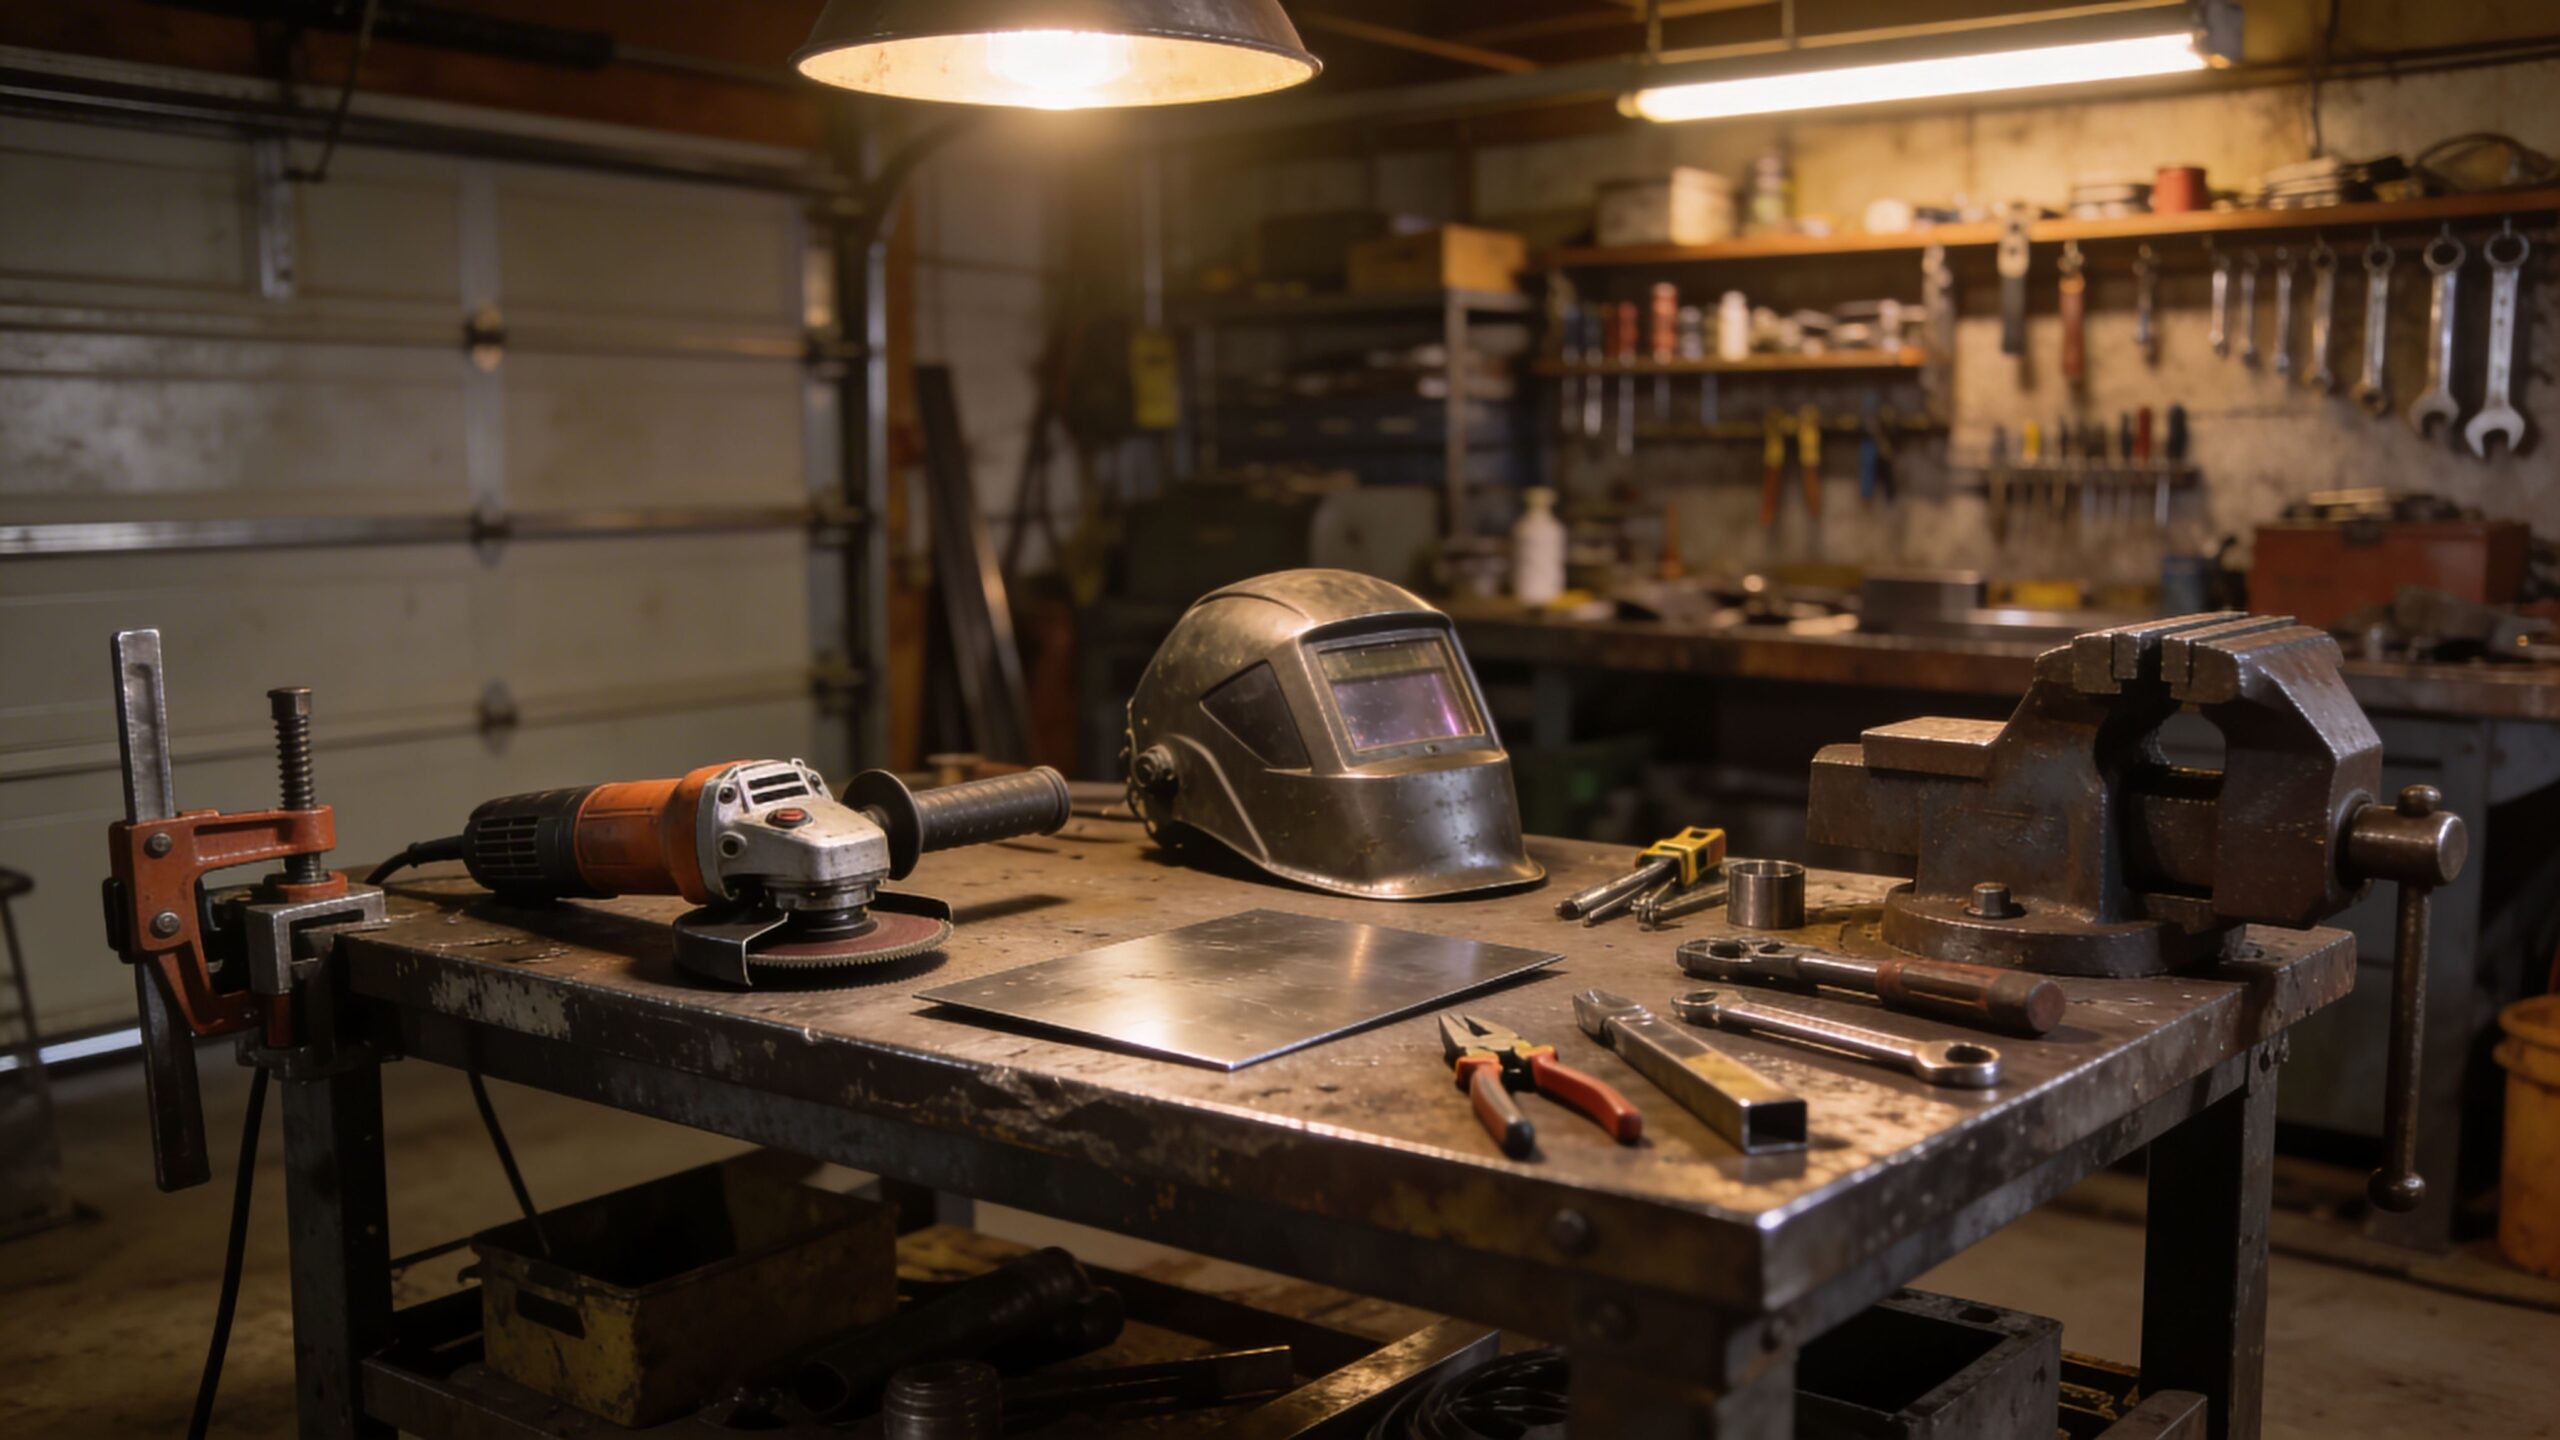
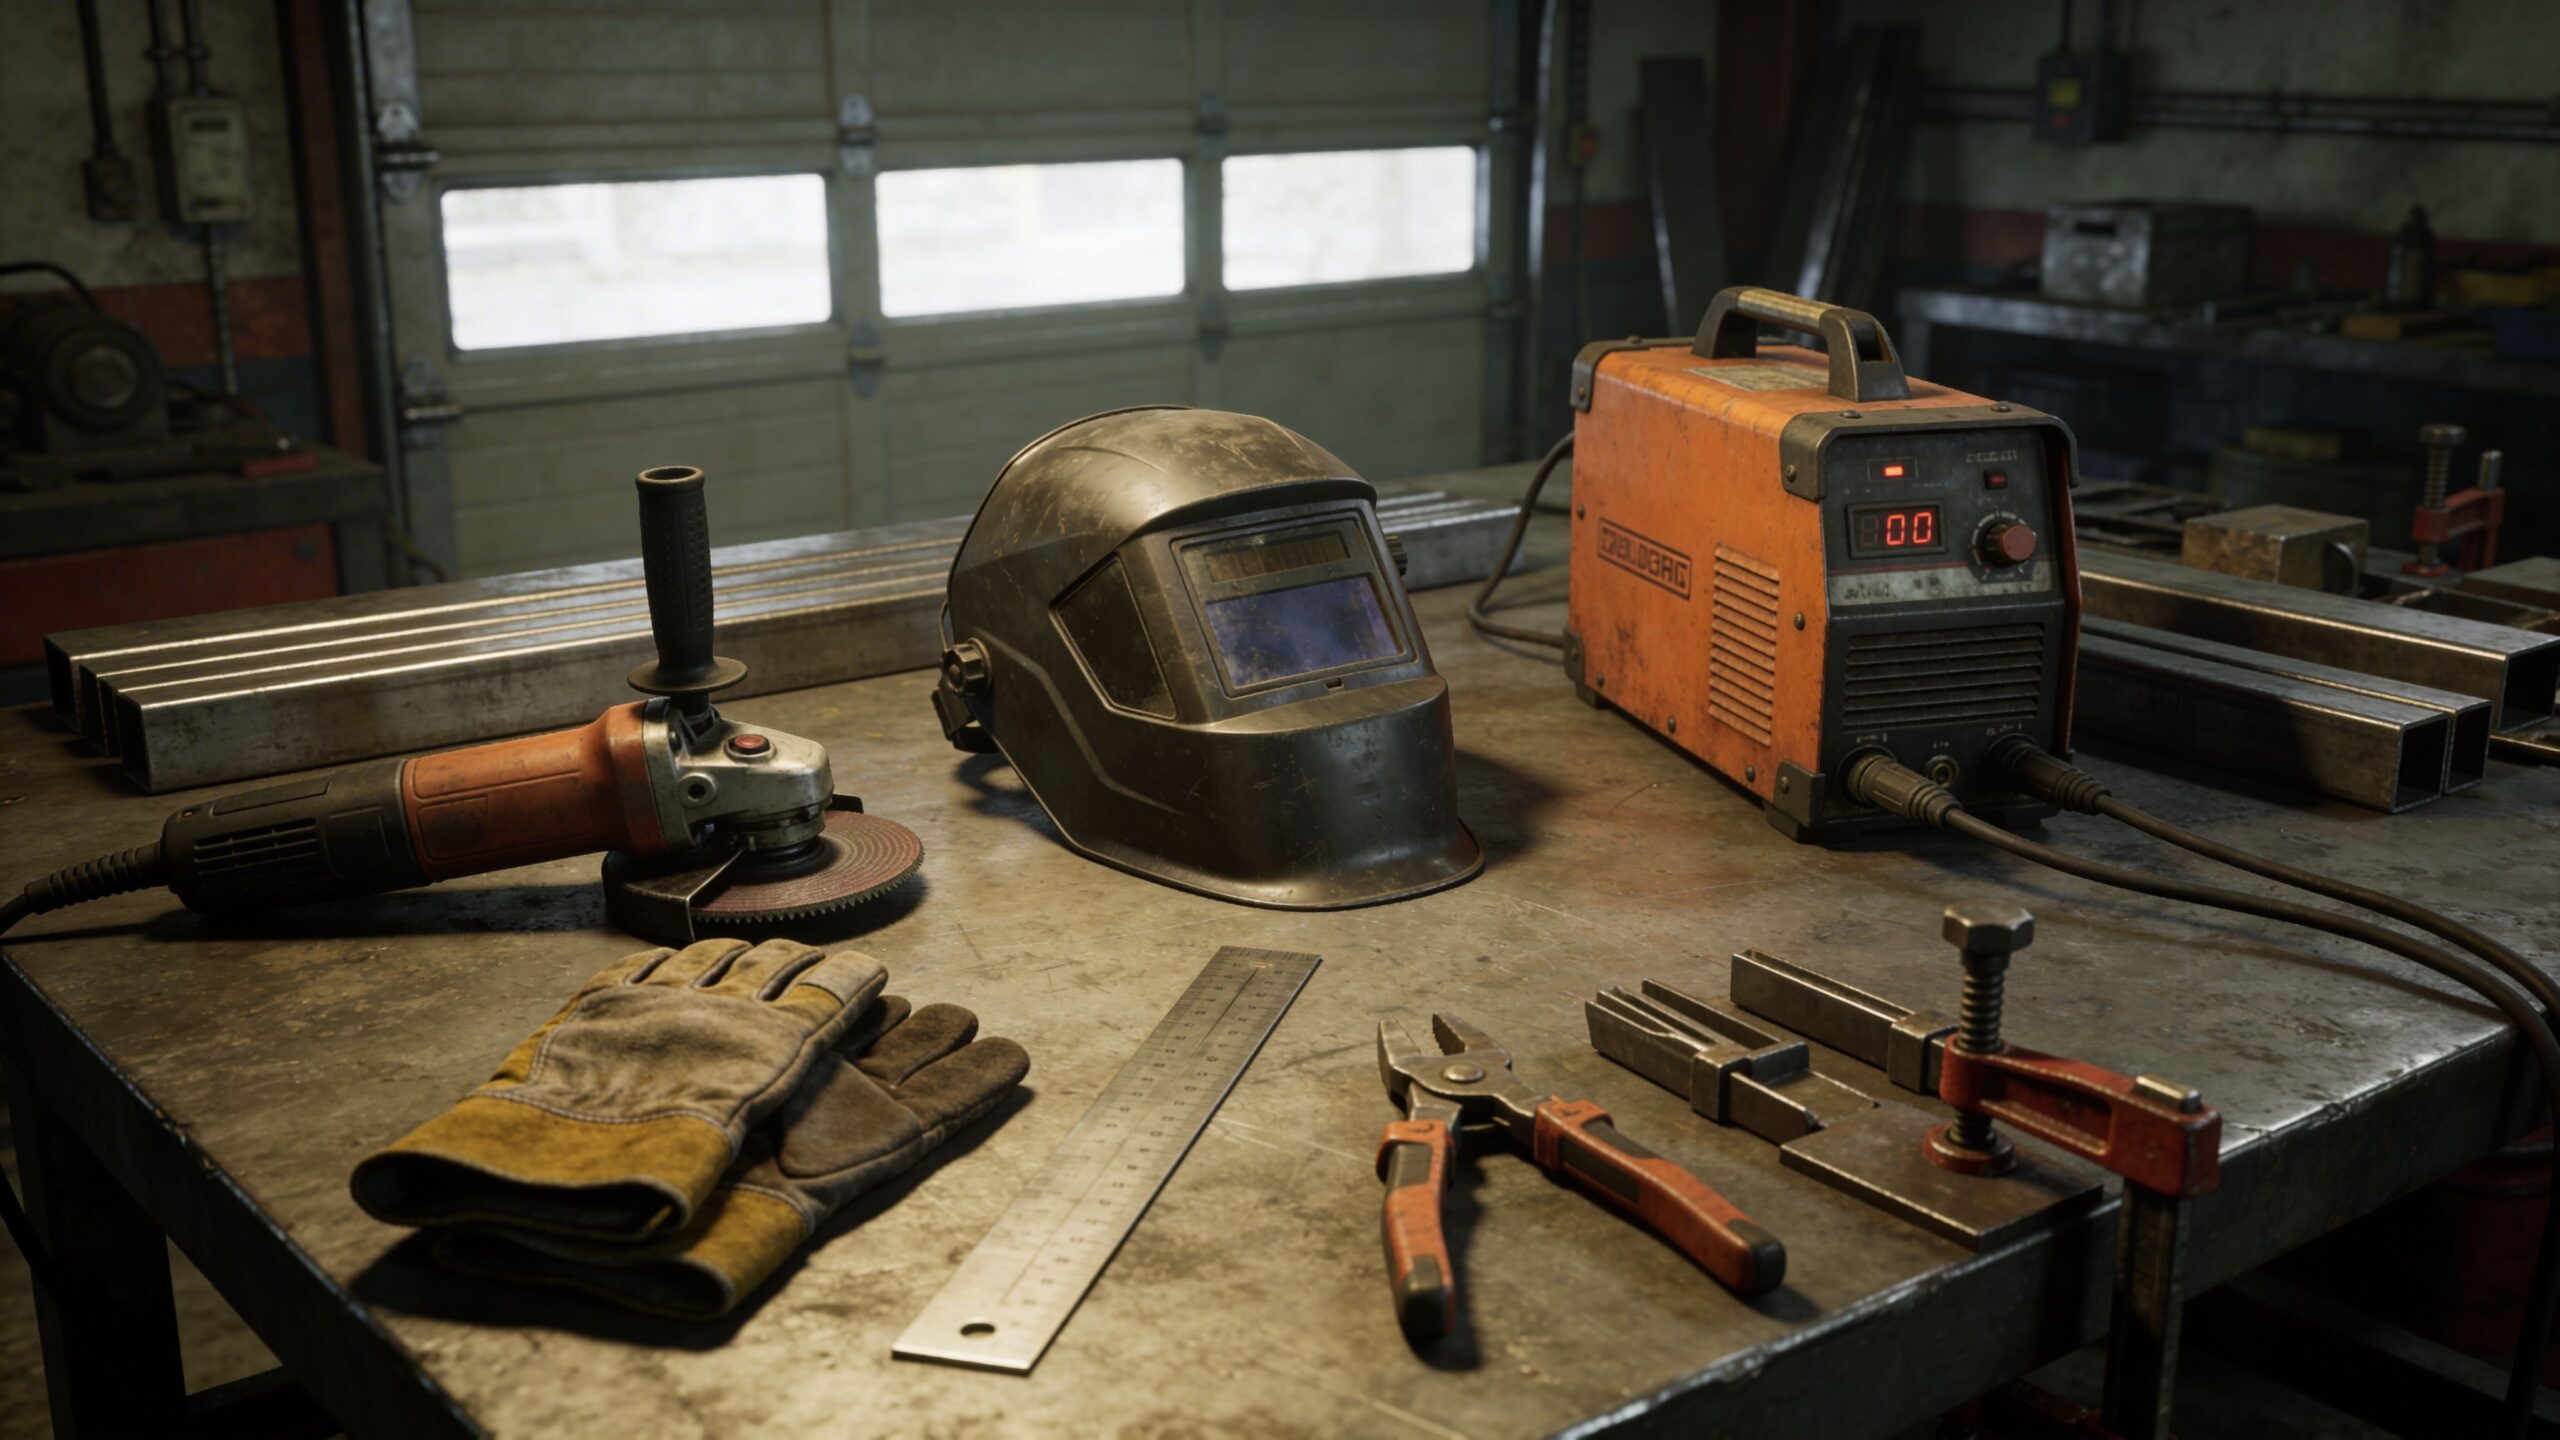
Essential Tools and Equipment for Welding Steel
Before striking your first arc, it is important to understand the equipment required for steel welding. A well-prepared workspace makes learning easier and significantly improves safety. The welding machine is the central tool of the process. For beginners, a small MIG welder with adjustable voltage and wire speed settings is a practical choice. Modern welding machines are compact, efficient, and capable of producing excellent results on common steel materials. Protective gear is equally important. Welding arcs produce intense ultraviolet light, sparks, and molten metal that can cause serious injuries without proper protection. A high-quality welding helmet with an auto-darkening lens protects your eyes and face while allowing clear visibility during work. Welding gloves, flame-resistant clothing, and sturdy boots protect your skin from sparks and heat.
A strong metal workbench provides a stable surface for welding projects. Clamps and magnetic squares help hold steel pieces in place while welding, ensuring alignment and accuracy. Angle grinders, wire brushes, and metal cutting tools are also essential for preparing and finishing welded joints. A well-equipped beginner welding station does not need to be complicated, but having the right tools dramatically improves the learning experience.
Preparing Steel for Welding
Proper preparation is one of the most overlooked steps in beginner welding. Clean metal surfaces allow the welding arc to produce strong, reliable bonds between steel pieces. Steel surfaces often contain mill scale, rust, oil, or paint that can interfere with the welding process. These contaminants can cause weak welds, poor penetration, and defects such as porosity. Cleaning the metal ensures the welding arc interacts directly with the steel rather than impurities.
An angle grinder with a flap disc or grinding wheel is commonly used to remove rust and scale. A wire brush can also help clean the surface before welding. The goal is to expose clean, shiny steel where the weld will be applied.
Joint preparation is also important. Steel pieces should be aligned carefully, with edges touching or spaced appropriately depending on the joint type. Clamps and magnets help hold parts steady so they remain aligned during welding. Taking time to prepare the metal properly results in stronger welds and cleaner final results.
Step One: Setting Up the Welding Machine
The first step in the welding process is configuring the welding machine correctly. Proper machine settings ensure the arc produces enough heat to melt the steel without creating excessive spatter or burn-through. For MIG welding, two primary settings control the weld: voltage and wire feed speed. Voltage determines how hot the arc becomes, while wire feed speed controls how quickly the electrode wire feeds into the weld. Thicker steel requires higher voltage and faster wire speed, while thin steel requires lower settings to prevent burning through the metal. Many modern welding machines include charts that recommend settings based on material thickness and wire diameter.
Shielding gas also plays an important role in MIG welding. A common mixture of argon and carbon dioxide protects the molten weld pool from contamination by the surrounding air. Without shielding gas, oxygen and nitrogen can weaken the weld. Once the machine settings are adjusted, the welder is ready to begin practicing welds.
Step Two: Positioning and Tack Welding
Before creating a full weld, the steel pieces must be positioned accurately. Small welds called tack welds temporarily hold parts together and prevent movement during the welding process. Tack welds are placed at key points along the joint to maintain alignment. These short welds keep the steel pieces from shifting as heat is applied during the final weld pass. For beginners, practicing tack welding is an excellent way to become comfortable with controlling the welding torch and maintaining a steady hand.
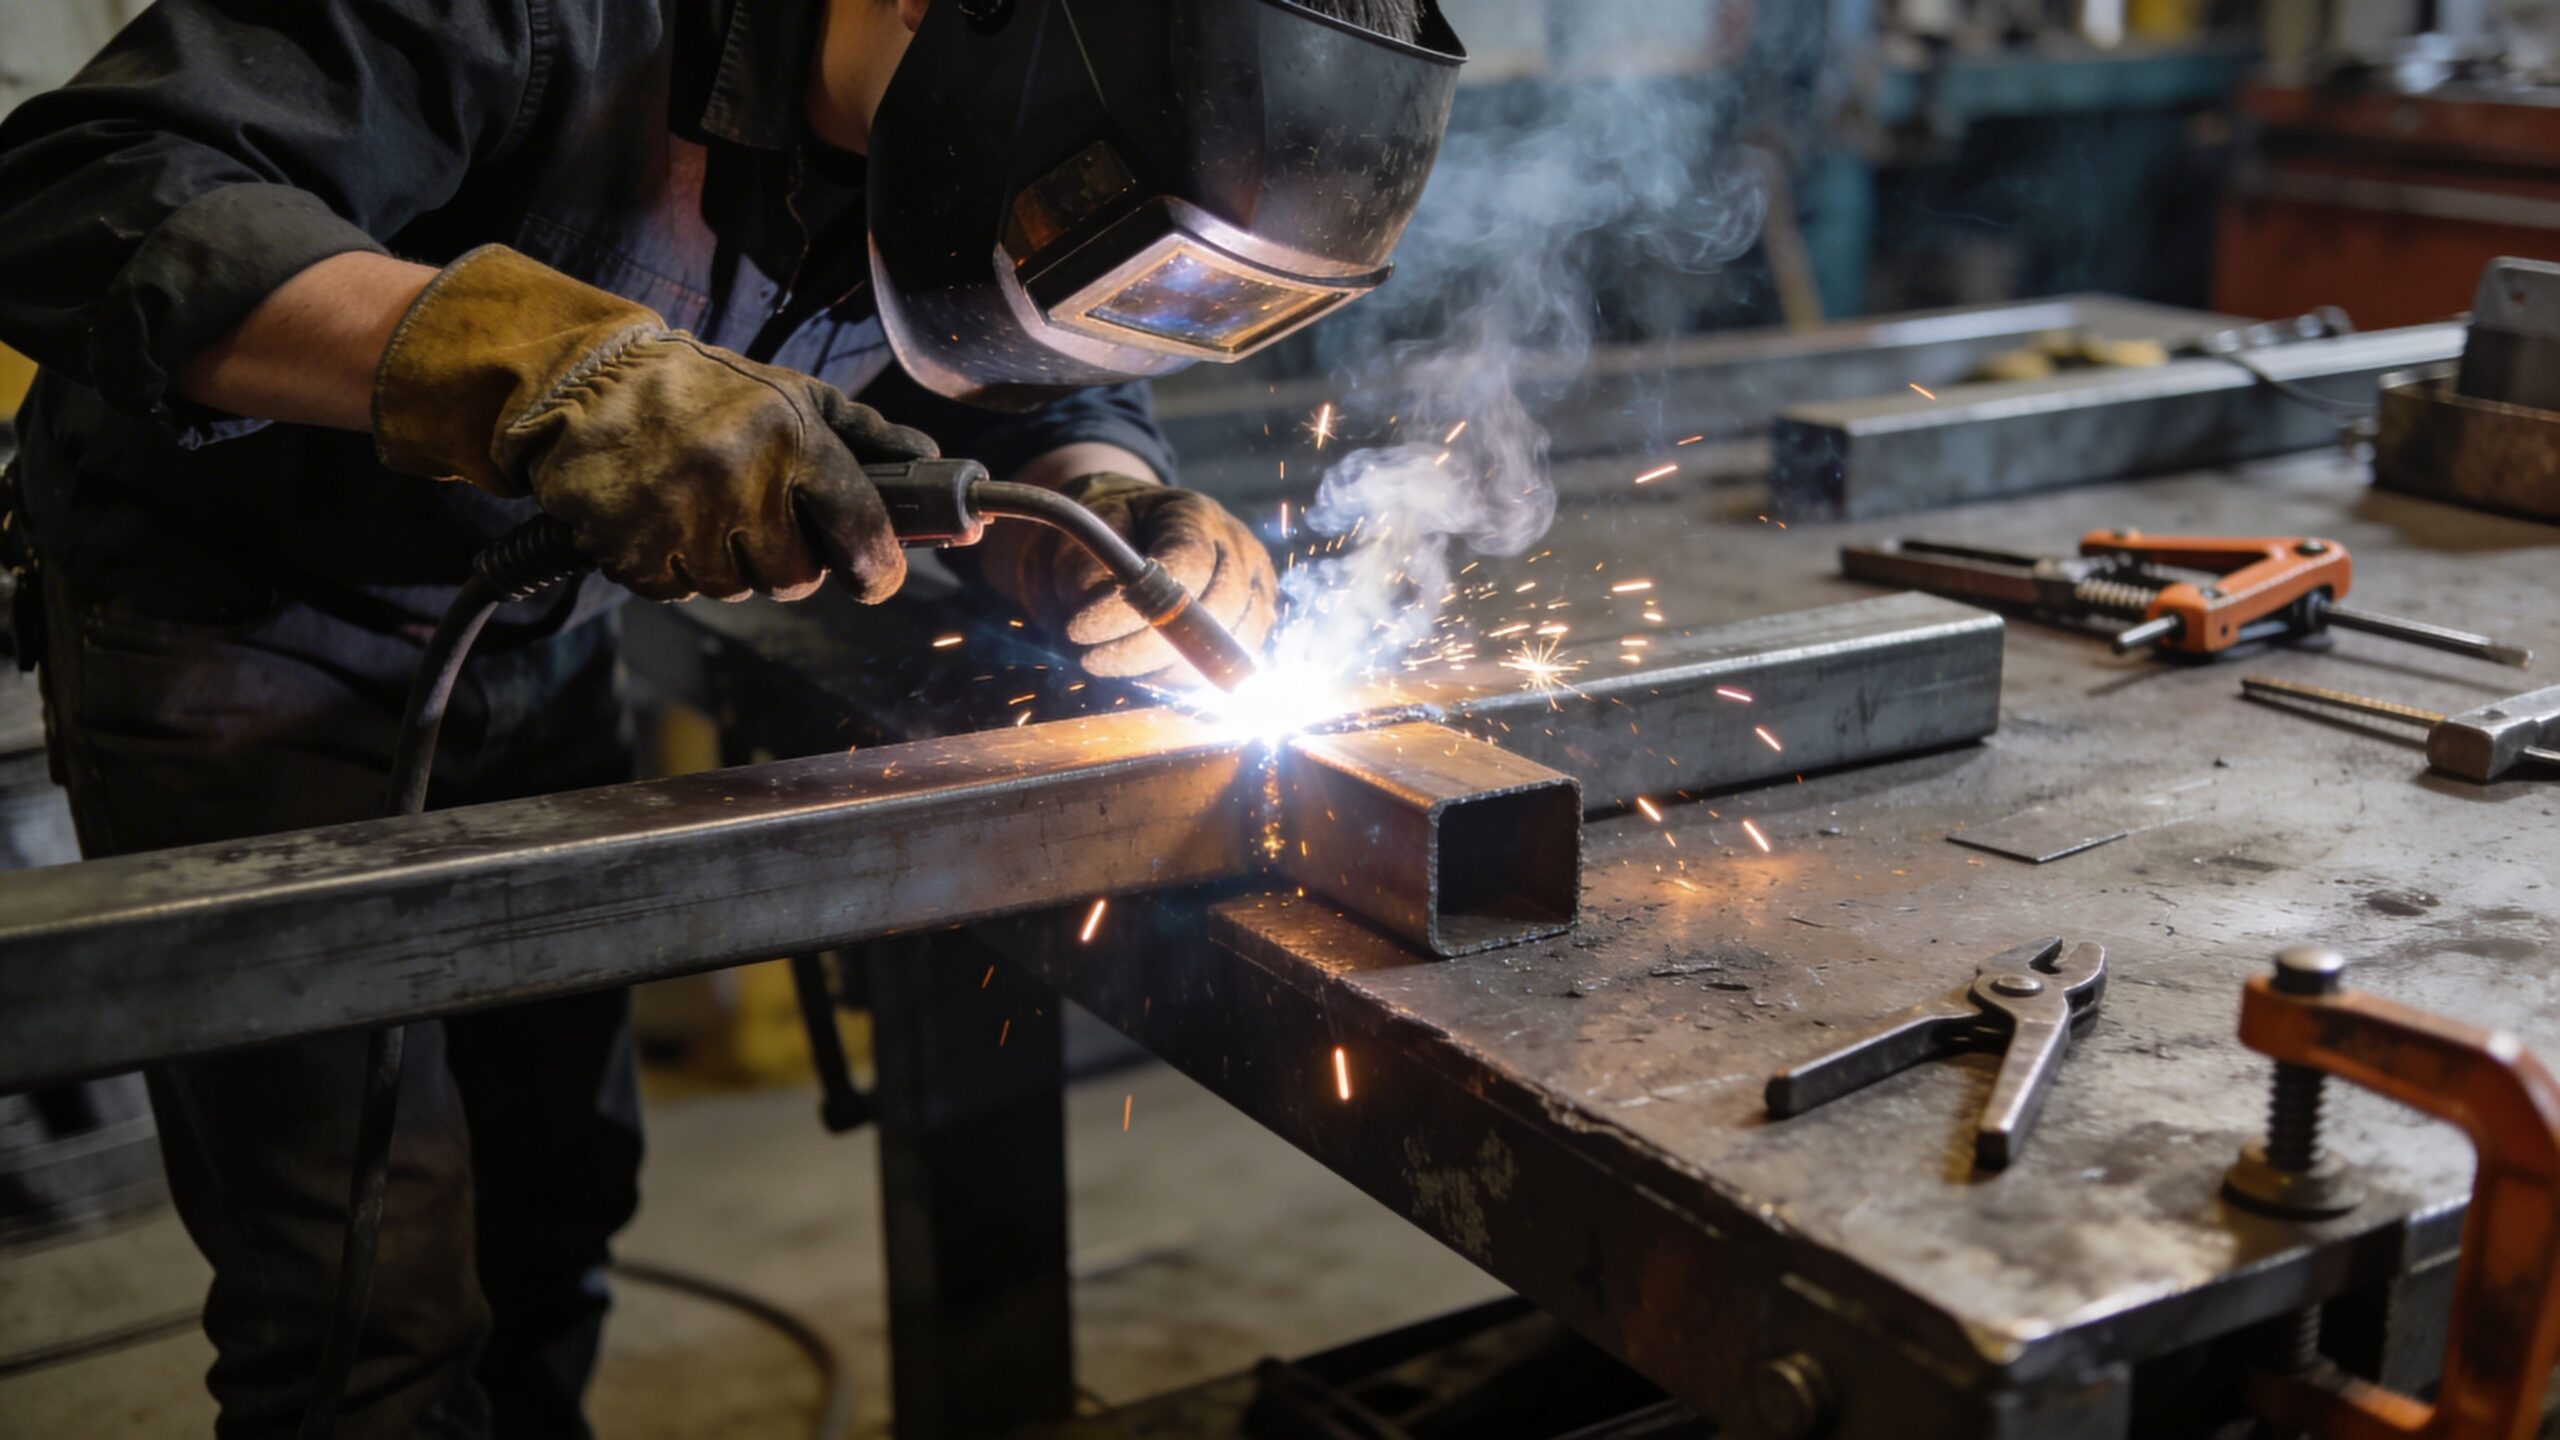
Step Three: Creating the Weld Bead
The weld bead is the visible line of fused metal that forms when two steel pieces are welded together. Producing a consistent weld bead requires steady movement, proper torch angle, and controlled speed. The welding torch should be held at a slight angle relative to the steel surface, typically around fifteen degrees. This angle helps direct the molten metal into the joint while maintaining visibility of the weld pool.
As the arc melts the steel, the welder moves the torch slowly along the joint. Moving too quickly can produce weak welds with insufficient penetration, while moving too slowly may create excessive buildup or burn-through. The goal is to maintain a consistent molten weld pool that flows evenly along the joint. With practice, welders learn to recognize the shape and behavior of the weld pool and adjust their speed accordingly.
Step Four: Controlling Heat and Penetration
Heat control is one of the most important skills in steel welding. Proper heat ensures the weld penetrates deeply into the steel without damaging the surrounding metal. Penetration refers to how deeply the molten metal fuses into the base material. A weld with insufficient penetration may look acceptable on the surface but lack structural strength. Excessive heat, however, can warp the metal or burn holes in thin steel. Maintaining the correct balance between heat and travel speed ensures strong, durable welds. Beginners often develop this skill through repeated practice on scrap steel before attempting larger projects.
Step Five: Inspecting and Cleaning the Weld
Once the weld is complete, the joint should be inspected for quality. A good weld bead appears smooth and consistent, with even width and minimal spatter.
Grinding or brushing the weld can remove surface slag or rough edges. In some fabrication projects, welds are left visible as part of the structural design, while in others they are ground smooth for aesthetic purposes. Inspecting welds carefully helps beginners learn from each practice pass and improve their technique.
Common Mistakes Beginners Should Avoid
Many new welders struggle with a few predictable challenges during their first welding attempts. Moving the torch too quickly often leads to weak welds that lack proper penetration. Moving too slowly can cause excessive buildup or distortion. Another common mistake is welding dirty or contaminated metal surfaces. Even small amounts of rust, oil, or paint can weaken welds and cause defects.
Beginners may also forget to maintain proper torch angle and distance from the workpiece. Keeping a consistent position helps produce stable arcs and uniform weld beads. Recognizing these mistakes early helps beginners improve faster and build confidence in their welding abilities.
Practicing and Improving Your Welding Skills
Like many fabrication skills, welding improves dramatically with practice. The best way to learn is by repeatedly welding scrap steel pieces and experimenting with different machine settings and techniques. Practice joints such as butt joints, lap joints, and fillet welds help beginners develop control over the welding process. As your confidence grows, you can begin building simple projects such as metal brackets, small frames, or workshop furniture. Over time, welders develop a feel for how molten metal behaves and how to control the welding arc effectively.
The Creative Potential of Steel Welding
Steel welding is more than a technical skill. It is a creative tool that allows makers to transform raw metal into functional structures and artistic designs. Fabricators build everything from automotive components and industrial equipment to decorative sculptures and custom furniture.
For builders, mechanics, and creative makers, welding becomes a gateway into the broader world of metal fabrication. With patience and practice, beginners can develop the skills needed to tackle increasingly complex projects. Learning how to weld steel is the first step in mastering one of the most powerful skills in the world of making and fabrication.