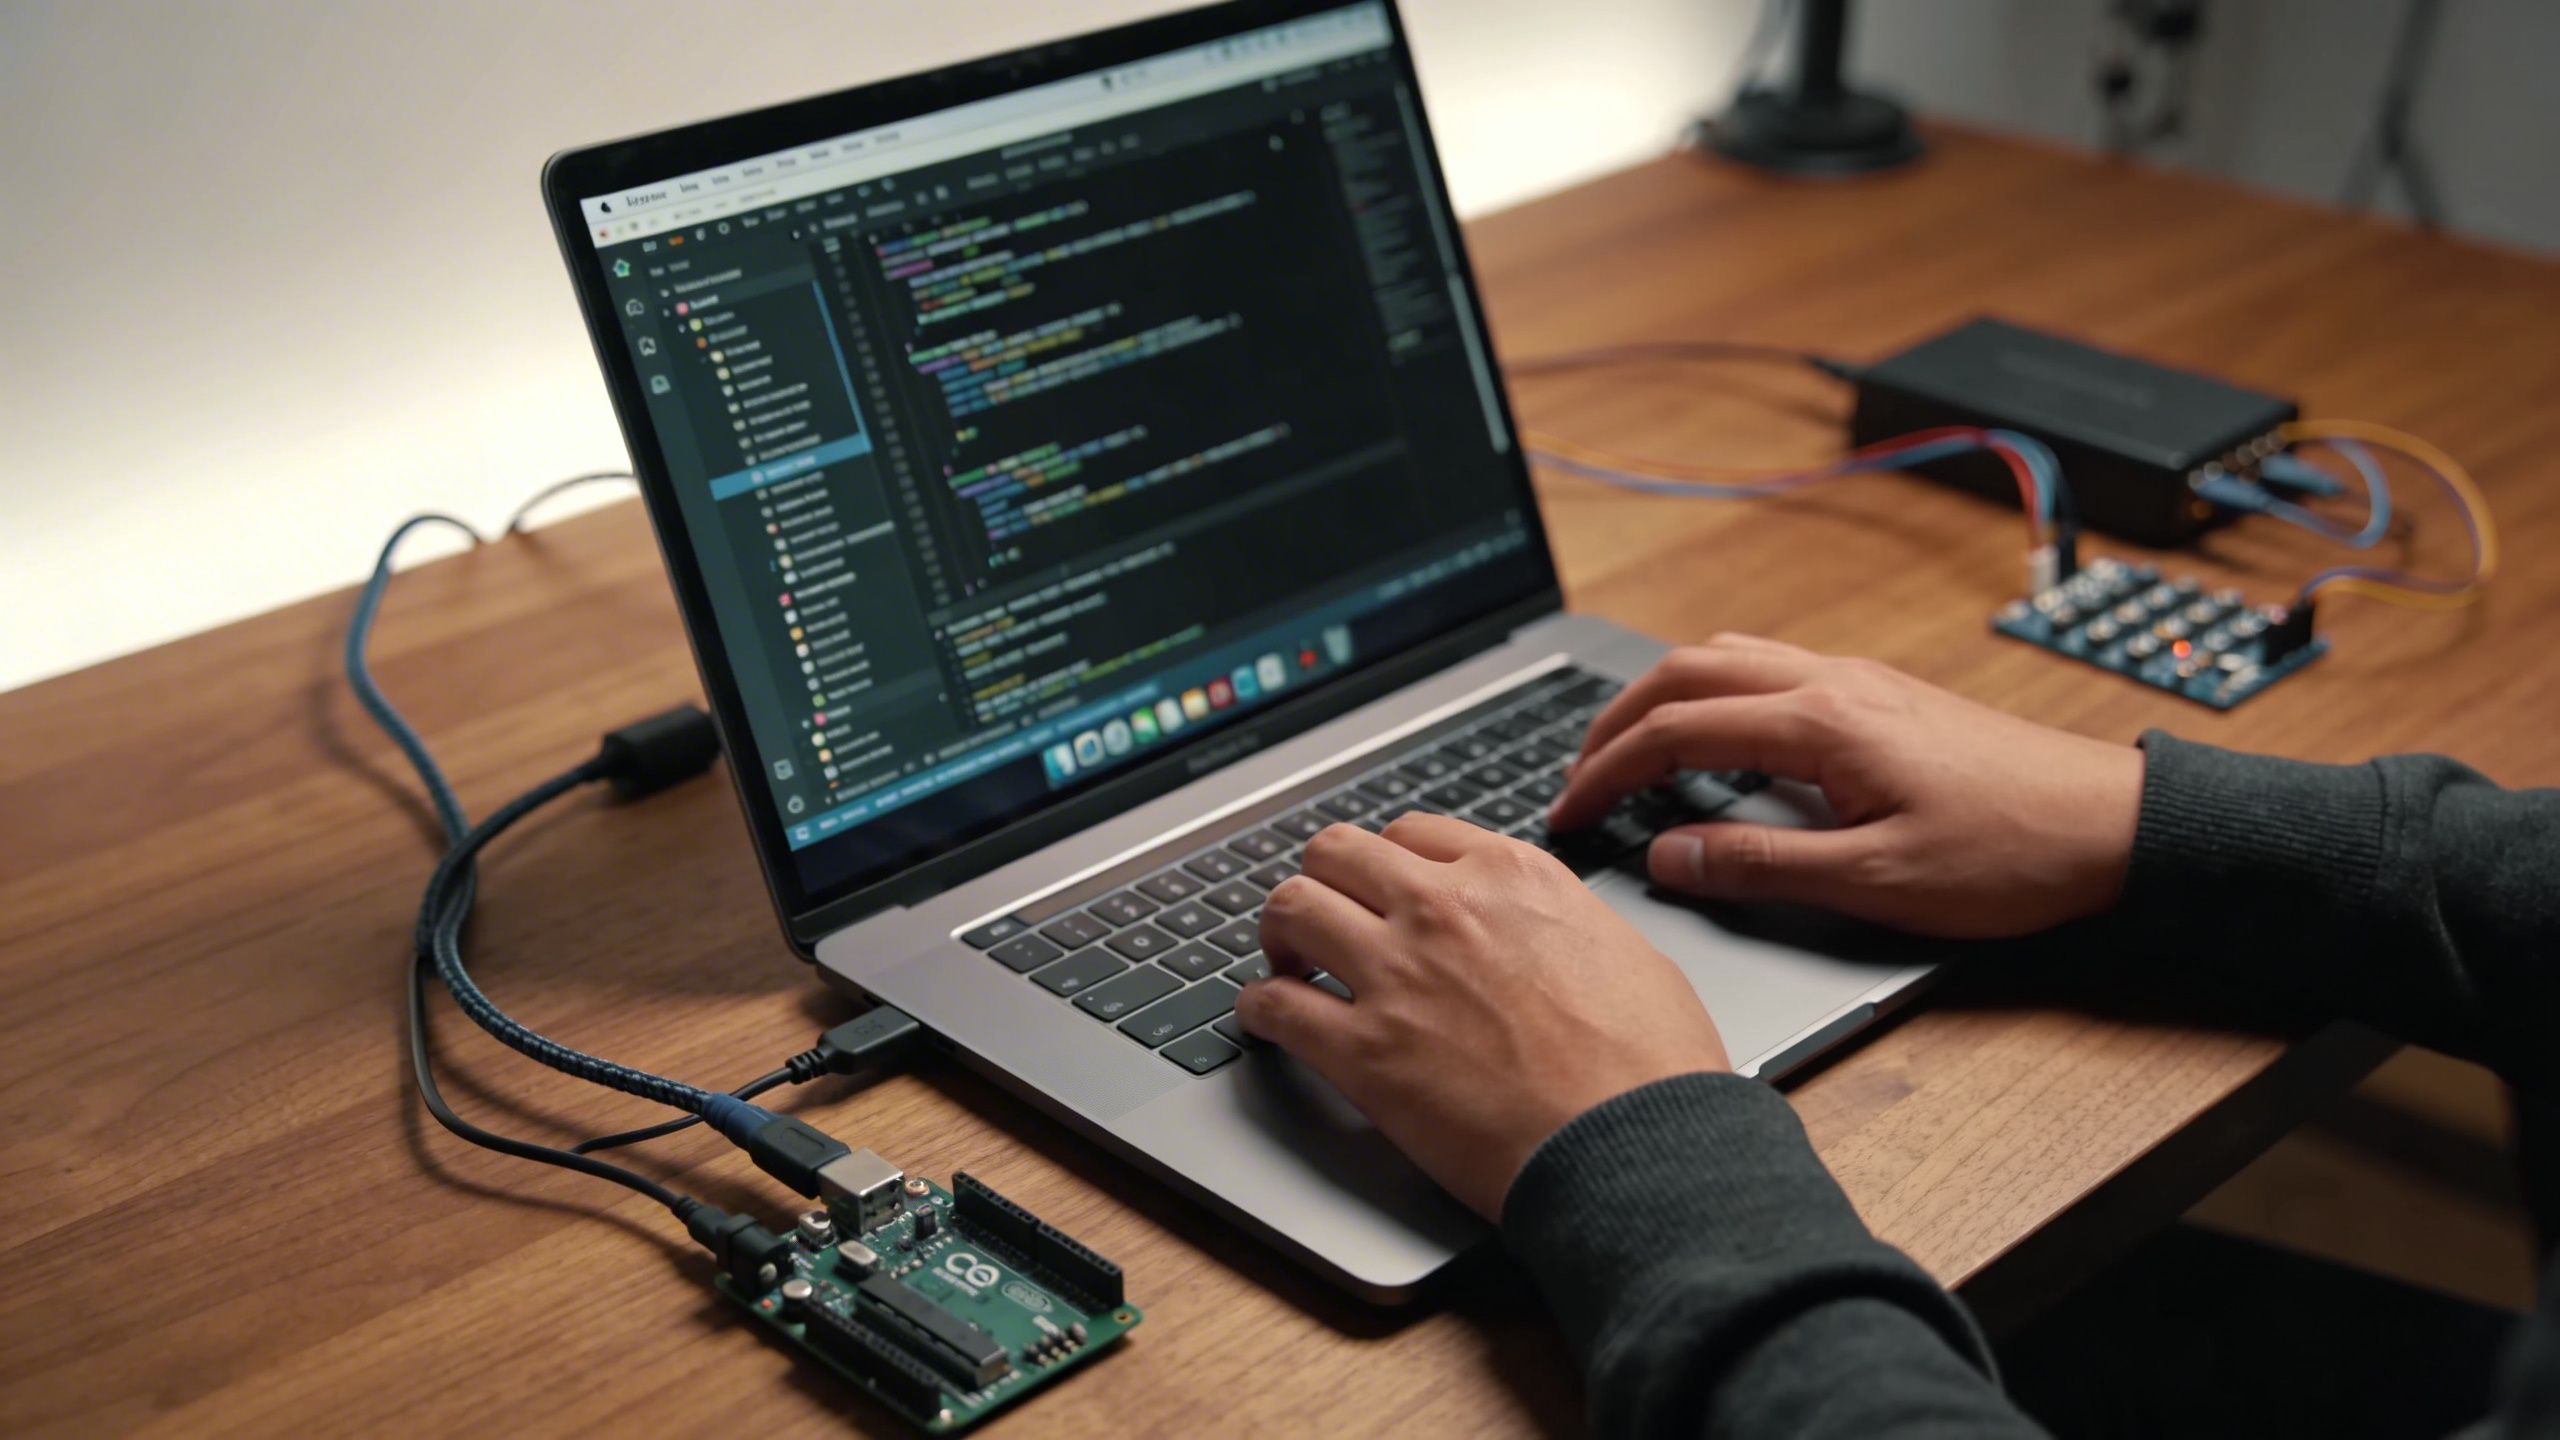
Where Code Meets the Real World
Microcontrollers are the quiet heroes behind countless devices that make modern life feel responsive. They control coffee machines, thermostats, car sensors, fitness trackers, toys, and tools, all with tiny chips that sip power and execute simple instructions at high speed. For makers and DIY builders, microcontroller coding is the fastest path from “cool idea” to “working invention,” because it translates intent into action: lights that react, motors that move with purpose, and sensors that turn the world into data. If you have ever wanted a project to do something on its own, you are already thinking like a microcontroller programmer. You want a system that watches for changes, decides what they mean, and responds in a way that feels deliberate. That is the essence of embedded thinking. You do not need to be an electrical engineer to get started, but it helps to understand that a microcontroller is not a general-purpose computer. It is a purpose-built brain designed to do a few things very well, often under strict timing and power limits. This guide breaks down microcontroller coding in a way that keeps it maker-friendly while still giving you the real mental model. You will learn how microcontrollers “see” the world through inputs, how they influence it through outputs, and why timing, voltage, and clean code structure matter more than people expect. By the end, you will be able to look at a DIY project and understand what the code must do, what the hardware must do, and how to make both behave reliably.
A: A small chip that runs firmware to control inputs and outputs in real time.
A: Microcontrollers run one focused program and interact directly with hardware pins.
A: Motors can cause voltage dips and noise unless power and grounding are designed well.
A: Yes, current-limiting resistors protect LEDs and microcontroller pins.
A: PWM controls brightness and motor speed by switching output rapidly.
A: Use non-blocking timing with timers or time checks to keep the loop responsive.
A: Add serial logging and test hardware modules one at a time.
A: Start with UART for basics, then learn I2C for sensors and displays.
A: Use smoothing and thresholds with hysteresis for stable behavior.
A: Yes, firmware skills are foundational for prototyping and product development.
What a Microcontroller Really Is
A microcontroller is a small chip that combines a processor, memory, and input/output peripherals in one package. Instead of running a full operating system like a laptop, a microcontroller usually runs one program at a time, called firmware. Firmware starts when power is applied, continues running in a loop, and interacts directly with hardware pins and internal modules. This direct relationship is why microcontroller projects feel so immediate: when your code changes, the physical behavior changes.
Inside the chip, the processor executes instructions, the memory stores your program and variables, and peripherals handle tasks like reading analog sensors, generating PWM signals, or talking to other devices over communication buses. These peripherals are not just optional features. They are the reason microcontrollers are so effective. When you use a timer module or an ADC, you are delegating work to specialized hardware designed for that exact job.
For makers, it helps to think of a microcontroller as a toolbox with a brain attached. The “brain” runs your logic, while built-in tools handle timing, measurement, communication, and signal generation. Coding becomes the act of choosing which tools to use and how to coordinate them so your project behaves predictably.
Inputs, Outputs, and the Language of Pins
Microcontroller projects often begin with a single pin, because pins are where the physical world touches code. An input pin lets the microcontroller detect something. An output pin lets it control something. That sounds simple, but most beginner confusion happens here, because the same pin can behave very differently depending on how you configure it.
Digital inputs read states like HIGH and LOW. You can use them for buttons, motion sensors, and switches. Digital outputs set states like HIGH and LOW, which can drive LEDs, trigger relays, or send logic signals to motor drivers. Analog inputs read a range of values, usually by converting a voltage into a number through an ADC. That is how you read potentiometers, light sensors, and many environmental sensors. The crucial idea is that pins do not “know” what they are connected to. Your code tells the microcontroller how to interpret the electrical reality on a pin. If you forget a pull-up resistor on a button input, your code might see random values that look like ghosts. If you drive a motor directly from a pin, you might overload the microcontroller and create resets that look like “mystery bugs.” Good microcontroller coding includes pin setup as part of system design, not as an afterthought.
Firmware: The Program That Never Sleeps
Most microcontroller firmware follows a start-and-loop pattern. There is an initialization phase where you configure pins, set up communication, and prepare variables. Then there is a loop where you repeatedly read inputs, update logic, and write outputs. This loop runs fast, often thousands of times per second, which is why microcontroller projects can feel responsive even with simple code.
The loop approach is powerful, but it can create subtle problems if you rely on blocking delays. A delay freezes the processor, meaning it cannot read sensors or update outputs during that time. Beginners often use delays to create timing effects, like blinking LEDs or waiting before triggering an action. That works for simple projects, but it breaks down quickly when your project needs to do more than one thing at once.
A more maker-friendly approach is to think in terms of “check and act” timing using a clock or timer. Instead of pausing, you track time and decide when to perform actions. This creates code that feels like multitasking even without an operating system. It is one of the most valuable shifts in mindset for DIY builders moving from toy projects to reliable systems.
Timing Is a Feature, Not a Detail
Microcontrollers are all about timing. They read sensors at certain intervals, generate signals at specific frequencies, and respond to events within time windows. When timing is sloppy, projects become unpredictable. When timing is intentional, projects feel polished and professional.
A classic example is debouncing a button. Real buttons do not switch cleanly. They bounce, producing rapid on-and-off transitions that last a few milliseconds. If your code reads the button at the wrong time, it can interpret one press as multiple presses. Proper microcontroller coding includes either hardware debouncing or software logic that stabilizes inputs over time. Timing also appears in PWM control, where you create an output that rapidly switches on and off to simulate a lower voltage. This is how you control LED brightness and motor speed. If the PWM frequency is wrong, LEDs can flicker or motors can whine. Timers, interrupts, and non-blocking logic allow you to shape timing precisely, which is what turns DIY prototypes into devices that behave like finished products.
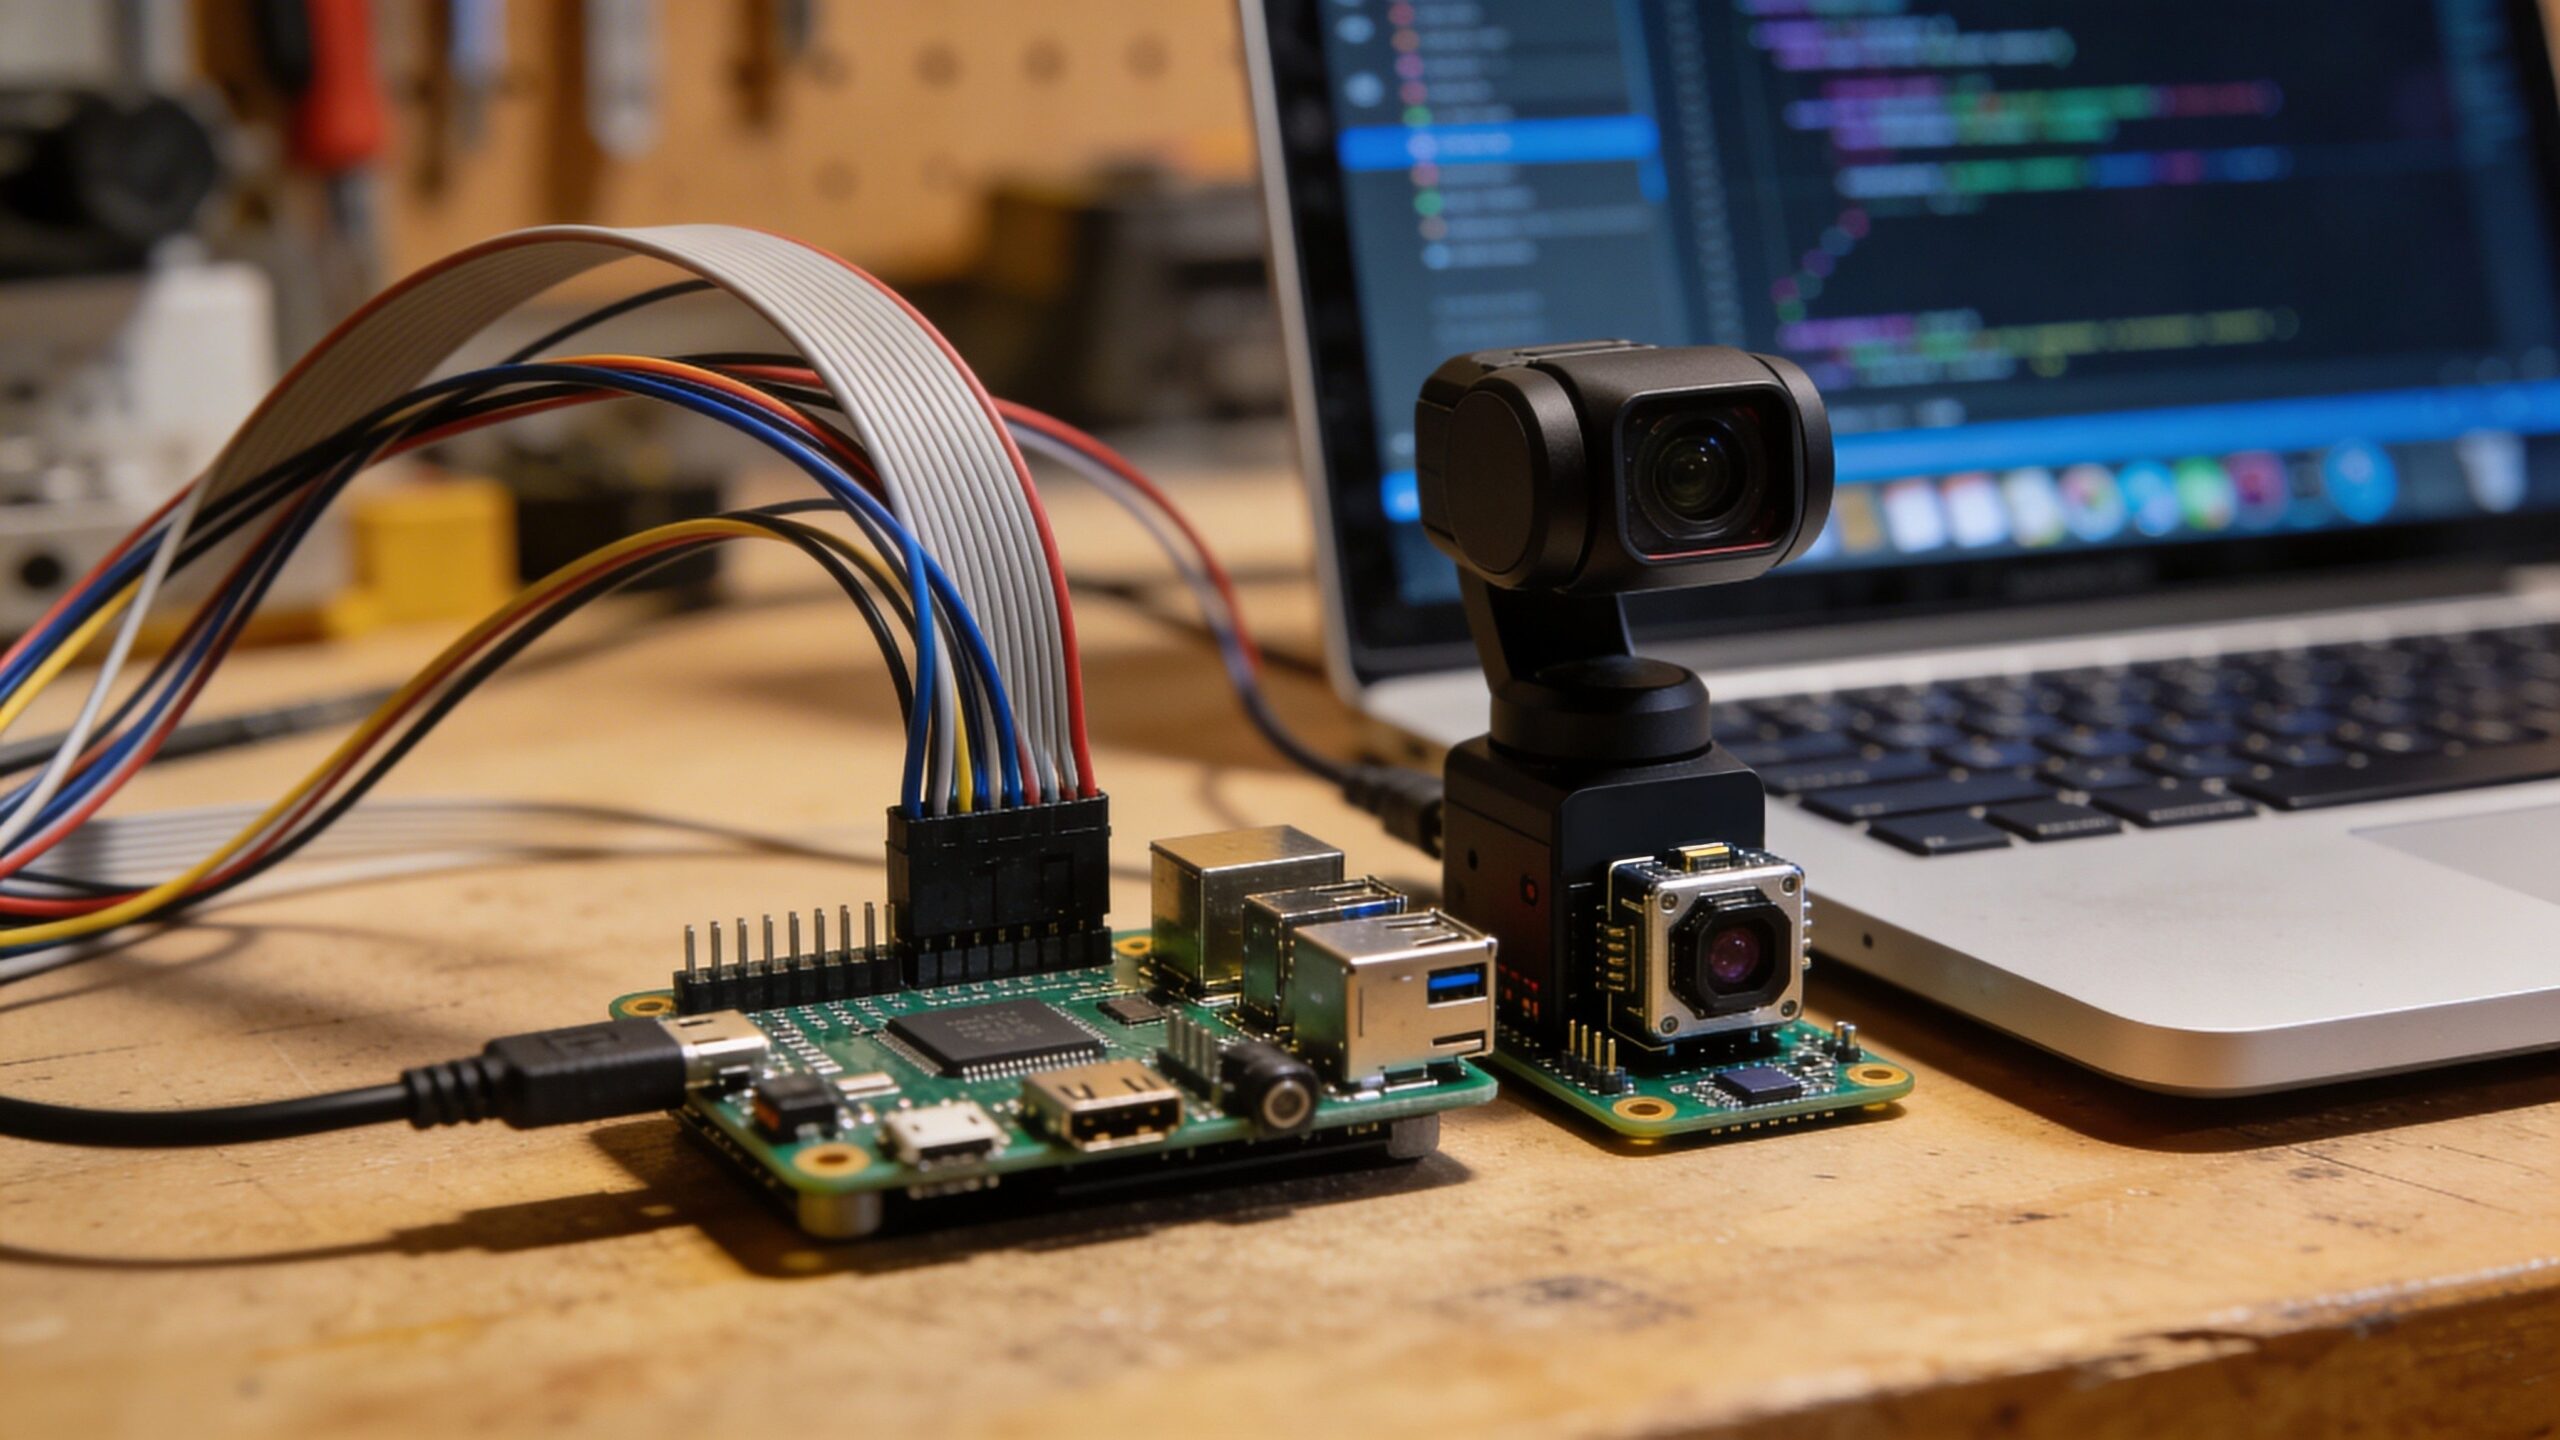
Sensors: Turning Reality Into Numbers
Sensors are the eyes and ears of a microcontroller project. Some sensors provide simple digital signals, like a motion detector that goes HIGH when it detects movement. Others provide analog voltages that represent intensity, temperature, or pressure. More advanced sensors communicate digitally through protocols like I2C or SPI, providing measurements as structured data.
Coding sensors is rarely just “read the value.” You often need to interpret the value, smooth it, and decide what it means for your project. Light sensors fluctuate. Temperature sensors drift. Motion sensors sometimes false-trigger. Maker-friendly firmware treats sensor data as a stream that needs context, not a single truth.
A practical approach is to read sensors regularly, apply simple filtering, and create thresholds that include hysteresis. Hysteresis prevents rapid toggling when a sensor value hovers near a boundary. For example, a fan might turn on at a higher temperature and turn off at a slightly lower temperature to avoid constant switching. These small coding techniques drastically improve the perceived quality of a DIY build.
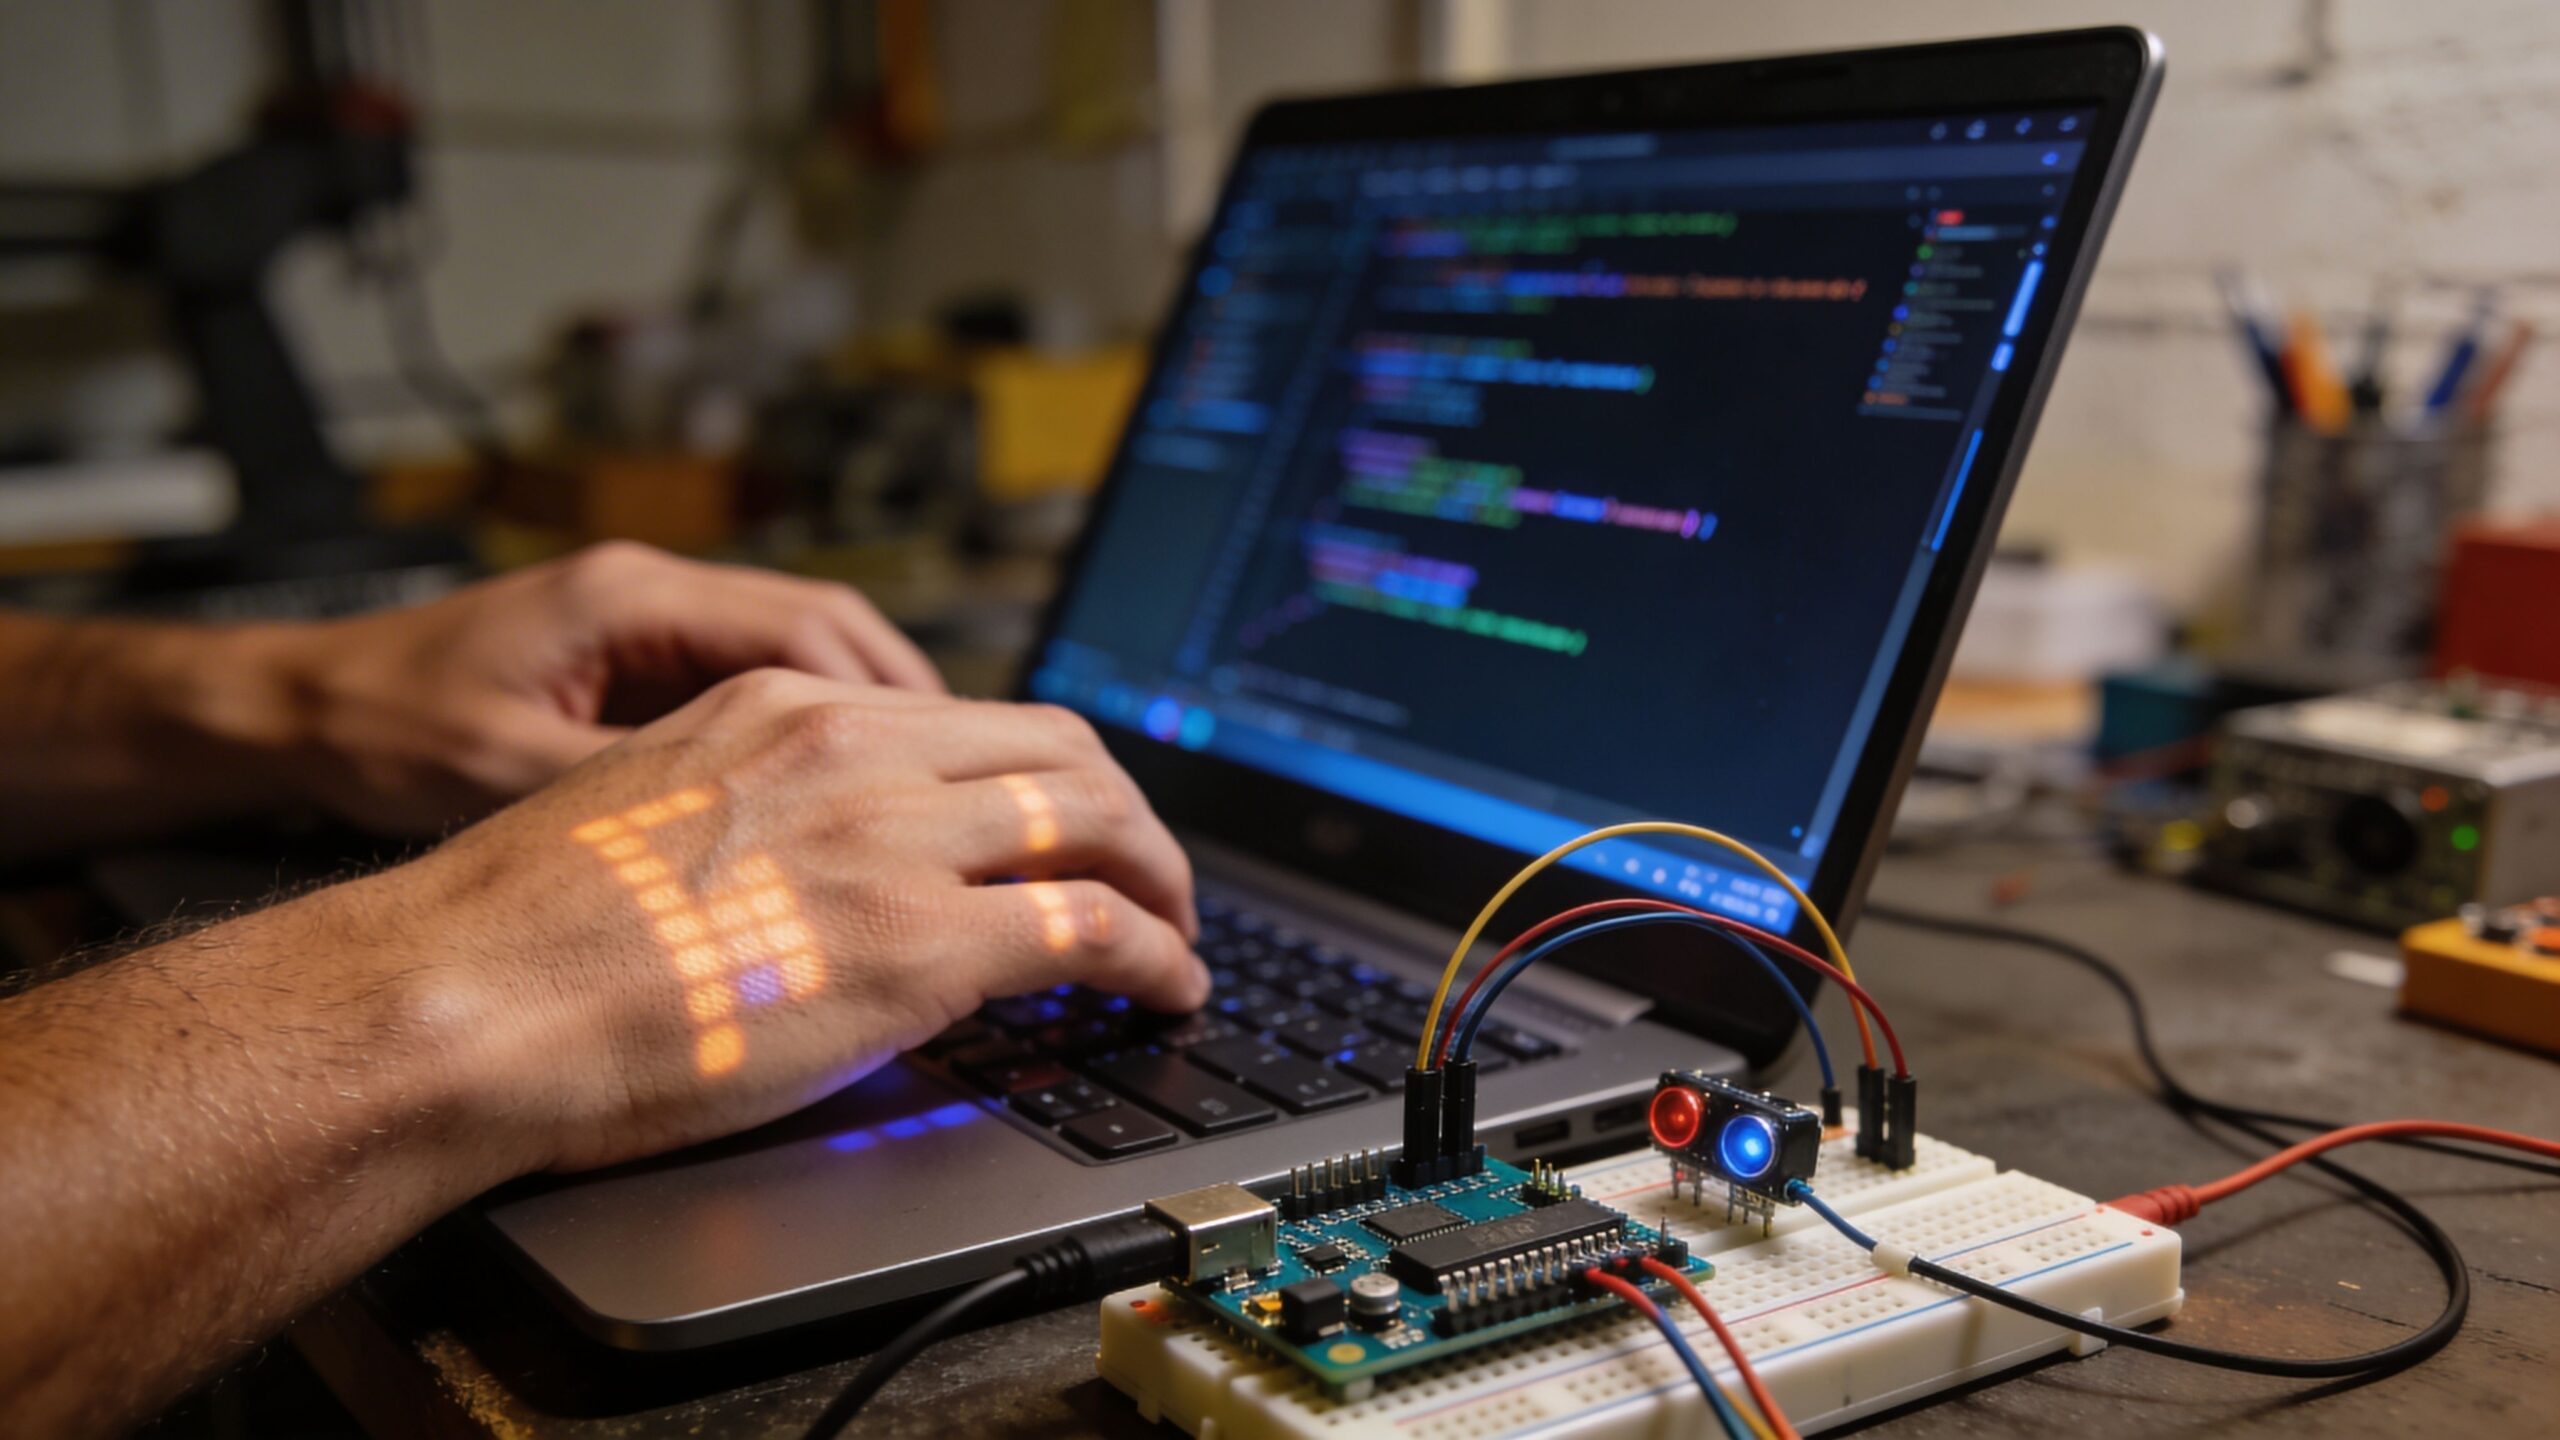
Outputs: LEDs, Relays, and Motor Control
Outputs are where a project becomes visible, audible, or mechanical. LEDs are the maker’s first output because they are immediate and forgiving. But even LEDs teach important lessons about current limiting, polarity, and the difference between logic power and load power.
Relays and MOSFETs introduce the concept of controlling larger loads safely. A microcontroller pin is meant for tiny currents, so you use a relay module or transistor to control high-current devices like pumps, fans, and lights. Microcontroller coding must include safe defaults so a device does not unexpectedly turn on during boot or reset. That means setting pin states early and thinking about what happens if power flickers. Motors add another level because they are dynamic loads with inertia and electrical noise. A motor starting up can create voltage dips that reset a microcontroller. A motor stopping can generate voltage spikes that damage components. Good DIY builders learn to pair motor control code with correct hardware, such as flyback diodes, proper drivers, and separate power rails. The code and the circuit are one system, and reliability comes from designing both together.
Communication: Your Microcontroller Isn’t an Island
Modern maker projects often involve multiple modules: displays, sensor boards, wireless radios, and other microcontrollers. Communication protocols make that possible. UART is simple and common for serial communication. I2C is popular for connecting multiple sensors and displays using just two wires. SPI is faster and often used for displays, SD cards, and certain sensors.
Coding communication is partly about the protocol and partly about timing and error handling. Buses can get noisy. Devices can fail to respond. Cables can be too long. Maker-friendly firmware includes retries, timeouts, and simple checks that prevent the system from freezing when something goes wrong.
Once you add wireless modules like Bluetooth or Wi-Fi, microcontroller coding becomes part of a larger software ecosystem. Your device might send data to a phone or a dashboard. It might receive commands remotely. At that point, the value of clean code structure becomes obvious, because you want to add features without breaking the core behavior.
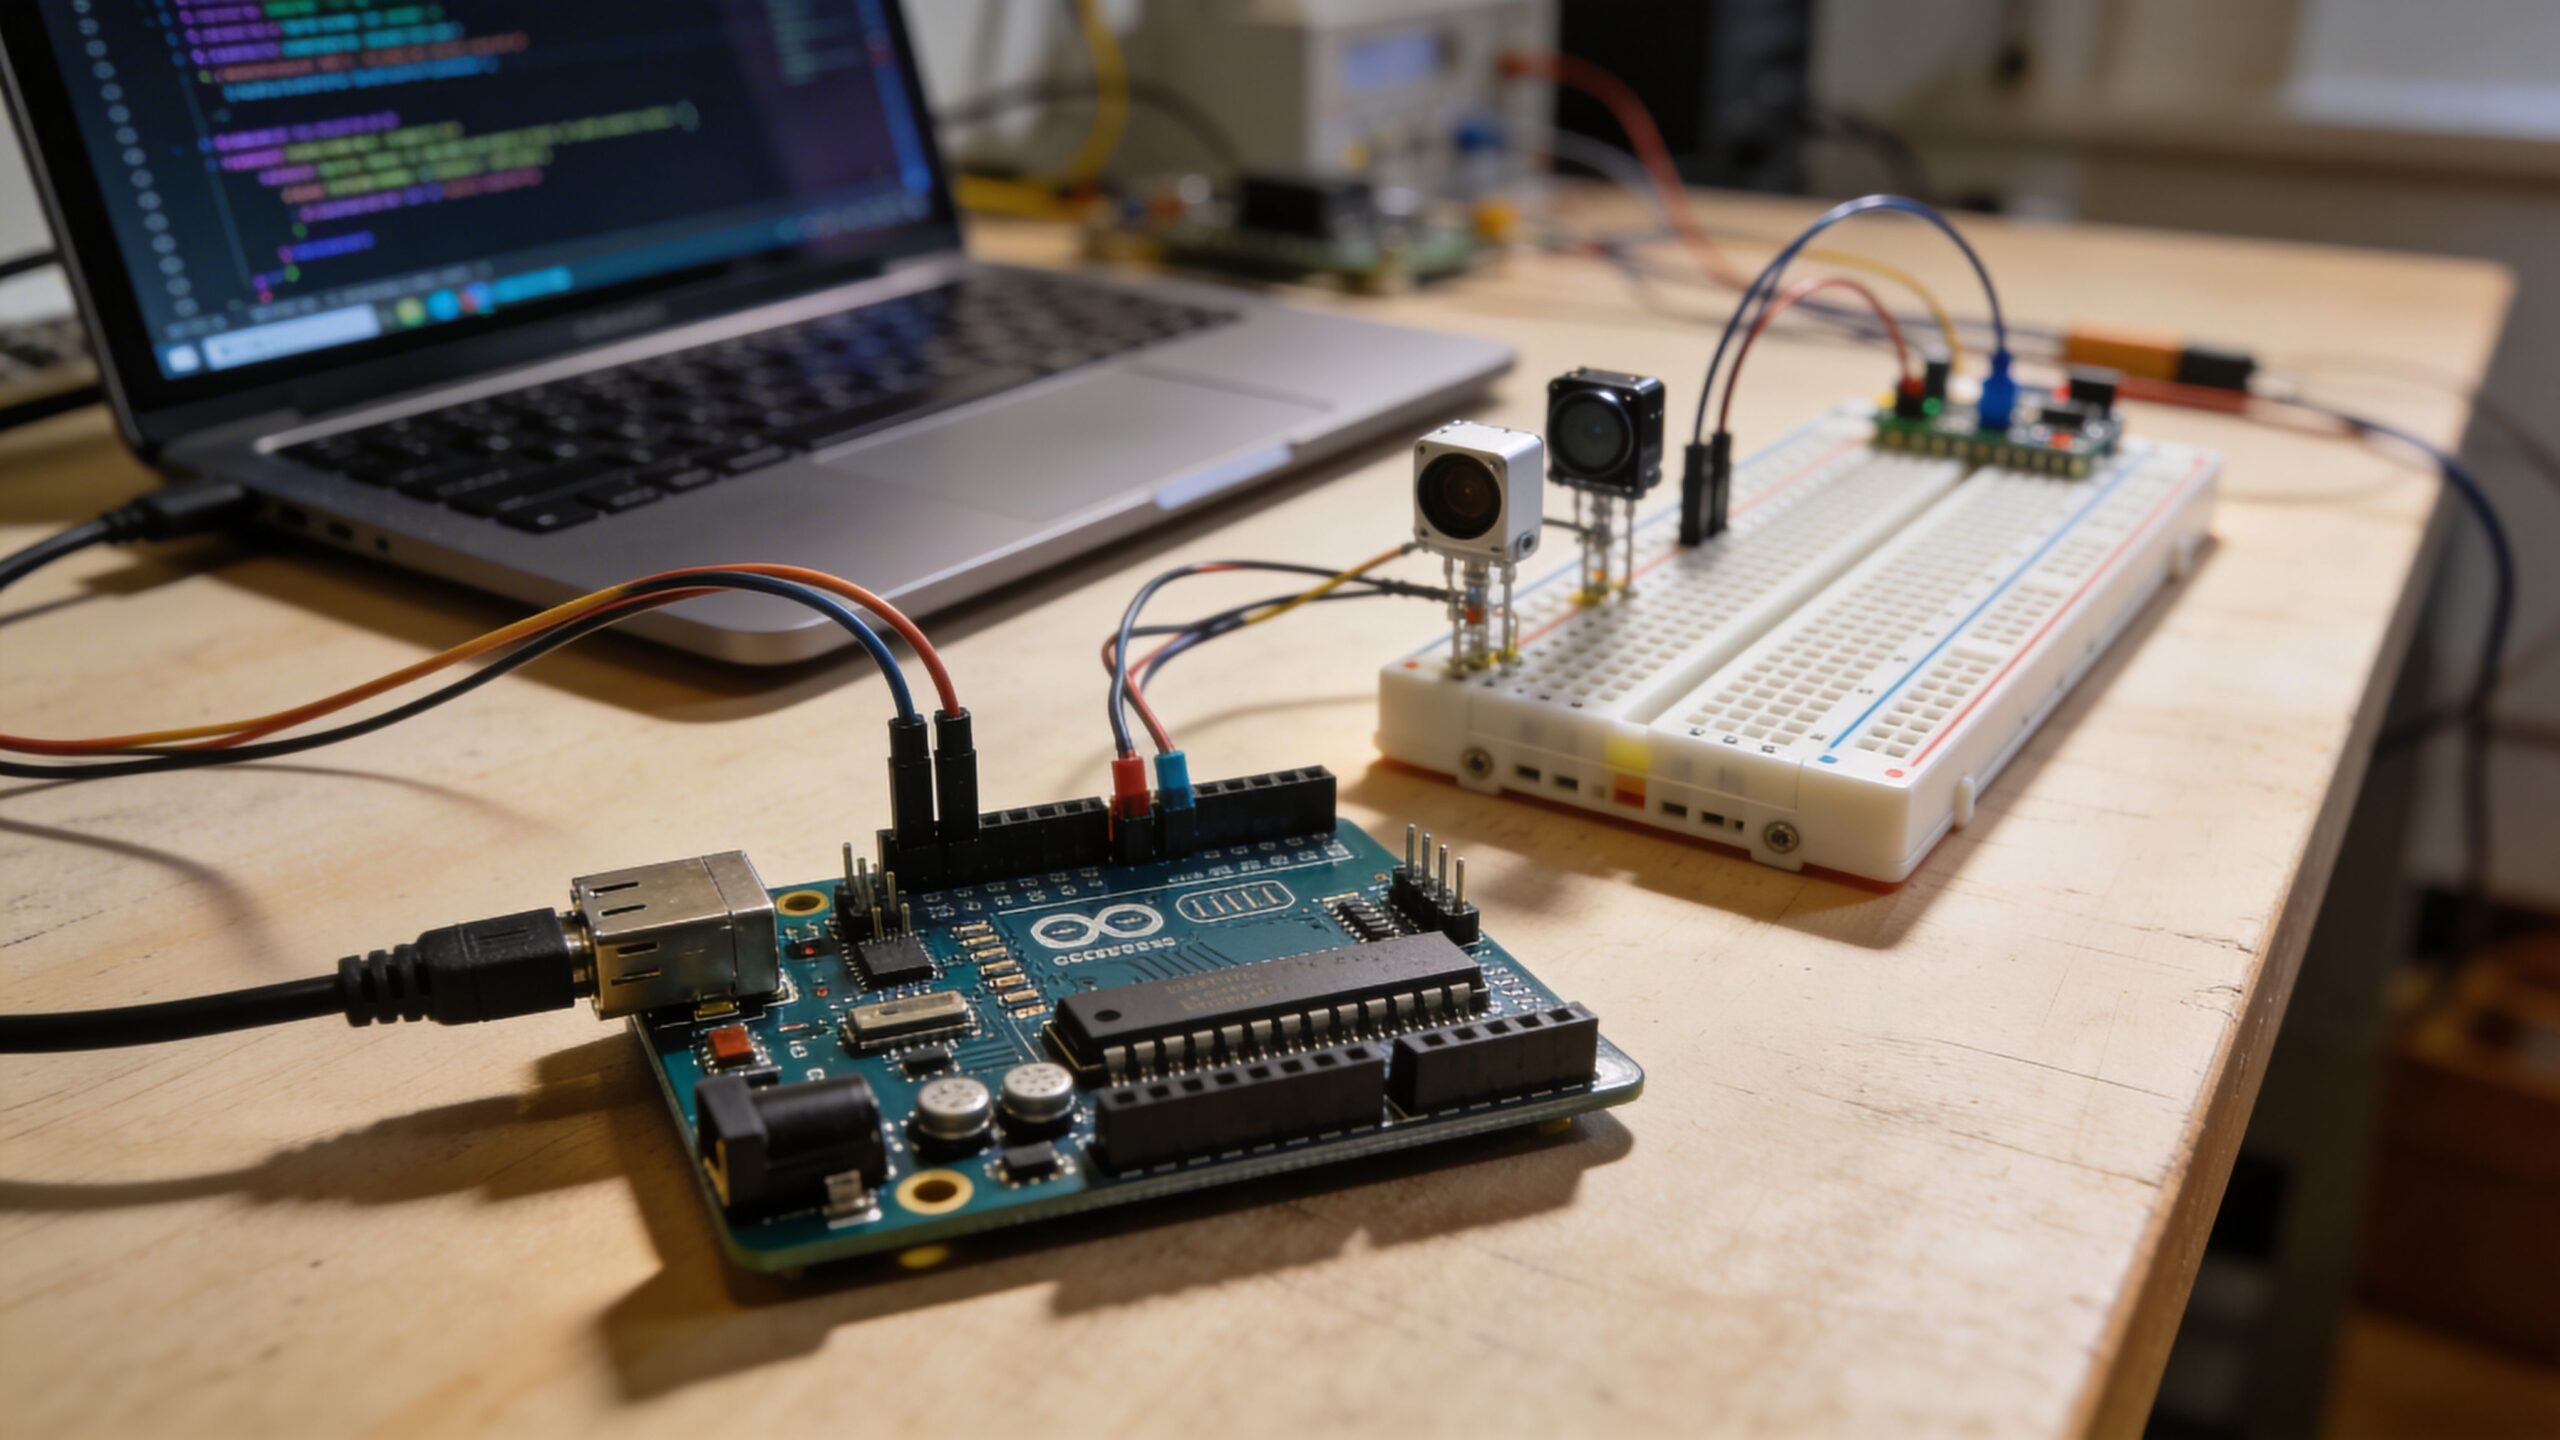
Debugging: The Skill That Unlocks Everything
Every maker eventually learns that debugging is not a separate stage. It is the method. Microcontroller debugging includes checking wiring, measuring voltage, verifying pin assignments, and reading logs. A serial monitor is one of the most useful tools because it lets your microcontroller “talk” about what it is doing. Strategic print statements can reveal sensor values, timing behavior, and code paths. Hardware debugging tools like multimeters and logic analyzers help you confirm what the signals are actually doing. Many problems that feel like “bad code” are actually power issues, loose connections, or floating inputs. A good debugging mindset begins with isolating variables. Test a sensor alone. Test an LED alone. Then combine them. Build complexity slowly.
The most important debugging habit is making changes one at a time and observing results. Makers who change wiring, code, and power simultaneously end up lost. Makers who treat each change like an experiment build confidence fast. Over time, your projects improve not because you write perfect code, but because you learn how to find the truth of what your system is doing.
Clean Structure: From Sketches to Systems
Microcontroller projects often start as quick experiments, but the best ones grow into systems. That growth demands code structure. Even if you use the Arduino style of setup and loop, you can organize your code into functions that represent behaviors. You can separate sensor reading from decision logic. You can isolate outputs so hardware changes do not require rewriting your whole program.
State machines are a powerful pattern for maker projects. Instead of relying on delays, you define states like IDLE, ACTIVE, ERROR, and COOLDOWN. Your loop checks inputs and transitions between states, triggering outputs accordingly. This makes behavior predictable and easier to debug. It also makes adding features safer because you can reason about the system as a set of modes rather than a tangled set of conditions.
For DIY builders thinking about turning a project into a repeatable build, clean structure is essential. It helps you document the project, share it, and maintain it when you return months later. Microcontroller coding is not just writing instructions. It is designing behavior.
Power and Reliability: The Secret to “It Just Works”
Many microcontroller projects fail in the real world because power is treated as an afterthought. Breadboard prototypes can work beautifully on a USB cable, then fail the moment they run on batteries or drive a motor. Voltage regulators, decoupling capacitors, and proper grounding become crucial as complexity grows.
Firmware can support reliability by using watchdog timers, handling sensor failure gracefully, and setting safe defaults. A watchdog timer resets a system if the code gets stuck. Safe defaults ensure outputs are off or in a known state during boot. Error states let the device fail in a controlled way instead of behaving unpredictably. For makers and inventors, reliability is part of the creative craft. A project that works once is a demo. A project that works every time is a device. Microcontroller coding, paired with thoughtful power design, is how you cross that line.
Growing Your Skills: The Next Step After “Blink”
Once you understand inputs, outputs, timing, and structure, you are ready to build projects that feel like products. You can create smart controllers that adapt to sensors. You can build interactive devices that respond instantly. You can design automation systems that run for weeks without supervision.
The next layer includes learning interrupts, timers, and communication buses more deeply. It includes adopting version control so your code evolves safely. It includes building modular libraries for repeated use. Makers who pursue these skills find that microcontroller coding becomes less about memorizing functions and more about designing systems with intention. Microcontrollers reward curiosity. Each project teaches a new lesson about the relationship between code and reality. When you treat your firmware as the narrative of your device’s behavior, microcontroller coding becomes more than a technical skill. It becomes a creative medium for invention.