Why Raspberry Pi Feels Like a Superpower
A Raspberry Pi sits in a unique sweet spot for makers. It is small enough to disappear inside a project enclosure, but powerful enough to run a real operating system, host services, connect to the internet, and manage complex workflows. Unlike microcontrollers that excel at real-time pin control, Raspberry Pi behaves like a tiny general-purpose computer that happens to speak fluent hardware. That combination makes it the perfect launchpad for projects that blend physical inputs with software-heavy features like dashboards, cameras, machine learning, media streaming, and automation. For beginners, the Pi is approachable because it supports languages that feel familiar and forgiving. Python is often the first step, and it allows you to move quickly from idea to prototype. For experienced builders, Raspberry Pi becomes the glue layer between sensors and the larger world, enabling remote access, data logging, network control, and multi-device coordination. The result is that Pi projects often feel like finished products even when they are still prototypes. This guide explores Raspberry Pi coding projects that are worth trying because they teach core maker skills while producing useful outcomes. The goal is not to overload you with a shopping list of parts. The goal is to show you what kinds of projects Raspberry Pi is uniquely good at, what you learn by building them, and how to think like a maker who is designing a system, not just wiring components.
A: It runs a full OS, supports multitasking, and excels at networking and services.
A: No, many makers use headless setups and connect over the network.
A: Undervoltage power supplies and weak cables are the most common causes.
A: Python is a popular starting point for automation and GPIO projects.
A: Yes, but use proper drivers and power isolation for safety and stability.
A: Yes, it supports capture, streaming, and automation for camera projects.
A: Configure the script or service to auto-start on boot.
A: For heavy logging or cameras, plan storage carefully and back up regularly.
A: Yes, it can host local web dashboards for sensors and controls.
A: A sensor logger with a simple dashboard teaches hardware, code, and reliability.
Setting the Stage: Your Raspberry Pi Project Foundation
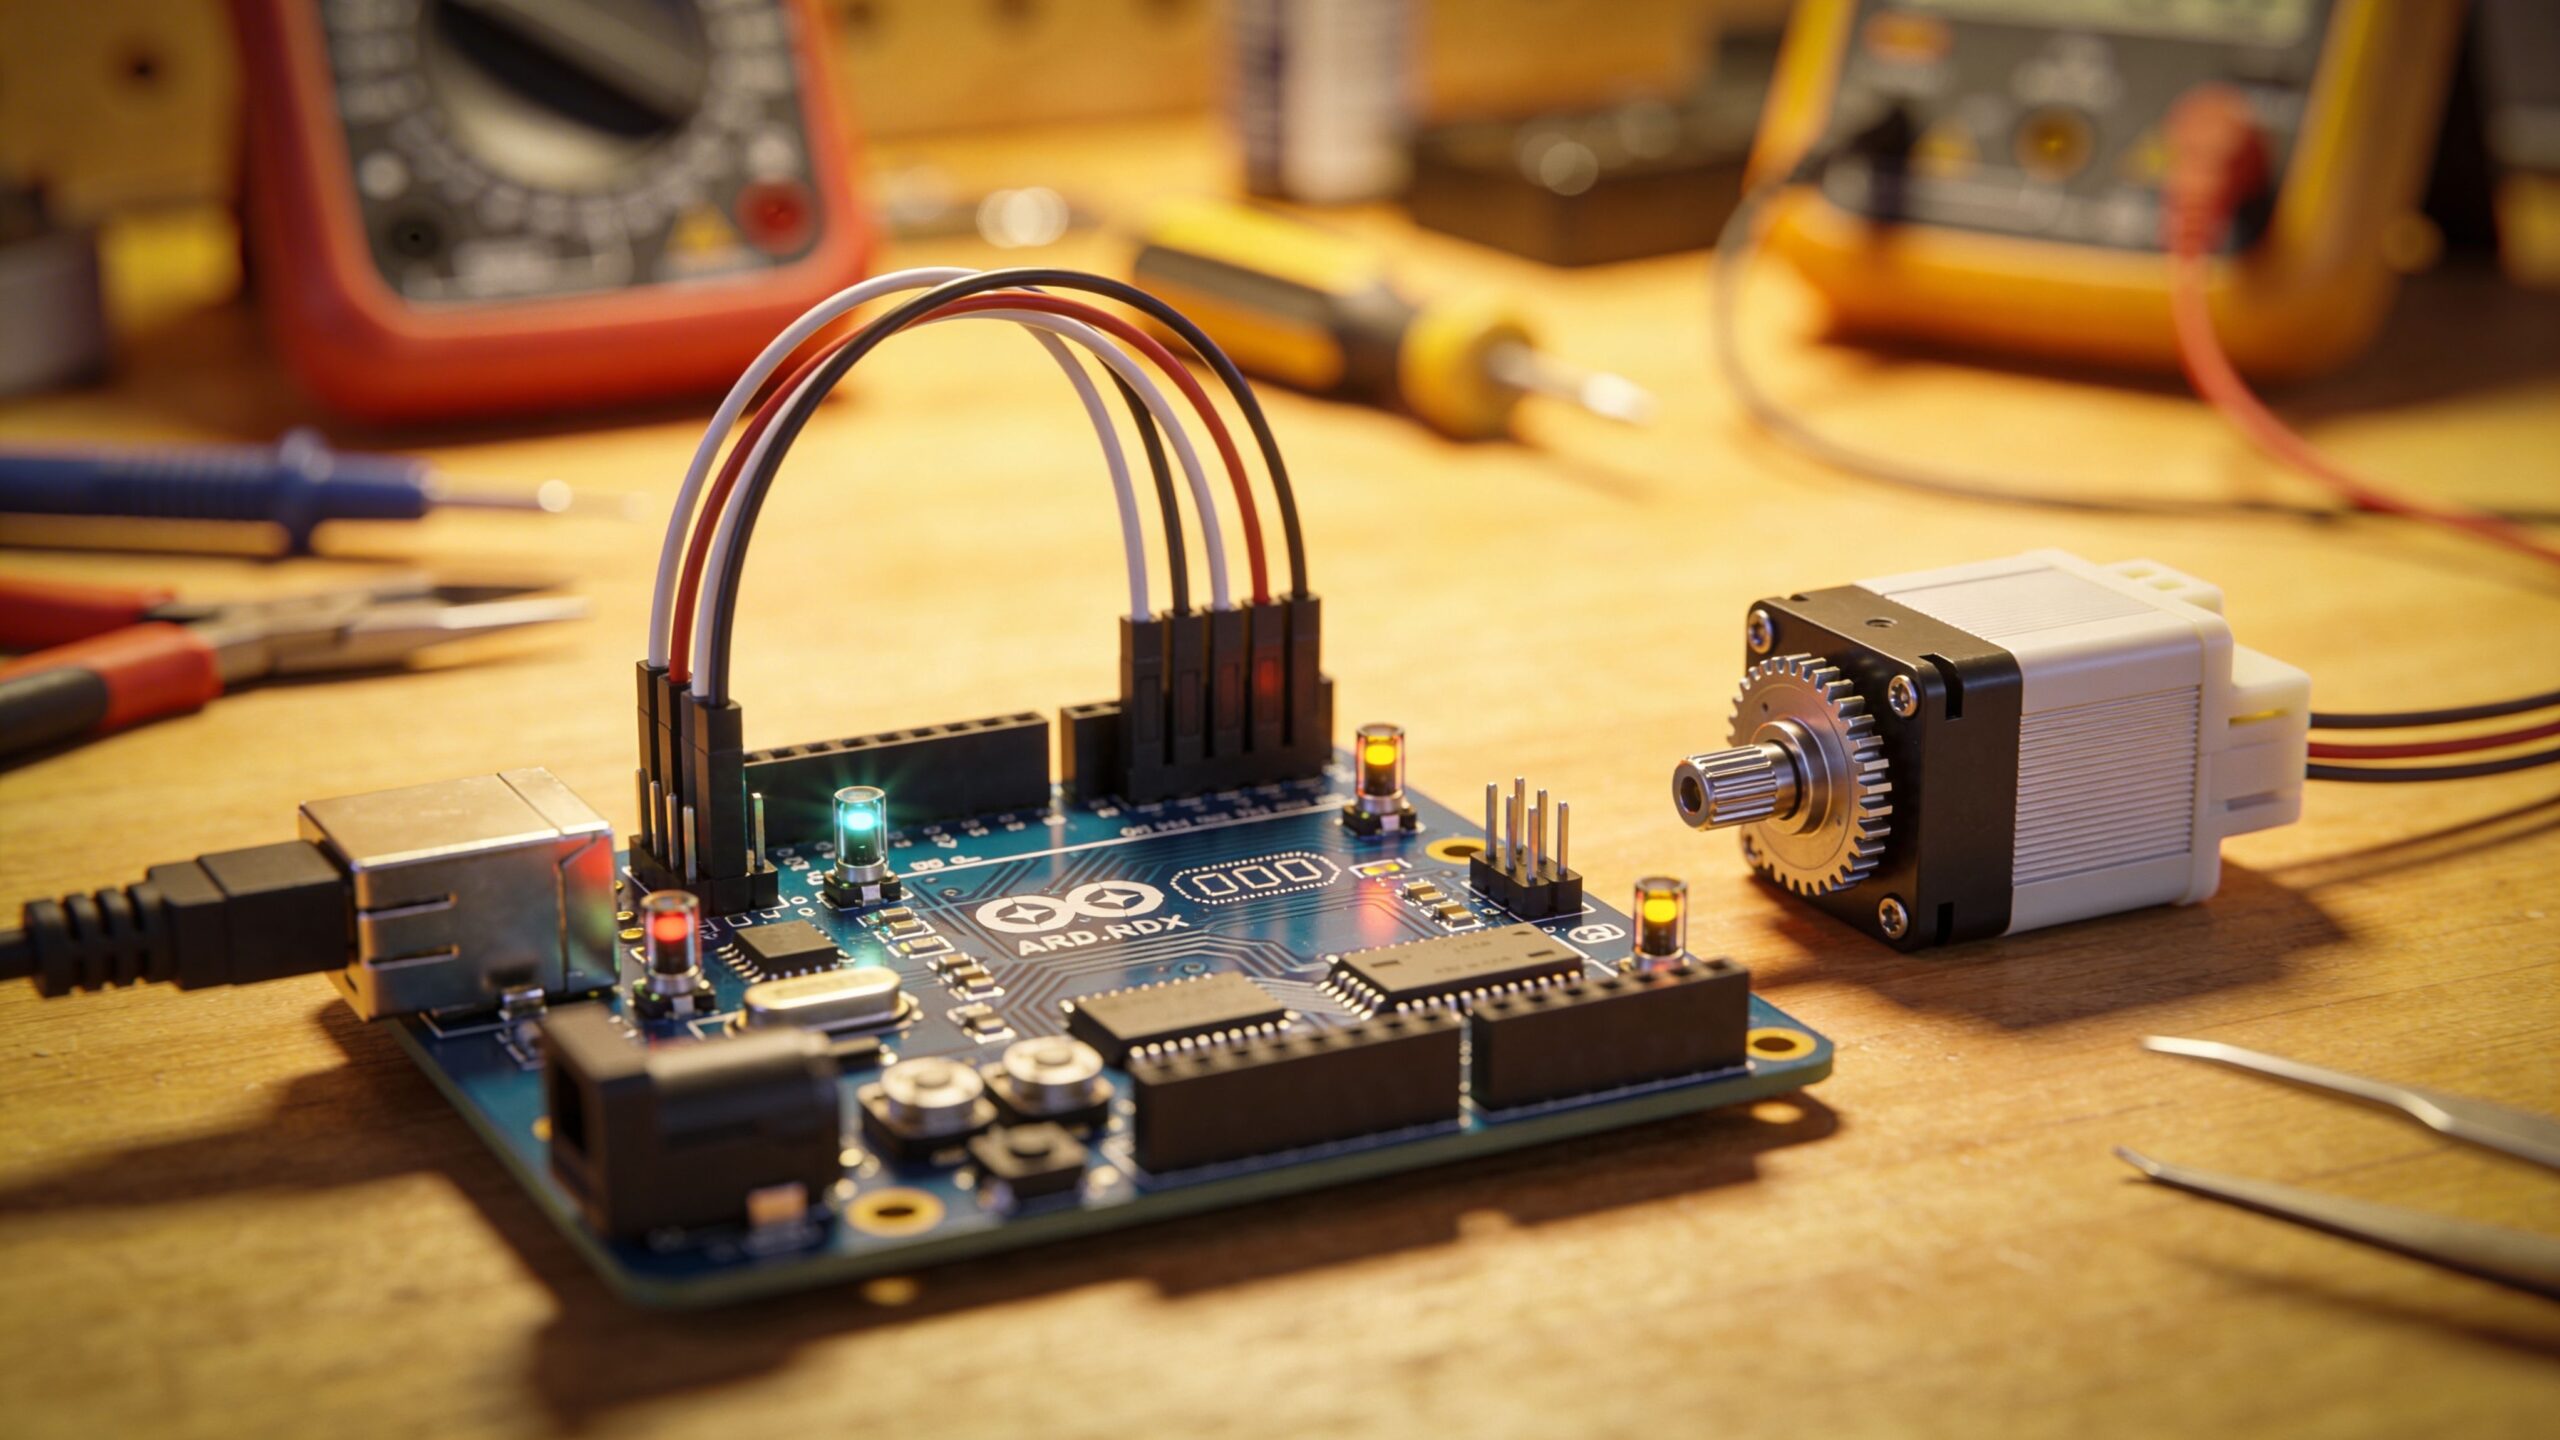
A successful Raspberry Pi project starts with a stable foundation. Because the Pi runs an operating system, reliability depends on proper power, a decent storage setup, and sensible software hygiene. Many “mystery bugs” in Pi builds come from undervoltage power supplies, flaky cables, and SD cards that have been stressed by too many abrupt shutdowns. Makers who treat power and storage as core components usually have a smoother experience than those who treat them as accessories.
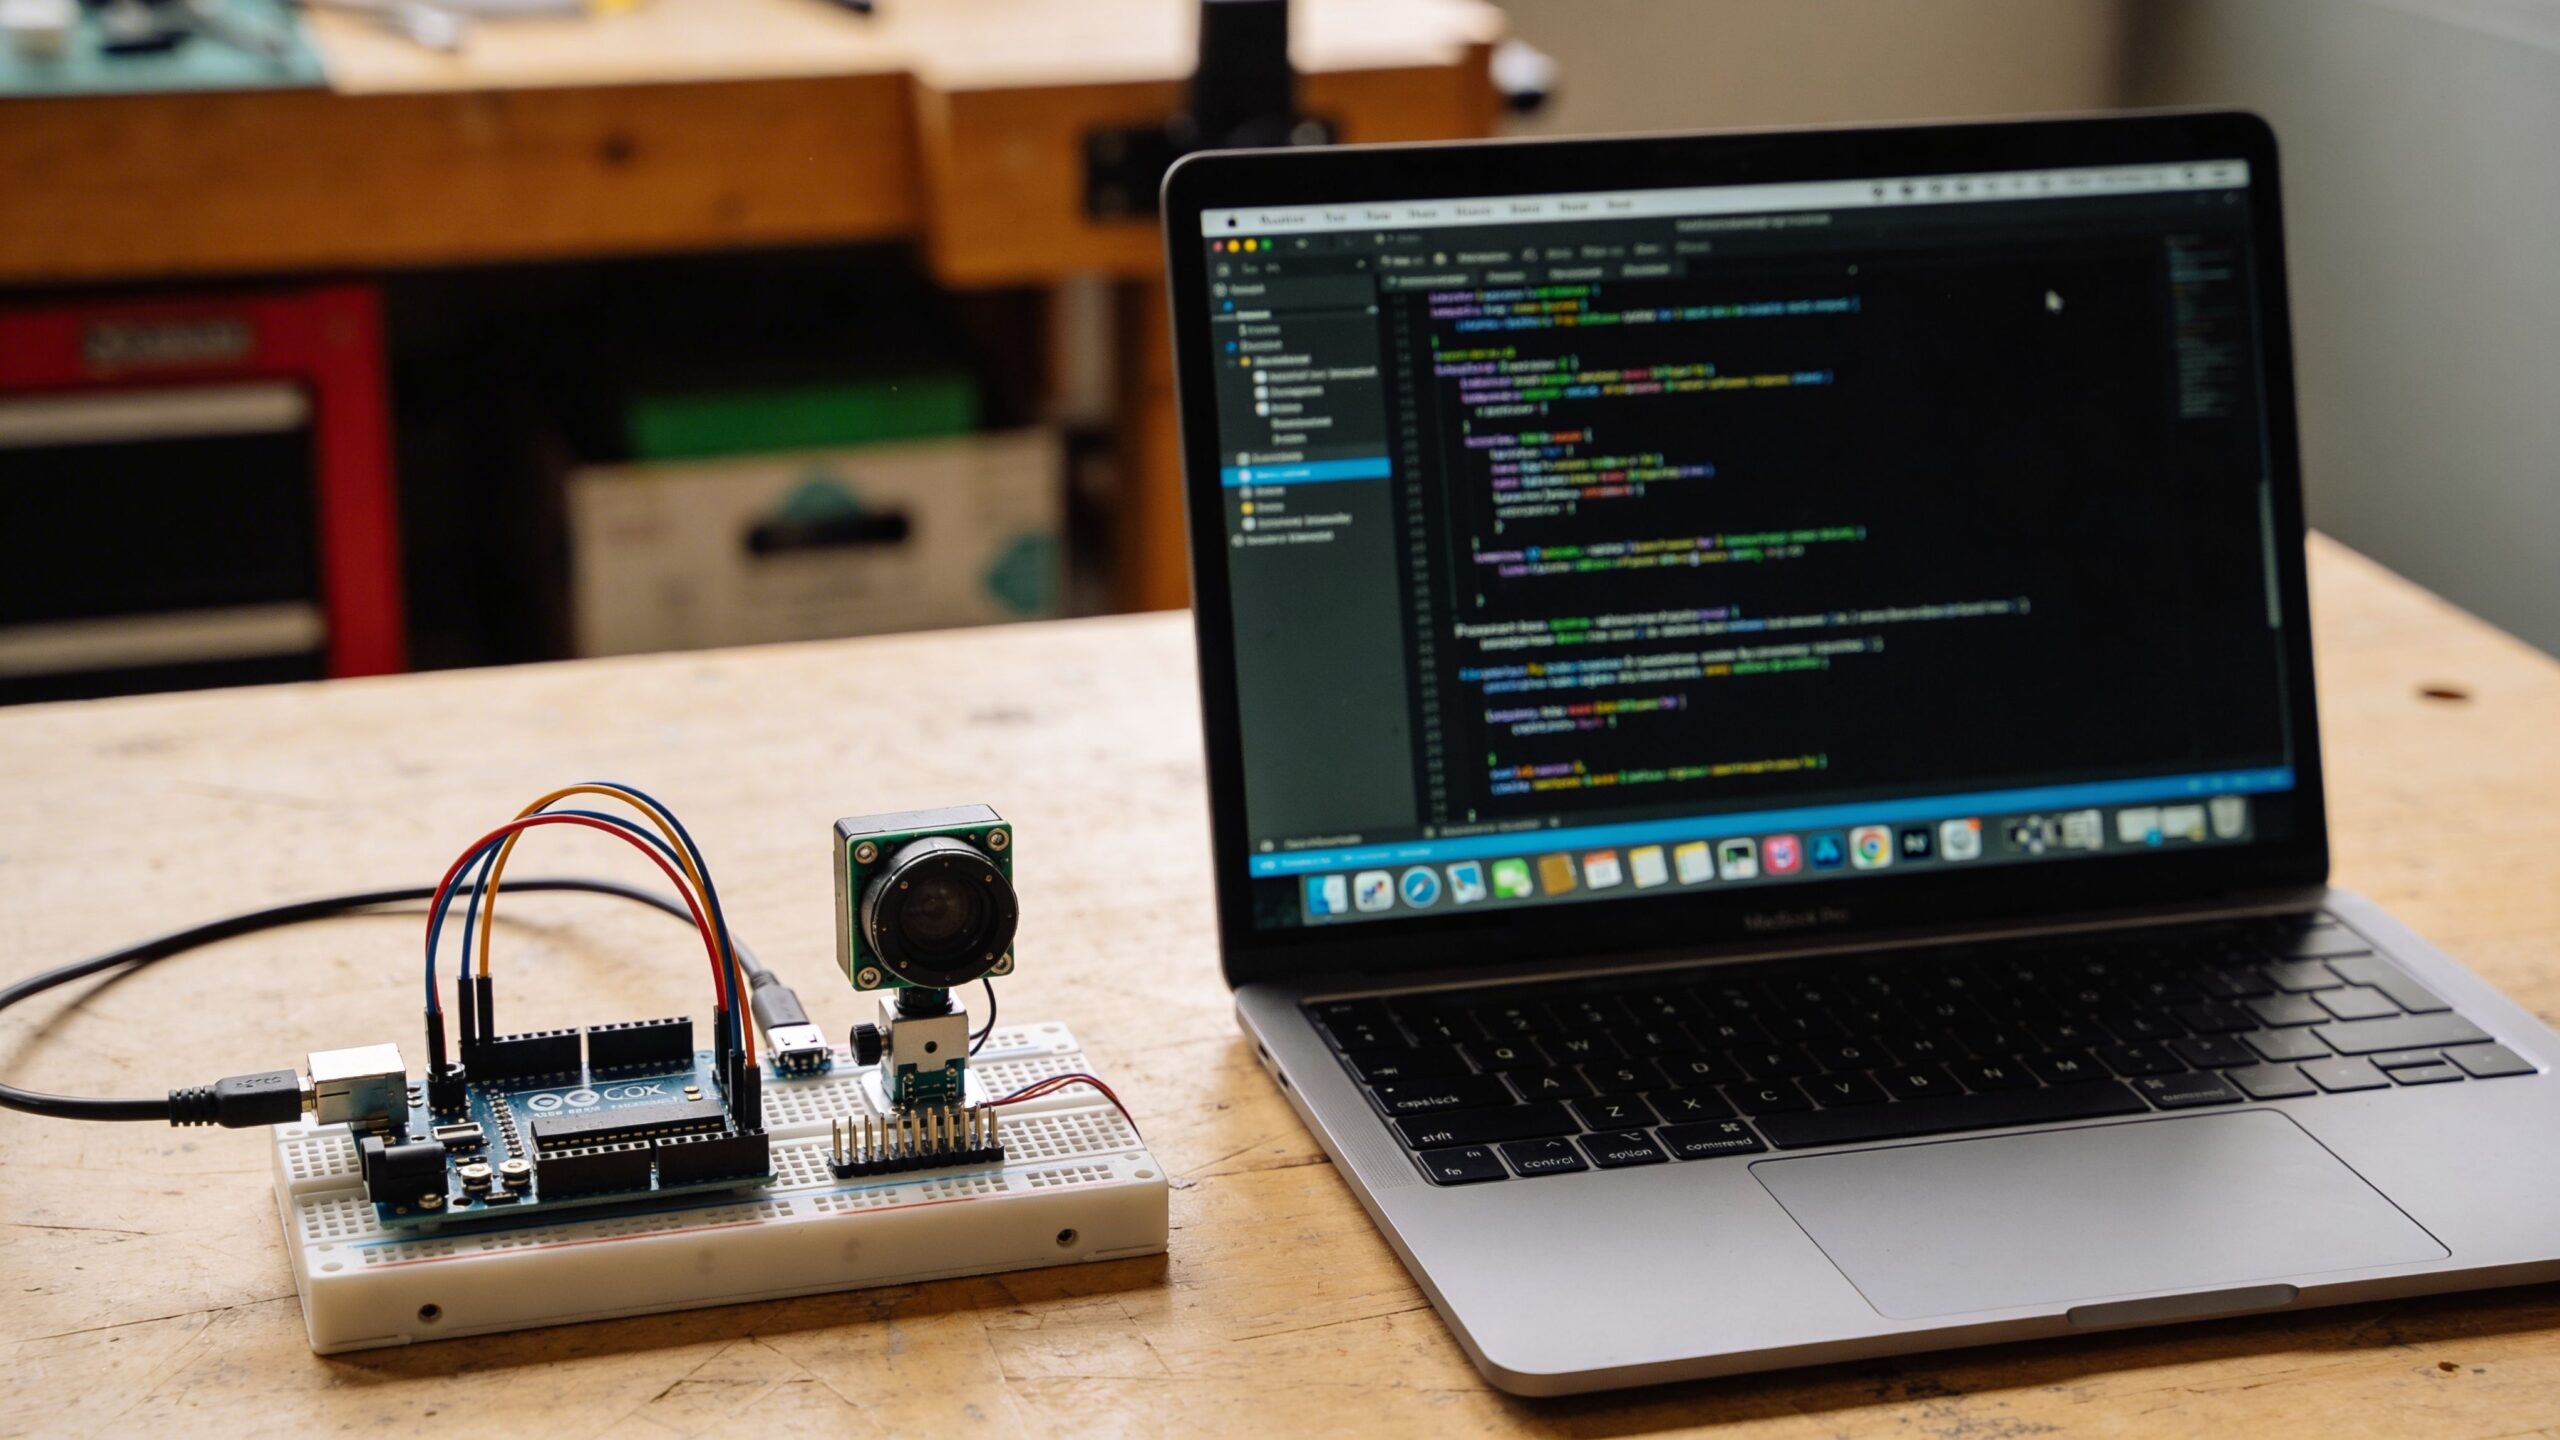
Your coding environment matters too. A clean setup with a consistent workflow makes experimentation easier. Many makers begin by coding directly on the Pi, which is simple and hands-on. Others prefer coding on their main computer and deploying to the Pi, which can feel more professional and scalable. Either approach works, as long as you build a routine: update the system, track your scripts, and keep logs of what changed when something breaks.
Once you have a stable base, the Pi becomes a playground for building systems. Projects become more exciting when you realize you are not limited to a single function. A Raspberry Pi can be a sensor hub, a server, a camera system, an automation brain, and a dashboard host all at once. That is where maker creativity really opens up.
Project 1: Smart Home Control Hub That Actually Feels Custom
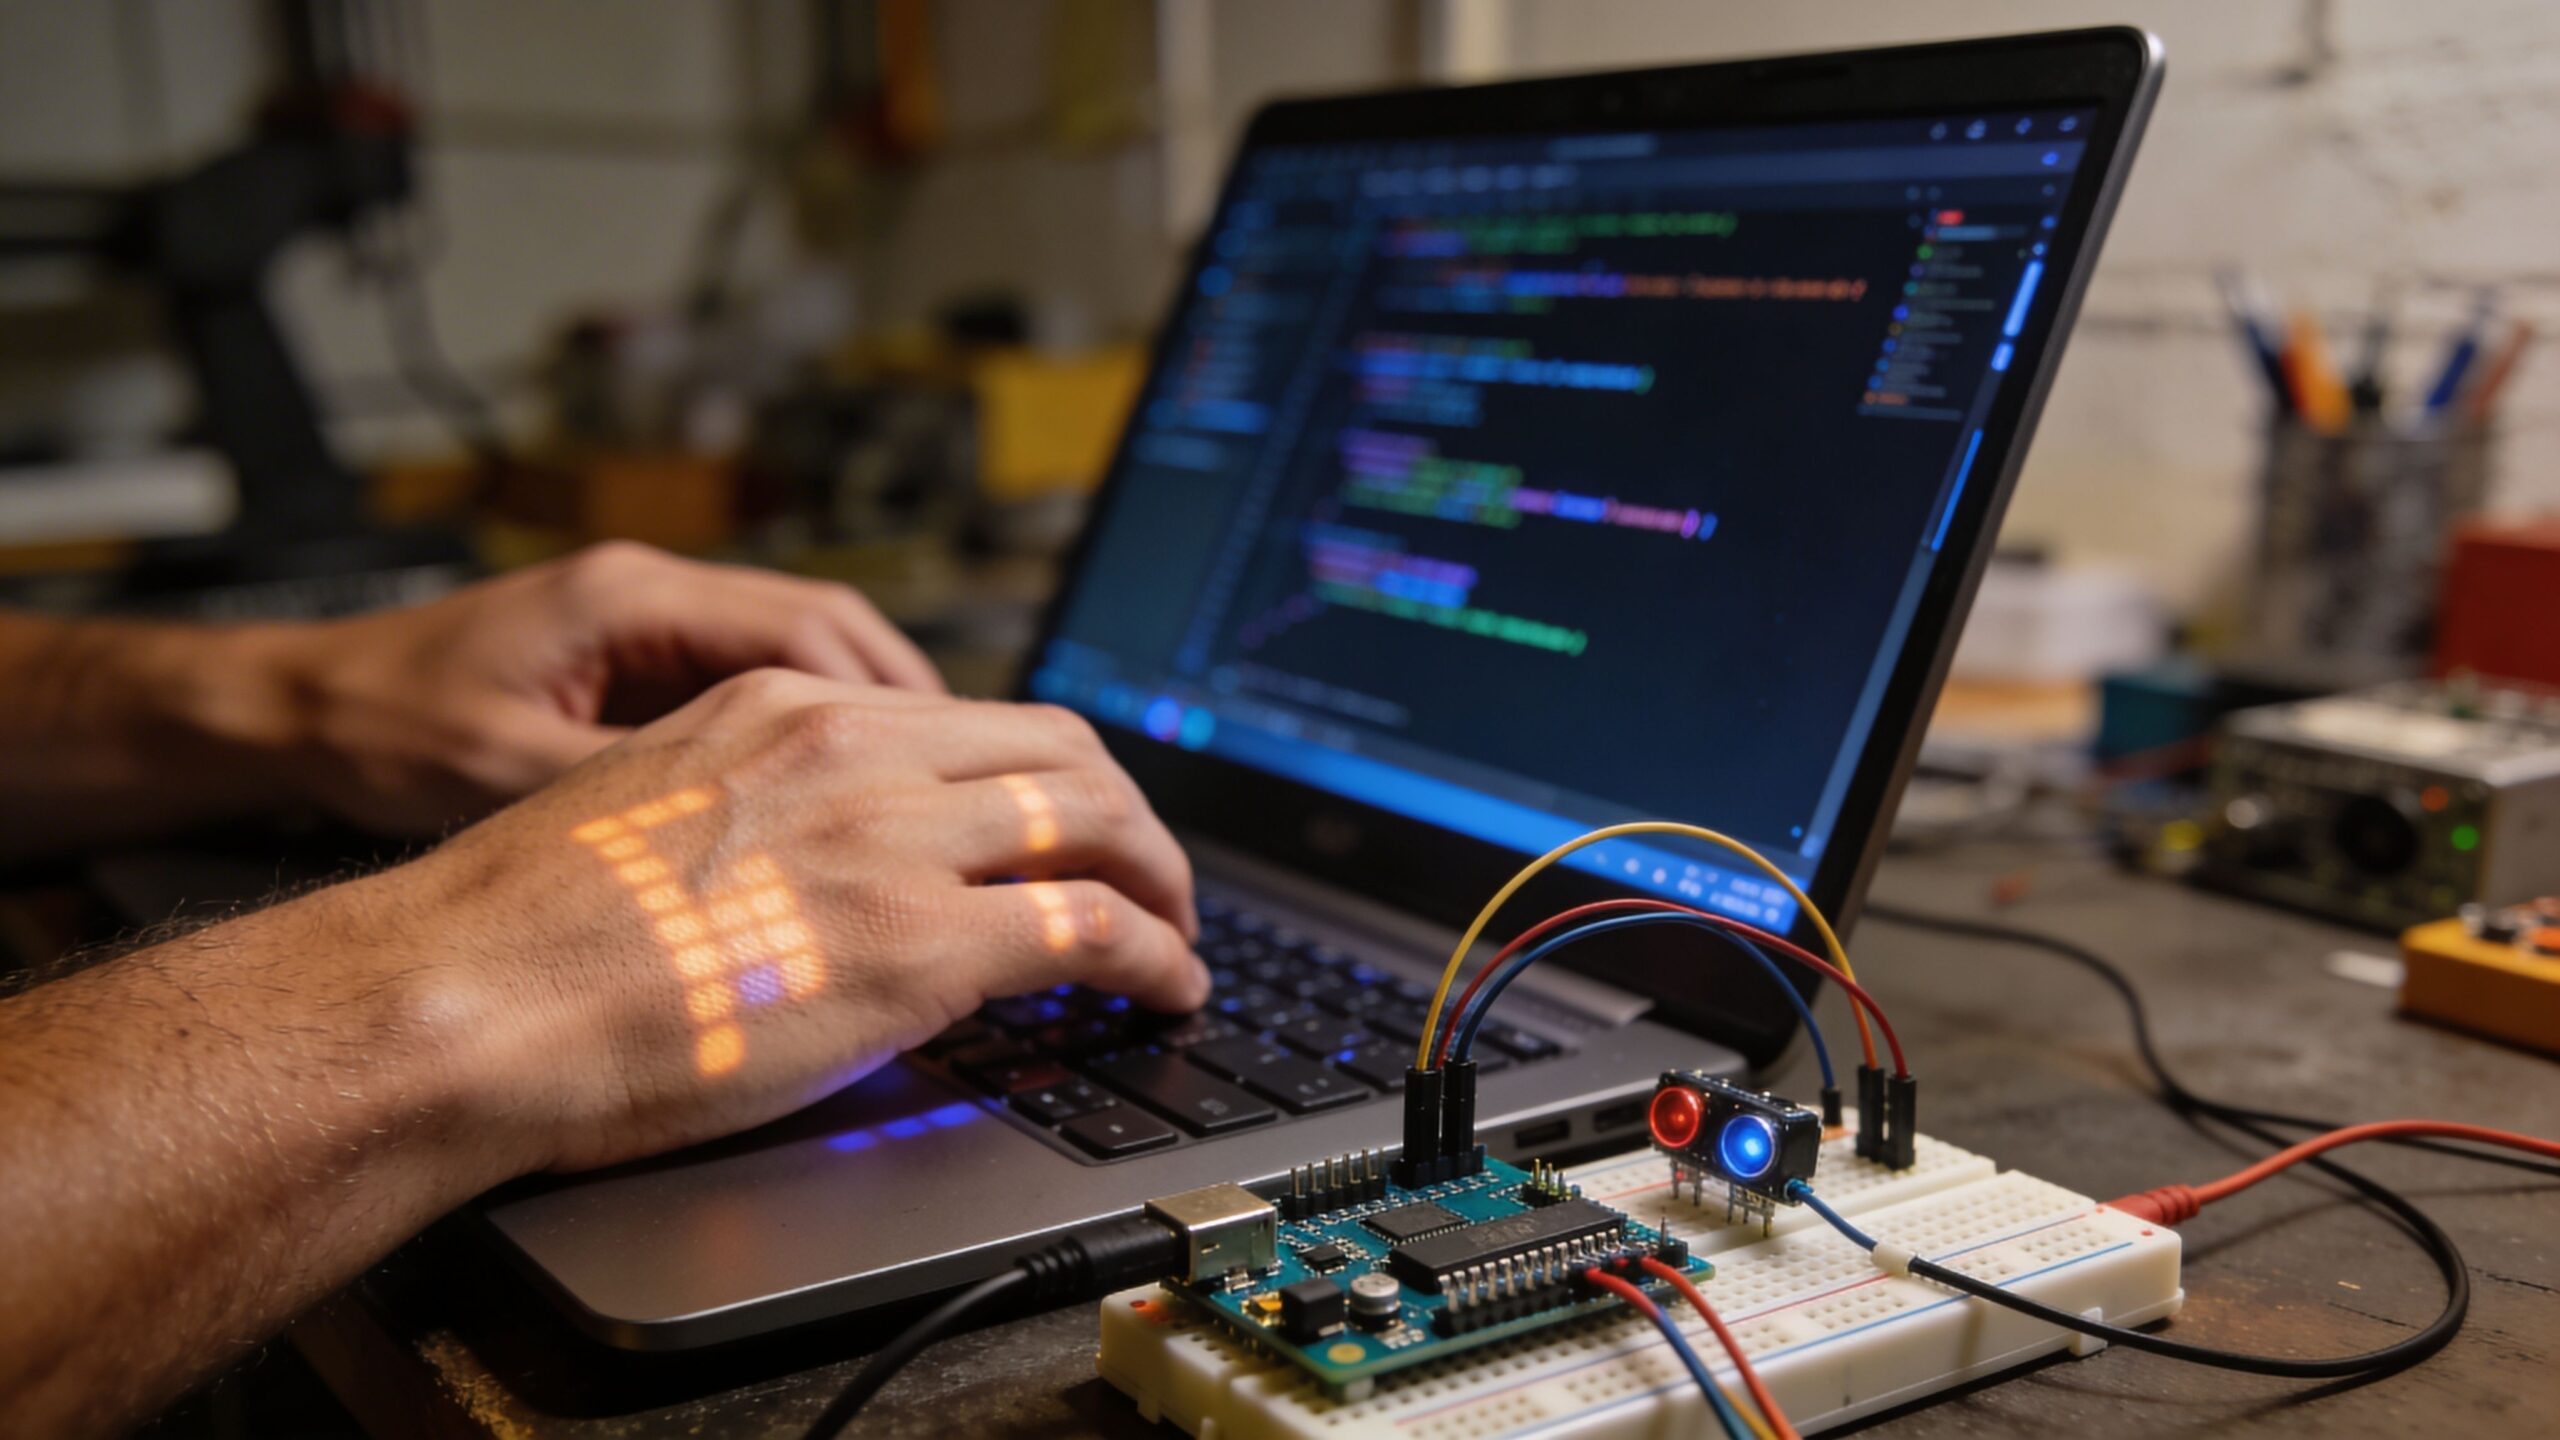
A Raspberry Pi smart home hub is a classic maker project for a reason. It teaches networking basics, device integration, automation logic, and reliability in the real world. Instead of relying on off-the-shelf hubs that hide the details, a Pi-based hub invites you to understand what is happening under the hood. You can connect sensors, listen for triggers, and fire off actions that match the way you live.
The coding side is where the project becomes personal. You can write scripts that interpret sensor signals and create behaviors that feel natural. Instead of a generic rule like “turn on the light at sunset,” you can create conditions based on motion patterns, brightness, or time windows. You can build logic that avoids annoying toggles, respects quiet hours, and reacts differently on weekends. This project also teaches you the value of observability. Smart home systems feel magical when they work and maddening when they do not. Logging sensor input, tracking automation triggers, and creating a simple status dashboard turns troubleshooting into a clear process. That habit carries into every other Pi build you try.
Project 2: Raspberry Pi Sensor Station With Real Data Logging
If you want a project that immediately upgrades your maker skills, build a sensor station that logs meaningful data over time. The Pi is ideal for this because it can store data locally, serve it to other devices, and run continuously. The project starts with one sensor, like temperature and humidity, then grows into a full monitoring platform that can track workshop climate, air quality, vibration, light levels, or water leak detection.
What makes this project valuable is the shift from “reading a sensor” to “building a measurement system.” Real data contains noise. Sensors drift. Readings fluctuate with airflow, sunlight, and placement. Your code becomes responsible for sampling at the right interval, filtering spikes, and storing results in a way that remains useful weeks later. You learn that data is only as valuable as the context you preserve alongside it.
Once the Pi stores your data reliably, visualization becomes the fun part. You can build a local dashboard that shows trends and alerts. You can trigger notifications when thresholds are exceeded. You can even compare conditions across seasons and see how your space behaves. The result is a project that feels genuinely useful, not just educational.
Project 3: Workshop Automation That Saves Time Every Day
A Raspberry Pi shines in workshop automation because it can coordinate multiple inputs, outputs, and timed behaviors without getting fragile. Think about the small frictions that slow you down: forgetting to turn off a light, not noticing humidity spikes, running a fan longer than needed, or missing a filter change. These are all problems a Pi can solve with sensors, relays, and code.
The magic is not in a single automation rule. It is in layering small, thoughtful behaviors that feel like the shop is helping you. Your code might turn on ventilation when air quality rises, then gradually step it down when the levels recover. It might run dust collection for a short cooldown after tools stop. It might light a workbench when motion is detected, then fade slowly instead of snapping off. This project teaches you to design for safety and reliability. Relays must default to safe states on boot. Power loads must be isolated from logic power. Scripts must recover gracefully after a reboot. When you build workshop automation well, you are practicing the same principles that professional automation systems rely on.
Project 4: Raspberry Pi Camera System for Timelapse and Security
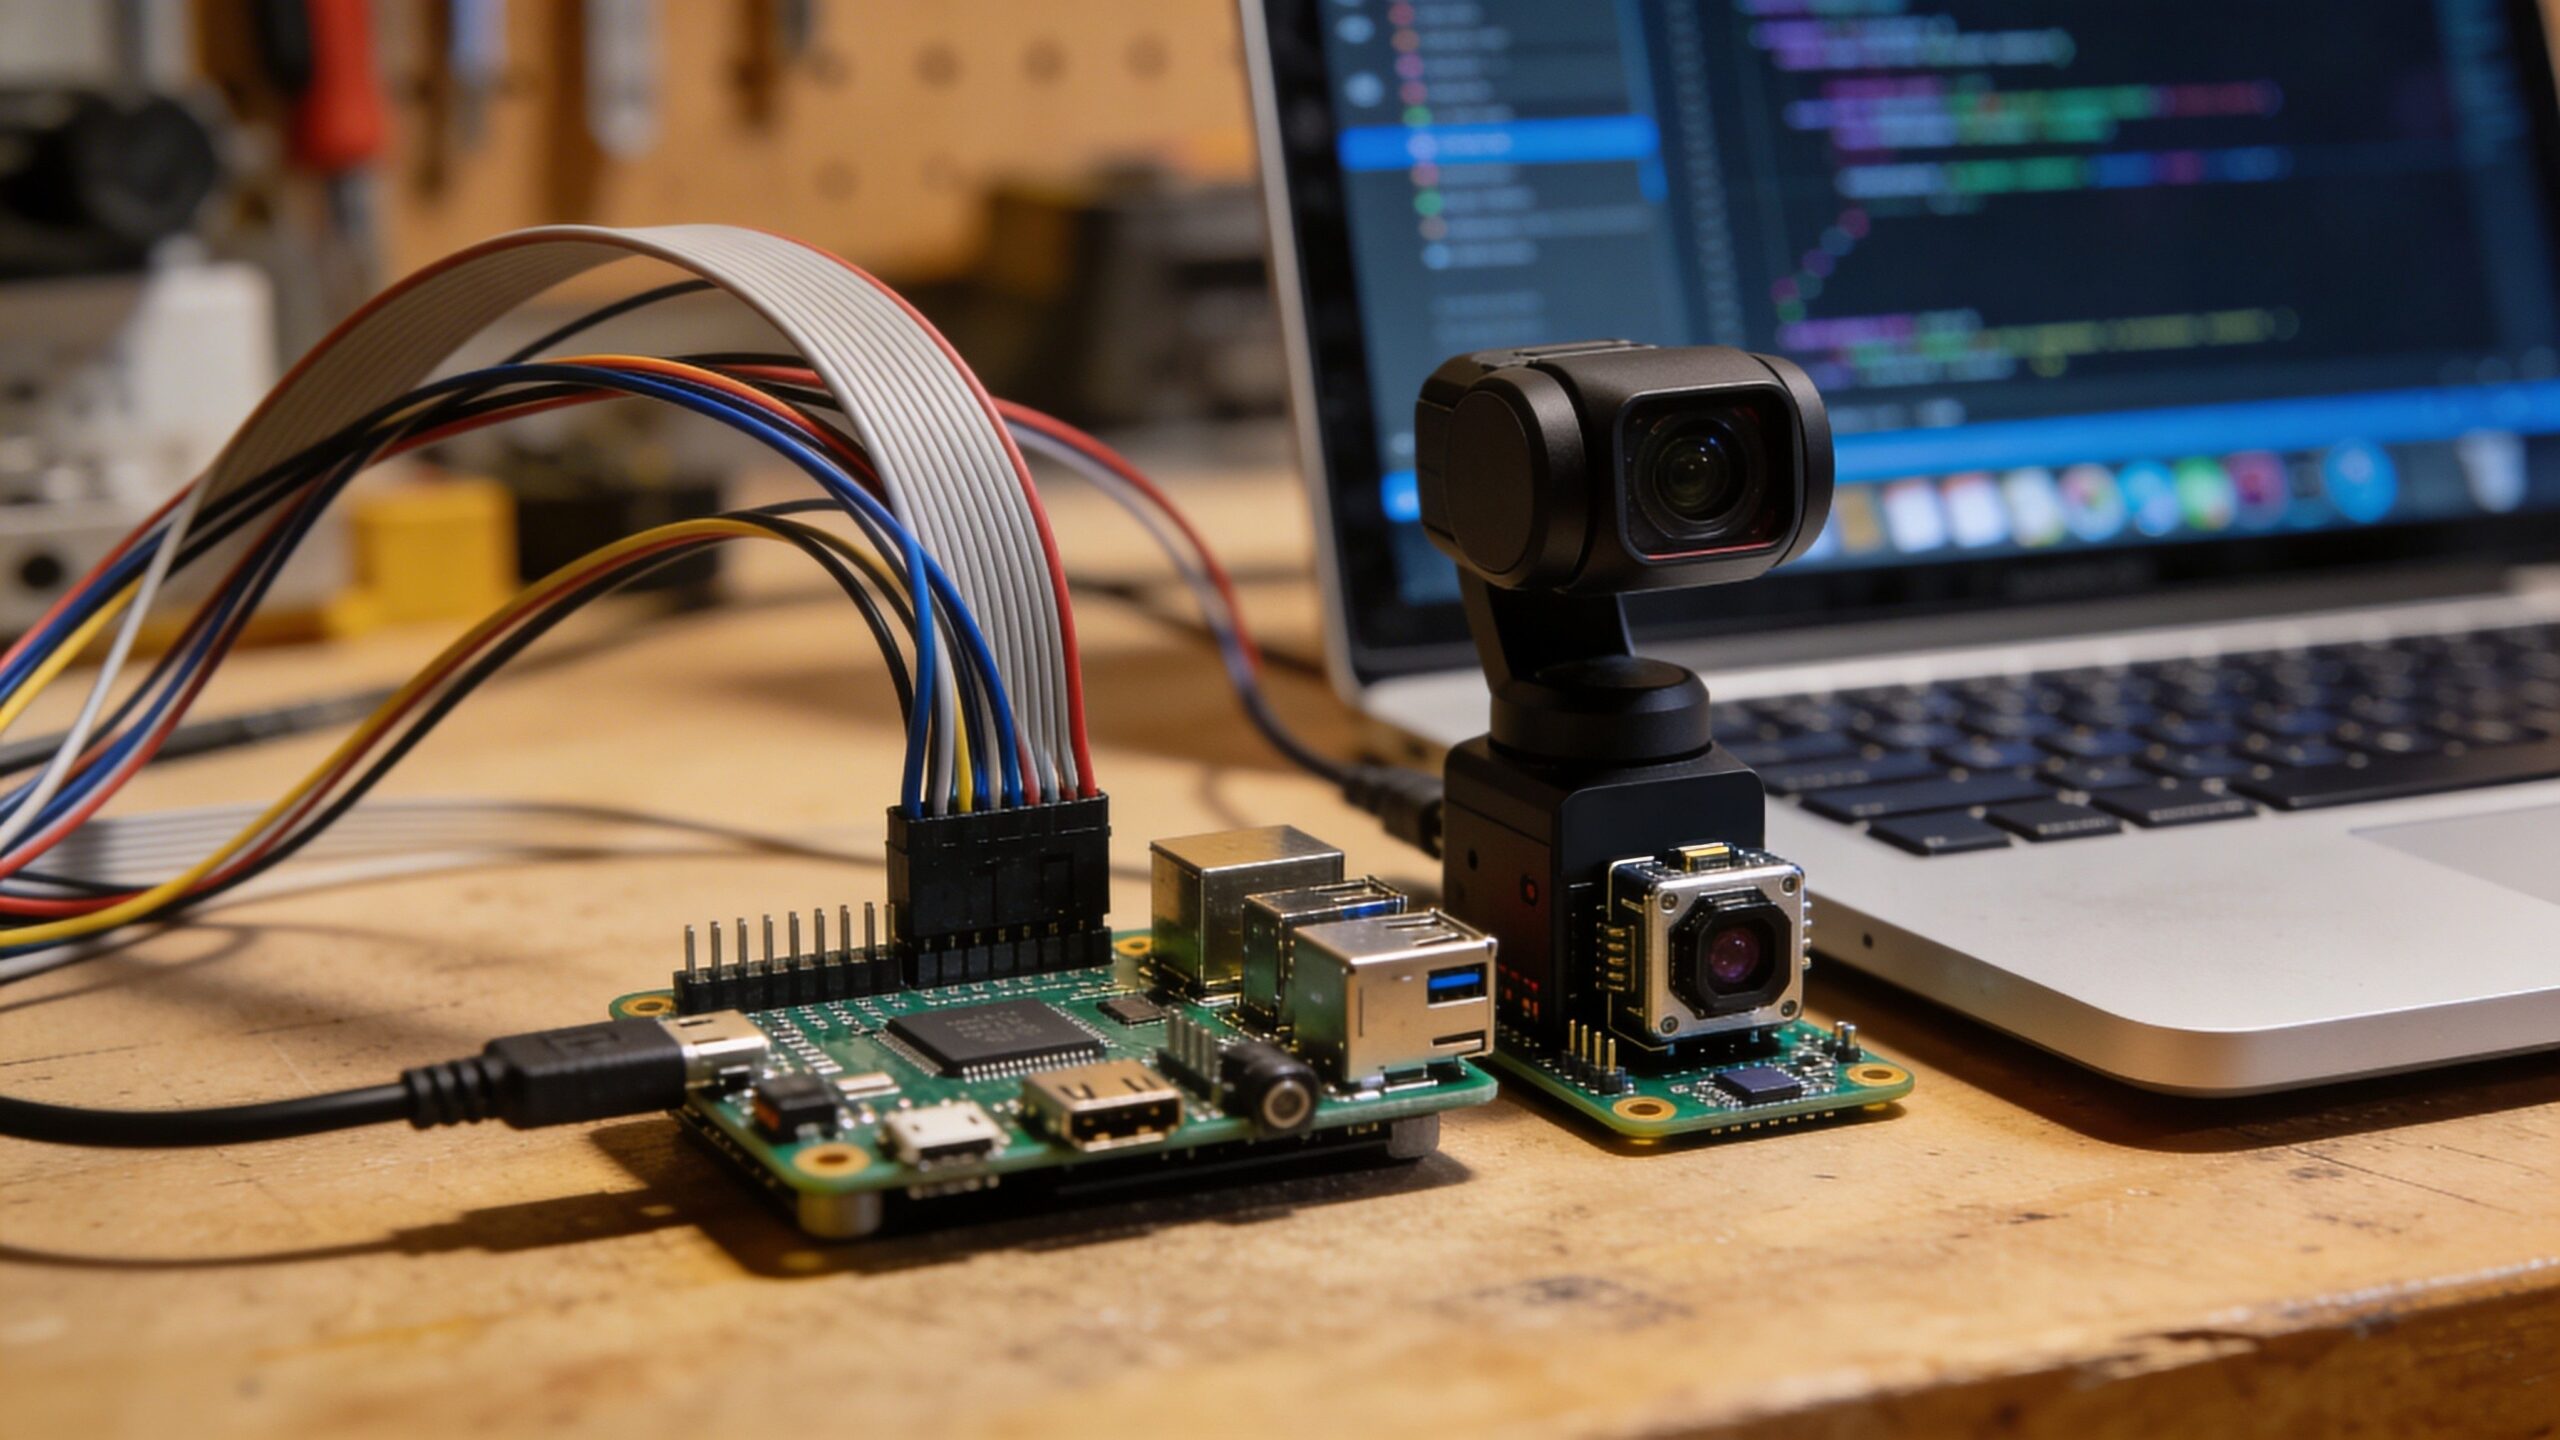
Camera projects are where Raspberry Pi starts to feel cinematic. Whether you build a workshop security camera, a wildlife feeder cam, or a timelapse rig for your 3D printer, you learn a blend of coding, storage management, and real-time system thinking. The Pi can control a camera, process images, schedule captures, and serve the results on your network.
A timelapse build teaches rhythm. You define intervals, stabilize exposure, manage lighting changes, and keep storage under control. Your code becomes a scheduler and a curator. You learn how to handle failure cases like a temporary network outage or a storage limit. You also learn that producing consistent results requires consistency in physical setup: camera angle, lighting, and stability.
A security camera build adds a new layer: event detection. You might use motion detection, triggers from sensors, or time windows. You learn to create useful alerts rather than noisy ones, and you learn to protect privacy by keeping footage local. This project feels high-value because it produces something you can use immediately, and it teaches practical system design.
Project 5: Pi-Powered Media and Audio Projects With Maker Flair
Raspberry Pi has long been a favorite for media projects because it can serve content, stream audio, and handle playback in a compact form. Makers can turn it into a workshop audio station, a retro media box, or a dedicated display player for art and ambiance. The key is that you can code your own interface and behaviors instead of accepting defaults. A maker-style media project often includes physical controls. Rotary encoders, buttons, and LEDs turn the Pi into a tactile device. Your code translates physical inputs into media actions, and you start thinking about responsiveness and user experience. A volume knob that feels smooth and immediate is as satisfying as any mechanical build.
This project teaches integration. Audio output, device permissions, and service startup behavior can be tricky. When you figure it out, you learn how to make a Pi behave like an appliance. It boots, runs a service, and becomes a single-purpose tool. That mindset is valuable for every maker project that needs to run unattended.
Project 6: Personal Maker Dashboard and Control Panel
Every maker eventually builds a dashboard, because once you have sensors, automation, and devices, you want a simple place to see what is happening. A Raspberry Pi can host a local dashboard that displays workshop conditions, project statuses, camera feeds, and system health. It can also become a physical wall-mounted panel with a screen that feels like the command center of your maker world.
The coding value comes from combining backend data collection with frontend presentation. You learn to build simple APIs, store data, and render it in a way that makes sense at a glance. A great dashboard is not crowded. It highlights the few signals that matter and lets you drill down when needed.
A control panel adds interactivity. You can trigger automations, change modes, and run scripts with a tap. That turns your Pi into a system controller, not just a sensor logger. You start thinking about permissions, safety, and clear feedback, which is exactly the mindset that produces polished builds.
Project 7: Raspberry Pi Robot Brain for Smarter Builds
Microcontrollers are excellent at real-time control, but Raspberry Pi is excellent at high-level robotics logic. That makes it a perfect “robot brain” for projects that need computer vision, mapping, Wi-Fi control, or advanced decision-making. You can pair a Pi with a microcontroller that handles motors and sensors, then let the Pi manage navigation, planning, and communication. Coding this kind of robot teaches architecture. You learn to divide responsibilities cleanly. The Pi handles complex computation and networking, while the microcontroller handles time-critical motion and low-level sensor reads. This separation makes the system stable and easier to debug.
Even a simple robot project becomes exciting when the Pi is involved. Add a camera and basic vision, and your robot can follow a line, track a color, or avoid obstacles more intelligently. The Pi’s power encourages you to think bigger, which is often the point of a maker project.
Project 8: Tiny Home Server for Makers and Builders
A Raspberry Pi home server is a maker project that keeps paying off. It can host files, run local services, and provide a place for your scripts and dashboards to live. Makers use Pi servers to store build documentation, log sensor data, host control interfaces, and run automation services that should not depend on cloud subscriptions.
The coding side is about services and reliability. You learn how to run scripts on boot, keep them alive, and manage updates without breaking everything. You learn the difference between a script that runs once and a service that must run forever. That lesson changes how you write code.
A maker server also teaches networking fundamentals in a practical way. You learn how devices discover each other, how to secure access, and how to design systems that work even if the internet is down. For makers, local-first systems feel empowering because you control the entire stack.
Project 9: Computer Vision Projects With Real-World Impact
Computer vision is one of the most exciting Raspberry Pi project categories because it feels like giving your build eyes. With a camera and code, you can detect motion, count objects, track activity, and build systems that respond to visual signals. Makers use vision for workshop safety, wildlife monitoring, quality checks, and interactive art. The key is to start simple. A beginner-friendly vision project might detect motion and capture images. A more advanced project might recognize shapes, track movement across the frame, or categorize objects under consistent lighting. You learn quickly that good results come from good setup: stable lighting, consistent backgrounds, and a camera placed with intention.
Vision projects also teach processing tradeoffs. You can run everything locally, which keeps it private and fast, or you can offload heavy processing to another machine. Raspberry Pi sits in the middle, powerful enough for many tasks, but also a teacher of optimization and system design.
Project 10: Real-World Automation With Scheduling and Triggers
One of the most underrated Raspberry Pi skills is building automation that runs quietly in the background. Scheduling tasks, running scripts at intervals, and reacting to triggers turns the Pi into a dependable assistant. You can automate backups, generate daily reports, rotate camera captures, or manage device states based on time and sensor input.
This type of project looks simple, but it teaches discipline. Automation needs clear logging, predictable behavior, and safety checks. It needs to fail gracefully. When a scheduled task fails silently, you stop trusting the system. When it reports failures clearly and recovers, you begin relying on it.
The payoff is huge. Once you have a reliable automation framework on a Pi, you can keep adding small “quality of life” scripts that make your maker ecosystem feel smarter. This is the type of project that turns Raspberry Pi from a toy into a cornerstone.
Making Pi Projects Feel Like Products
The difference between a fun experiment and a maker build you keep using is polish. Polish does not mean expensive parts. It means reliability, clear behavior, safe defaults, and a thoughtful user experience. Raspberry Pi projects get polished when you treat them like appliances. They should boot and run services automatically. They should handle power loss gracefully. They should provide clear feedback when something goes wrong. Enclosures matter too. A Pi on a bench is fine for development. A Pi in a protected case with clean cable routing feels like a device. Add labels inside your wiring harness, strain relief, and proper power supplies, and you dramatically increase longevity. Even simple changes like using a stable power source and a good cooling strategy can turn a flaky build into a dependable one.
Most of all, good Pi projects are designed to be maintained. Updates should be safe. Logs should be readable. Code should be organized. That maker discipline is what separates “I built this once” from “this runs in my life every day.”
The Maker’s Next Step With Raspberry Pi
Once you try a few Raspberry Pi projects, you start seeing systems everywhere. You see opportunities to instrument your space, automate repetitive tasks, and build interfaces that make your creations easier to control and understand. Raspberry Pi teaches a powerful mindset: devices are not just hardware, and software is not just code. Together, they are behavior.
The best Pi projects are the ones that fit your life. A workshop monitor matters if you build. A camera rig matters if you print, film, or observe. A dashboard matters if you have multiple projects running at once. Choose projects that solve problems you actually have, and your learning accelerates because your motivation stays high.
Raspberry Pi is a maker’s bridge between the physical and the digital. Each project you build expands your ability to design systems that feel alive. That is the point. Try one project, then let it evolve. That is how makers turn boards and code into real inventions.