Good Woodworking Starts With Useful Projects, Not Expensive Tools
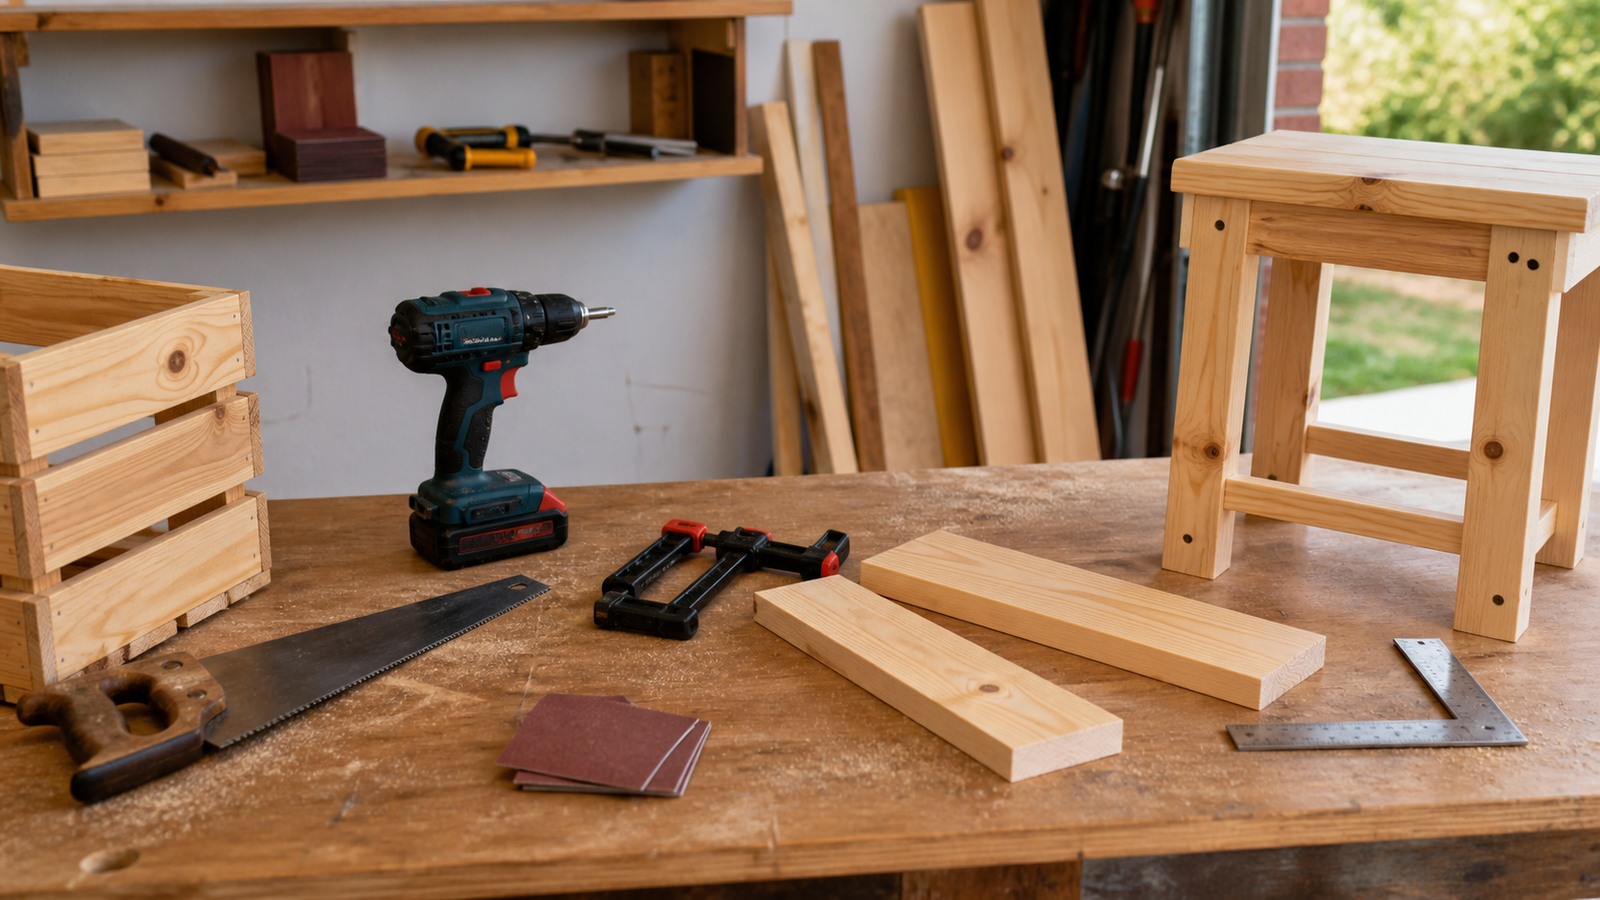
You do not need a wall of premium machines to begin woodworking. Many useful projects can be built with a saw, drill, clamps, square, measuring tools, sandpaper, glue, screws, and affordable lumber. The secret is choosing projects that match simple tools: shelves, crates, stools, benches, organizers, planters, hooks, trays, and shop fixtures. Modest tools can produce strong, attractive work when layout, workholding, and finishing are treated with care.
A: Start with measuring tools, square, saw, drill, clamps, sandpaper, glue, screws, and a stable work surface.
A: Yes, choose simple designs, buy surfaced boards or sheet goods cut down, and use careful layout.
A: Straight pine, poplar, plywood, or project boards can work well depending on the object.
A: Yes, screws are practical when sized correctly, predrilled, and placed intentionally.
A: Select straight stock, sand well, ease edges, fill defects carefully, and choose finish honestly.
A: A shelf, crate, tool tote, small bench, or shop organizer teaches useful basics.
A: Yes, clamps improve safety, alignment, glue-ups, drilling, and assembly.
A: Support the board, mark clearly, saw on the waste side, and clean up gradually.
A: Upgrade when a tool repeatedly limits safety, accuracy, or project type.
A: Yes, careful stock choice, layout, assembly, edge treatment, and finish matter more than tool price.
Choose Projects That Match Simple Tools
The easiest way to enjoy budget woodworking is to choose designs that do not require expensive setups. Straight cuts, square assemblies, visible fasteners, simple supports, and small parts are friendly to modest tools. Shelves, crates, benches, trays, organizers, and plant stands can all teach real woodworking skills without demanding a full machine shop.
A simple project is not lesser. It is focused. It lets you practice measuring, cutting, drilling, clamping, sanding, and finishing without being buried under advanced joinery.
Spend Effort On Layout
Layout is where inexpensive tools become more capable. A clear line, square reference, marked waste side, and consistent measurement can make a handsaw and drill produce surprisingly tidy results. Rushing layout forces tools to compensate for confusion.
Mark parts in groups, check diagonals on frames, and dry fit before glue or screws. These habits cost almost nothing and improve every project.
Use Workholding To Improve Safety
Clamps are often the most important upgrade in a beginner shop. They hold parts while cutting, drilling, gluing, sanding, and assembling. Without clamps, hands drift into unsafe positions and parts shift at the worst moment.
A few practical clamps can make basic tools feel much more accurate. Workholding is not glamorous, but it is where many budget projects become cleaner and safer.
Select Lumber Carefully
Affordable lumber varies. A cheap board that is twisted, wet, bowed, or full of loose knots may cost more in frustration than a slightly better one. Take time to sight down boards, reject severe defects, and choose stock that matches the project.
For shelves and boxes, plywood or project panels can be more stable than bargain solid boards. For rustic or shop projects, simple pine may be perfectly adequate.
Use Screws And Glue Thoughtfully
Screws and glue are not cheating. They are practical fasteners when used well. Pilot holes prevent splitting, countersinks make heads sit cleanly, and clamps keep parts aligned while screws draw them together. Glue adds strength when surfaces meet properly.
Visible screws can look intentional if spacing and placement are consistent. The problem is not the fastener; it is careless use.
Make Edges Feel Finished
Budget projects often look rough because edges are left sharp, fuzzy, or uneven. Sanding blocks, a file, a utility knife, or a small plane can soften corners and remove splinters. Touch matters. A shelf or stool feels better when hands do not catch on rough edges.
This is one of the cheapest ways to make simple work feel more polished.
Finish According To Use
A shop fixture may need only sanding and a coat of simple protection. A living-room shelf may deserve paint or clear finish. A plant stand may need moisture resistance. Choose finish based on where the project will live and how it will be touched.
Test finish on offcuts because inexpensive wood can blotch or absorb unevenly. A sample prevents disappointment.
Upgrade After Repeated Friction
Tool upgrades make sense when the same limitation appears repeatedly. If hand cuts slow every project, a better saw or cutting guide may help. If drilling accuracy suffers, a guide or drill press access may matter. If sanding takes forever, a good sander may be worth it.
Let projects reveal the upgrade path. That keeps the hobby affordable and practical.
Use Plans As Starting Points
A simple plan can save time, but it should be adjusted to your tools, material, and space. If a plan assumes a table saw and you are using a handsaw or store-cut boards, simplify the dimensions and choose cuts you can make accurately. If the plan uses lumber sizes not available locally, adapt before buying.
The goal is not to obey a plan perfectly. The goal is to build a useful object with the tools you have. A project that fits your workflow will turn out better than a fancy plan forced through the wrong setup.
Let Hardware Do Honest Work
Budget woodworking often benefits from honest hardware. Brackets, screws, hinges, hooks, handles, and cleats can make projects stronger and easier to build. Hidden joinery is not always necessary, especially for shop fixtures, utility shelves, crates, and outdoor pieces. Hardware is part of design when it is chosen intentionally.
Use the right hardware for the load and environment. Predrill holes, keep spacing consistent, and choose fasteners long enough to hold without bursting through. Careful hardware makes simple construction feel deliberate.
Practice On Shop Projects
Shop projects are perfect for budget woodworking because they are useful even when imperfect. A clamp rack, sanding station, drill-bit holder, small assembly bench, or offcut bin can teach layout, cutting, fastening, and finishing without the pressure of living-room furniture. The project improves the workspace while building skill.
These projects also reveal what tools you actually need next. If a jig improves every build, it may be more valuable than a shiny new machine. Let shop projects guide the growth of the shop.
Buy Accuracy Before Power
When money is limited, accuracy helpers often matter more than bigger power tools. A better square, sharp saw, drill guide, clamps, marking knife, sanding block, or stable work surface can improve many projects. Power helps, but uncontrolled power simply makes mistakes faster.
A beginner who can mark, clamp, cut, drill, and sand consistently can build a surprising range of projects. Accuracy scales upward when more tools arrive later.
Design Around Straight Cuts
Straight-cut projects are friendly to modest tools. Shelves, boxes, benches, racks, crates, trays, stools, and planters can be built from rectangles, rails, legs, and panels. Curves and complex angles can wait until the basic workflow feels comfortable.
Straight does not mean boring. Proportion, spacing, edge treatment, finish, and hardware placement can make simple geometry look clean and intentional. Design restraint is often what makes budget woodworking attractive.
Finish Small Details Carefully
Small details carry the impression of quality. Flush screw heads, eased edges, sanded corners, aligned boards, clean glue lines, and consistent finish make a simple project feel cared for. None of these require expensive tools. They require patience and attention.
That is encouraging for beginners. The budget path is not only about spending less; it is about learning where care has the highest visual and functional payoff.
Use Store Services Strategically
Many beginners can use lumberyard or home-center cutting services to reduce the need for large tools. These cuts may not be final-furniture precise, but they can break sheet goods or long boards into manageable pieces. Final trimming, sanding, drilling, and assembly can then happen with modest tools at home.
Plan these cuts carefully before going to the store. Bring dimensions, allow for kerf and cleanup, and avoid depending on store cuts for delicate joinery. Use the service to make material manageable, not to replace all accuracy.
Build Skill Through Repeatable Shapes
Rectangles teach more than beginners expect. A square shelf, crate, tray, or bench teaches accurate cutting, matching lengths, clamping, diagonals, pilot holes, sanding, and finish. Repeating simple shapes develops judgment that later supports more complex work.
This is why low-cost projects are valuable. They give repeated practice in fundamentals without making each mistake financially painful. The project may be simple, but the skill is real.
Avoid Designs That Need Hidden Precision
Some plans look simple but depend on hidden precision. Angled legs, complicated hinges, sliding parts, tight drawers, and long unsupported spans can frustrate a modest-tool setup. Beginners should choose designs where small errors can be adjusted or hidden without ruining function.
This does not mean avoiding challenge. It means selecting challenges one at a time. Add an angle, a hinge, a drawer, or a curve after the basic workflow feels stable.
Let Paint And Hardware Simplify Material Choices
Paint can make inexpensive mixed boards look unified, and hardware can strengthen simple construction. A painted crate, shelf, or bench does not need perfect grain matching. A bracket or cleat can support a shelf without advanced joinery. These choices are practical, not inferior.
The best budget projects are honest about their method. They use simple construction, then make it clean through proportion, spacing, edge work, and finish.
Use Templates To Extend Simple Tools
Templates can make modest tools more accurate. A cardboard curve, plywood drilling guide, spacer block, shelf-pin strip, or cutting guide can repeat a shape without expensive machinery. Templates are especially useful when several parts need to match or when a shape is hard to measure directly.
Making a template also slows the project in a helpful way. It lets you test proportion and fit before touching final material. A simple guide can turn a beginner setup into a more repeatable workflow.
Choose Projects With Forgiving Tolerances
Some woodworking projects punish tiny errors, while others forgive them gracefully. A tool tote, garden crate, wall shelf, boot rack, simple bench, or storage box can tolerate small differences if the parts are square and secure. A drawer, chair, or complex cabinet may demand tighter accuracy.
Forgiving projects are not low quality. They are smart training grounds. They let beginners practice good habits while still producing useful objects. Confidence grows when the first builds have room for learning.
Make The Work Surface Better First
A stable work surface improves every budget woodworking project. It does not need to be a dream bench, but it should hold parts safely, support cuts, accept clamps, and stay at a comfortable height. Many tool problems are really workholding problems caused by a wobbly table or awkward floor setup.
Improving the work surface can be the first project. A simple assembly table, bench hook, sawhorse pair, or clamp-friendly top may unlock better results from the tools already owned.
Use Borrowed Tool Access Wisely
Borrowed tools, maker spaces, tool libraries, and community shops can extend a modest home setup. Use shared access for operations that are hard to do safely at home, such as breaking down sheet goods, planing rough stock, or making repeated accurate cuts. Then bring the prepared parts back to a smaller workspace for assembly and finishing.
This approach keeps costs down without pretending every tool must be owned. It also teaches which machines are genuinely useful before money is spent. Occasional access can be enough for many beginner woodworking projects.
Build Confidence Through Finished Utility
Finished utility is motivating. A simple shelf that holds books, a crate that organizes supplies, or a stool that works safely proves that modest tools can create real value. That proof matters more than whether the project used advanced joinery or expensive equipment.
Each useful project also improves judgment. You learn how wood moves, how screws behave, how finish changes appearance, and how much accuracy a certain design needs. The next project benefits from that lived experience.