Why Air-Dry Clay Is a Secret Weapon for Home Sculptors
Air-dry clay has a reputation for being “easy,” and that’s true—but easy doesn’t mean amateur. When you understand how this material behaves, you can create pieces that look polished, deliberate, and surprisingly durable. The appeal is obvious: no kiln, no special firing schedule, no studio membership required. You shape, refine, and let time do the curing. That simplicity frees you to focus on what really makes sculpture feel professional: strong forms, clean seams, controlled texture, and a finish that looks intentional rather than rushed. The most common reason air-dry clay projects look homemade isn’t the clay itself. It’s the process. Many beginners build too thick, dry too fast, skip compression, and paint before the piece is fully cured. Professional-looking results come from slowing down at the right moments, especially when joining parts, smoothing surfaces, and finishing. Once you learn a handful of “studio habits,” air-dry clay becomes a powerful medium for decor, gifts, and display-worthy mini sculptures.
A: Uneven thickness or drying too fast—build hollow and dry slowly.
A: Compress with a damp sponge/tool, then sand after full cure.
A: Yes—acrylic paints work well; seal after painting for durability.
A: A matte paint plus matte sealant gives a clean, sculptural feel.
A: Usually 24–48 hours, longer for thicker work; fully dry feels room-temp, not cool.
A: Score both sides, add slip/water, press, reinforce with a coil, and blend.
A: Yes—foil or paper cores reduce cracks and keep shapes stable.
A: Use a clear craft sealant; matte hides flaws, satin adds depth, gloss looks lacquered.
A: Fill with slip and clay, compress, let dry, then sand smooth before repainting.
A: A minimalist tray, ring dish, or abstract arch in a single matte finish.
The Two Rules That Make Air-Dry Clay Look “Pro”
The first rule is consistency: consistent thickness, consistent surface quality, consistent design language. A lumpy wall on a bowl, a wobbly base on a sculpture, or a rough seam can read as accidental even if the idea is strong. The second rule is intention: texture should look chosen, not random; brushstrokes should feel like style, not a rescue mission. When you treat every step as part of the final aesthetic—building, drying, sanding, sealing—your work begins to look finished before paint ever touches it.
Professional results also come from building smart. Air-dry clay shrinks as it cures, and it does not forgive thick solid forms the way some clays do. Using cores, creating hollow shapes, and reinforcing joins are not advanced tricks—they are the basics that keep your work crisp and crack-free.
Choosing Clay and Prepping Your Workspace
Not all air-dry clays behave the same. Some are smoother and great for clean modern shapes. Others have more fibrous texture, which can be excellent for organic sculptures and rustic finishes. Regardless of brand, the same preparation helps: knead the clay well to make it uniform and reduce weak spots. If your clay feels dry, a tiny amount of water can help, but too much can make it sticky and prone to slumping. Your workspace should be simple. A smooth board or mat helps prevent sticking. Keep a small bowl of water, a sponge, and a soft brush nearby for smoothing and seam work. Lighting matters more than most people think. Strong directional light reveals bumps and uneven edges early, when they’re easy to fix. A clean area for drying is also important, because air-dry clay attracts dust and hair like it’s magnetized.
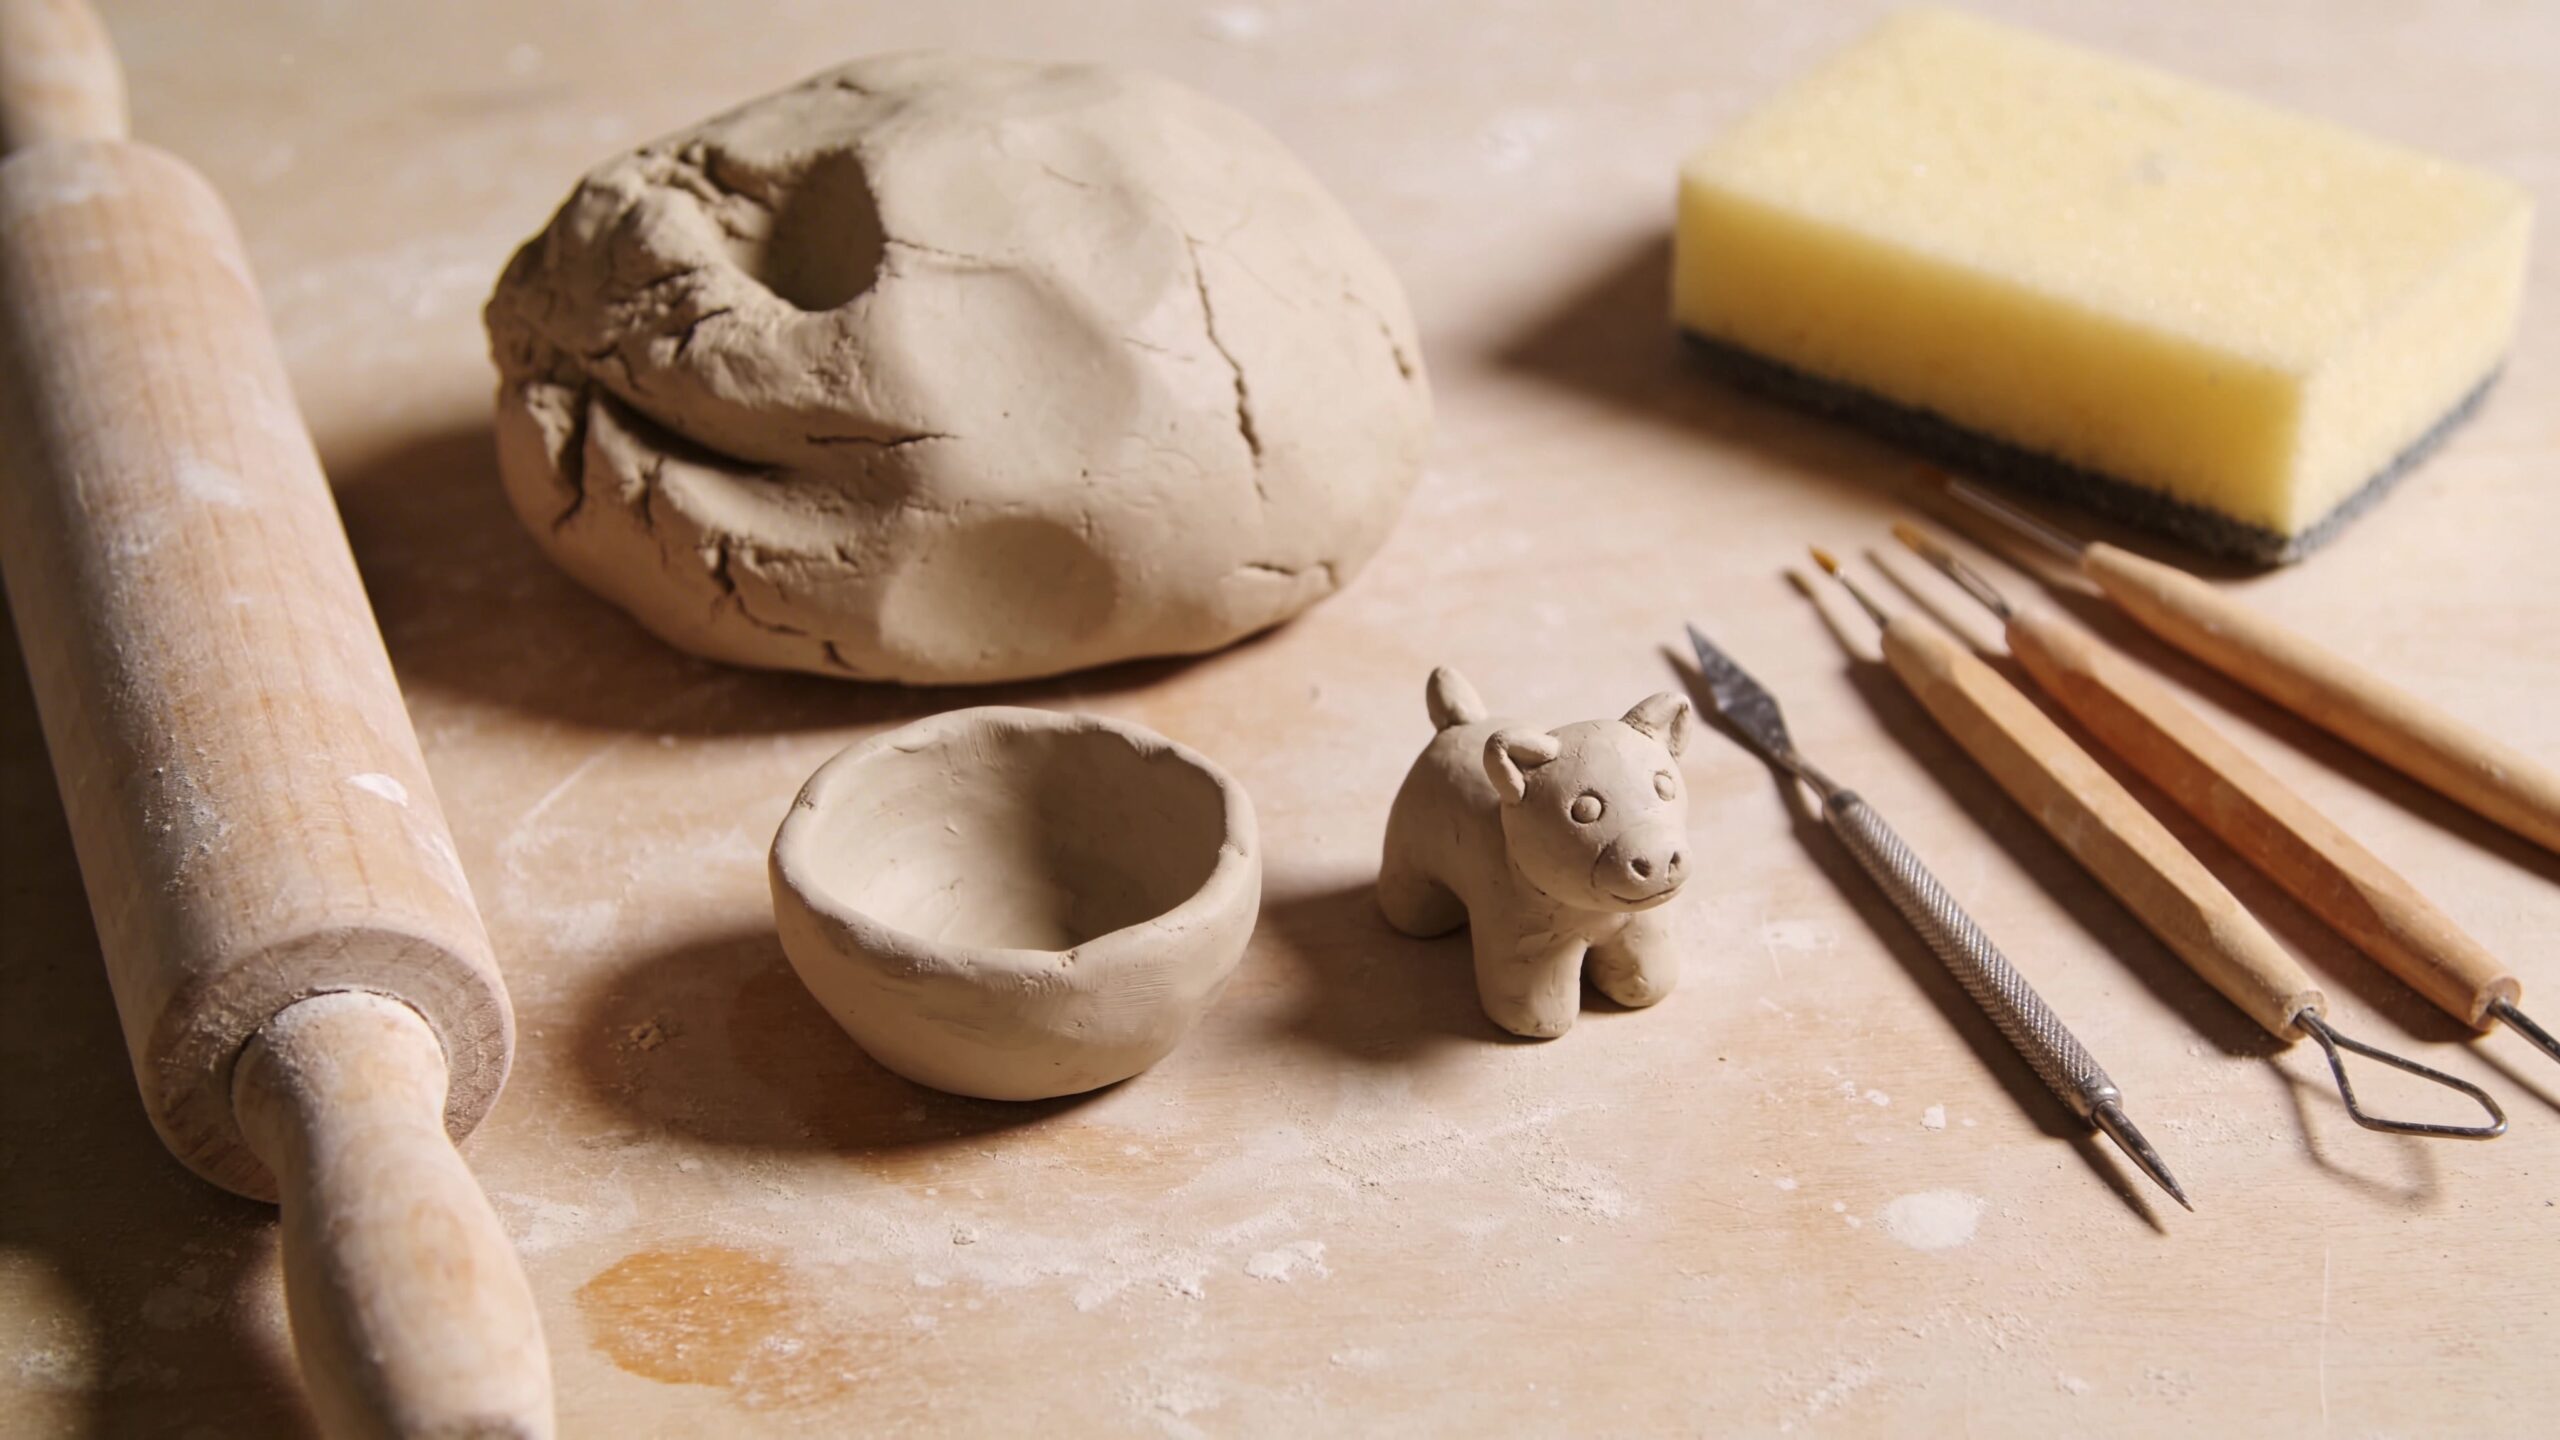
Essential Tools for Clean Results
You can do a lot with your hands, but a few tools make your work look dramatically more refined. A sponge helps smooth surfaces without tearing clay. A wooden modeling tool helps compress seams and define edges. A needle tool helps score joins and create controlled detail lines. Fine sandpaper or sanding sponges are key once the piece is cured. A craft knife is useful for trimming bases flat and sharpening geometry.
Household items can be “professional tools” too. A credit card edge can scrape a flat surface clean. A toothbrush can create controlled texture. Fabric can stamp subtle patterns. Foil can create an organic stone-like surface when pressed into clay. The difference between messy and artistic texture is repetition and placement—use your texture tools deliberately, and keep them consistent across the piece.
The Hidden Skill: Compression
Compression is the quiet technique that separates sturdy, professional-looking sculptures from fragile ones. When you smooth clay, you’re not just making it look nice. You’re pressing the particles together, strengthening the surface and minimizing micro-cracks that can appear during drying. Many air-dry clay pieces break because their surfaces were never compressed; they stay crumbly and weak even after drying. A sponge can compress gently. A smooth tool can compress firmly along edges and seams. Even your fingertips can compress if you use steady pressure rather than rubbing. When you attach parts, compressing the seam is especially important. A join that looks smooth but was never compressed can still split as the clay shrinks.
Building Methods That Prevent Cracks
The fastest path to cracks is thick clay. Air-dry clay cures from the outside in, so the outer layer shrinks first while the inside remains wet. That stress causes splits. The solution is to build hollow whenever possible. Use foil as a lightweight core for larger forms like vases, animals, or abstract sculptures. Wrap the foil tightly, then apply clay as a consistent skin. This reduces drying time and prevents heavy pieces from collapsing under their own weight.
Even for smaller projects, aim for even walls. If one side is thick and another side is thin, they will dry at different speeds and create tension. When in doubt, build in layers and allow partial drying between steps. That patience creates cleaner forms and fewer repairs later.
Joining Like a Sculptor: Score, Slip, Reinforce
Professional-looking sculptures don’t have “stuck-on” parts. They have integrated forms. The join method matters. Score both surfaces with a needle tool or rough edge, apply slip (a clay-water paste) or a small amount of water, press the parts together, then reinforce with a tiny coil of clay around the seam. Blend that coil until the join disappears into the surrounding form. Finally, compress the seam with a tool or sponge so it dries strong. This method is especially important for handles, legs, ears, and anything that sticks out. Those parts experience the most stress during drying and handling. Strong joins prevent heartbreak.
Drying Slow for Smooth, Professional Surfaces
Air-dry clay rewards slow drying. When a piece dries too fast, it can crack, warp, or develop rough patches. If you want clean results, cover your sculpture loosely with plastic or place it in a container so the moisture escapes gradually. Rotate the piece so one side doesn’t stay wet longer than the other. If the sculpture is hollow, ensure there is a small opening so moisture can escape from inside.
A professional habit is to treat drying as part of the design. If you want a smooth modern finish, slow drying helps preserve the surface. If you want intentional cracks or rustic texture, you can dry faster—but make it a choice, not an accident.
Finishing That Makes Air-Dry Clay Look “Gallery-Ready”
Finishing is where air-dry clay transforms. Once fully cured, sanding removes tool marks and bumps. A sanding sponge is often easier than paper because it follows curves. Dust removal matters: wipe the piece with a dry cloth or soft brush before painting. If you paint over dust, the surface can look chalky. Paint can be subtle or bold, but the most professional look often comes from restraint. A single-color matte finish can look high-end if the form is strong. If you use multiple colors, keep the palette consistent and purposeful. Finally, seal your sculpture to protect it. Matte sealants work well for modern pieces. Satin can enhance depth. Gloss can look sleek, but it also highlights imperfections, so use it when your surface is truly smooth.
Simple Projects That Look Professional
Professional-looking doesn’t mean complicated. It means clean shapes, crisp edges, and thoughtful finishing. The projects below focus on forms that are beginner-friendly but visually strong, so they read as intentional decor rather than “first try.”
A minimalist tray is a perfect example. A simple oval or rectangle with a raised lip looks modern and functional. The key is making the base flat, the walls even, and the rim smooth. Sanding and a matte seal can make it look like a boutique piece.
A set of small abstract arches is another. You build hollow forms or use foil cores, then refine the curves. Even a single arch can feel like modern sculpture if the silhouette is clean. A consistent matte finish completes the look.
Tiny planters or bud vases also look professional when the proportions are right. A small cylinder with a subtly tapered base, smoothed and sealed, can feel like minimalist ceramics. The trick is controlling thickness and ensuring the bottom is stable and flat.
Wall-mounted relief tiles can look extremely polished with minimal effort. You roll a slab, carve geometric patterns, and sand edges clean after drying. Painted in one neutral color, relief tiles look like gallery wall art.
Small animal sculptures can look professional too, as long as you simplify. Instead of trying to sculpt every hair, focus on clean shapes and intentional texture. A smooth body with subtle carved lines, a defined silhouette, and careful seam blending can look surprisingly refined.
The “Pro Look” Formula: Shape, Edge, Surface, Finish
If you want air-dry clay to look professional consistently, return to a simple checklist in your mind. First, shape: does the silhouette read clearly? Second, edge: are rims, corners, and transitions clean? Third, surface: is it intentionally smooth or intentionally textured, but not accidentally messy? Fourth, finish: does the paint and seal match the style of the piece?
This formula works for everything from tiny charms to tabletop sculptures. It shifts your focus from “what should I make?” to “how should it look?”—and that mindset is what makes work feel designed.
Repairing Cracks Without Losing the Finish
Even careful builders sometimes get cracks, especially on thin edges or rushed drying. The fix is straightforward when done early. For small surface cracks, make a slip paste and press it into the crack, then compress and smooth. For larger cracks, widen slightly, add slip, fill with clay, compress, and blend. Let repairs dry slowly, then sand smooth. After painting, sealing can unify the surface and hide minor repair marks. The professional secret is not that cracks never happen. It’s that repairs are invisible because the sculptor treats them like part of the process.
Making Your First Collection: A Cohesive Set
One of the easiest ways to make your work look professional is to create a small collection rather than a one-off. Make three pieces that share a shape language: a tray, a bud vase, and an abstract form in the same finish. Use one texture style across the set, or one color palette. Cohesion reads as design. Even simple objects become elevated when they feel like they belong together.
Collections also help you build skills faster. Repeating similar forms teaches consistency, and consistency is the foundation of craftsmanship.
Professional Results Are a Process, Not a Mystery
Air-dry clay can absolutely produce sculptures that look professional, modern, and display-worthy. The path is not about buying expensive tools or chasing complicated techniques. It’s about learning the habits that keep forms clean and finishes controlled. Build hollow, keep thickness even, join with care, dry slowly, sand thoughtfully, and seal intentionally. When you do, your projects stop looking like crafts and start looking like sculpture. If you want the fastest improvement, pick one simple project—like a tray or an abstract arch—and make it three times, refining one thing each round. In clay, skill accumulates quickly when you repeat with purpose. Before long, you’ll have a shelf of pieces that look like they came from a studio—because, in a very real way, your home has become one.