Why Mixed Media Wall Art Feels So Alive
Mixed media wall art has a particular kind of electricity. It doesn’t just sit on the wall; it seems to carry history, touch, and movement in its surface. That energy comes from layers—paint over paper, texture over paint, marks over texture—each decision leaving a trace. Unlike a single-medium painting, mixed media invites variety. It lets you combine smooth and rough, matte and glossy, crisp edges and torn fibers. The result can feel both intentional and spontaneous, like a visual conversation between materials. The best part is that you don’t need rare supplies or a formal studio to make work that looks polished. Stunning mixed media is less about expensive ingredients and more about a repeatable process: build a strong foundation, plan composition, layer with purpose, and finish cleanly. Once you learn that workflow, you can create wall art that feels professional, personal, and unmistakably yours.
A: A small primed canvas panel or wood panel is stable and beginner-friendly.
A: No—start with acrylic paint, gel medium, and a few collage materials.
A: Use medium under and over the paper and press flat while it dries.
A: Limit your palette and let layers dry before painting over them.
A: Strong composition, controlled texture placement, clean edges, and a final seal.
A: Yes—use gel medium to embed fabric and seal it into the surface.
A: Increase value contrast and highlight raised texture with dry brushing.
A: Early, before heavy paint layers, and let it cure completely before glazing.
A: Yes—varnish protects layers and unifies sheen for a finished look.
A: Add a thin neutral glaze and simplify by repainting quieter areas.
Step 1: Choose a Strong Surface That Can Handle Layers
Your surface is the stage for everything that follows, so it needs to be stable. A stretched canvas works well for lighter collage and paint, but if you love heavy texture—modeling paste, thick gel medium, embedded objects—a rigid surface can be easier to manage. Wood panels, MDF boards, or cradled panels resist warping and let you press and scrape aggressively without fear. If you’re using canvas, make sure it’s primed and reasonably tight.
Size matters too. Smaller pieces are perfect for learning because they dry faster and are easier to control. Large pieces can be dramatic, but they also demand more composition planning and more patience with drying times. For your first few projects, a medium size gives you room to explore without feeling overwhelmed.
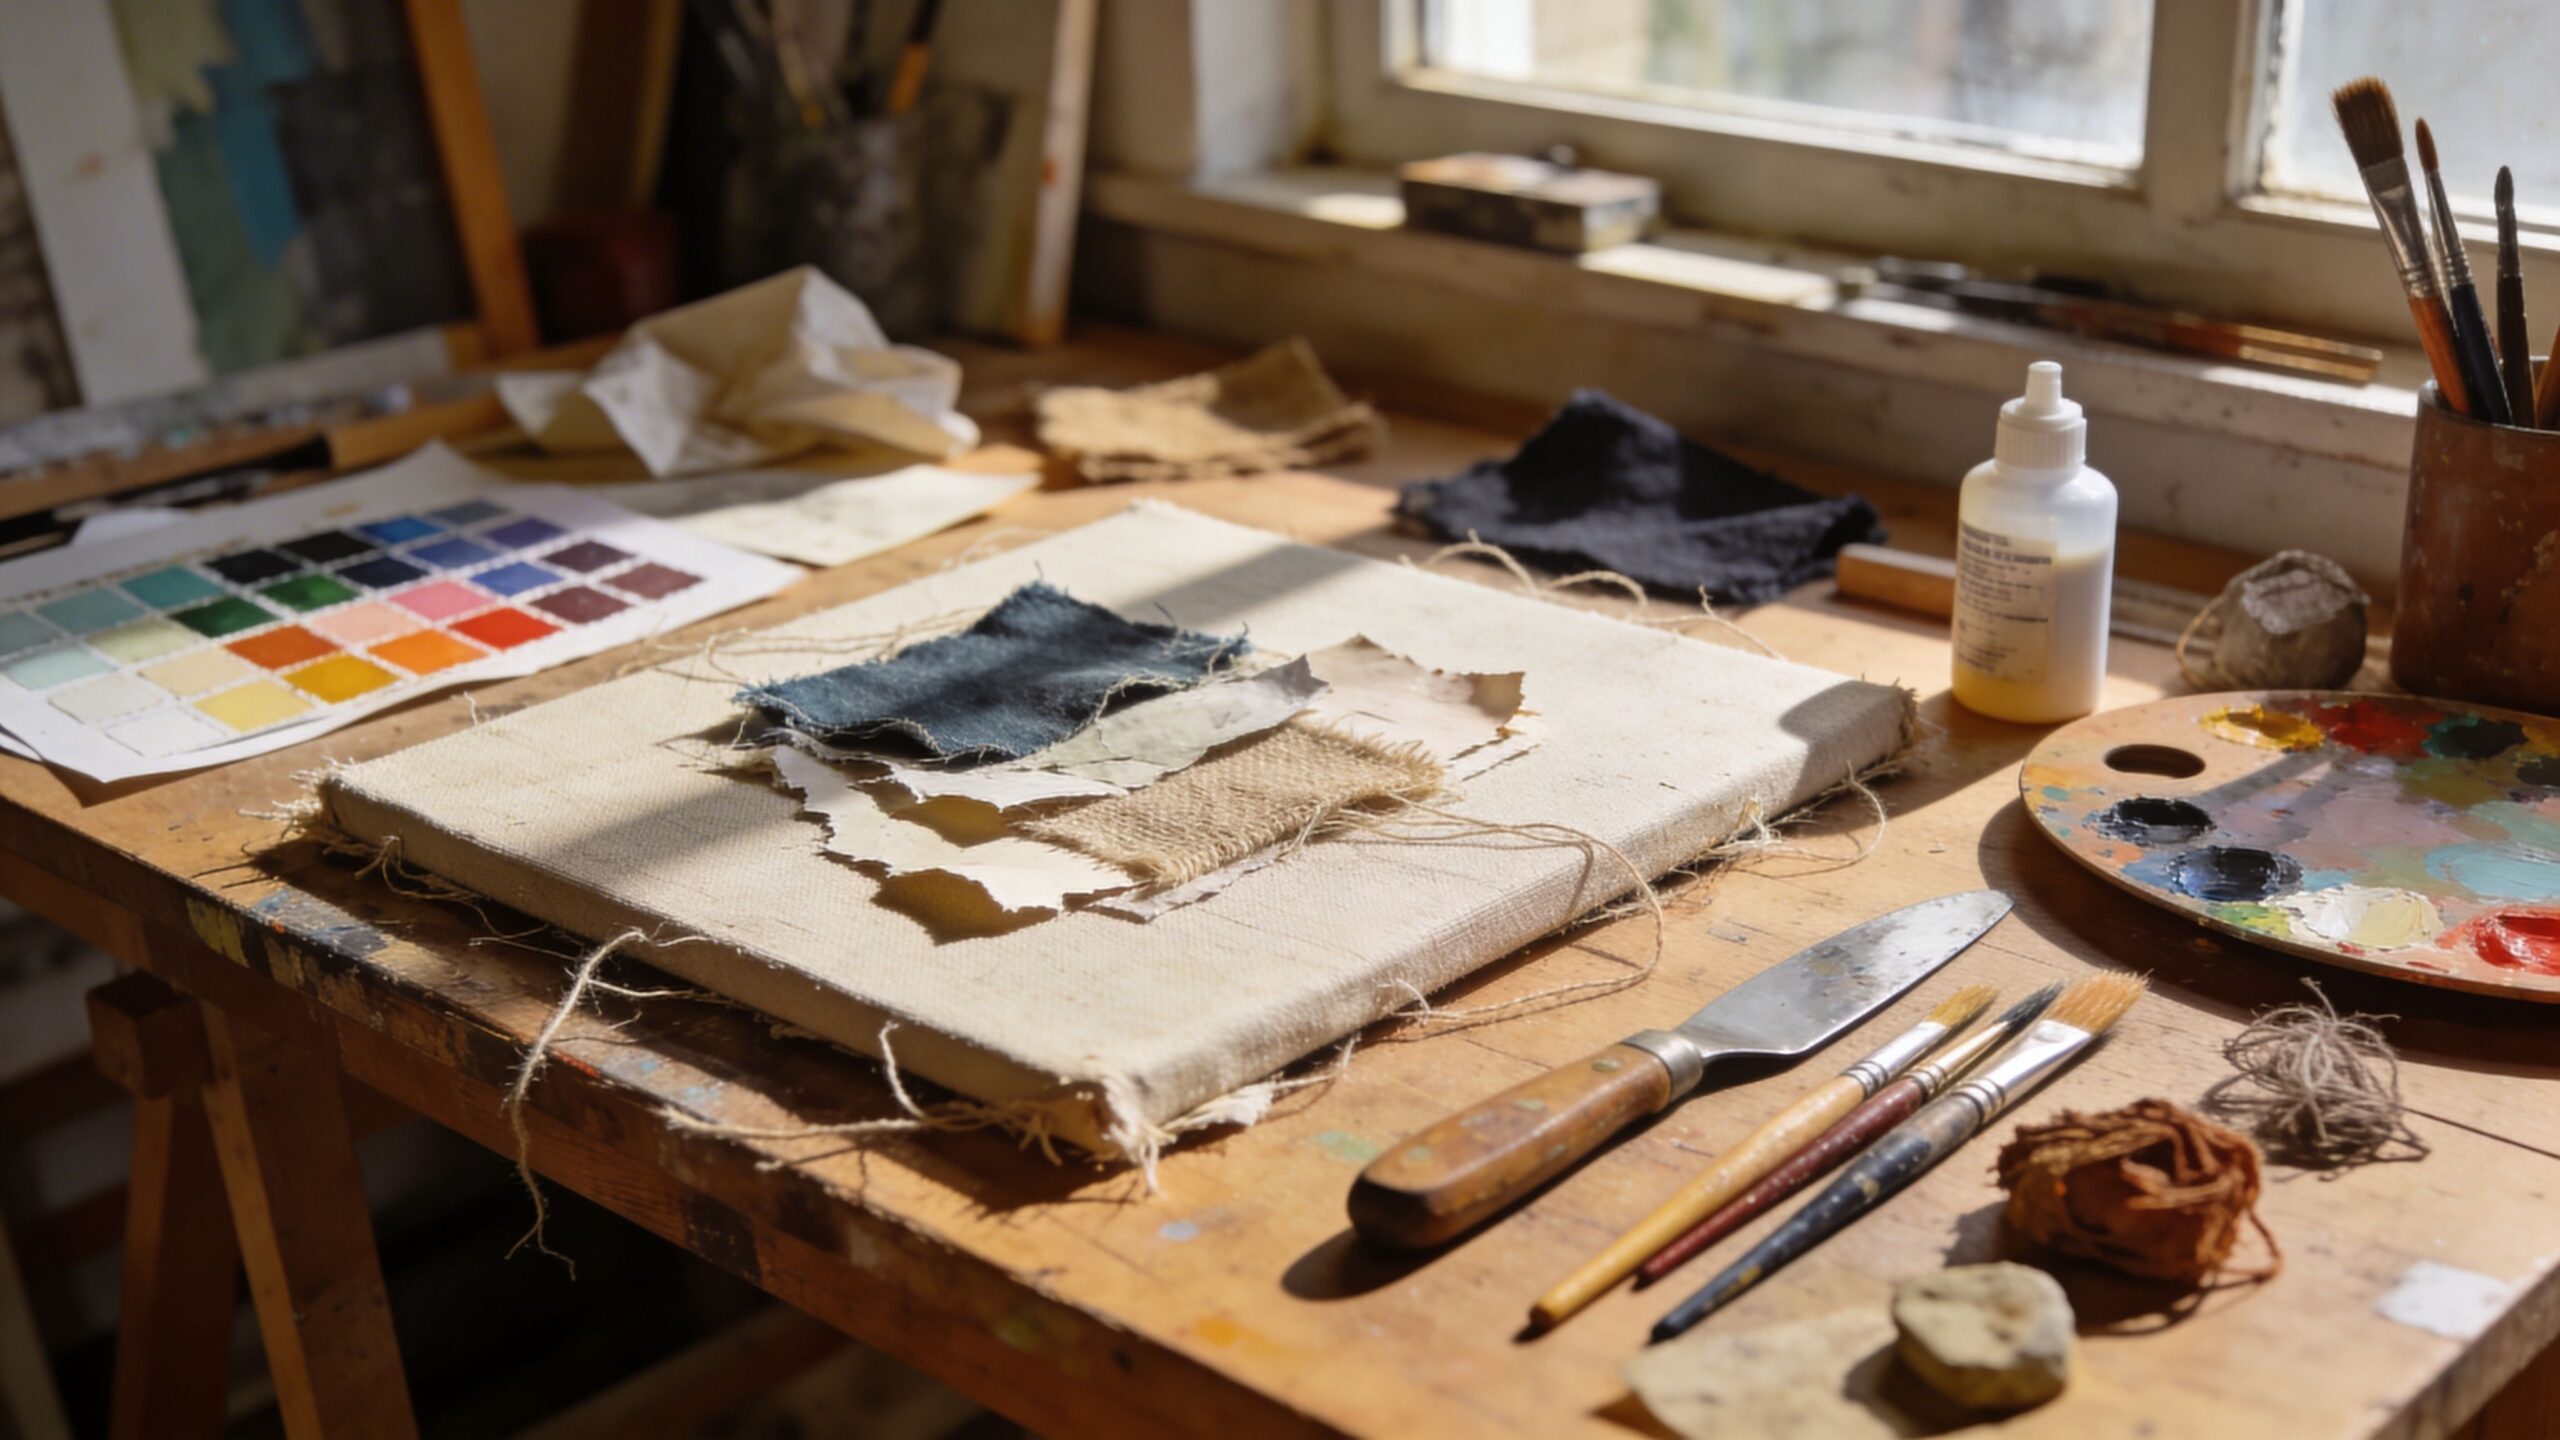
Step 2: Gather Materials With a “Texture First” Mindset
Mixed media can be made from almost anything, but the most successful pieces usually have a clear texture strategy. Consider a few “main players” that will define your surface: acrylic paint, gel medium, modeling paste, tissue paper, and a handful of collage elements. Add a couple of tools that let you shape and refine texture, such as a palette knife, an old credit card edge, or a brayer. For collage materials, look for items with interesting fibers and edges: handmade paper, brown kraft paper, fabric scraps, thin cardboard, pressed plant shapes, or clean packaging paper. The point is not to collect a mountain of options. The point is to choose a small set of materials that can be repeated across the artwork so the final piece feels cohesive rather than chaotic.
Step 3: Pick a Color Story Before You Start
Color is the fastest way to make mixed media art look intentional. Before you begin layering, choose a simple color story. Many striking pieces use one dominant color, one supporting color, and a neutral. You can also use a monochrome palette with subtle shifts in value. Limiting color early helps you avoid the “mud” that can happen when too many hues blend together.
Think of color as atmosphere. Warm colors can feel energetic and bold. Cool colors can feel calm and architectural. Neutrals can feel modern and gallery-like. If you want a professional look, consider saving your brightest accents for later steps, using them sparingly like punctuation.
Step 4: Prime and Tone the Surface
Starting on a blank white surface can make every mark feel too loud. Toning the surface helps unify your first layers and reduces the pressure to “make it perfect” immediately. You can apply a thin wash of acrylic paint and water, or use a neutral base coat in a warm gray, soft beige, or muted color that fits your palette. This base layer also helps collage elements blend in later, because nothing feels like it’s floating on top of stark white. As you tone the surface, allow subtle variation. A perfectly flat base can look sterile. A base with gentle shifts—lighter corners, darker center, soft brush movement—creates an undercurrent that makes later layers feel richer.
Step 5: Sketch a Loose Composition Without Overthinking
Composition is what keeps mixed media from becoming random. You don’t need a detailed drawing, but you do want a plan for where your main shapes will live. Decide whether your piece will be centered, asymmetrical, diagonal, or structured in blocks. Consider creating a focal area where the most contrast and texture will collect. That focal area gives the viewer a place to land, which makes the entire piece feel designed.
A helpful approach is to think in three zones: a focal zone, a supporting zone, and breathing room. Breathing room is essential. When every inch is busy, the piece can feel noisy. Leaving quieter space is a professional move because it lets the textures you do create feel more powerful.
Step 6: Build the First Collage Layer as a Map
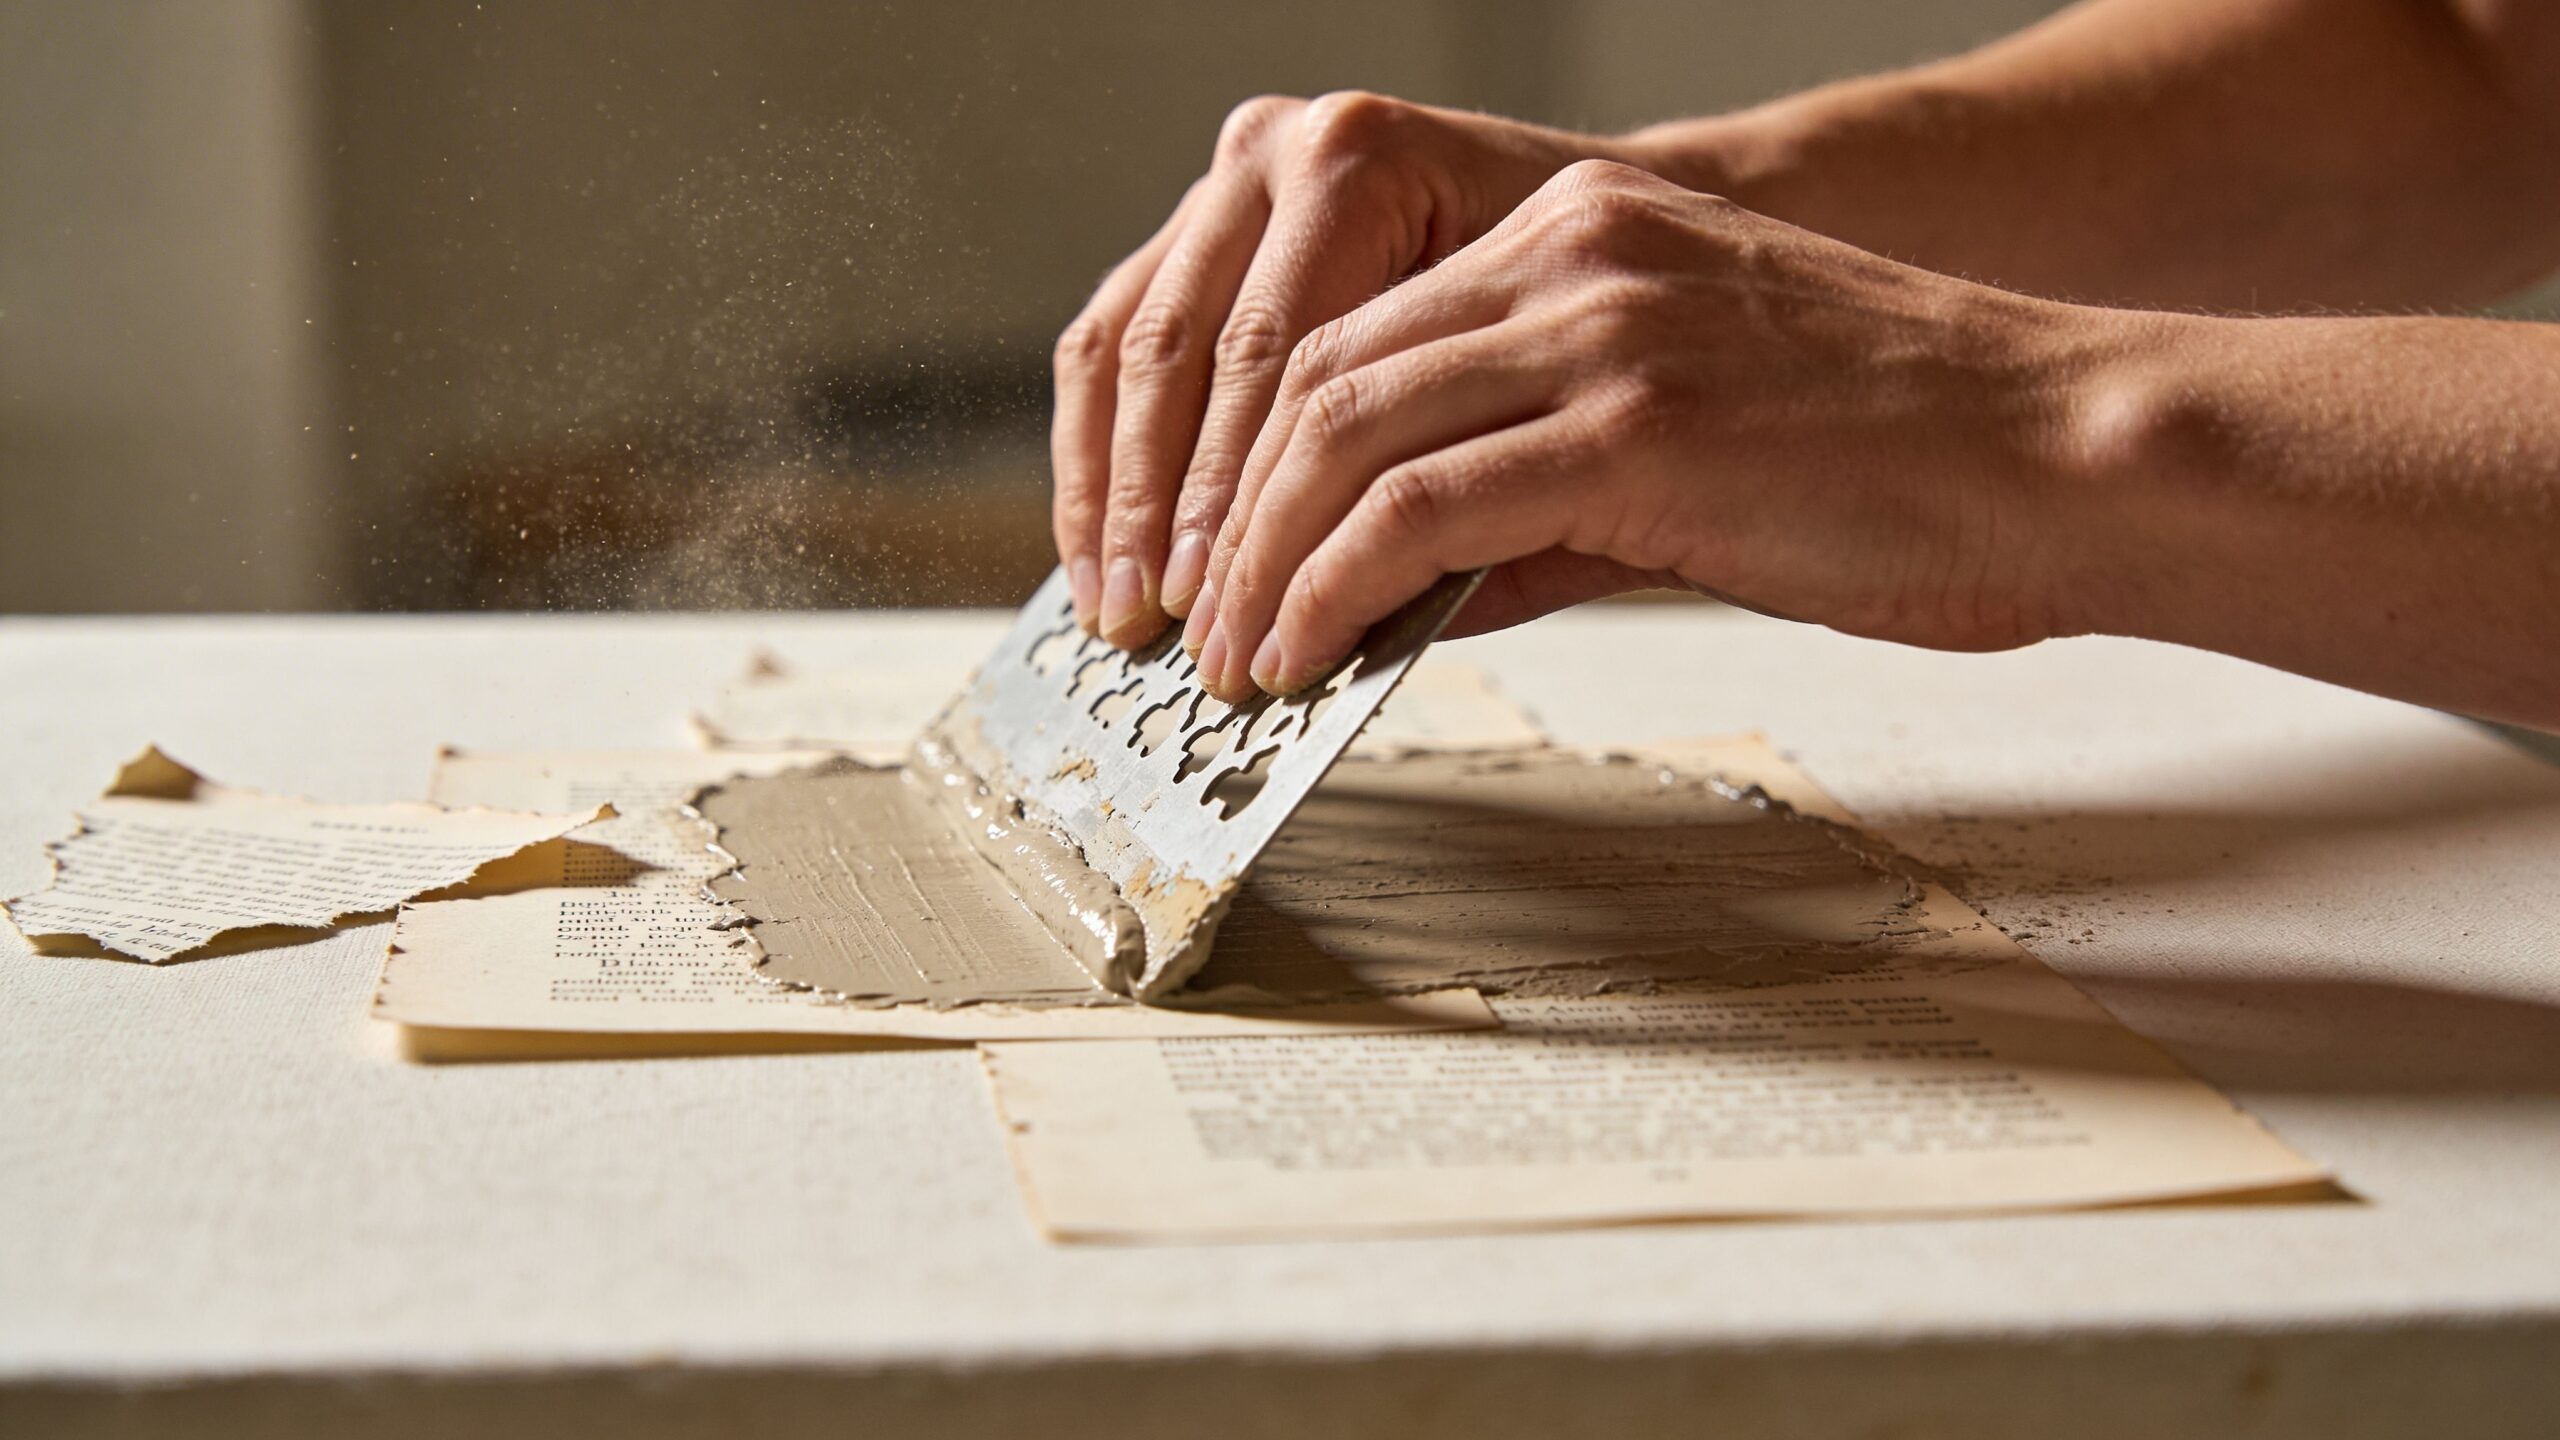
Your first collage layer is not decoration. It’s a map that establishes movement across the surface. Use larger pieces of paper or fabric first, placing them to guide the eye toward your focal area. Tear edges instead of cutting them when you want a softer transition. Overlap pieces like shingles so the layering feels natural. Adhere collage elements with a gel medium rather than plain glue if possible, because it dries stronger and more flexible. Brush medium under the collage element, press it down, then brush a thin coat over the top to seal it. This “sandwich” method prevents corners from lifting later and helps the collage integrate into the painting layers.
Step 7: Add Texture With Modeling Paste, But Keep It Strategic
Texture is what makes mixed media wall art feel tactile and dimensional. Modeling paste or texture paste can create raised patterns, ridges, and sculptural areas that catch light beautifully. The key is placement. If you spread thick texture everywhere, the piece can feel heavy and unfocused. Instead, cluster texture near your focal zone and let it thin out as it moves away.
You can apply paste with a palette knife for smooth raised areas, or through stencils for repeating patterns. If you don’t have stencils, household items work: mesh bags, lace, cardboard combs, or even bubble wrap can imprint unique textures. Let the texture dry fully before you paint heavily over it, or you risk cracking and smearing.
Step 8: Paint to Unite the Layers
Once collage and texture are established, paint becomes the glue that unifies everything. Acrylic is ideal because it layers quickly and dries fast. Start with thin layers to tint the collage and soften transitions. Then add more opaque paint to create contrast and shape. Think of paint as editing. You’re not just adding color; you’re deciding what to emphasize and what to push into the background. A professional habit here is to step back often. Up close, mixed media is all detail. From a few feet away, it’s composition and contrast. If the piece looks balanced at a distance, the details will feel like an added reward rather than visual clutter.
Step 9: Create Depth With Value and Shadow
Depth is what makes wall art feel dimensional even before someone touches it. You create depth by controlling value—lights and darks. Darker areas can recede, lighter areas can come forward. You can deepen shadows around textured ridges with a thin glaze, then highlight raised areas with a lighter dry brush. This makes texture read clearly and gives the piece a sculptural presence.
You don’t need realistic shading. You just need value contrast. Even subtle shifts—soft charcoal gray under a ridge, warm off-white on the top—can make the surface feel richer and more professional.
Step 10: Add Marks That Feel Intentional
Marks are where personality shows up. This can be thin lines, scribbles, stamp impressions, small brush gestures, or subtle drips. The trick is to make marks that match the mood of the piece. If your work is calm and minimal, keep marks restrained. If your work is energetic and expressive, let marks be bolder, but still coordinated with the overall composition. Try to avoid adding marks everywhere. Choose a few areas where marks cluster, echoing your focal zone. Repetition is your friend. Repeat a mark type in three places, and it starts to feel like design rather than accident.
Step 11: Add a “Signature Detail” Without Using Text
Many mixed media pieces become memorable because they have one distinctive element: a stitched fabric fragment, a subtle metallic accent, a repeated embossed pattern, or a clean geometric shape that contrasts with organic layers. You can add metallic paint sparingly to catch light, or integrate thread and fabric for tactile surprise. You can also embed small objects, but keep them minimal so the piece remains wall-friendly and not overly bulky.
If you want the work to feel high-end, prioritize materials that look refined: neutral fabrics, muted metallics, controlled texture, and clean edges. The goal is to create interest without visual noise.
Step 12: Finish the Edges and Seal the Artwork
Edges are one of the biggest giveaways of “unfinished” art. Paint the sides of your canvas or panel so the work looks complete from every angle. Many artists choose a solid edge color pulled from the palette—black for modern contrast, white for clean minimalism, or a muted tone that matches the background. Clean edges immediately elevate the piece. Sealing is the final professional step. A clear varnish or protective topcoat helps unify sheen and protect delicate collage elements. Matte sealers tend to make pieces look modern and gallery-like. Satin can add richness and depth. Gloss can make colors pop, but it also highlights imperfections, so use it when your surface is clean and intentional.
Troubleshooting: What to Do If It Looks “Messy”
If your piece starts to feel chaotic, don’t panic. Mixed media is forgiving because you can paint over, collage over, or texture over. The quickest way to restore order is to simplify. Add a thin neutral glaze to unify. Reduce the number of competing colors. Strengthen the focal zone by increasing contrast there and calming other areas.
Another rescue technique is adding a clean shape. A simple block of color, a soft circle, or a vertical stripe can create structure and give the eye a rest. Professional mixed media often balances wild texture with quiet geometry.
Making It Look Professional Every Time
If you want consistent professional results, commit to a few repeatable habits. Choose a limited palette. Build layers in stages and allow drying time. Cluster texture instead of spreading it everywhere. Step back frequently to check composition. Finish the edges. Seal the work for a unified surface. These small disciplines create big results. It also helps to make series rather than single pieces. When you create three artworks with the same palette and similar motifs, you build momentum and improve quickly. Series work looks intentional and refined—perfect for decorating a room or building a cohesive portfolio.
Final Thoughts: Your Wall Art, Your Voice
Mixed media wall art is exciting because it combines structure and freedom. The step-by-step process gives you a reliable path, but the materials leave room for surprise. Every layer is a choice. Every scrape and tear becomes part of the story. With practice, your work will start to look less like a craft experiment and more like a finished piece you’d proudly hang in a main room.
The secret is not having perfect materials. The secret is building with intention, editing with confidence, and finishing like a pro. Start with one piece, follow the steps, and then make another—because mixed media gets better fast when you let your hands learn the language of layers.