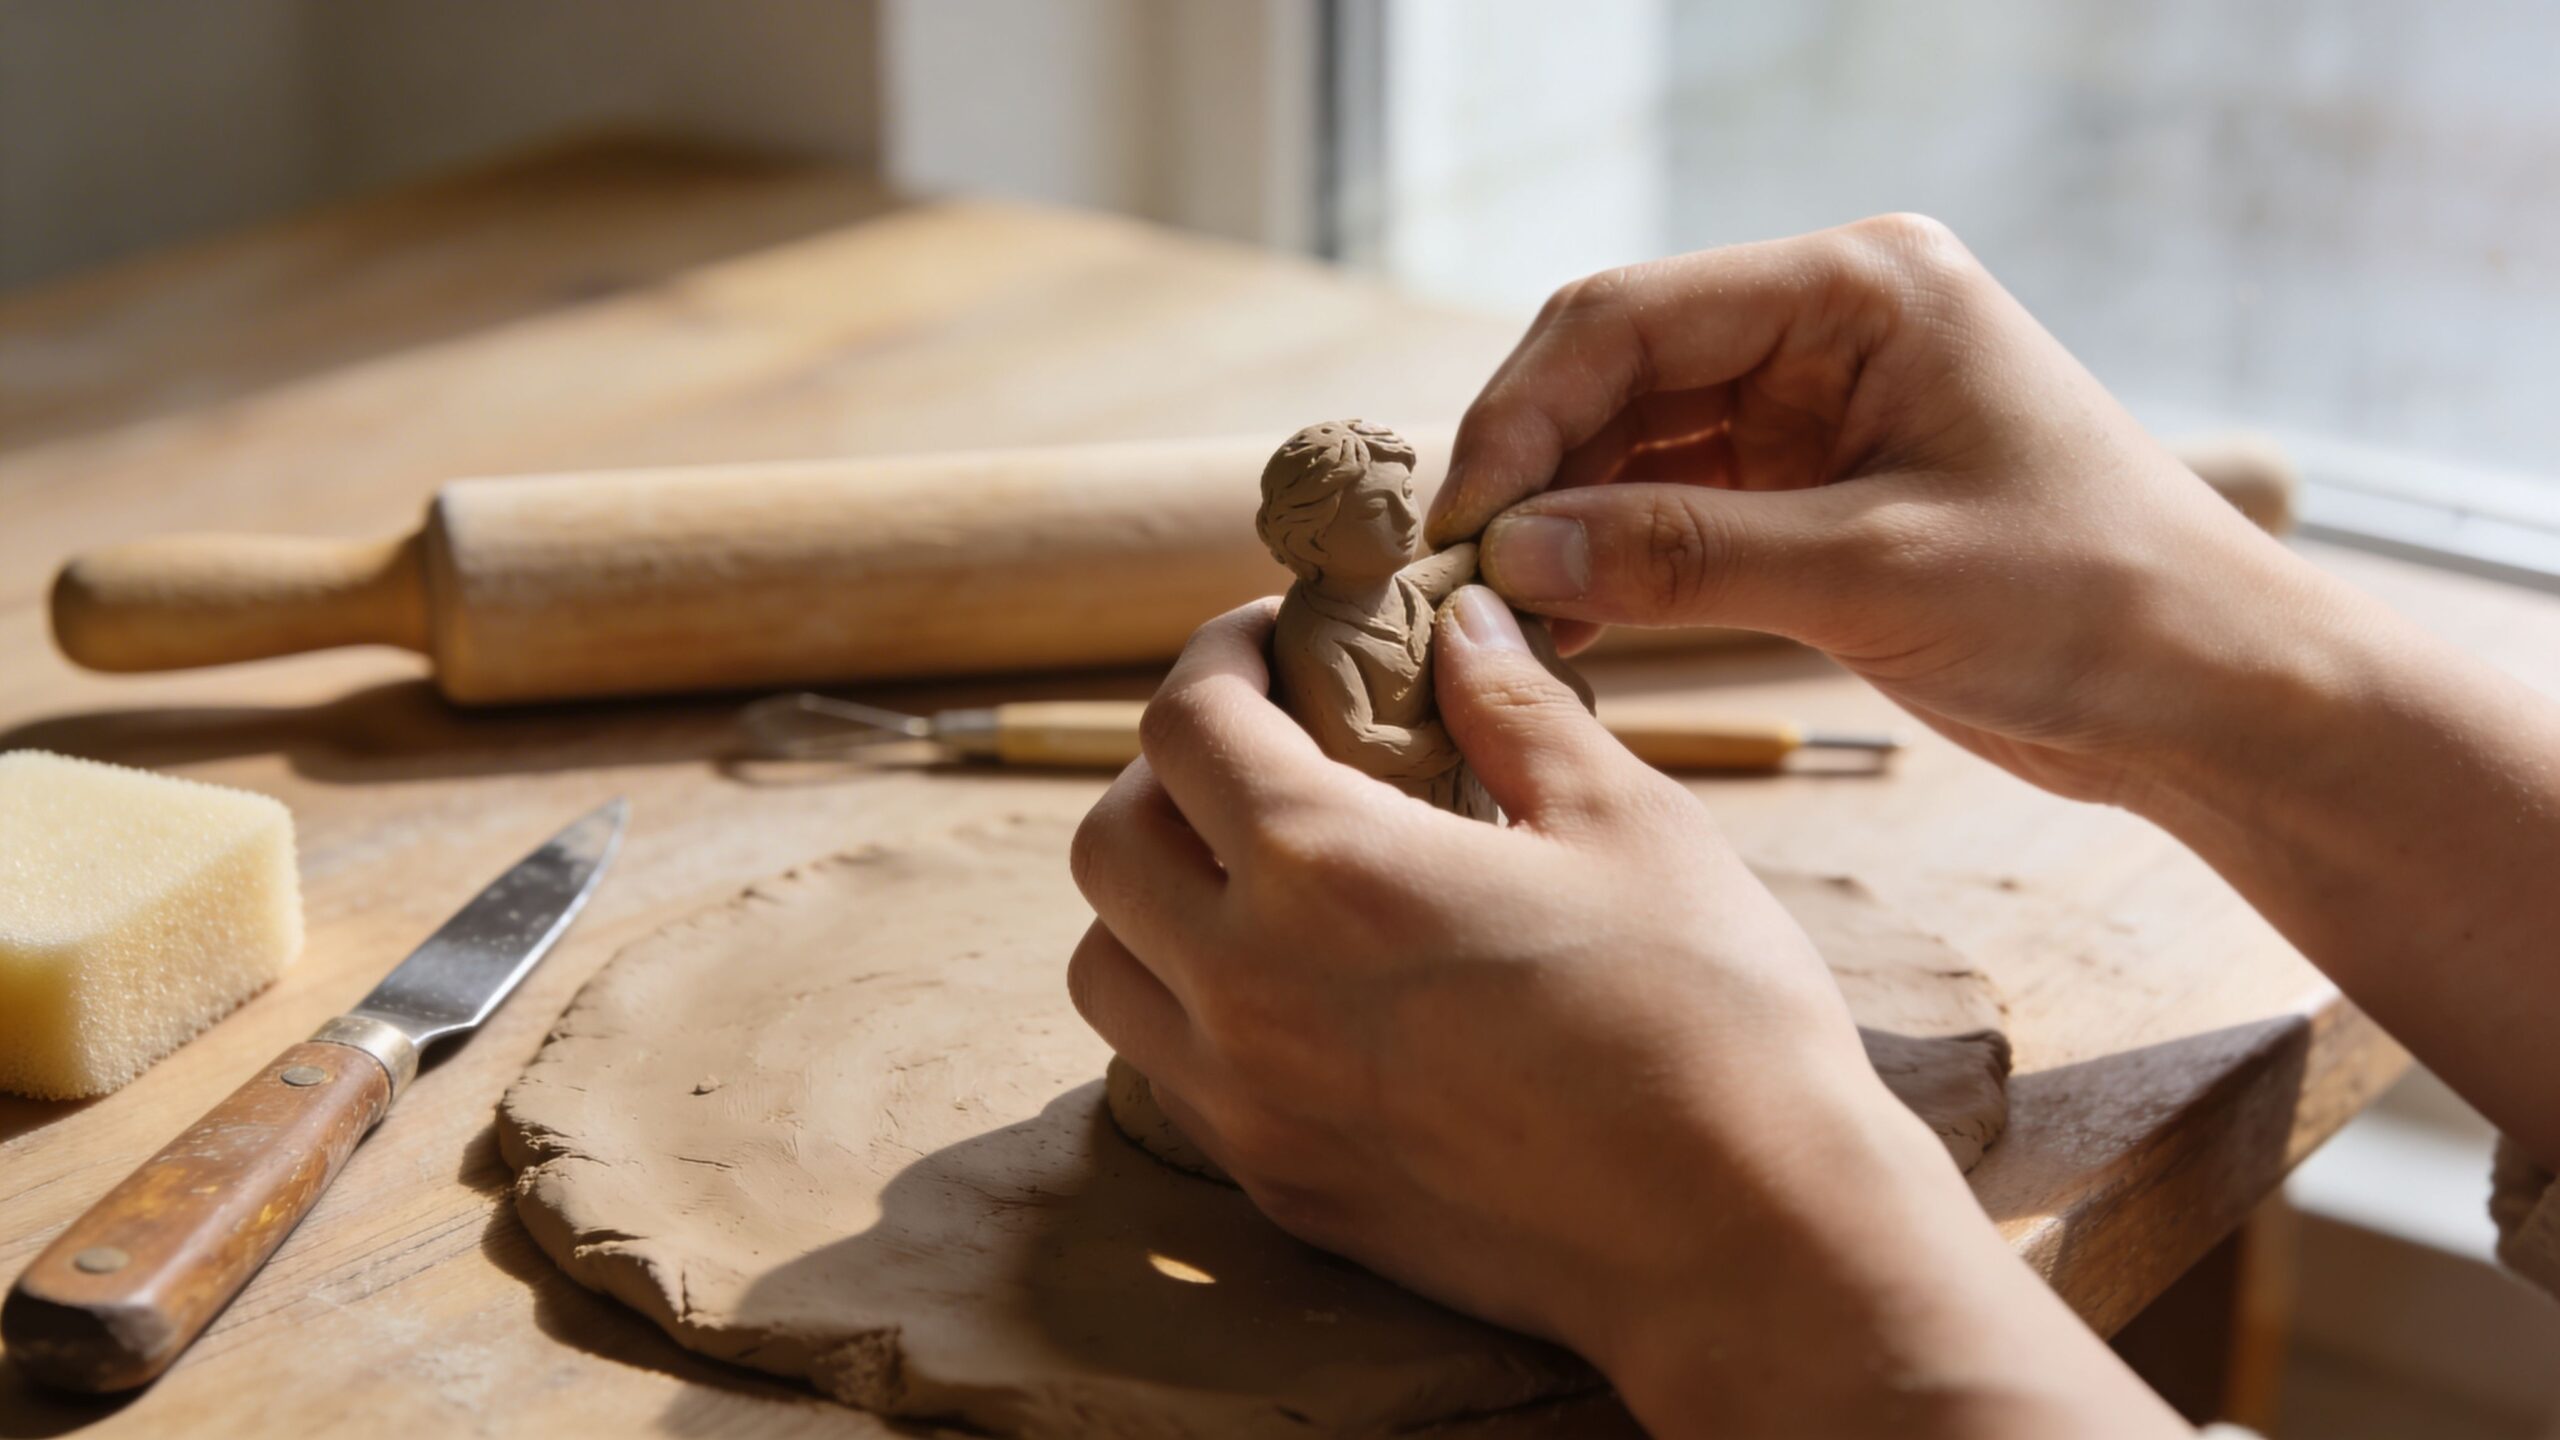
The Magic of Clay in Your Hands
Clay has a special kind of honesty. It doesn’t pretend to be anything else, and it doesn’t demand perfection before it cooperates. When you press your thumb into a soft lump, you’re not just making a dent—you’re starting a conversation with form. Clay sculpting is one of the fastest creative paths from “I have an idea” to “I can hold it.” You don’t need a studio, a kiln, or a long list of supplies to begin. What you need is a surface to work on, a few simple tools, and the willingness to experiment. The rest comes from repetition: touch, adjust, smooth, and try again. For beginners, clay is ideal because it gives immediate feedback. If something looks wrong, you can fix it right away. If your sculpture leans, you can rebuild the base. If a detail feels clumsy, you can soften it and start over. That forgiving nature makes clay perfect for learning the fundamentals of three-dimensional design—shape, proportion, balance, texture, and structure—without the pressure of getting everything right on the first try.
A: Air-dry for easy home projects or polymer for detailed oven-bake pieces.
A: No—basic tools help, but many textures come from household items.
A: Usually uneven thickness or drying too fast; hollow forms and slow drying help.
A: Score both surfaces, add slip or water, press, then reinforce and blend the seam.
A: Yes, after it cures fully—use fine grit and light pressure.
A: Acrylic paint is common, beginner-friendly, and dries quickly.
A: Yes, sealing protects paint and reduces moisture absorption and dusting.
A: Typically 24–48 hours for air-dry, depending on thickness and humidity.
A: Compress with a damp sponge or tool, then refine as clay firms up.
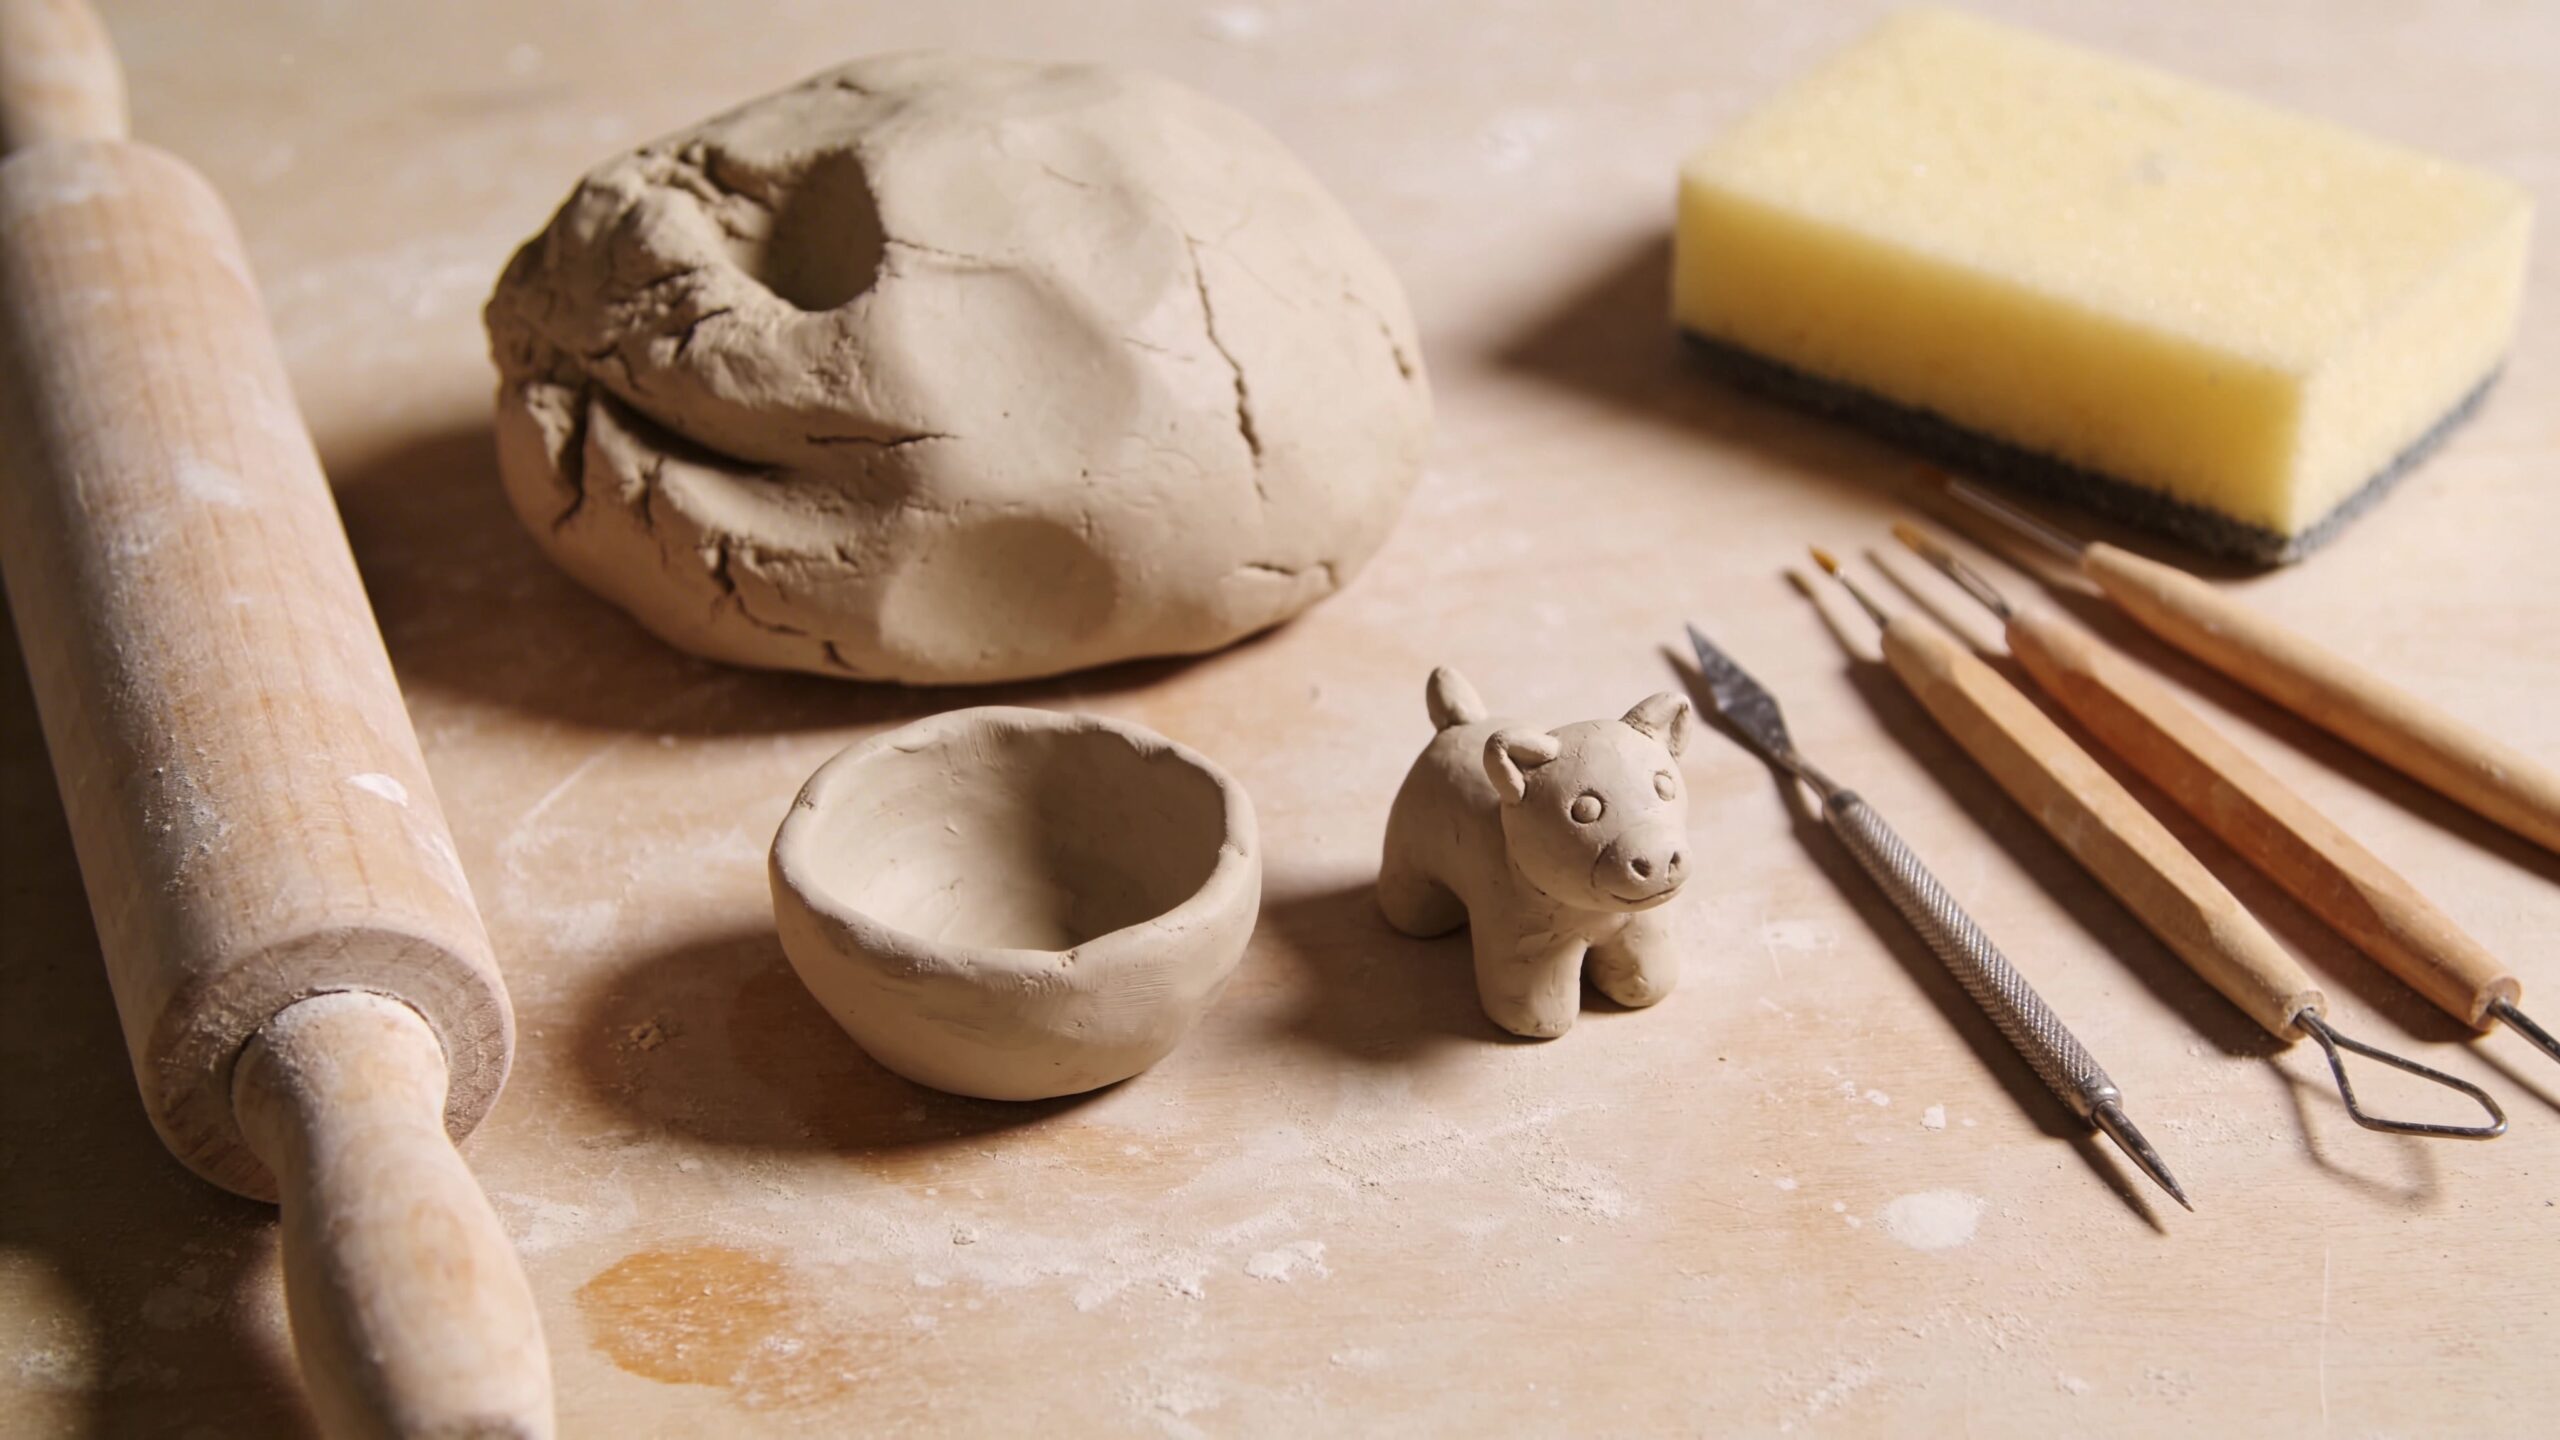
A: A pinch bowl or small creature—simple forms that teach shaping and joining.
Choosing the Right Clay for Beginners
Before you make your first creation, it helps to understand the kinds of clay you might use at home. Air-dry clay is the easiest entry point because it hardens without firing. It’s great for small sculptures, ornaments, and practice pieces. The tradeoff is that it can crack if it dries too quickly or if forms are too thick. Polymer clay is another popular option. It stays workable until baked at low temperature in a home oven, making it excellent for detailed miniatures and smooth finishes. Water-based pottery clay can be used for sculpting too, but it generally requires firing to become durable and water-resistant, which isn’t always accessible for home beginners.
If your goal is skill-building, air-dry and polymer are the most beginner-friendly. Air-dry teaches you to manage moisture, thickness, and drying. Polymer teaches you clean surfaces, fine detail, and controlled finishing. Many sculptors use both over time, switching materials depending on the project. The best choice is the one that fits your space, your patience, and the kind of objects you want to make.
Setting Up a Simple Home Sculpting Space
Clay sculpting doesn’t need a dedicated workshop. A kitchen table can work perfectly as long as you protect the surface. A cutting mat, piece of cardboard, or washable plastic board creates a reliable work area. Good lighting matters more than people expect. When shadows are soft and directional, you see your forms clearly, and it becomes easier to notice uneven surfaces or lopsided proportions. Keep a small bowl of water handy for smoothing water-based clays, and a damp towel for cleaning your hands. Organization helps you stay relaxed. A small container for tools, a scrap area for leftover clay, and a tray for works-in-progress will keep your workspace from becoming chaotic. The goal is to make starting easy. When your materials are within reach, you’re more likely to sit down for ten minutes of sculpting—and that’s how skills actually grow.
The Essential Tools That Make Sculpting Easier
You can sculpt with your fingers alone, but a few basic tools make the process smoother and more precise. A simple set of wooden modeling tools helps you shape curves, smooth seams, and carve shallow lines. A needle tool or pin tool is perfect for scoring surfaces before joining, adding small details, and piercing holes for ornaments. A small craft knife helps with trimming and clean edges. A sponge is useful for smoothing and controlling moisture on water-based clays, and a soft brush helps apply slip, water, or gentle texture.
You don’t need fancy equipment to get excellent results. Household items can become sculpting allies: a toothbrush for speckled texture, fabric for subtle patterns, a fork for line work, and crumpled foil for organic surfaces. What matters is understanding what each tool does to the clay—whether it removes material, compresses it, smooths it, or textures it—because those actions are the building blocks of every sculpture you’ll ever make.
Understanding Clay Behavior: Moisture, Compression, and Cracks
Clay is a material that rewards patience. With air-dry and water-based clays, moisture control is everything. If the outer surface dries too quickly while the inside stays wet, cracking can happen as the clay shrinks. This is why thick sculptures are tricky for beginners. A smarter approach is building hollow forms or using lightweight cores, like foil or rolled paper, and applying clay as a skin. This reduces drying time and lowers the risk of cracks. Compression is the secret to strength. When you smooth clay, you’re not just making it pretty—you’re pressing particles together, closing tiny gaps, and improving durability. Many beginner sculptures fail not because the idea is bad, but because seams were not blended thoroughly or surfaces were left crumbly. The habit to build is simple: whenever you attach something, blend it, compress it, and smooth it with intention.
The Core Methods: Additive, Subtractive, and Hollow Building
Most beginner clay sculpting is additive, meaning you build form by adding clay. You start with a basic mass and attach smaller forms like ears, arms, petals, or decorative details. Subtractive sculpting is the opposite: you begin with a larger form and carve away clay to reveal the shape. This method is excellent for relief sculptures, stamps, or geometric designs where clean edges matter. Hollow building combines both approaches, using a shell structure to keep sculptures light and stable.
For home sculpting, additive and hollow building are the most practical. They allow you to create expressive forms without fighting gravity or slow drying. Subtractive methods are ideal for refining and sharpening details after the main shape is established. Most sculptors use all three, switching methods depending on what the sculpture needs at that moment.
Joining Pieces: Scoring, Slip, and Strong Bonds
Joining is where many first sculptures fall apart—literally. Clay-to-clay connections need more than “press and hope.” The most reliable method is scoring and slipping. Scoring means scratching both surfaces so they have texture. Slip is a thin clay-and-water mixture, or in some cases simply water, applied to those scored areas. When you press the pieces together, the textures interlock and the moisture helps bond them. After joining, blend the seam. Add a tiny coil of clay around the connection and smooth it in like mortar. This isn’t just cosmetic; it reinforces the joint. If you sculpt a small animal and the head is attached without reinforcement, it may crack at the neck as it dries. Strong joins are the difference between a sculpture that lasts and one that breaks when you pick it up.
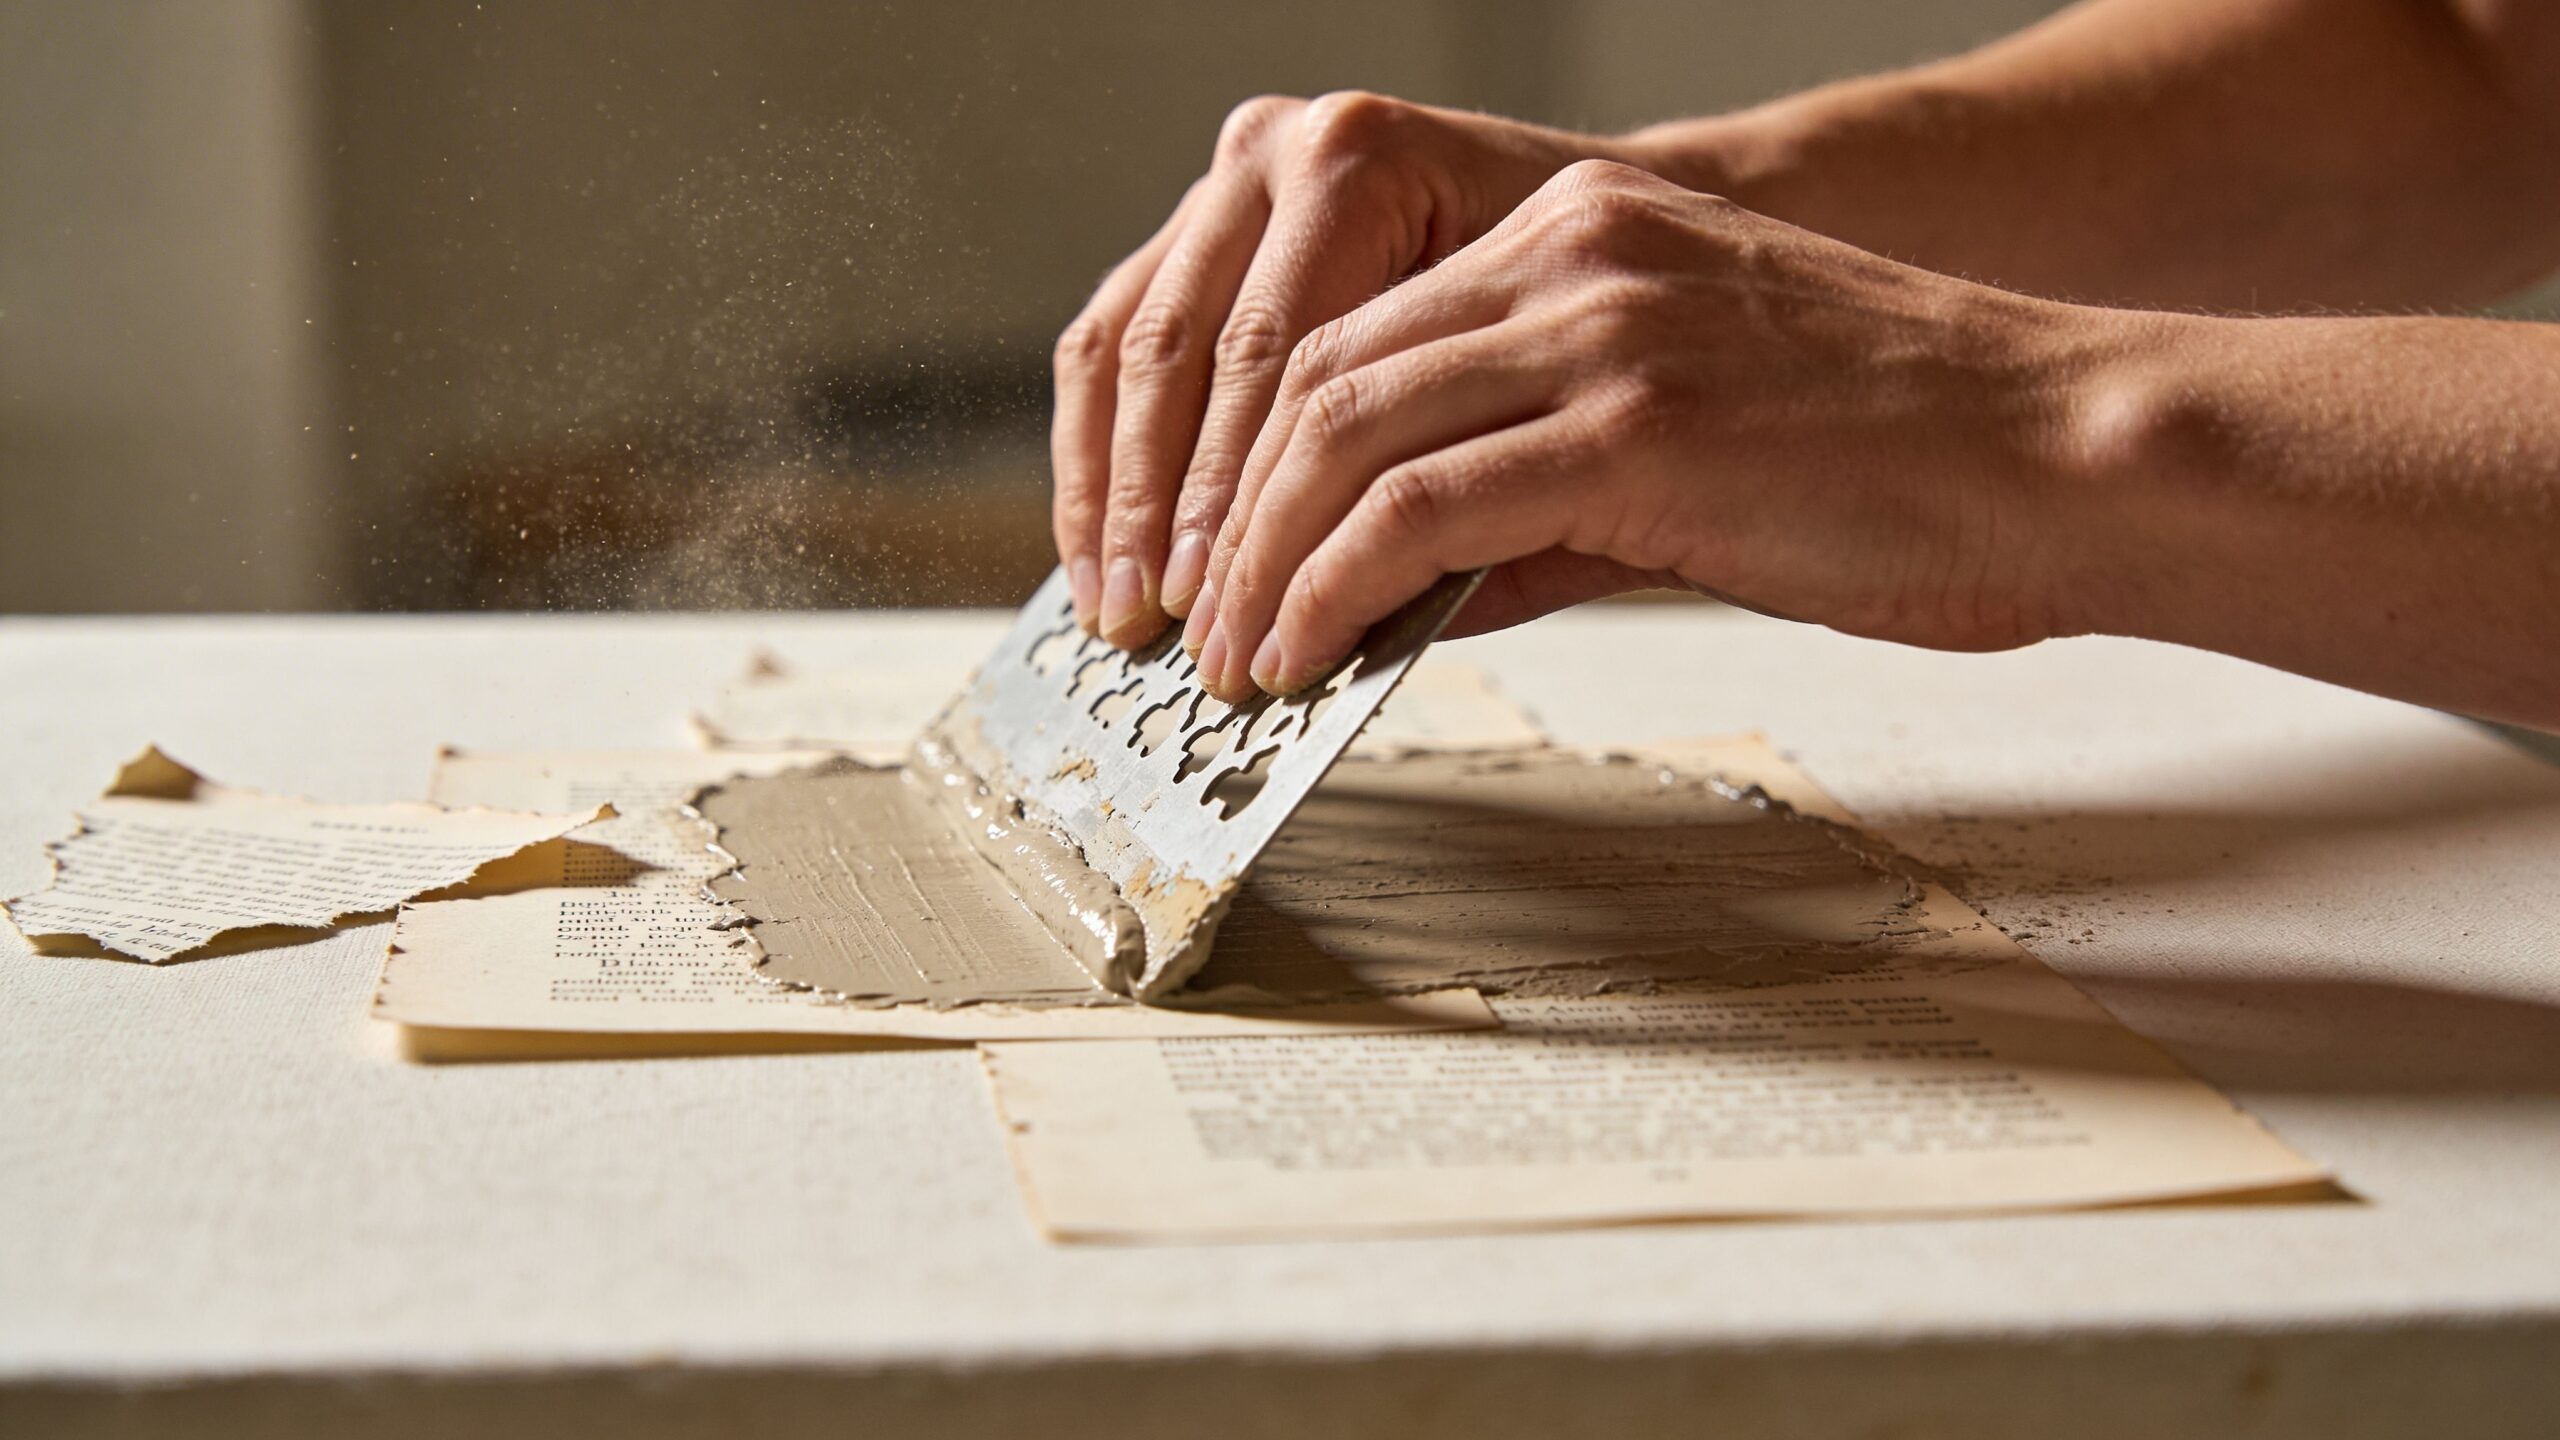
Texture and Detail: The Fastest Way to Make Clay Look “Real”
Texture is where clay becomes storytelling. Smooth surfaces can look elegant, but texture gives your sculpture character. Pressing a leaf into clay creates natural veins. Dabbing with a sponge makes stone-like pores. Dragging a stiff brush can resemble fur or fabric. The trick is choosing texture that matches the object you’re making. If you’re sculpting a mushroom, subtle grooves and speckles feel natural. If you’re making a mini “rock,” rough compression and chipped edges sell the illusion.
Detail should support the form, not fight it. Beginners often add too many tiny lines before the big shapes are correct. A better workflow is to shape the overall silhouette first, then add medium details like ridges and folds, and only then add fine touches like eyes, scales, or engraved patterns. When you work in that order, your sculpture reads well from a distance and still rewards close inspection.
Drying and Curing Without Stress
Drying is not a race. For air-dry clay, slow drying reduces cracking. Cover your sculpture loosely with plastic or place it in a container so moisture leaves gradually. Rotate it occasionally so the underside doesn’t stay wet longer than the top. If you built a hollow form, make sure there’s an escape path for moisture, such as a small hole in the bottom. Polymer clay doesn’t dry in air, but it does require careful baking. Follow the manufacturer’s temperature guidance and avoid overheating, which can darken the surface. The best beginner habit is to plan drying into your process. Sculpt in one session, let it rest, then refine later. Clay becomes easier to carve and smooth at different stages. Slightly firm clay can hold detail better than fully soft clay. Learning how clay changes over time is one of the most valuable skills you can develop.
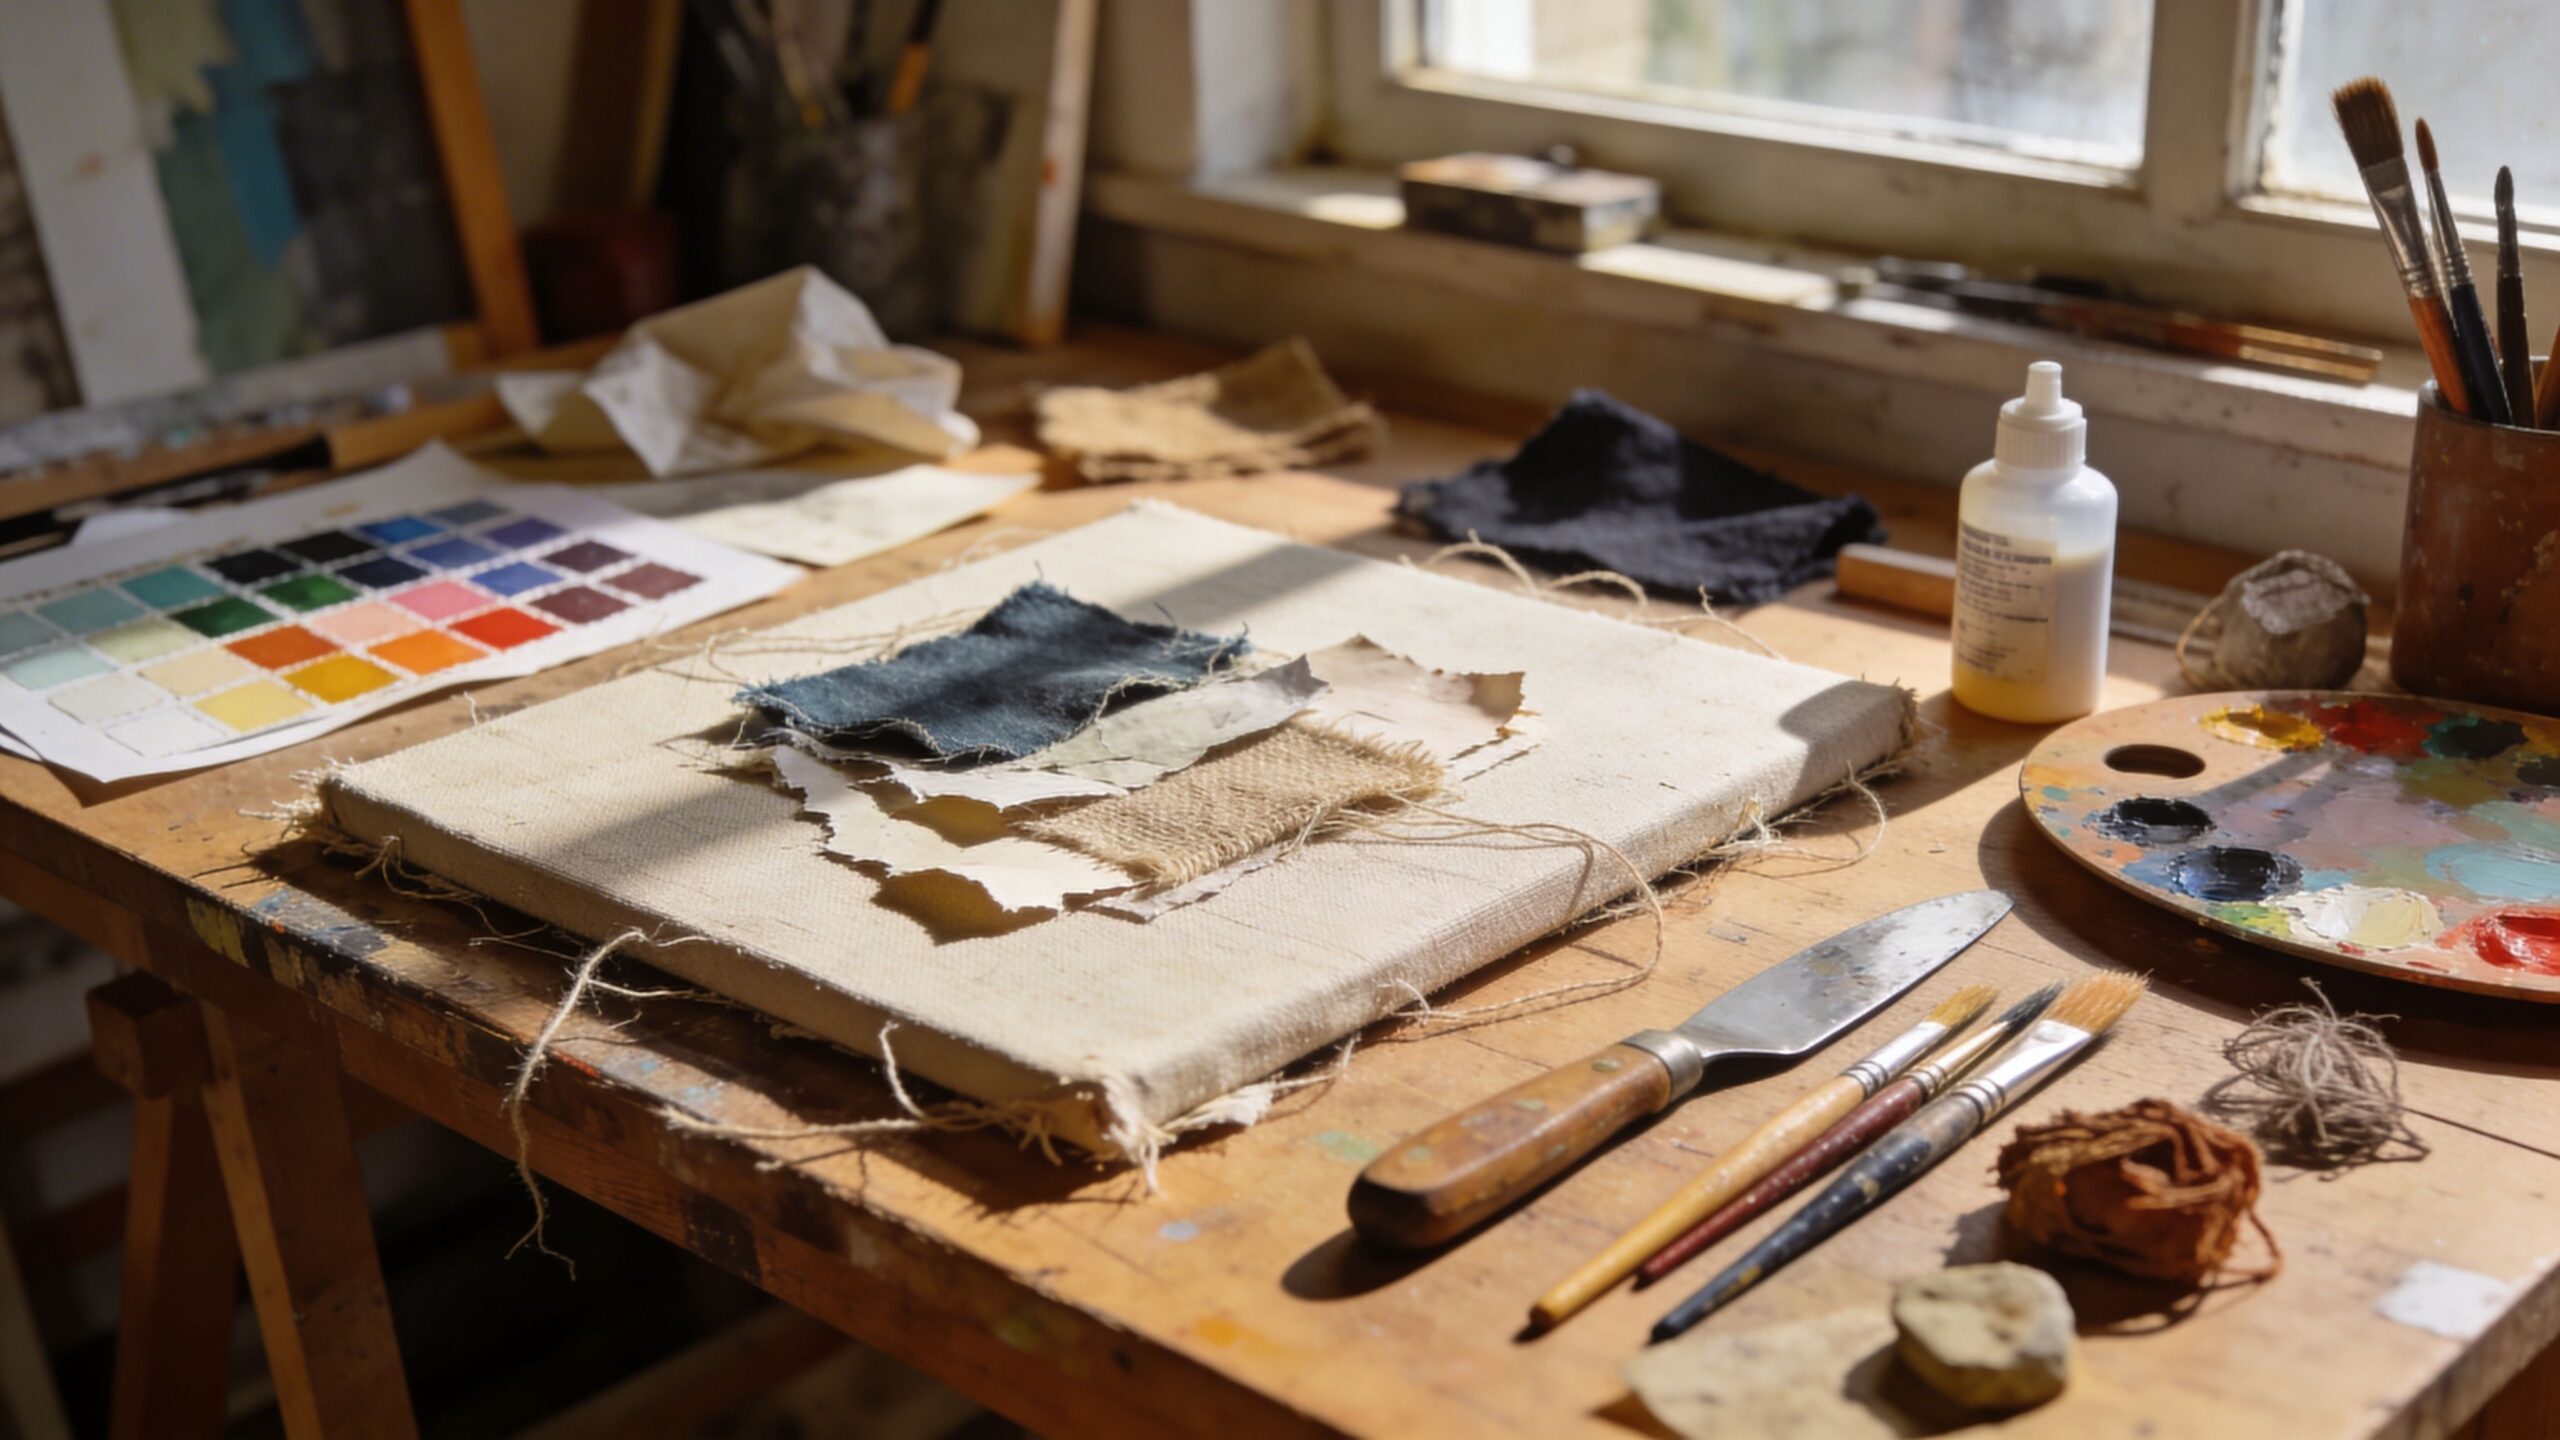
Finishing: Sanding, Painting, and Sealing
Once your clay is cured, finishing turns it into a display piece. Sanding can smooth tool marks and sharpen edges. Start gently and avoid over-sanding delicate details. Painting is optional, but it can add depth, contrast, and personality. Acrylic paints are common because they’re easy to use and dry quickly. Many sculptors apply a base coat, then add subtle shading, highlights, or dry brushing to make texture pop.
Sealing protects the surface from moisture and fingerprints. A matte sealant can keep the sculpture looking natural, while satin or gloss can make it feel polished. If you want a stone-like look, matte finishes usually work best. If you’re making a charm or ornament, a stronger protective coat may help longevity. Finishing is where your sculpture shifts from “practice” to “keepsake.”
Your First Creations: Start Small, Learn Fast
Your first sculptures should be simple enough to finish without frustration, but interesting enough to teach a real skill. Small projects encourage better control and faster learning cycles. Each finished piece becomes a lesson you can hold. As you make more, you’ll notice your hands become more confident. Your forms get cleaner. Your seams disappear. Your textures look intentional. The goal isn’t to create masterpieces immediately. The goal is to build a repeatable process that makes sculpting enjoyable and sustainable. A great first creation is a pinch bowl. It teaches pressure control, wall thickness, and smoothing. Another is a simple animal form made from basic shapes. It teaches proportion and joining. A textured tile or relief teaches carving and pattern placement. These “starter” projects are the foundation for everything else you’ll make.
First Creation Idea 1: The Pinch Bowl That Actually Looks Clean
A pinch bowl is simple: you press your thumb into a clay ball and pinch outward to form a hollow. But the real skill is consistency. Even walls prevent cracking. Smooth rims feel intentional. Subtle texture adds personality. This project builds hand strength and teaches you how clay responds to gentle pressure. It’s also functional, which makes it satisfying to keep.
First Creation Idea 2: A Mini Creature Built From Three Shapes
A beginner-friendly creature can be made from a body shape, a head shape, and four small limb forms. This project teaches assembly and blending. It encourages you to make the silhouette readable and the features expressive without getting lost in tiny details. Even a simple creature becomes charming when proportions feel balanced and the surface has thoughtful texture.
First Creation Idea 3: A Textured Relief Tile for Instant Results
Relief work feels rewarding because it reads clearly and dries reliably. You can carve geometric patterns, nature-inspired designs, or abstract lines into a flat slab. The key lessons are surface compression and tool control. When the tile is finished, you can paint it, seal it, or mount it as a small wall piece.
First Creation Idea 4: A Tiny Abstract Sculpture That Stands on Its Own
Abstract sculptures are perfect for learning balance. You can create curves, arches, or stacked shapes and explore how weight shifts. This project teaches structure and stability. It also helps you understand negative space, where the empty gaps are just as important as the solid clay.
Growing Beyond Basics: How to Keep Improving
Once you can shape, join, texture, and finish small projects, your next step is consistency. Repeat a simple project and improve one thing each time. Make a second bowl with cleaner walls. Make another creature with better seams. Make another relief tile with more deliberate pattern rhythm. Skill in clay is built through repetition and reflection. Each sculpture becomes a stepping stone, not a final destination.
Clay sculpting basics are not about memorizing rules. They’re about learning how material behaves in your hands and developing a workflow that feels natural. With the right tools, a few reliable methods, and beginner-friendly first creations, you can build real sculpting skill at home—and enjoy every messy, satisfying minute of it.