Why Arduino Still Wins for Learning Physical Computing
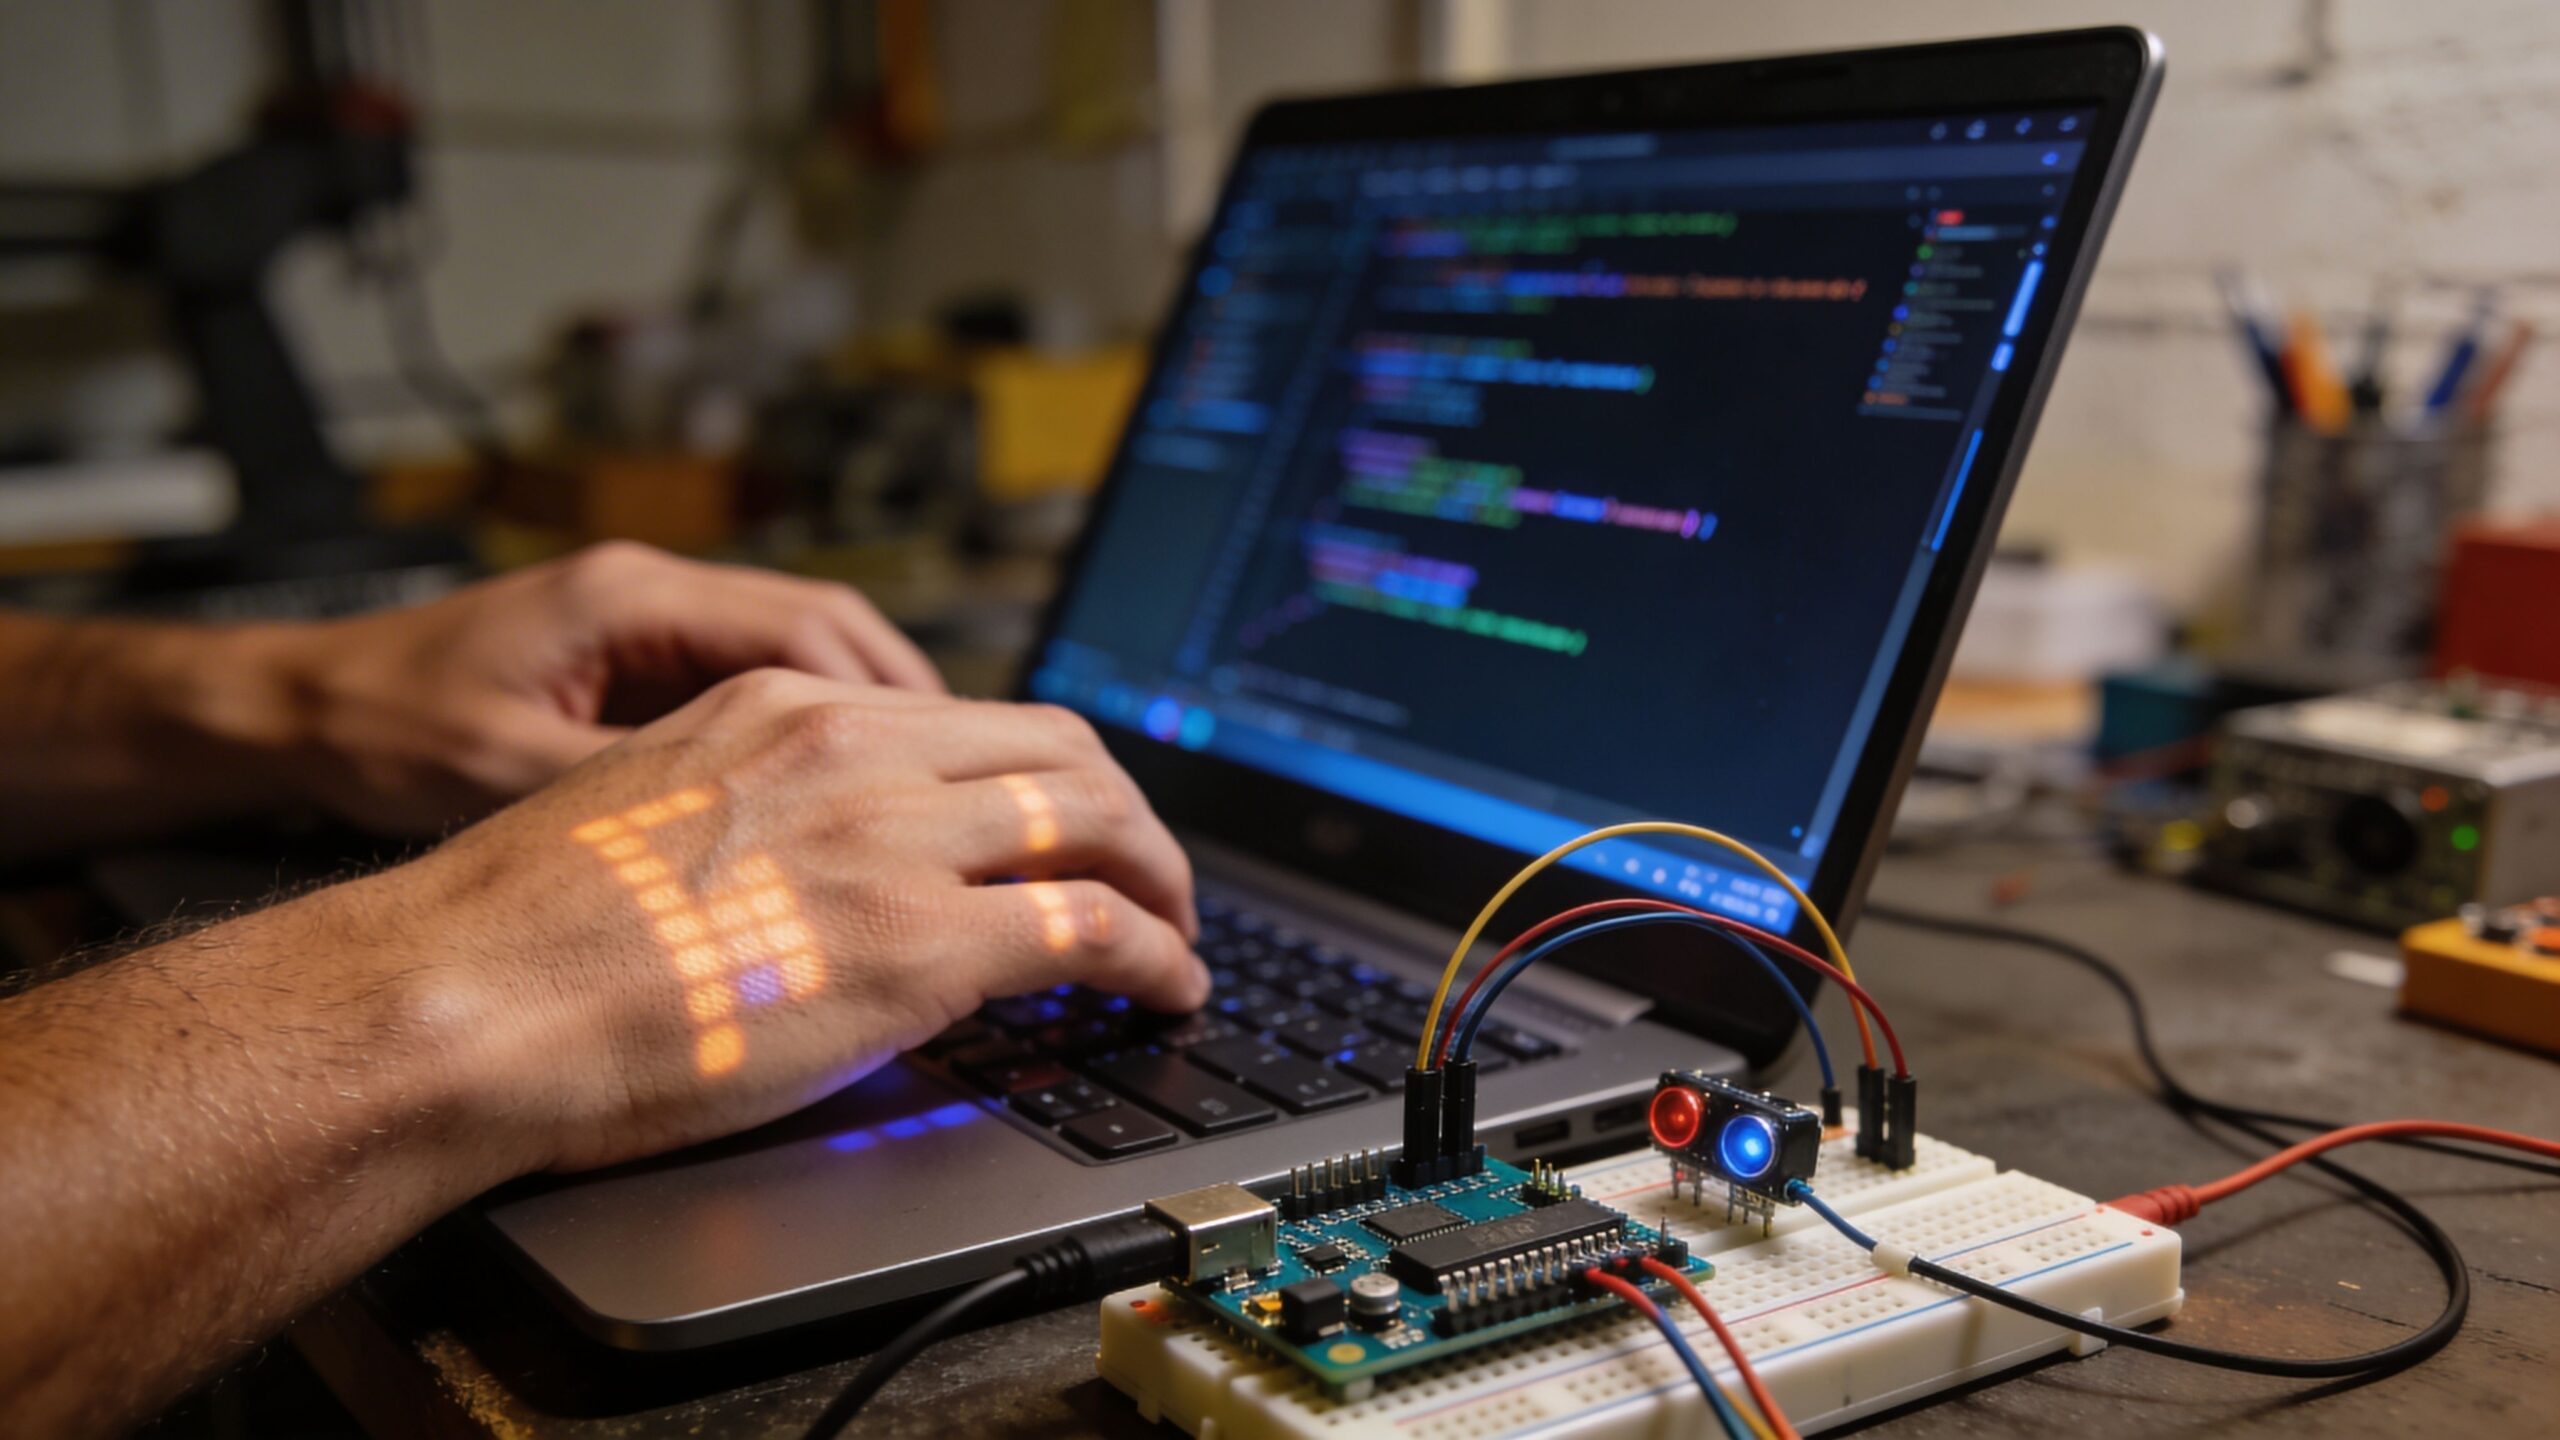
Arduino remains the most maker-friendly gateway into physical computing because it turns a complicated world into a simple promise: write a little code, upload it, and something real happens. That promise is powerful. It collapses the distance between imagination and outcome, and it makes learning feel addictive in the best way. You do not need to understand every electrical detail to start, but the platform naturally teaches you what matters as you build. What makes Arduino special is not just the boards. It is the ecosystem. The Arduino IDE and the core libraries reduce friction, and the community has produced an almost endless stream of tutorials, code examples, and libraries for sensors, displays, motors, and modules. For a maker, that means you can move fast without feeling like you are reinventing the wheel. Arduino also teaches the right mental model for embedded systems. Your code becomes the behavior of a device. It runs continuously. It reacts to inputs. It controls outputs. Even if you eventually move to other microcontrollers or professional embedded platforms, the habits you build on Arduino carry forward: clean wiring, predictable timing, thoughtful debugging, and a respect for power and signal integrity.
A: A simple, widely supported board is ideal for learning fundamentals quickly.
A: Button bounce requires debouncing in code or hardware for stable readings.
A: Motors can cause voltage dips and noise; use drivers and better power isolation.
A: Yes, current limiting protects the LED and the Arduino pin.
A: PWM controls brightness and speed by switching output rapidly.
A: Use non-blocking timing so the loop stays responsive to inputs.
A: Use serial logging and test each module separately before combining.
A: Yes, many modules use common buses like I2C with ready libraries.
A: Smooth readings and use thresholds with hysteresis for stable behavior.
A: Use Pi for networking and heavy compute, Arduino for real-time control and simplicity.
From “Blink” to “Behavior”: The Real Meaning of Your First Sketch
The first Arduino sketch most people run is Blink, and it is more than a rite of passage. Blink is a tiny demonstration of the entire embedded idea. You set up a pin as an output, then you repeatedly change its state over time. That is the foundation of every physical project: configure, loop, act.
The deeper lesson is that Arduino sketches are not apps you open and close. They are programs that live inside a device. When you power the board, the sketch starts. When the board stays powered, the sketch keeps running. That continuous operation is why Arduino is so good for real-world systems like alarms, monitors, controllers, and interactive installations.
When you understand Blink as “behavior,” you start thinking differently. You stop asking “How do I make it blink?” and start asking “How do I make it respond?” That shift is the beginning of smart systems. The LED becomes a status indicator. The blink pattern becomes a language. Soon, you are building projects that communicate their state visually, respond to inputs confidently, and handle edge cases instead of breaking when reality gets messy.
The Arduino Loop: Your Device’s Heartbeat
Most Arduino sketches revolve around two functions: setup() and loop(). Setup runs once, where you configure pins, start communication, and initialize libraries. Loop runs endlessly, and it is where your device lives. Every sensor read, decision, and output action happens inside that repeating cycle. Beginners often underestimate how fast the loop runs. Even simple loops can execute thousands of times per second. That speed is why Arduino can feel responsive, but it is also why inputs like buttons can misbehave without proper handling. A single press can be read multiple times. A noisy sensor can produce rapid fluctuations that make outputs twitch.
The real art of Arduino programming is controlling time inside the loop. You learn when to sample sensors, when to update outputs, and how to keep the system responsive while still performing multiple behaviors. Once you can design a loop that feels smooth and reliable, you have the skill that separates “my project kind of works” from “this feels like a real product.”
Inputs: Buttons, Sensors, and the Truth About Noise
Inputs are how an Arduino “feels” the world, but the world is not clean. Buttons bounce. Wires pick up interference. Sensors drift with temperature and humidity. If you treat input values as perfect truth, your project will behave like it is haunted. If you treat input values as signals that need interpretation, your project becomes calm, stable, and predictable.
Digital inputs read HIGH and LOW, which makes them great for switches, motion sensors, and simple modules. But a button press can produce a noisy transition that flips between HIGH and LOW rapidly for a few milliseconds. That is why debouncing matters. Debouncing can be done with a simple timing filter in code that waits for the signal to remain stable before accepting it as a real press.
Analog inputs add nuance by measuring a voltage range. This is how you read potentiometers, light sensors, and many environmental modules. Analog readings naturally fluctuate, so smoothing becomes important. You can average several readings, apply simple filtering, and then decide based on trends rather than single samples. That is how you avoid jittery outputs and create behavior that feels intentional.
Outputs: LEDs, Relays, Motors, and Safe Control
Outputs are where Arduino projects become visible and physical. LEDs are the simplest because they provide immediate feedback, but even they teach important lessons about current limiting and correct pin control. An LED that is too bright or wired without a resistor can lead to confusing failures. Small details matter because embedded systems are literal. Electricity does what it does, regardless of what you meant.
Relays and transistors introduce the step from “controlling a pin” to “controlling the real world.” An Arduino pin cannot power a pump, fan, or high-current light. Instead, it sends a control signal to a driver circuit that handles the load safely. This is where many DIY builders level up, because you start designing systems rather than circuits. You think about boot states, default behavior, and what happens during resets. Motors are a major milestone because they combine electrical noise, dynamic loads, and timing requirements. Motors draw bursts of current when they start. They generate spikes when they stop. They can reset your board if power is not managed properly. Arduino coding and Arduino wiring must work together. Proper drivers, decoupling capacitors, and sensible power rails often matter as much as the code itself.
Timing Without “Delay”: The Maker Upgrade That Changes Everything
At first, delay() feels like a friendly tool. It makes LEDs blink easily and lets you pace actions. But delay pauses the entire microcontroller. While it is waiting, it cannot read sensors, respond to buttons, or update outputs. That becomes a problem the moment you want more than one thing to happen at a time.
The maker upgrade is learning non-blocking timing. Instead of delaying, you track time and decide when to act. This approach lets you blink an LED, read a sensor, and respond to a button all in the same loop without freezing. Your project starts to feel “alive” because it can react instantly even while running background behaviors.
Non-blocking timing also scales. Once you build one timed behavior, you can add another, and another, without turning your code into a tangled mess. This is how smart systems emerge: multiple coordinated behaviors running smoothly in one simple loop. You are still writing straightforward Arduino code, but the results feel like multitasking.
Communication: Making Projects Bigger Than One Board
Arduino projects often grow beyond a single board. You add a display. You add a sensor module that speaks I2C. You add a wireless module or send data to a computer. Communication protocols are the bridges that make this possible, and Arduino makes them approachable.
Serial communication is the first bridge. It is essential for debugging because it lets your Arduino report what it sees and what it is doing. Once you learn to print sensor values and status updates, you gain visibility into the system. That visibility turns debugging from guesswork into a process. I2C and SPI expand your build options dramatically. Many modern sensors and displays use these protocols. Once you learn how to connect them and use libraries, you can build systems that collect richer data, display it cleanly, and coordinate multiple modules without using many pins. Communication is where Arduino starts to feel like a platform for real devices.
Building Smart Systems: From Rules to Reliable Behaviors
A smart system is not just a project with sensors. It is a project with behavior that remains stable as conditions change. That stability comes from logic patterns that respect real-world variability. Thresholds need hysteresis so outputs do not flutter near boundary values. Inputs need smoothing so noise does not trigger false reactions. Outputs need ramping so transitions feel deliberate rather than harsh.
One powerful way to design smart behavior is to think in states. Your system can be idle, active, alert, or cooling down. Each state has clear rules, and transitions happen when conditions are met. This makes the project easier to debug and easier to expand. Instead of stacking endless if-statements, you design a behavior model that you can reason about.
Smart systems also benefit from status signaling. LEDs can communicate modes through patterns. Buzzers can provide simple feedback. Displays can show meaningful readings. These details help you use the device without connecting it to a computer. A smart Arduino project feels like a tool, not a science experiment.
Debugging Like a Maker: Finding Truth Fast
Arduino debugging is a blend of code insight and hardware reality. Many “code problems” are actually wiring mistakes, floating inputs, weak power supplies, or missing ground connections. Makers who debug well learn to isolate variables. Test the sensor alone. Test the output alone. Then combine them. This step-by-step approach keeps your mind clear and your progress steady.
The serial monitor is your best friend because it turns invisible behavior into readable information. You can print raw sensor values, timing data, and state transitions. When you see what the system is thinking, you stop guessing. You can also use simple test sketches to validate each module before integrating it into a bigger project. Good debugging is also about changing one thing at a time. If you modify wiring and code simultaneously, you cannot know what caused improvement or failure. Makers who treat debugging as a controlled experiment develop confidence quickly, and that confidence leads to bigger, more ambitious builds.
From Prototype to “It Just Works”: Power, Enclosures, and Longevity
A breadboard Arduino project is a prototype. A real maker device needs longevity. Longevity comes from power stability, secure connections, and physical protection. Loose jumper wires are fine for learning, but they are unreliable for daily use. As projects mature, makers often move to soldered connections, screw terminals, or connectorized wiring harnesses.
Power design is often the hidden reason projects fail. Motors and relays can introduce noise and current spikes. Batteries can sag under load. Voltage regulators can overheat. A stable power plan, with proper decoupling and thoughtful grounding, can turn a flaky prototype into a dependable system. Your code can also support stability by setting safe defaults and handling failure states gracefully.
Enclosures matter because they turn your electronics into a device. A clean layout protects components, reduces accidental shorts, and makes the project easier to transport or install. When you combine a solid enclosure with reliable power and well-structured code, your Arduino build starts to feel like something you could give to another person and trust it to work.
The Path Forward: What Comes After Arduino
Arduino is not the end of the journey. It is the beginning of a maker mindset. Once you understand Arduino programming, you can move to more powerful microcontrollers, add wireless capabilities, explore real-time operating systems, or integrate with Raspberry Pi for hybrid builds. But the core lessons remain the same: inputs, outputs, timing, communication, and reliable system behavior.
The most productive makers use Arduino as a stepping stone and a tool they return to often. It is quick, flexible, and supported by a massive ecosystem. Whether you are building a smart garden system, a workshop controller, a robot, or an interactive art piece, Arduino is often the fastest way to make the first version real. From your first blink to smart systems, Arduino teaches you to program the physical world. Once you have that skill, you stop seeing electronics as mysterious and start seeing them as a creative material. That is the real payoff.