Accuracy is the backbone of every successful project, no matter the material, scale, or skill level involved. Whether you’re building furniture, installing trim, fabricating metal parts, crafting hobby pieces, or creating DIY home improvements, the precision of your measurements and cuts ultimately determines the quality and functionality of your final result. Perfect accuracy isn’t a mysterious talent reserved for experts—it’s a skill that can be learned, practiced, and mastered. This comprehensive guide will walk you through the essential methods, habits, and principles that ensure every line you draw, every mark you make, and every cut you execute is clean, accurate, and dependable.
A: You may be cutting on the line instead of the waste side; account for blade kerf and keep the line visible.
A: Use story sticks and stop blocks instead of re-reading the tape for every cut.
A: Check that your square is accurate and that you’re measuring from true reference edges, not bowed or rough sides.
A: Score lines with a knife, use sharp blades, support the back side, and cut with a slow, steady feed.
A: For high-accuracy work, yes—a knife line gives the saw or chisel a precise track and cleaner edges.
A: Slow down layout, double-check every measurement, and clamp work securely before starting any cut.
A: Compare it to a known-accurate rule; if the hook is bent or loose, repair or replace it.
A: For furniture and cabinetry, aim within 1/32"; for rough framing, 1/8" can be acceptable.
A: Absolutely—sharp blades, solid work holding, and careful layout matter more than advanced machinery.
A: Joints fit tighter, gaps shrink, re-cuts become rare, and you trust your lines and measurements more each project.
Why Accuracy Matters: The Silent Foundation of Every Great Build
Most project mistakes don’t come from cutting or assembly—they begin long before, at the measurement and marking stage. A single misread tape measure, a slightly angled line, or a rushed mark can lead to misaligned joints, gaps, uneven surfaces, or entire pieces cut incorrectly. Accuracy saves time, reduces material waste, and eliminates frustration. It also boosts confidence, because when your layout is flawless, every step that follows feels smooth and predictable. The best craftsmen understand that precision is less about perfectionism and more about consistency. It’s about creating a workflow where accuracy becomes natural, not forced. You don’t just aim to get close—you aim to get it right the first time.
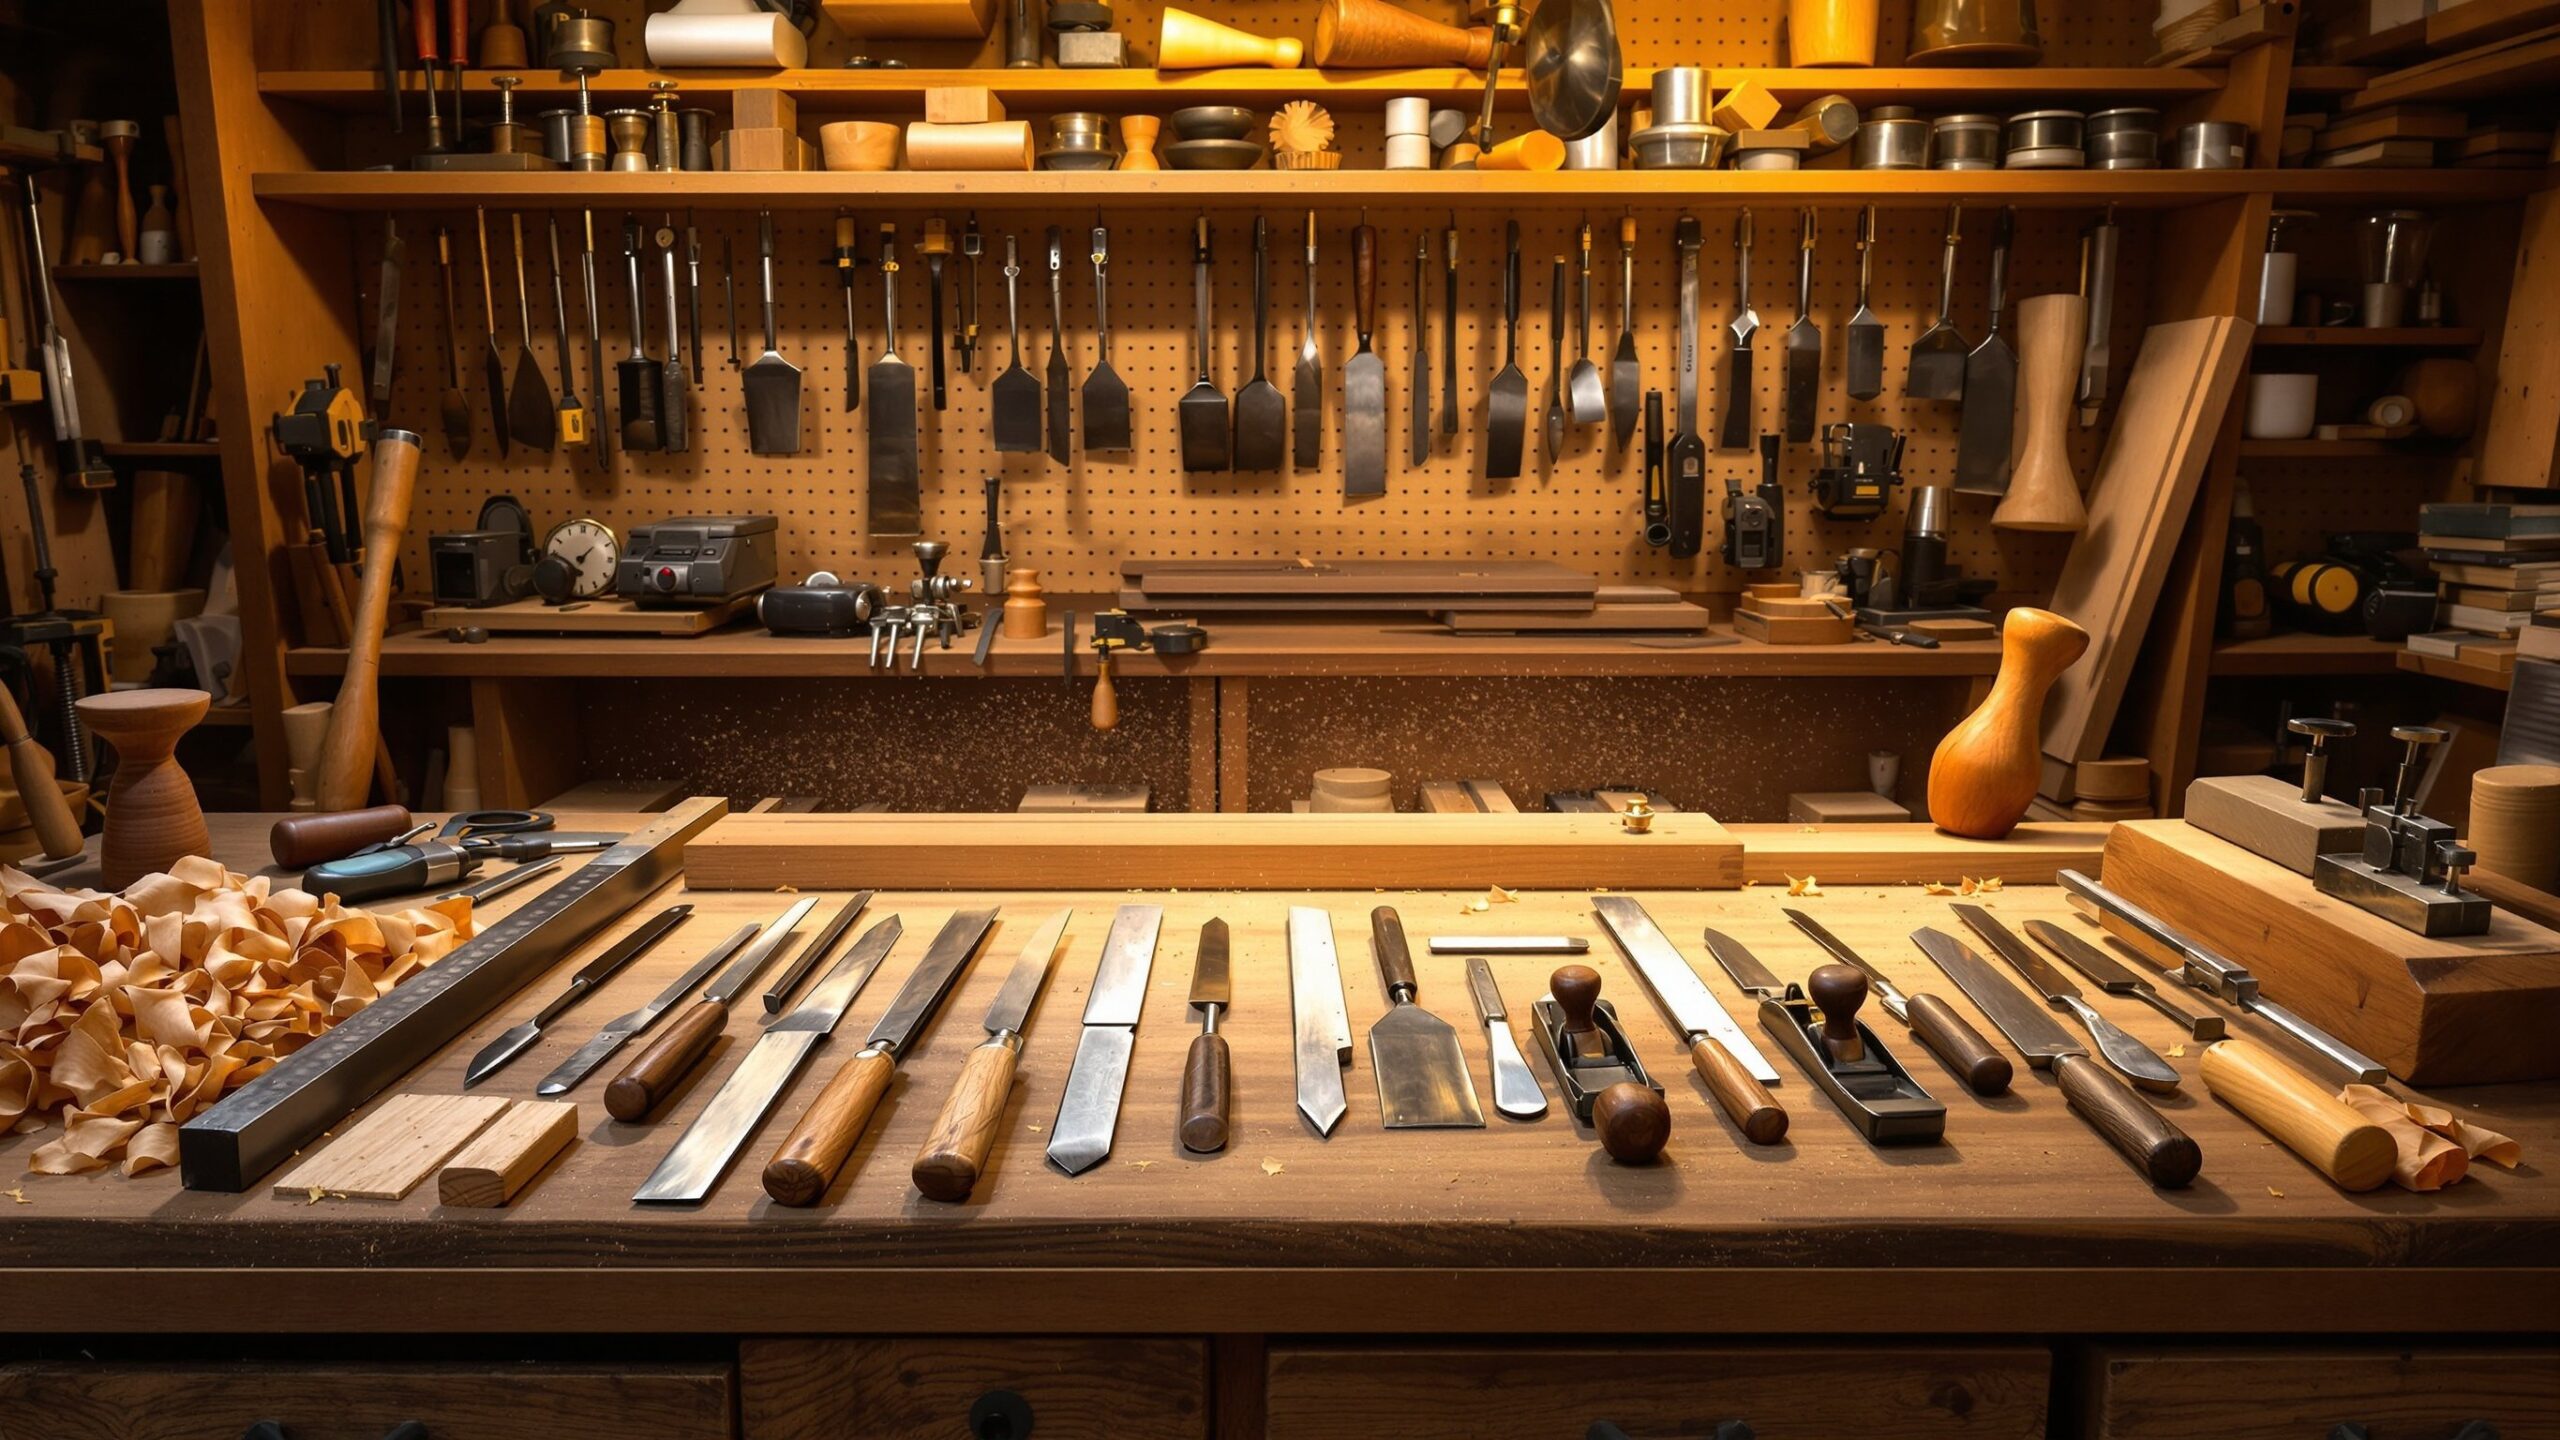
Understanding Your Tools: The Instruments of Precision
Accurate measurement starts with the right tools, but it also depends on understanding how to use them correctly. The tape measure is the most familiar tool, yet many beginners don’t realize how easy it is to introduce error. Tape flex, worn hook tabs, parallax, and sloppy sightlines can all distort results. Holding the tape straight, using consistent reference points, and reading carefully are essential habits.
A steel rule or straightedge gives fixed, rigid measurement—especially useful when working close to a surface or when pencil accuracy matters. Combination squares elevate precision further, giving both precise 90-degree and 45-degree references for layout. Digital calipers offer ultra-fine accuracy for metal parts, tight joinery, or small components.
Beyond measurement, marking tools are equally important. Sharp pencils, marking knives, and fine-tip awls each create marks suited to different materials and accuracy levels. A marking knife, for example, engraves a crisp line that a saw or chisel can track perfectly—far more accurate than a wide pencil line. Understanding these tools and when to use them is the first major step toward truly accurate work.
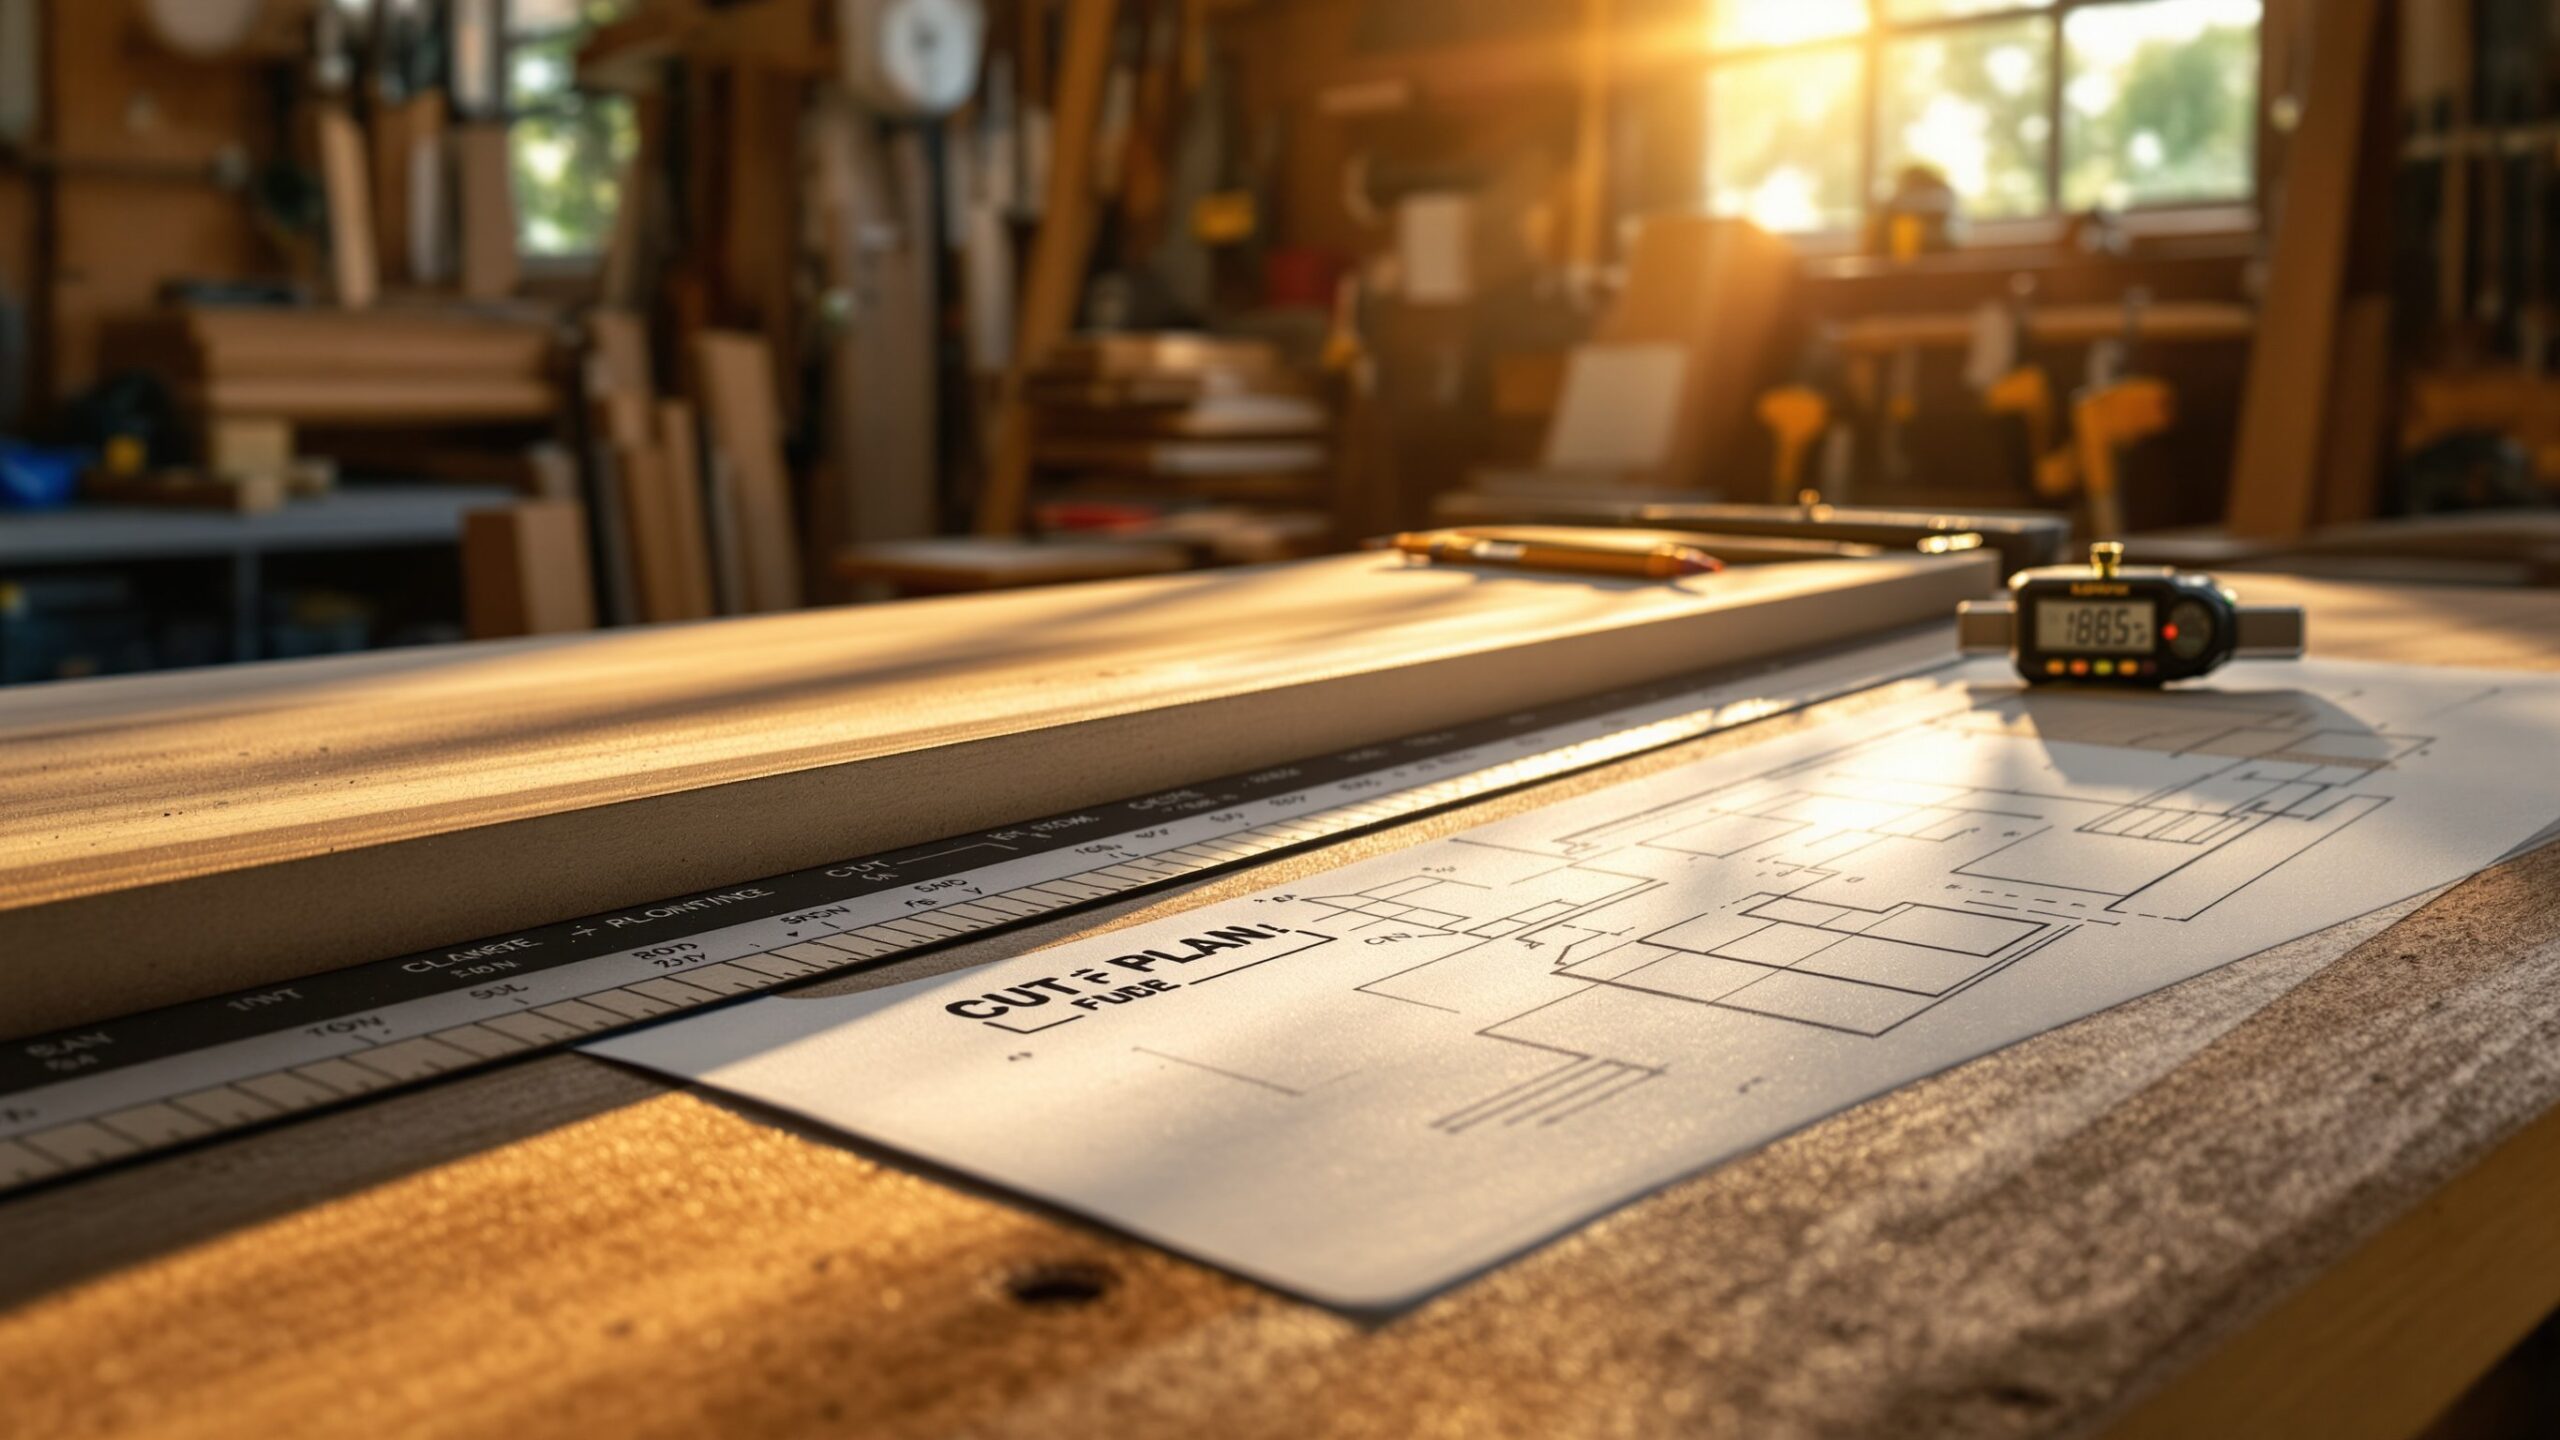
The Art of Reading Measurements: Avoiding the Most Common Errors
Misreading measurements is one of the major causes of inaccurate work. Learning to read a tape measure with confidence is a fundamental skill. For some projects, measurements as simple as 1/16 of an inch matter. Precision improves as your eye becomes familiar with the increments. Another common issue is interpreting “inside” versus “outside” measurements. When measuring spaces between two surfaces, the tape sometimes bends or buckles, adding hidden error. Techniques such as using a rigid rule or measuring from a known reference point help eliminate uncertainty.
Parallax error—when your eye views the marking at an angle—can distort readings on rulers or squares. The solution is simple: keep your head aligned directly above the tool. The straighter you view the measurement, the cleaner and more reliable it becomes. Finally, practice builds speed and accuracy. Measuring begins to feel intuitive when you consistently double-check dimensions, mark clearly, and avoid rushing.
Establishing Reference Edges: The Backbone of Consistent Layout
Any accurate marking begins with a reliable reference edge—one straight, square, trusted baseline from which every other measurement is taken. Professionals often label “face side” and “face edge” on boards to keep their layout aligned. Once a reference edge is selected, every measurement, mark, angle, and cut stems from that consistent point. Why does this matter so much? Because even the slightest discrepancy from switching edges or references leads to accumulating errors. A board might be slightly out of square, or one edge may be rough or bowed. When you choose a single reference and stick to it without exception, your measurements naturally align. This is a cornerstone of joinery, framing, cabinetry, and nearly all precision work. Working from a reference also helps you anticipate how each piece interacts with others. Panels align, joints fit, and corners close tightly when the same reference system is used from start to finish.
Accurate Marking: Transforming Measurements into Perfect Lines
Marking may seem simple, but it is one of the most critical steps in accurate project execution. A line that’s too thick or faint creates ambiguity—do you cut on the line, beside the line, or just to the waste side? Clarity is key. Sharp pencils create crisp lines but dull quickly. Mechanical pencils offer consistency. Marking knives, however, produce a razor-thin etched line ideal for joinery. The knife line guides a chisel or saw with precision, resulting in cleaner cuts and smoother joints.
Holding the marking tool correctly also improves accuracy. A combination square or straightedge provides a firm surface for guiding the pencil or knife. Your grip should be steady but not strained. Lean the pencil at a slight angle, applying just enough pressure to leave a fine, legible line.
When marking repetitive pieces, transfer measurements using a story stick rather than constantly re-measuring. A story stick eliminates the risk of reading slightly different numbers on each attempt. In professional shops, this technique ensures that multiple pieces match perfectly.
Squaring, Aligning, and Checking: The Layout Skills Pros Swear By
Once you’ve drawn your lines, the next skill is checking your layout. Even experienced builders test their work before cutting. Tools like combination squares, speed squares, and try squares help verify that your lines are truly perpendicular or angled correctly. Checking involves more than confirming 90 degrees. You should also verify that opposite edges are parallel, that diagonals match in rectangular frames, and that marks align when boards are flipped or rotated. Many inaccuracies reveal themselves when pieces are checked from multiple angles or reversed orientation.
Straightedges help determine if a board is bowed or twisted—crucial information before cutting or joining. Aligning pieces on a flat surface helps you verify that lengths match and edges sit flush. This validation stage may seem small, but it saves hours of correction later.
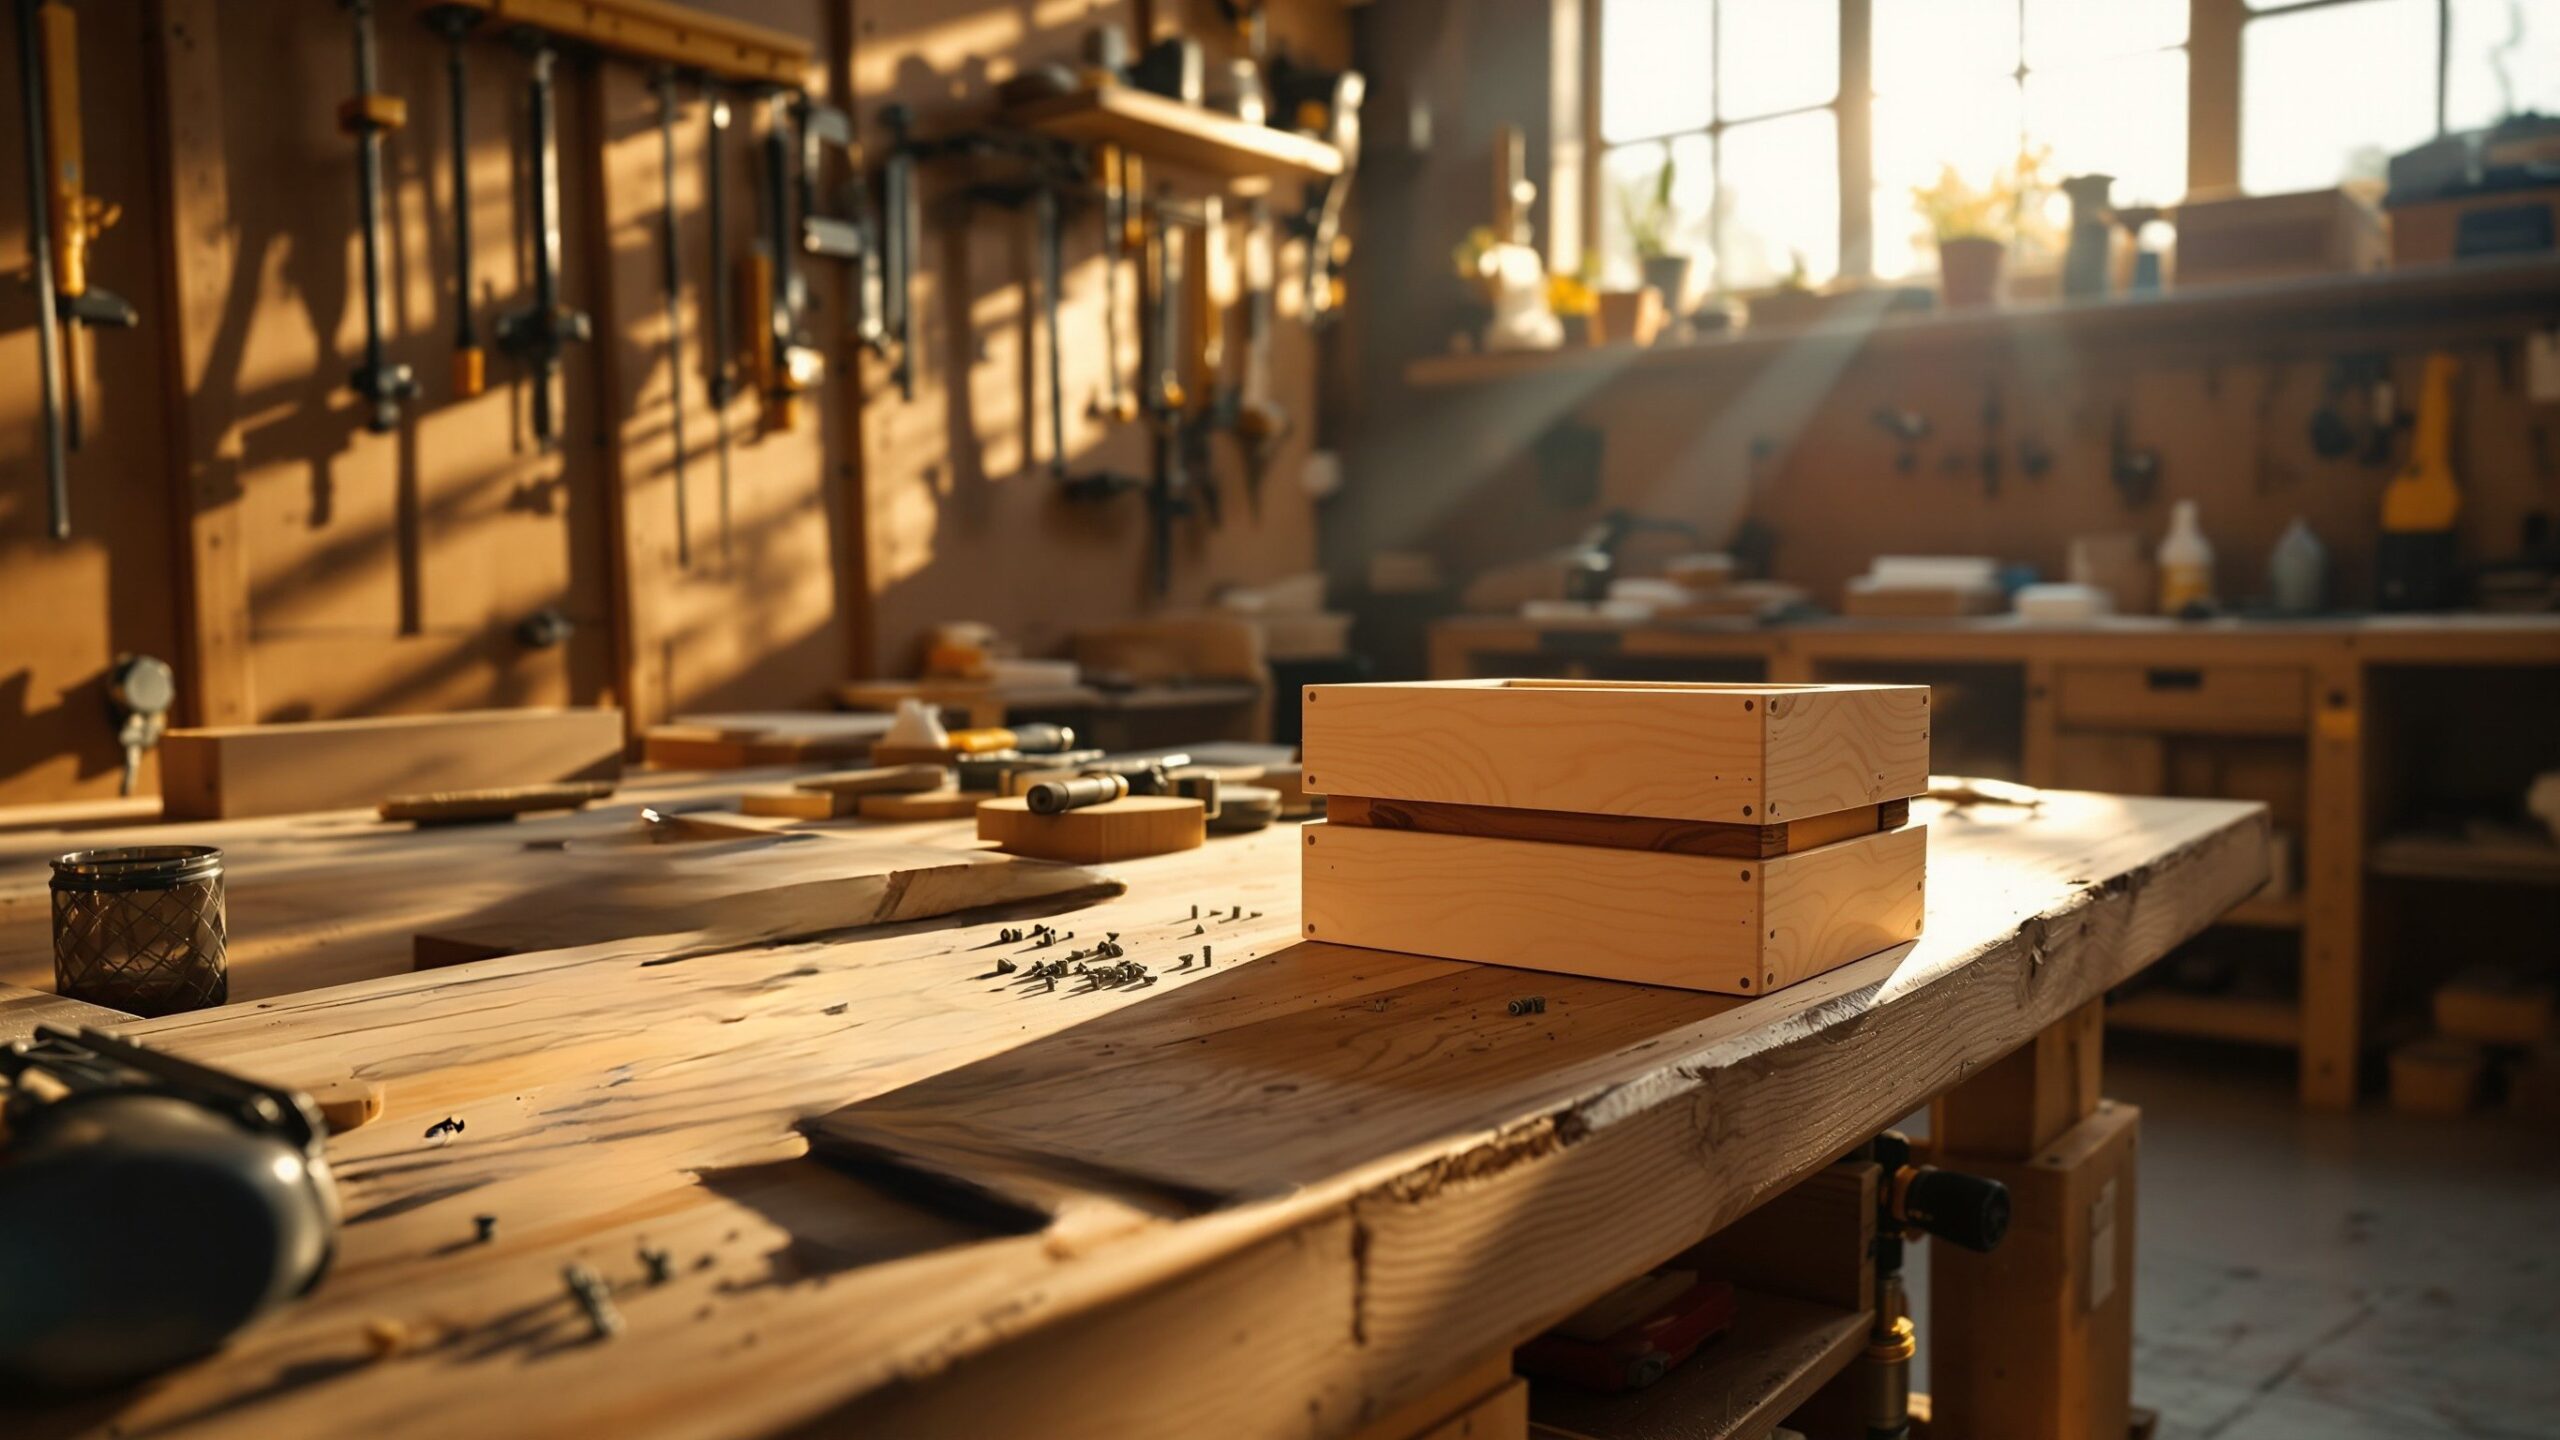
The Cutting Mindset: Precision Begins Before the Blade Touches the Wood
Cutting accurately is not about strength—it is about control, patience, and setup. A good cut begins with a stable workpiece. If the board shifts, the cut will suffer. Clamping provides the safest, most consistent method of securing your material. The more stable the workpiece, the cleaner the results.
Next comes tool alignment. Whether using a handsaw, circular saw, jigsaw, or table saw, ensure your blade sits exactly on the intended path. Beginners often cut directly on the line, removing part of the intended measurement. A better approach is cutting on the waste side just adjacent to the line, preserving the precise layout mark as a visual guide.
Correct body position matters too. When using handsaws, align your shoulder, elbow, and wrist naturally behind the blade. Bending your shoulder or twisting your wrist leads to wandering cuts. With power tools, firm footing and controlled feed speed ensure predictable results. Cutting accurately is about letting the tool work—not forcing it.
Mastering Hand Saw Techniques: The Building Blocks of Precision Cutting
Hand saws teach you the pure fundamentals of cutting technique. They reveal instantly whether your alignment, pressure, and rhythm are correct. Start every cut by establishing a small kerf using short, gentle strokes. This groove guides the blade as you transition into longer, more confident strokes. Let the saw follow the kerf naturally. If it begins to wander, adjust gently rather than forcing it back. Handsaw blades respond well to balanced movement; forcing the cut often causes binding or crooked edges.
Maintaining a consistent grip is crucial. Too tight, and your stroke stiffens. Too loose, and your cuts become imprecise. Practicing smooth, even strokes increases both accuracy and efficiency. While handsaws require patience, they teach invaluable control skills that translate across every cutting tool in the workshop.
Power Tool Precision: How to Cut Accurately with Machines
Once you understand the fundamentals using hand tools, transferring that skill to power tools becomes far easier. Power saws offer speed and repeatability, but they require attention to alignment, blade condition, and feed technique.
A circular saw cuts cleanly when guided by a straightedge or track. Without guidance, small deviations compound quickly. Using high-quality blades reduces tear-out and ensures clean edges. A miter saw excels at angled cuts, but accuracy depends on calibration. Regularly check fence alignment, blade squareness, and bevel settings. Cutting slowly and allowing the blade to reach full speed gives smoother results.
A table saw offers unmatched accuracy for straight cuts, but its precision relies on fence alignment, blade tilt, and push technique. Feeding stock smoothly, using push sticks, and keeping the board firmly against the fence ensures straight, consistent results. Power tool accuracy is not automatic—it’s built on technique, setup, and calibration.
Preventing Tear-Out, Wandering, and Inaccuracies: Common Mistakes and Fixes
Even experienced craftsmen face tear-out, deflection, or wandering cuts occasionally. Recognizing the causes—and solutions—will sharpen your accuracy. Tear-out often results from cutting against grain or using dull blades. Scoring the cut line with a knife and using backing boards improves edge quality. Wandering cuts occur when the saw lacks a clear starting kerf or when the material isn’t clamped securely. Slow down, reset your alignment, and re-establish a guide to keep the blade tracking straight.
Inaccuracies often stem from small layout errors—misread measurements, marks too wide, or reference edges not squared. Slow, deliberate layout work combined with verification checks minimizes these issues dramatically. Accuracy isn’t luck—it’s the result of consistent, mindful technique.
Developing Good Habits: The Path to Perfect Precision
Great accuracy is built on habits that become almost automatic: double-checking measurements, marking clearly, clamping securely, cutting slowly, and validating each step. Experienced builders rarely need to think about these habits—they’ve internalized them through repetition.
You can build these habits through small rituals. Always sharpen pencils before layout. Clean your tools after use. Check a square against a known straight edge periodically. Take a moment to visualize every cut before lifting the saw. These habits develop your “accuracy intuition,” the quiet confidence that grows from knowing you can measure, mark, and cut consistently well.
Precision Is a Skill You Build, Not a Trait You’re Born With
Accuracy is the heartbeat of craftsmanship. It transforms raw materials into cleanly executed, beautifully fitting projects. Whether you’re a beginner learning the basics or an experienced builder refining technique, mastering the art of measuring, marking, and cutting accurately elevates every project you touch. With patience, practice, and the right techniques, precision becomes second nature. And once you unlock that confidence, every project—no matter how simple or complex—becomes a chance to build something exceptional.