The Myth That Stops Most Inventions Before They Start
There’s a quiet myth that kills more inventions than bad ideas ever could: the belief that prototyping requires expensive tools, a professional shop, and a pile of money you don’t have. It’s easy to believe because polished prototypes are what we see in ads, pitch decks, and “behind the scenes” product stories. But those versions are not the beginning. They’re the later chapters. The beginning is almost always humble—tape, cardboard, foam, scribbled measurements, improvised clamps, and a creator who’s willing to build the quickest possible version to learn what’s true. Budget prototyping isn’t about cutting corners. It’s about cutting waste. It’s about knowing what you actually need to test right now, and refusing to spend on anything that doesn’t move the learning forward. When you prototype with a tight budget, you’re forced to do what great designers do anyway: focus on the core problem, build fast, test honestly, and iterate with discipline. This guide will show you how to prototype an invention without spending a fortune. You’ll learn how to choose the cheapest materials that still reveal real truth, how to avoid expensive mistakes, how to borrow and substitute tools intelligently, and how to build prototypes that actually help you improve—not just “look good.”
A: The simplest prototype that tests your biggest risk—usually form or feel.
A: No, cheap materials are ideal until the design stops changing rapidly.
A: Build only the mechanism and use off-the-shelf parts where possible.
A: Start with basics and borrow or share specialized tools when needed.
A: Building a full prototype too early before testing form, feel, and risk.
A: It can be, if you print small test parts and avoid over-detailing early.
A: Change one or two variables at a time and retest immediately.
A: Use real-use scenarios, repeated cycles, and observation-based feedback.
A: When the next question requires precision, durability, or realistic materials.
A: Proof of concept and learning—not a finished-looking product.
Start With One Question: What Must Be True for This to Work?
Before you buy anything, define the single most important uncertainty in your invention. Most inventions have one make-or-break element. If that element fails, nothing else matters. It might be comfort in the hand, a mechanism that must move smoothly, an attachment that must hold under load, or a layout that must fit into a small space. Your first prototype should not try to prove everything. It should try to prove that one thing.
This is how you keep costs low. When your prototype has one job, it can be simple. You don’t need final materials. You don’t need perfect finish. You need evidence. You need to know whether the core idea deserves further investment.
This single-question approach is also psychologically powerful. When you stop trying to build the “final product” and start trying to answer one focused question, you move faster. You make better decisions. And you stay motivated because progress becomes visible.
Prototype Goals That Save You Money Immediately
Budget prototyping becomes easier when you understand prototype types. A form prototype tests shape, size, and proportions. A feel prototype tests ergonomics, grip, comfort, and interaction. A functional prototype tests whether something works—movement, strength, closure, alignment, performance. Many inventors waste money by building functional prototypes before they’ve confirmed form and feel. Then they rebuild everything because the product is uncomfortable or awkward.
If you’re trying to save money, start with form and feel. These prototypes can be incredibly cheap and still extremely informative. Once your invention feels right and fits the environment it’s meant for, you can invest a bit more confidently in function. Even for functional testing, you can often prototype only the mechanism rather than the full product. If a latch is the key risk, build just the latch. If leverage is the key risk, build a small lever rig. Smaller prototypes cost less, build faster, and teach more.
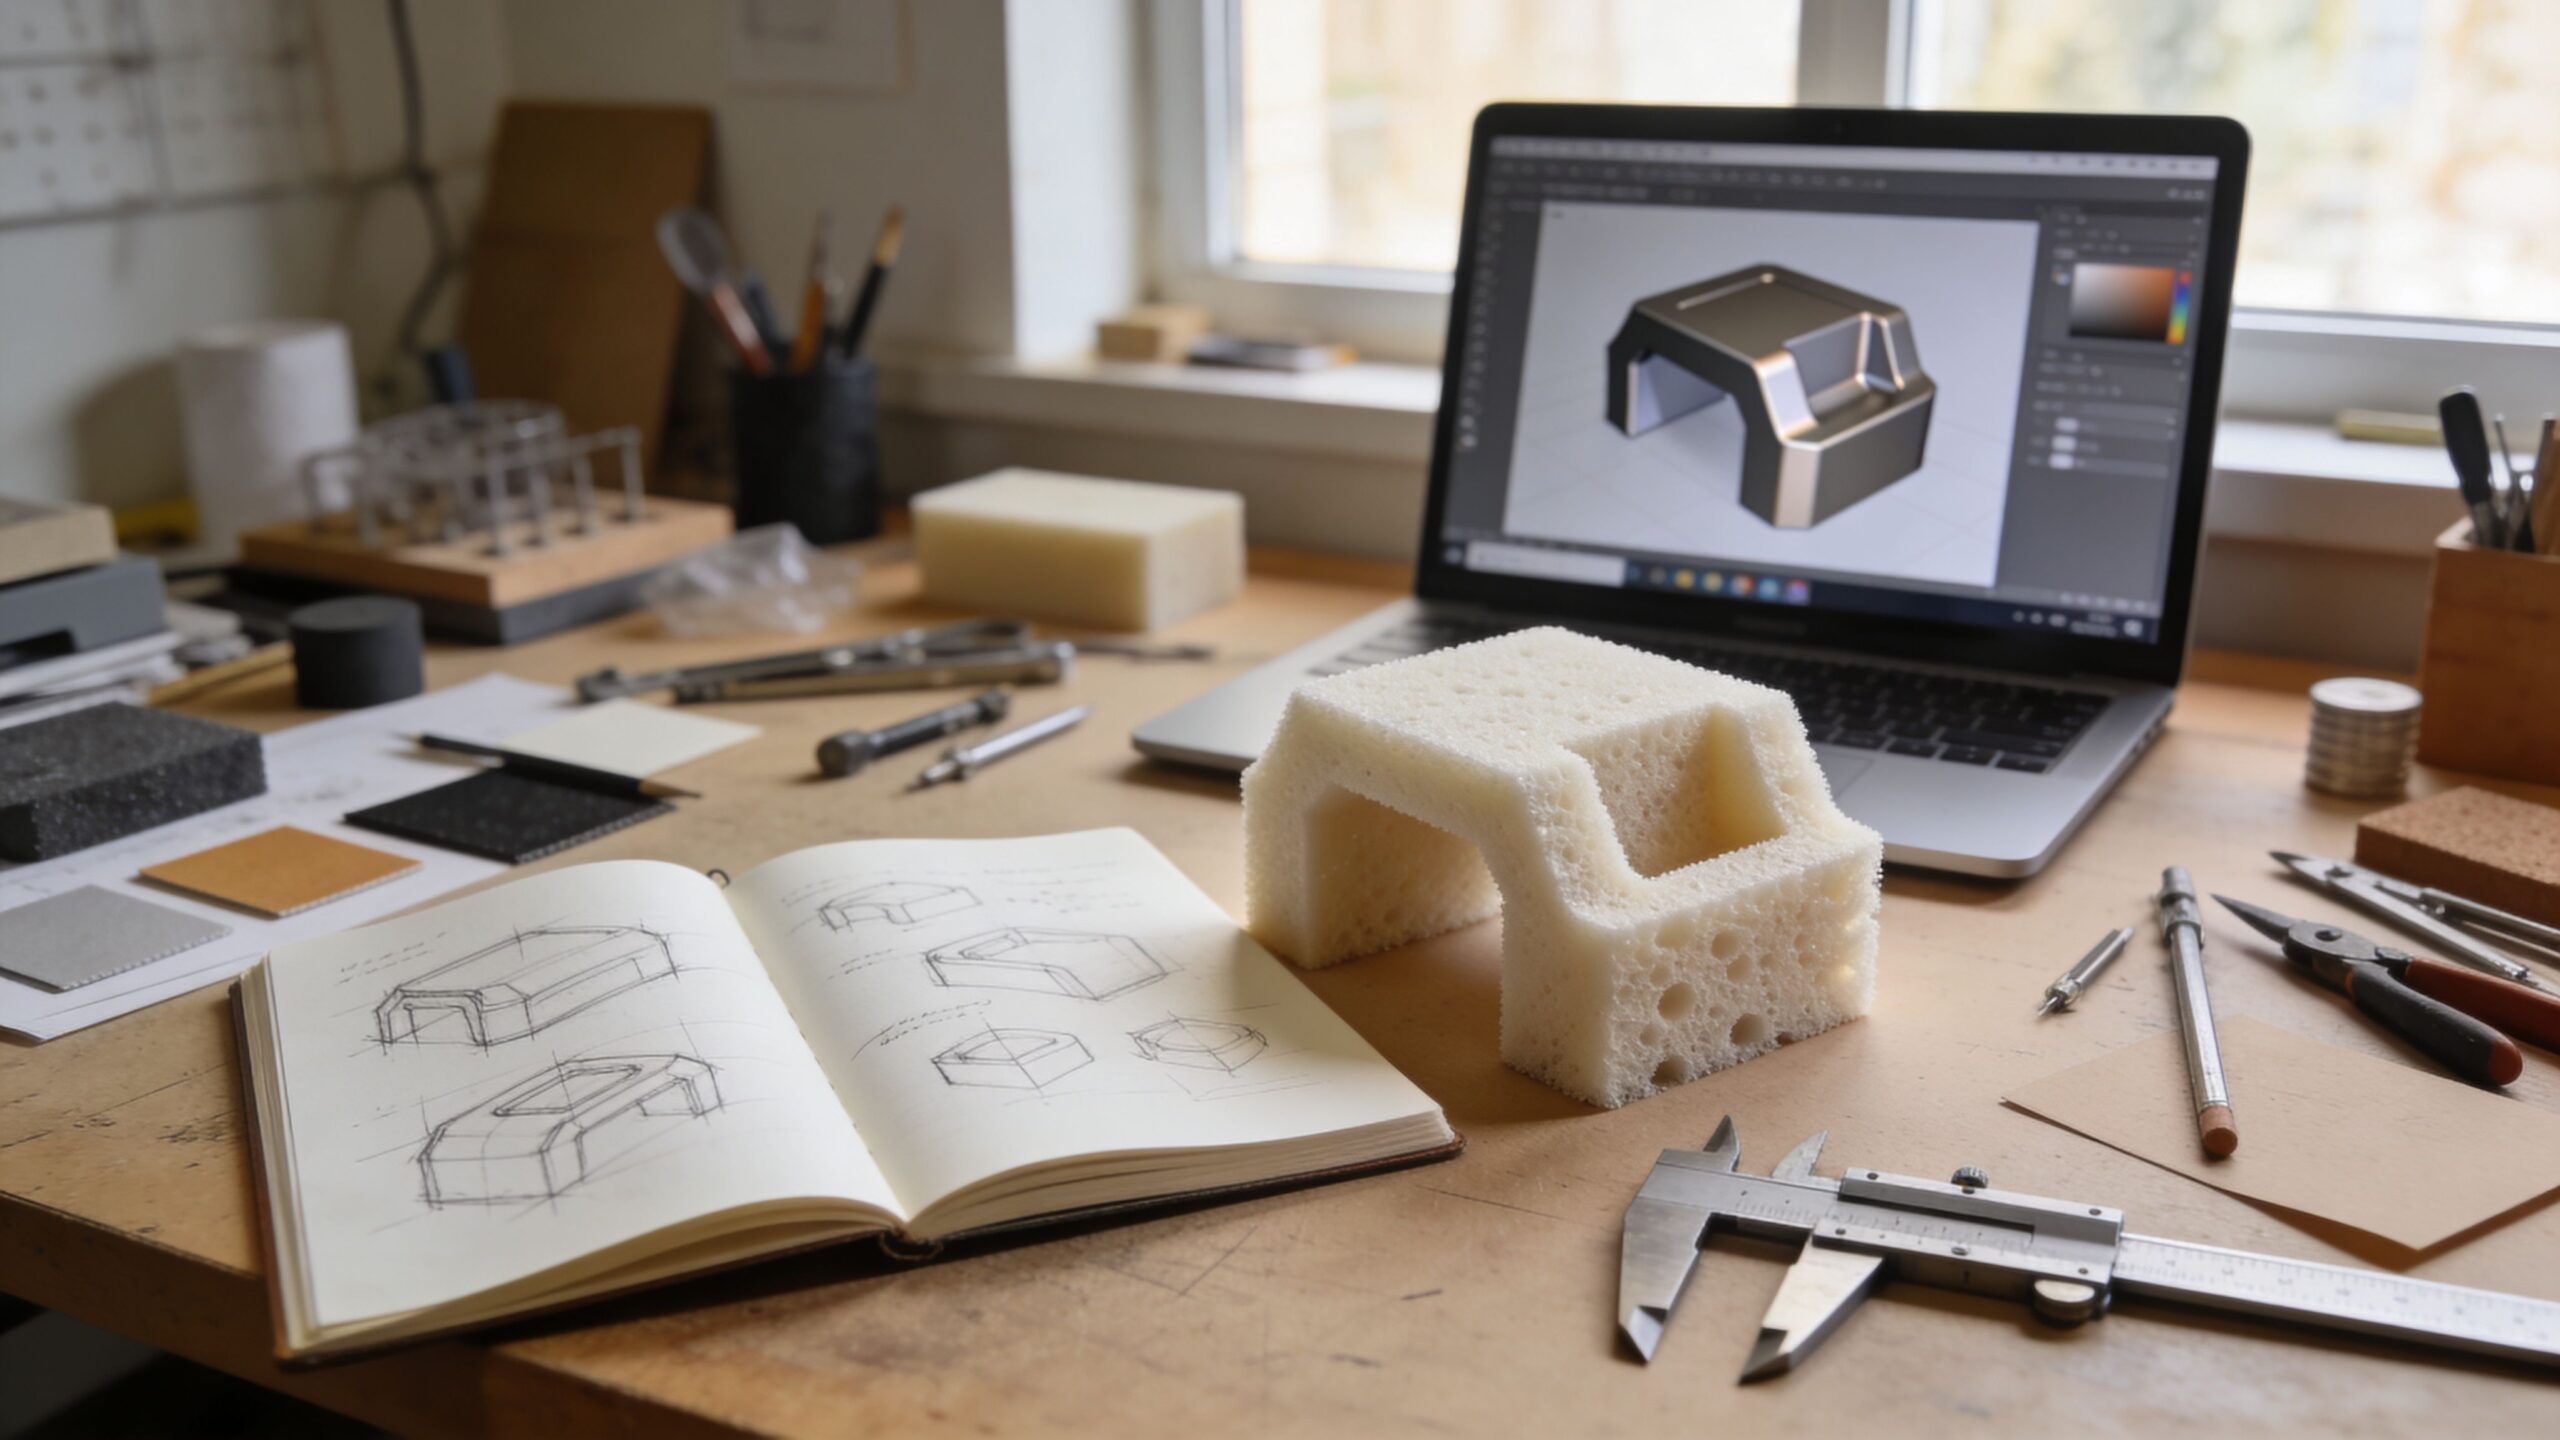
Cheap Materials That Prototype Like a Champion
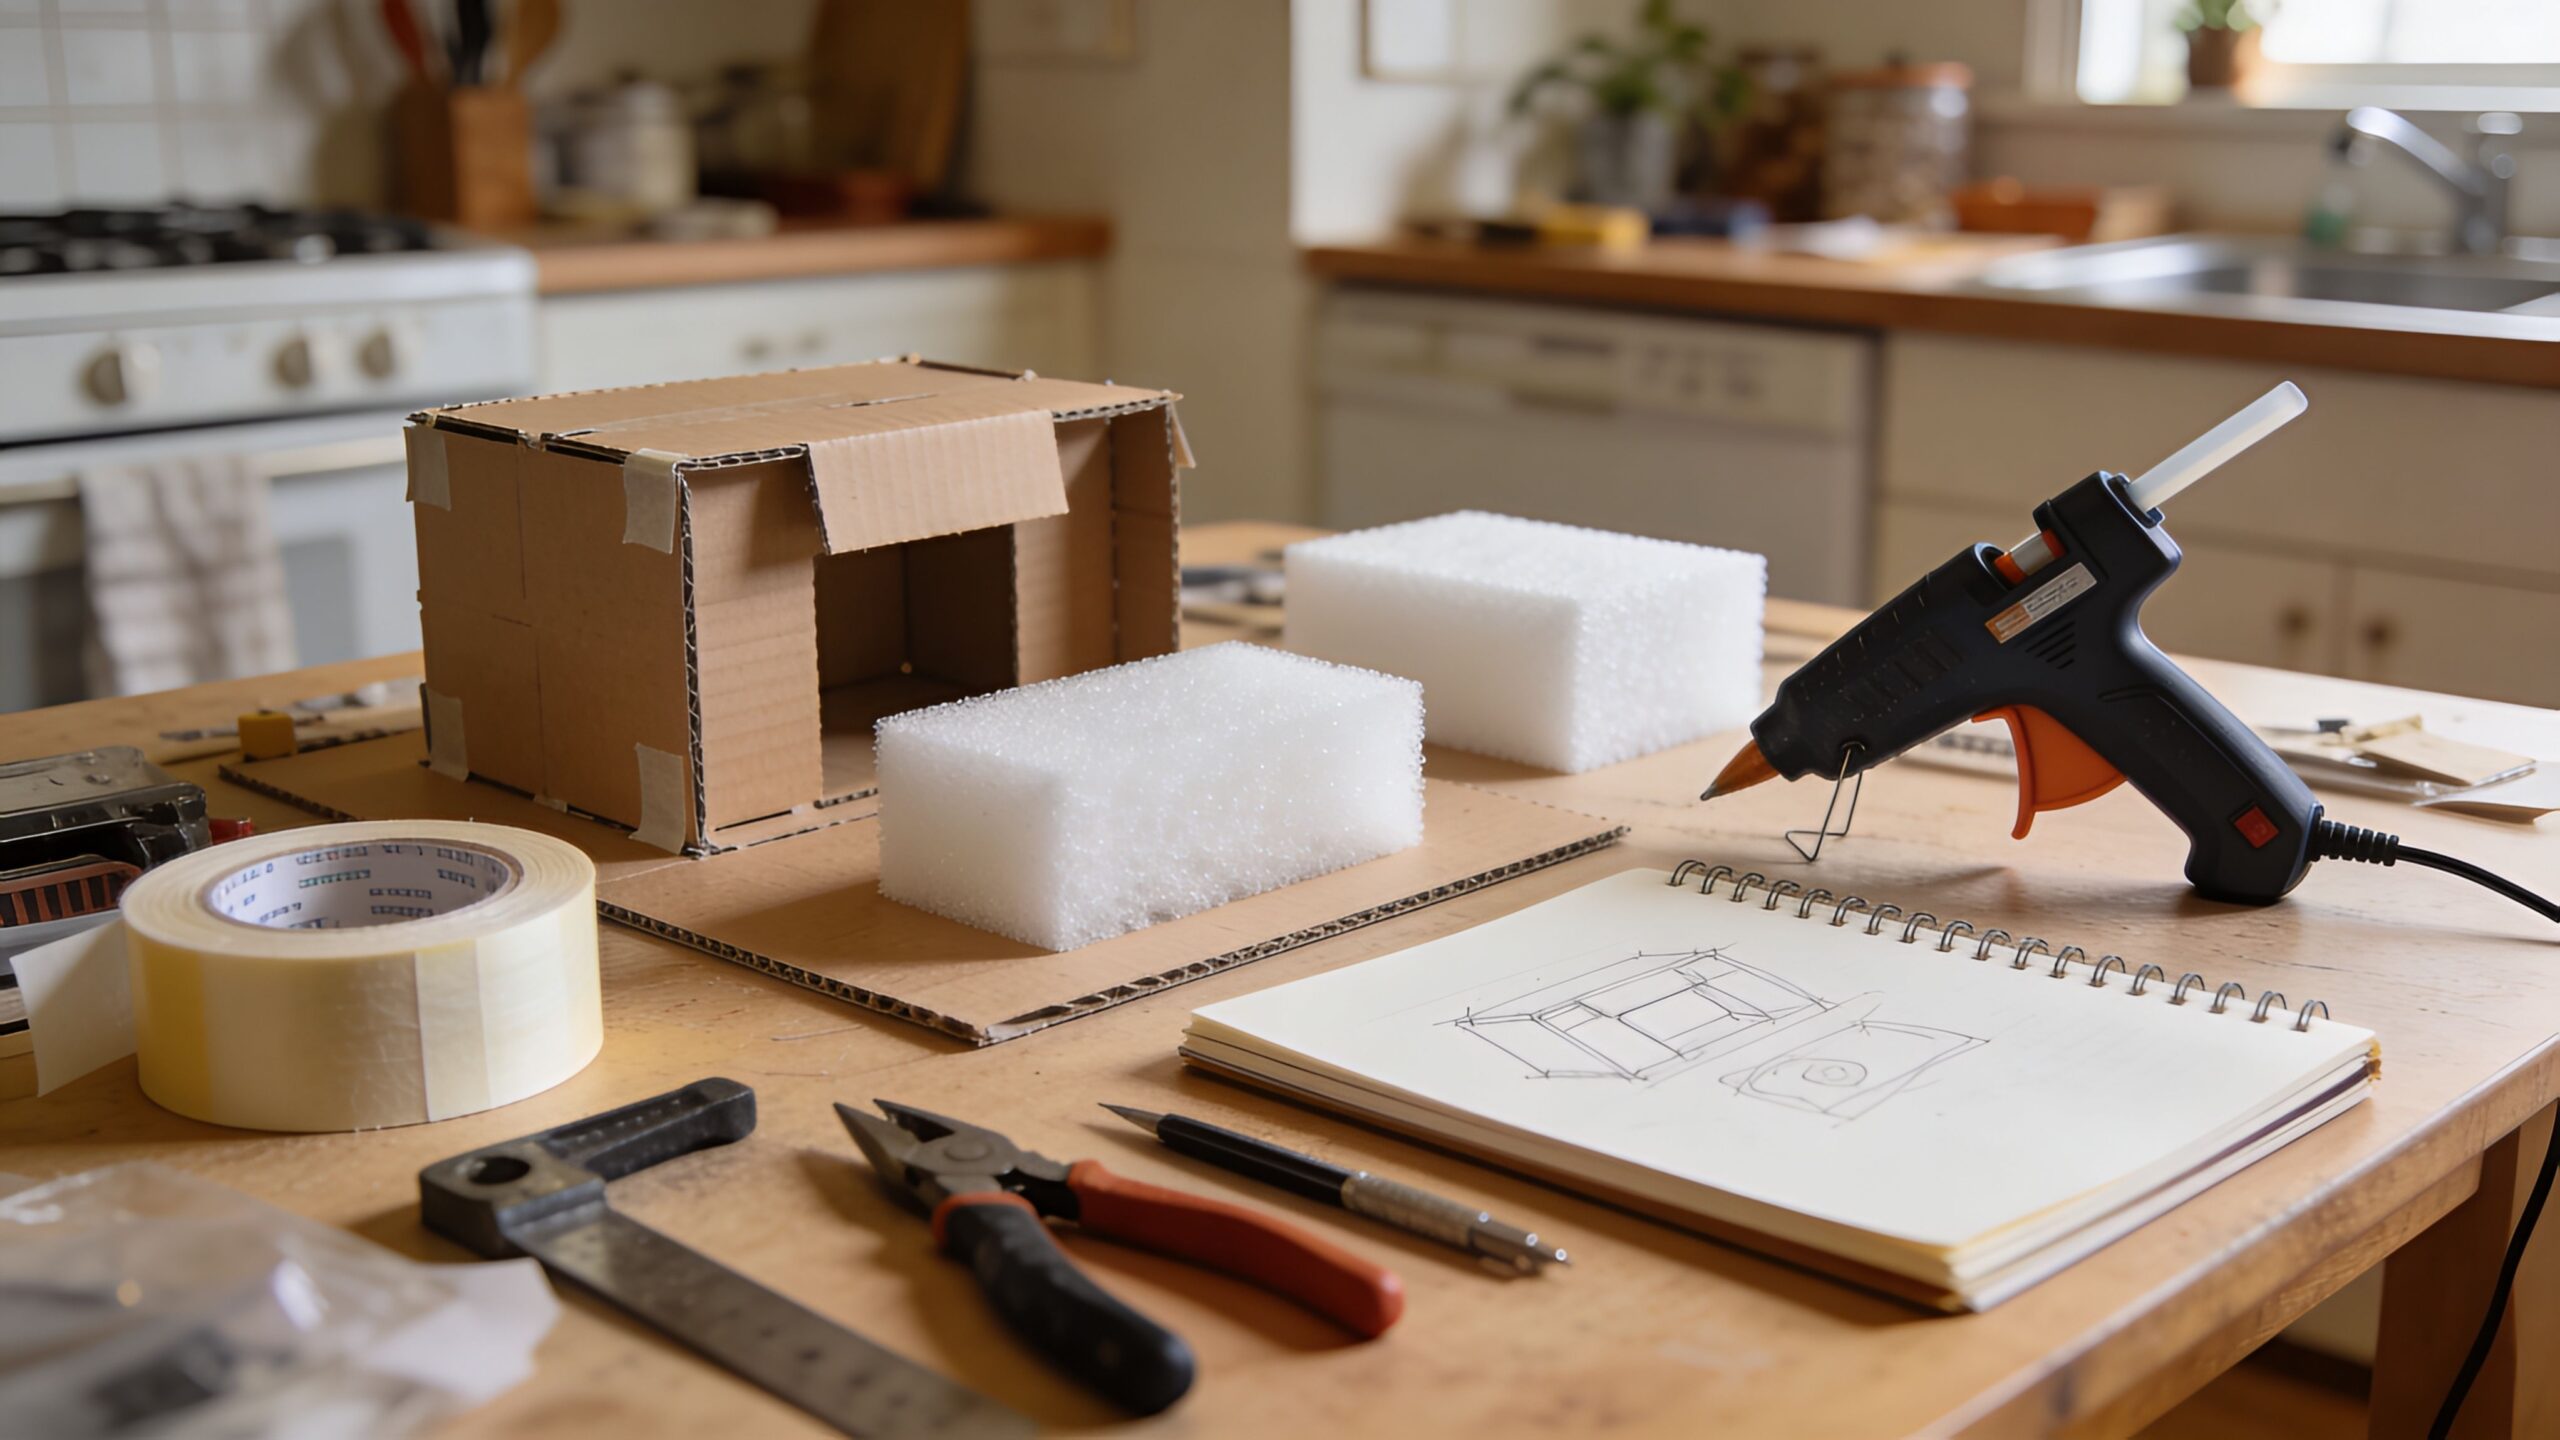
Budget prototypes thrive on materials that are easy to cut, shape, glue, and revise. Cardboard is one of the greatest invention materials of all time. It’s lightweight, easy to form, and available everywhere. Foam board adds stiffness and clean edges for quick mockups. Insulation foam can be carved into ergonomic shapes with simple tools, making it excellent for handles and grips. EVA foam is flexible and forgiving for wearable shapes or soft-touch surfaces.
Tape is not a hack; it’s a prototyping superpower. Painter’s tape, duct tape, and gaffer tape can hold things together quickly and allow fast changes without committing to permanent bonds. Hot glue is another rapid hero—fast, cheap, and reversible enough for early prototypes.
If you need structural strength without expensive fabrication, scrap wood, basic hardware, and salvaged materials can create surprisingly robust prototypes. The key is to separate “test strength” from “build pretty.” Ugly can be strong. Cheap can be effective. The goal is to learn.
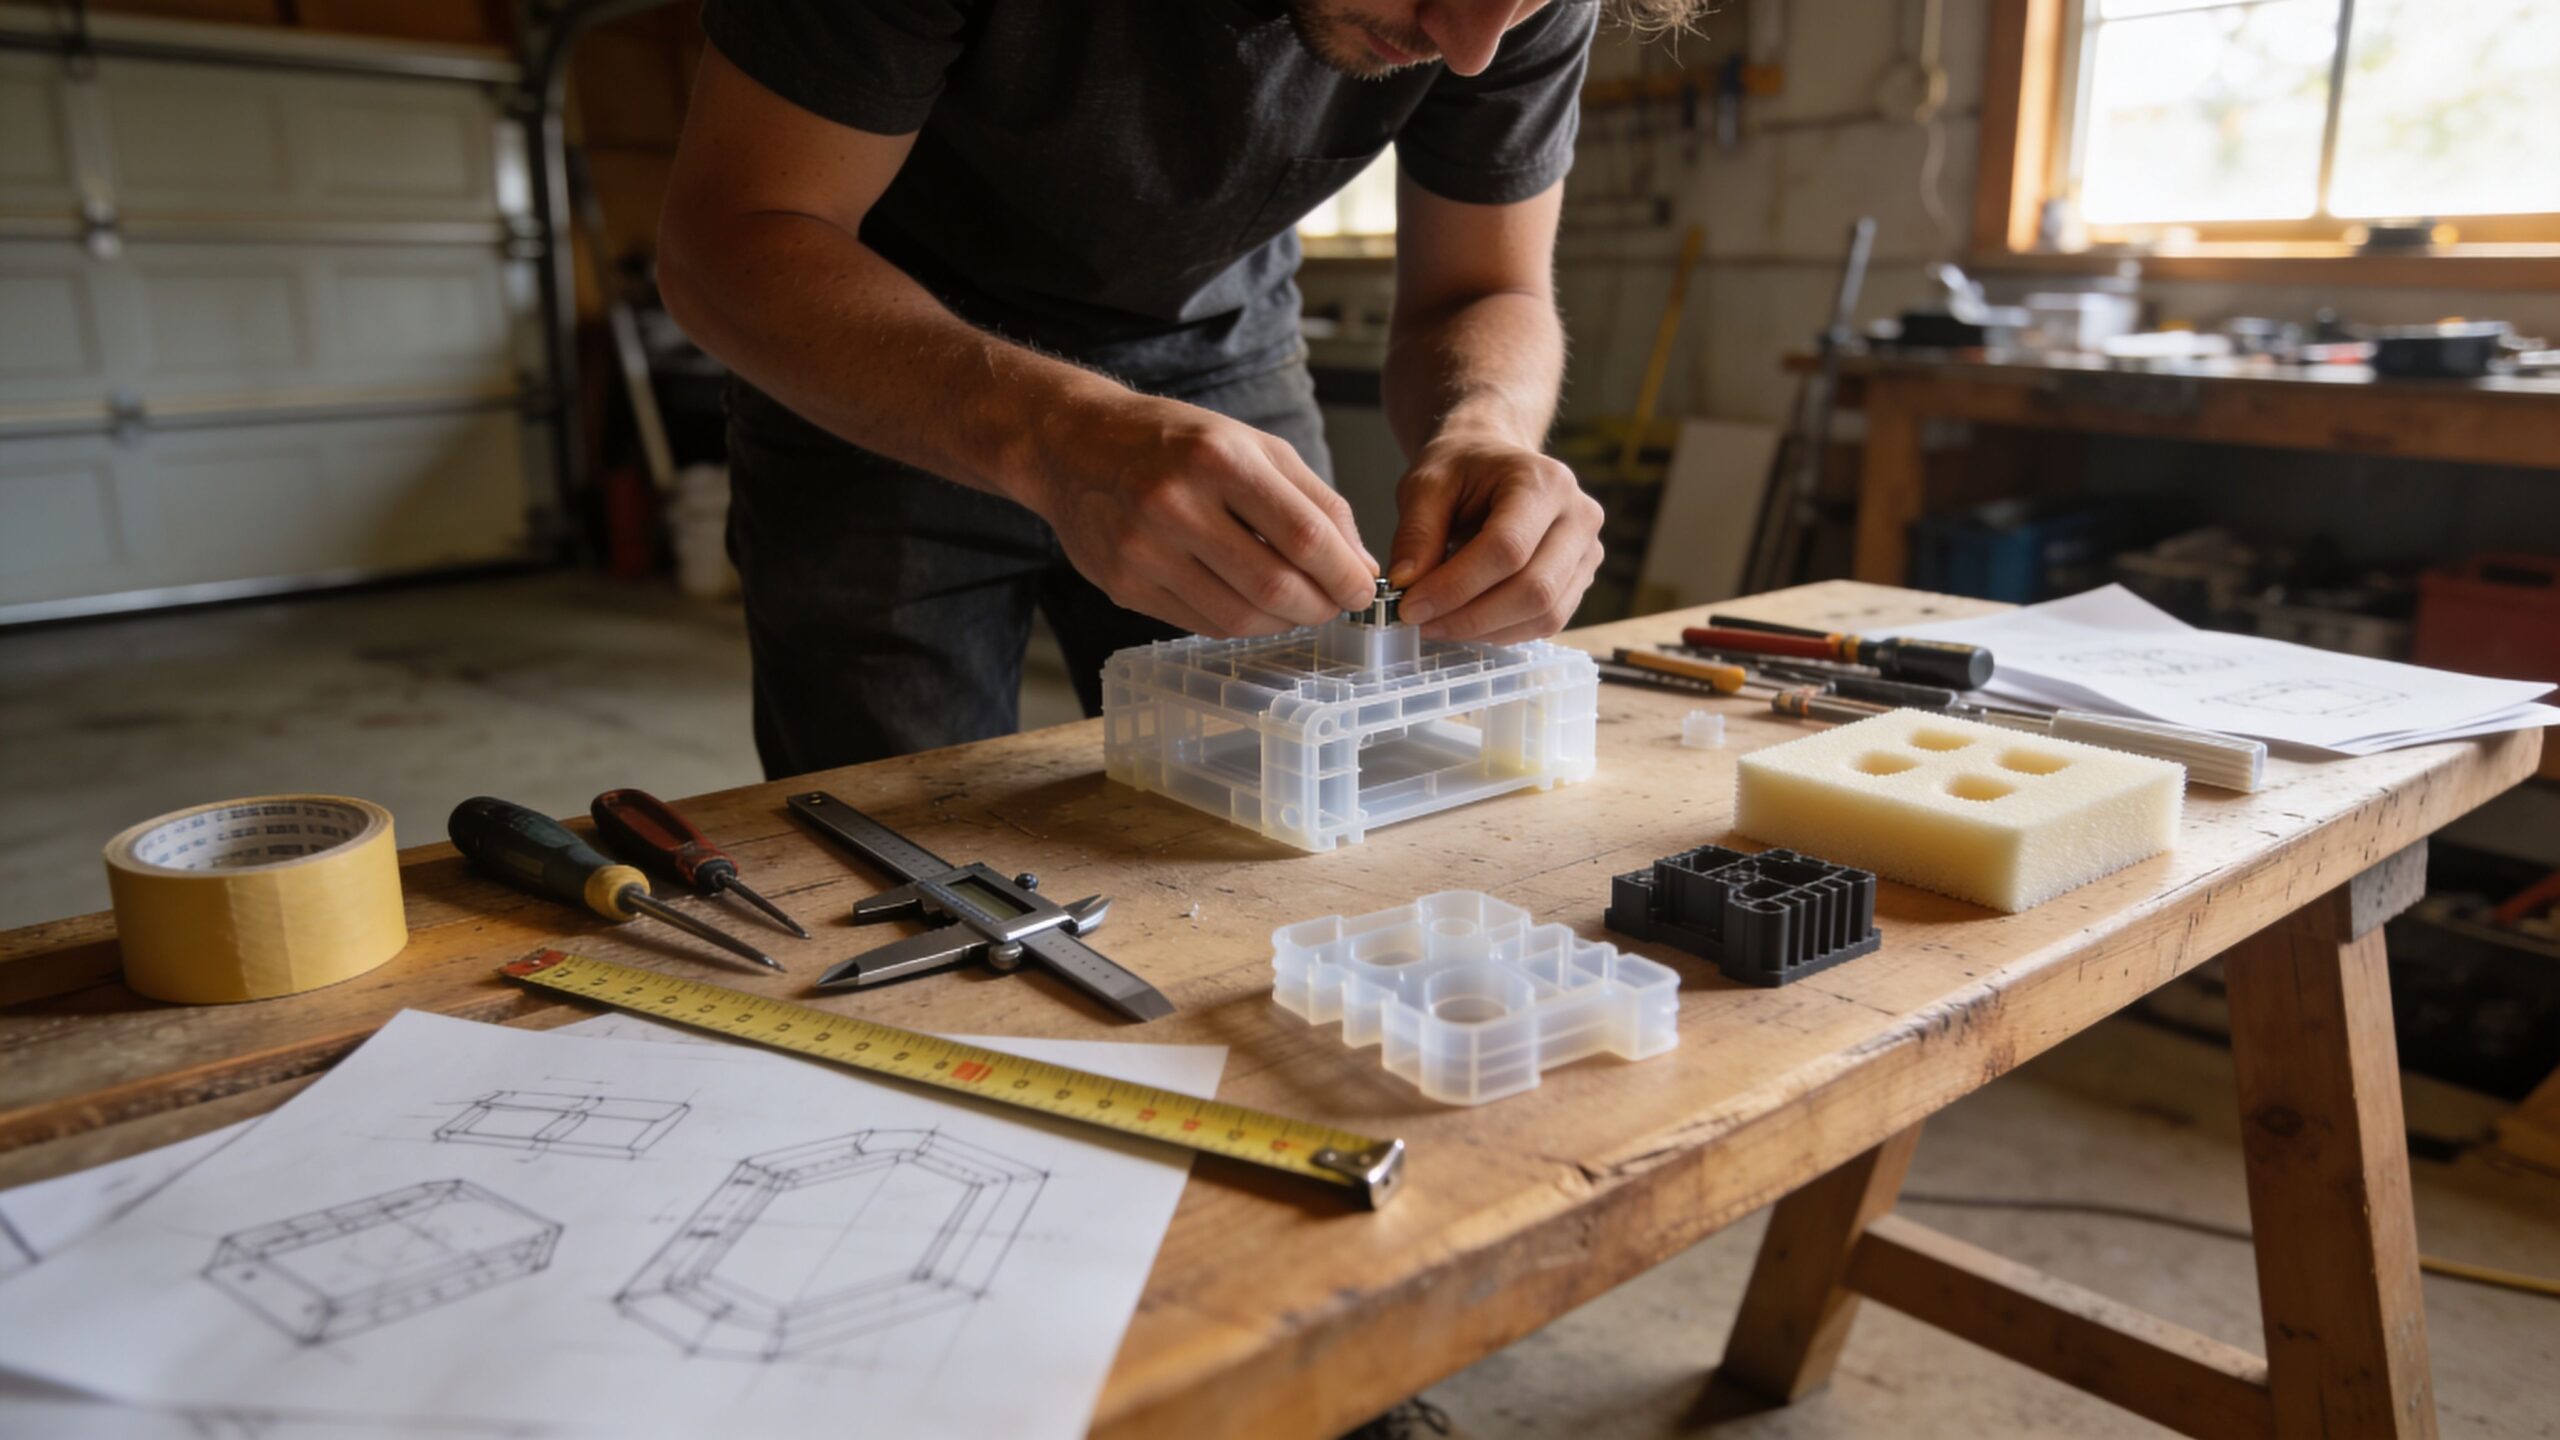
How to Use Off-the-Shelf Parts Instead of Custom Everything
One of the most expensive mistakes beginners make is trying to custom-build every component. Budget prototyping improves dramatically when you embrace off-the-shelf parts. Springs, hinges, latches, knobs, fasteners, and simple mechanisms can often be purchased cheaply or salvaged from old items. You can use these parts to test behavior immediately without designing custom versions.
Think of your invention as two layers: the concept layer (what the product does and how it solves the problem) and the component layer (the specific hardware that makes it work). Early on, you can prototype the concept layer using existing components. Later, when the invention is validated, you can design custom parts for better integration, size, or cost. This approach saves money and also saves time. Off-the-shelf parts are predictable. They let you focus on the product’s real value instead of reinventing standard hardware.
Borrow, Rent, or Share Tools Instead of Buying Them
You don’t need to own a full workshop to prototype. You need access. Many inventors waste money buying tools they use twice. A smarter approach is to borrow, rent, or share.
Start by listing what you truly need. Most early prototypes can be made with basic hand tools: a utility knife, scissors, a ruler, tape, clamps, and a simple drill or screwdriver set. If you need something specialized—like a 3D printer or laser cutter—consider local maker spaces, community workshops, schools, or friends who already have access. Even occasional access can be enough to create key parts without large purchases.
If you do buy tools, buy slowly and only after a repeated need appears. Let your prototyping journey “earn” each tool. When you buy this way, you build a workshop that matches your real workflow instead of a fantasy version of it.
The “Don’t Spend Yet” Phase: Mockups That Prevent Expensive Redesign
Before spending money on higher-quality materials, build a fast mockup that answers the basic questions: Does it fit? Does it feel right? Does the user understand it? Does it move the way you expected? Does it interfere with anything nearby? Does it require awkward hand positions?
These questions can be answered with almost no budget. And they can save you hundreds—or thousands—because they prevent you from investing in a design that needs major reshaping. This phase is where you should be most playful. Try multiple sizes. Try different angles. Try different placements. The materials are cheap, so experimentation is cheap. When you lock into one direction too early, you increase costs because every later change becomes more expensive.
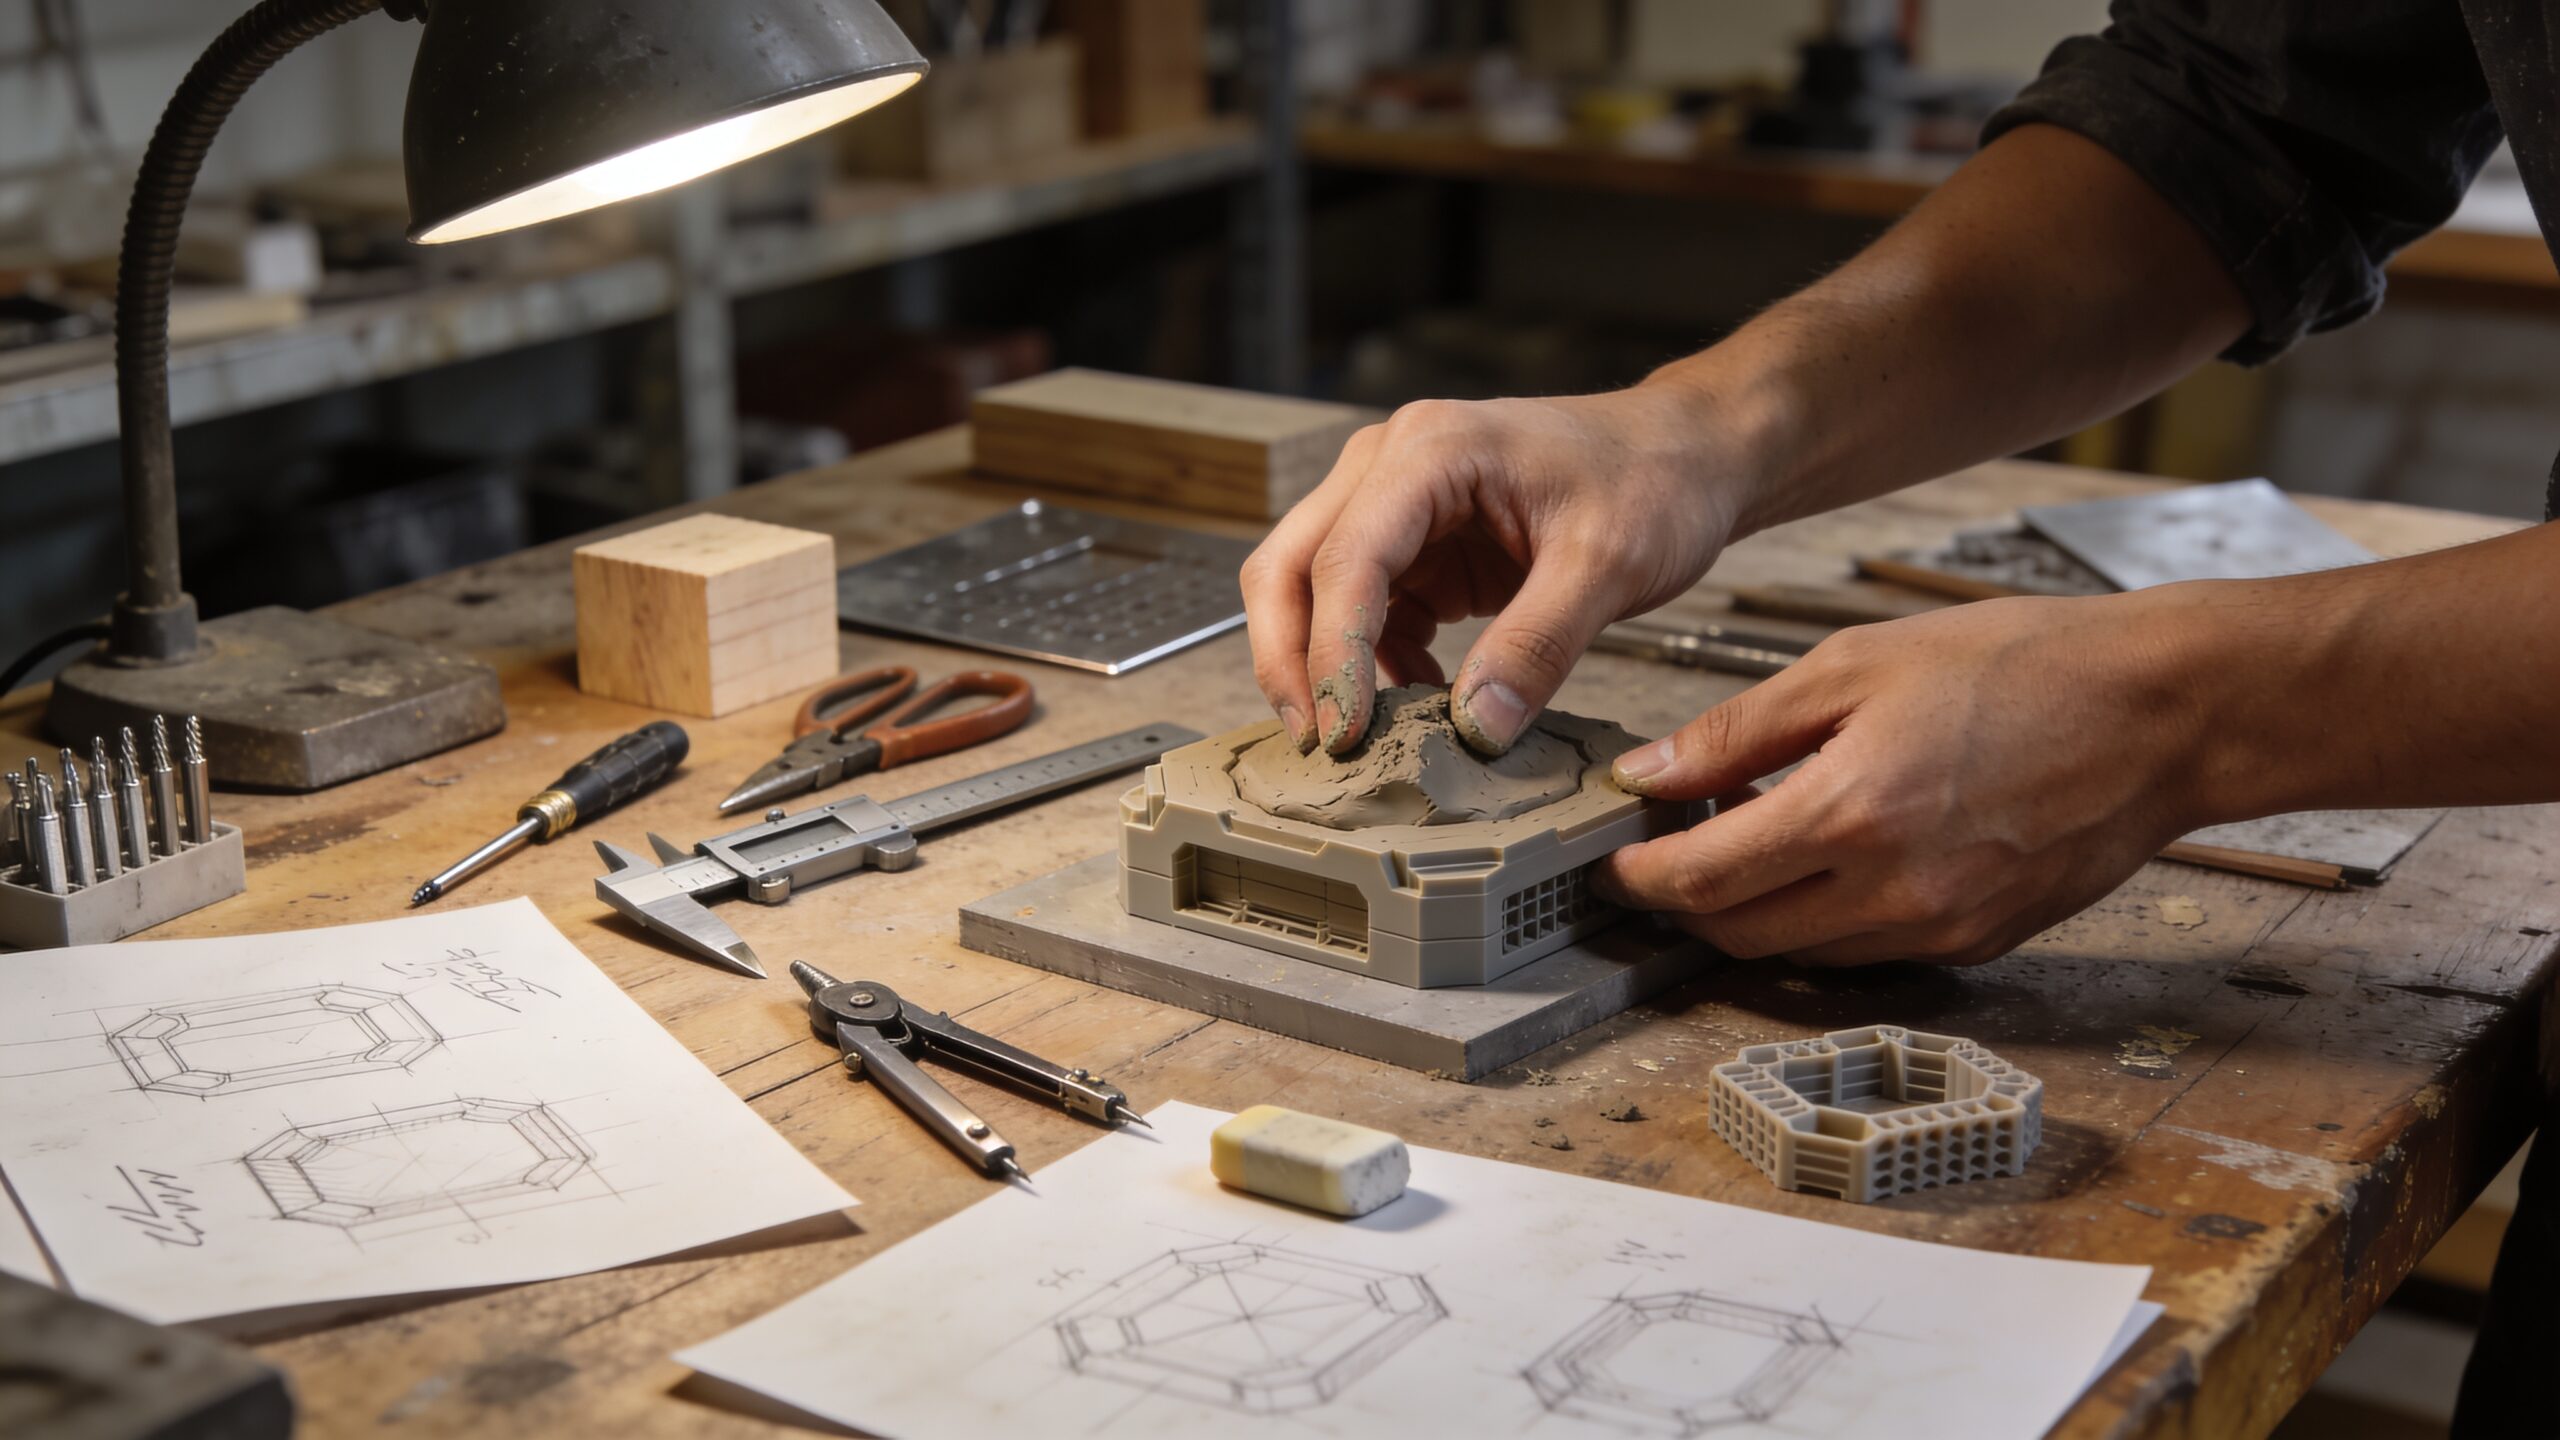
Smart 3D Printing on a Budget (Without Letting It Drain You)
3D printing can be a cost-effective prototyping tool, but only if you use it strategically. The mistake is printing full prototypes too early, too detailed, or too often. The budget-friendly approach is to print only what you need to test next.
If you’re testing fit, print only the section that interfaces with another part. If you’re testing ergonomics, print a grip segment instead of the entire body. If you’re testing a latch, print the latch geometry and a small mount.
This keeps print time, material cost, and iteration speed under control. It also teaches you something important: the goal of 3D printing in early prototyping is not to produce “the prototype.” It’s to produce the exact test piece that answers your current question. If you don’t own a printer, you can still prototype cheaply by using printing services selectively or using community-access equipment. The trick is to treat 3D printing as a targeted tool—not the default method for everything.
Testing on a Budget: How to Learn Without Fancy Equipment
Testing doesn’t need expensive sensors or lab equipment. It needs consistency and honesty. You can test usability by watching someone try your prototype without explanation. You can test ergonomics by using it for longer than a quick moment, paying attention to fatigue points and awkward reaches. You can test strength by applying realistic force repeatedly and observing where it fails.
Budget testing becomes more effective when you document results. Take photos of wear marks. Record short clips of failures. Note what broke and where. These details help you improve quickly and prevent you from repeating mistakes. Even a simple notebook becomes a powerful testing tool when you record what changed between versions and what the outcome was. A key budget-friendly insight is that you don’t need perfect measurements early. You need directional truth. Does this angle help? Does this thickness reduce flex? Does this grip shape reduce strain? Once the design becomes stable, precision becomes more valuable. Early on, learning is the priority.
The Cheapest Way to Improve Your Prototype: Change One Thing at a Time
Iteration is where inventions become real, but iteration can also become expensive if you change too much at once. The most budget-friendly iteration strategy is to change one variable at a time. One thickness change. One angle change. One grip adjustment. One material swap. Then test again.
This method prevents you from rebuilding the entire prototype repeatedly. It also creates a clearer map of cause and effect. When you know exactly what improved the prototype, you avoid chasing random “fixes” that create new problems. Budget prototyping is not only about spending less. It’s about wasting less. Controlled iteration is one of the best ways to do that.
Where You Should Spend (Because It Saves Money Later)
Not every expense is bad. Some spending saves money by reducing mistakes. Measuring tools like calipers can prevent repeated rebuilds due to mismatched parts. A few clamps can make assembly faster and stronger. Good adhesives in the right situations can prevent prototypes from failing prematurely and misleading your tests.
The most valuable spending is on tools and materials that reduce rework. If a small investment prevents you from building the same part five times, it pays for itself.
The best question to ask before spending is simple: will this purchase reduce iteration time, reduce rebuild frequency, or improve the accuracy of my testing? If the answer is yes, it’s often worth it. If the answer is “it will make it look nicer,” save the money for later.
Protecting Your Budget With a “Prototype Ladder”
A prototype ladder is a progression of builds from cheap and rough to refined and realistic. It keeps you from jumping too early into expensive steps. Your first rung might be cardboard for shape. Next rung might be foam for ergonomics. Next rung might be a mechanism test rig with hardware. Next rung might be a partial 3D print to confirm fit. Next rung might be a combined working prototype.
By climbing the ladder one rung at a time, you earn each new investment with real learning. You avoid the painful situation of spending a lot on a prototype that teaches you nothing because you built the wrong thing. This ladder approach also creates a story of progress. Each version becomes evidence that the idea is improving. That story is valuable if you ever need to communicate your invention to partners, manufacturers, or potential supporters.
The Real Goal: Proof of Concept Without Debt
When you prototype an invention on a budget, you’re building more than an object. You’re building proof. Proof that the problem is real. Proof that your solution can work. Proof that users understand it. Proof that the design can survive basic use. Proof that the idea is worth expanding. You don’t need perfection to create proof. You need focus. You need honest testing. You need willingness to revise. And you need a budget strategy that keeps you moving. The inventors who win aren’t always the ones who spend the most. They’re the ones who learn the fastest without burning out. Rapid, budget-friendly prototyping is one of the best ways to do exactly that.