The First Prototype Is a Moment, Not a Masterpiece
There’s a special kind of excitement that shows up the first time you build an idea. You can feel it before you even start: a mix of curiosity, ambition, and that stubborn little voice that says, “What if this actually works?” Beginners often assume prototyping is reserved for engineers with expensive equipment and polished skills. In reality, product prototyping is a mindset more than a machine. Your first prototype isn’t meant to be flawless. It’s meant to be real—something you can touch, test, and learn from. A prototype is a conversation between your idea and the physical world. Your sketch might look brilliant, but the real world has opinions. Materials flex, parts collide, grips feel awkward, mechanisms bind, and tolerances suddenly matter. This is good news. When problems show up during prototyping, you’ve discovered them early—before they become costly surprises. This guide walks you through a beginner-friendly, step-by-step process to build your first product prototype. You’ll learn how to move from concept to model, how to choose the right approach, how to test like a pro, and how to iterate without losing momentum. If you’re ready to turn your idea into something real, the first step is simple: start where you are, with what you have.
A: One key question—fit, comfort, or function—so you learn fast.
A: That’s normal; early prototypes exist to teach, not impress.
A: Pick materials that are quick to cut, glue, and revise.
A: Start with what’s fastest; many beginners learn more by building first.
A: Use it in the real environment and watch for friction points.
A: Usually several; iteration is where the design becomes strong.
A: When simple materials stop you from testing what matters next.
A: Focus on learning goals; polish only after core function works.
A: Change one variable at a time and retest immediately.
A: More testing, refinement, and planning for manufacturable design.
Step 1: Define the Problem Your Product Solves
Before you cut a single piece of material or open a design program, slow down long enough to define the problem in plain language. A prototype built around a fuzzy problem leads to fuzzy results. Your goal at this stage is clarity, not complexity. What does your product help someone do faster, safer, easier, or better? Who is it for, and what are they struggling with right now?
Try to describe the problem as a moment. Imagine someone using your product in a real environment. What triggers the need? What happens if they don’t have a solution? When you can describe the moment clearly, you’ll build prototypes that focus on what matters instead of wandering into features that feel cool but don’t solve the core issue.
This is also where you set the definition of success for your first prototype. Success might be as simple as confirming the shape fits in a hand, proving a latch can close reliably, or showing that a mechanism can move through its intended range. A strong prototype starts with a single focused question it needs to answer.
Step 2: Choose Your Prototype Goal (Look, Feel, or Function)
Beginners often try to build a “final product” on the first attempt. That’s a fast road to frustration. Instead, choose a prototype goal. Are you testing how it looks, how it feels, or how it functions? Each goal leads to different materials, different tools, and different levels of detail.
If your first priority is appearance and proportions, build a simple form model. This helps you evaluate size, shape, and design direction without getting distracted by engineering details. If comfort and ergonomics matter most, focus on a feel model—something you can hold, grip, and use in a realistic way. If performance is the big unknown, build a functional prototype that tests one key mechanism, motion, or structural requirement. Most beginners benefit from starting with a form or feel model first, then moving to function. By separating these goals, you build faster, learn more, and avoid overbuilding early versions.
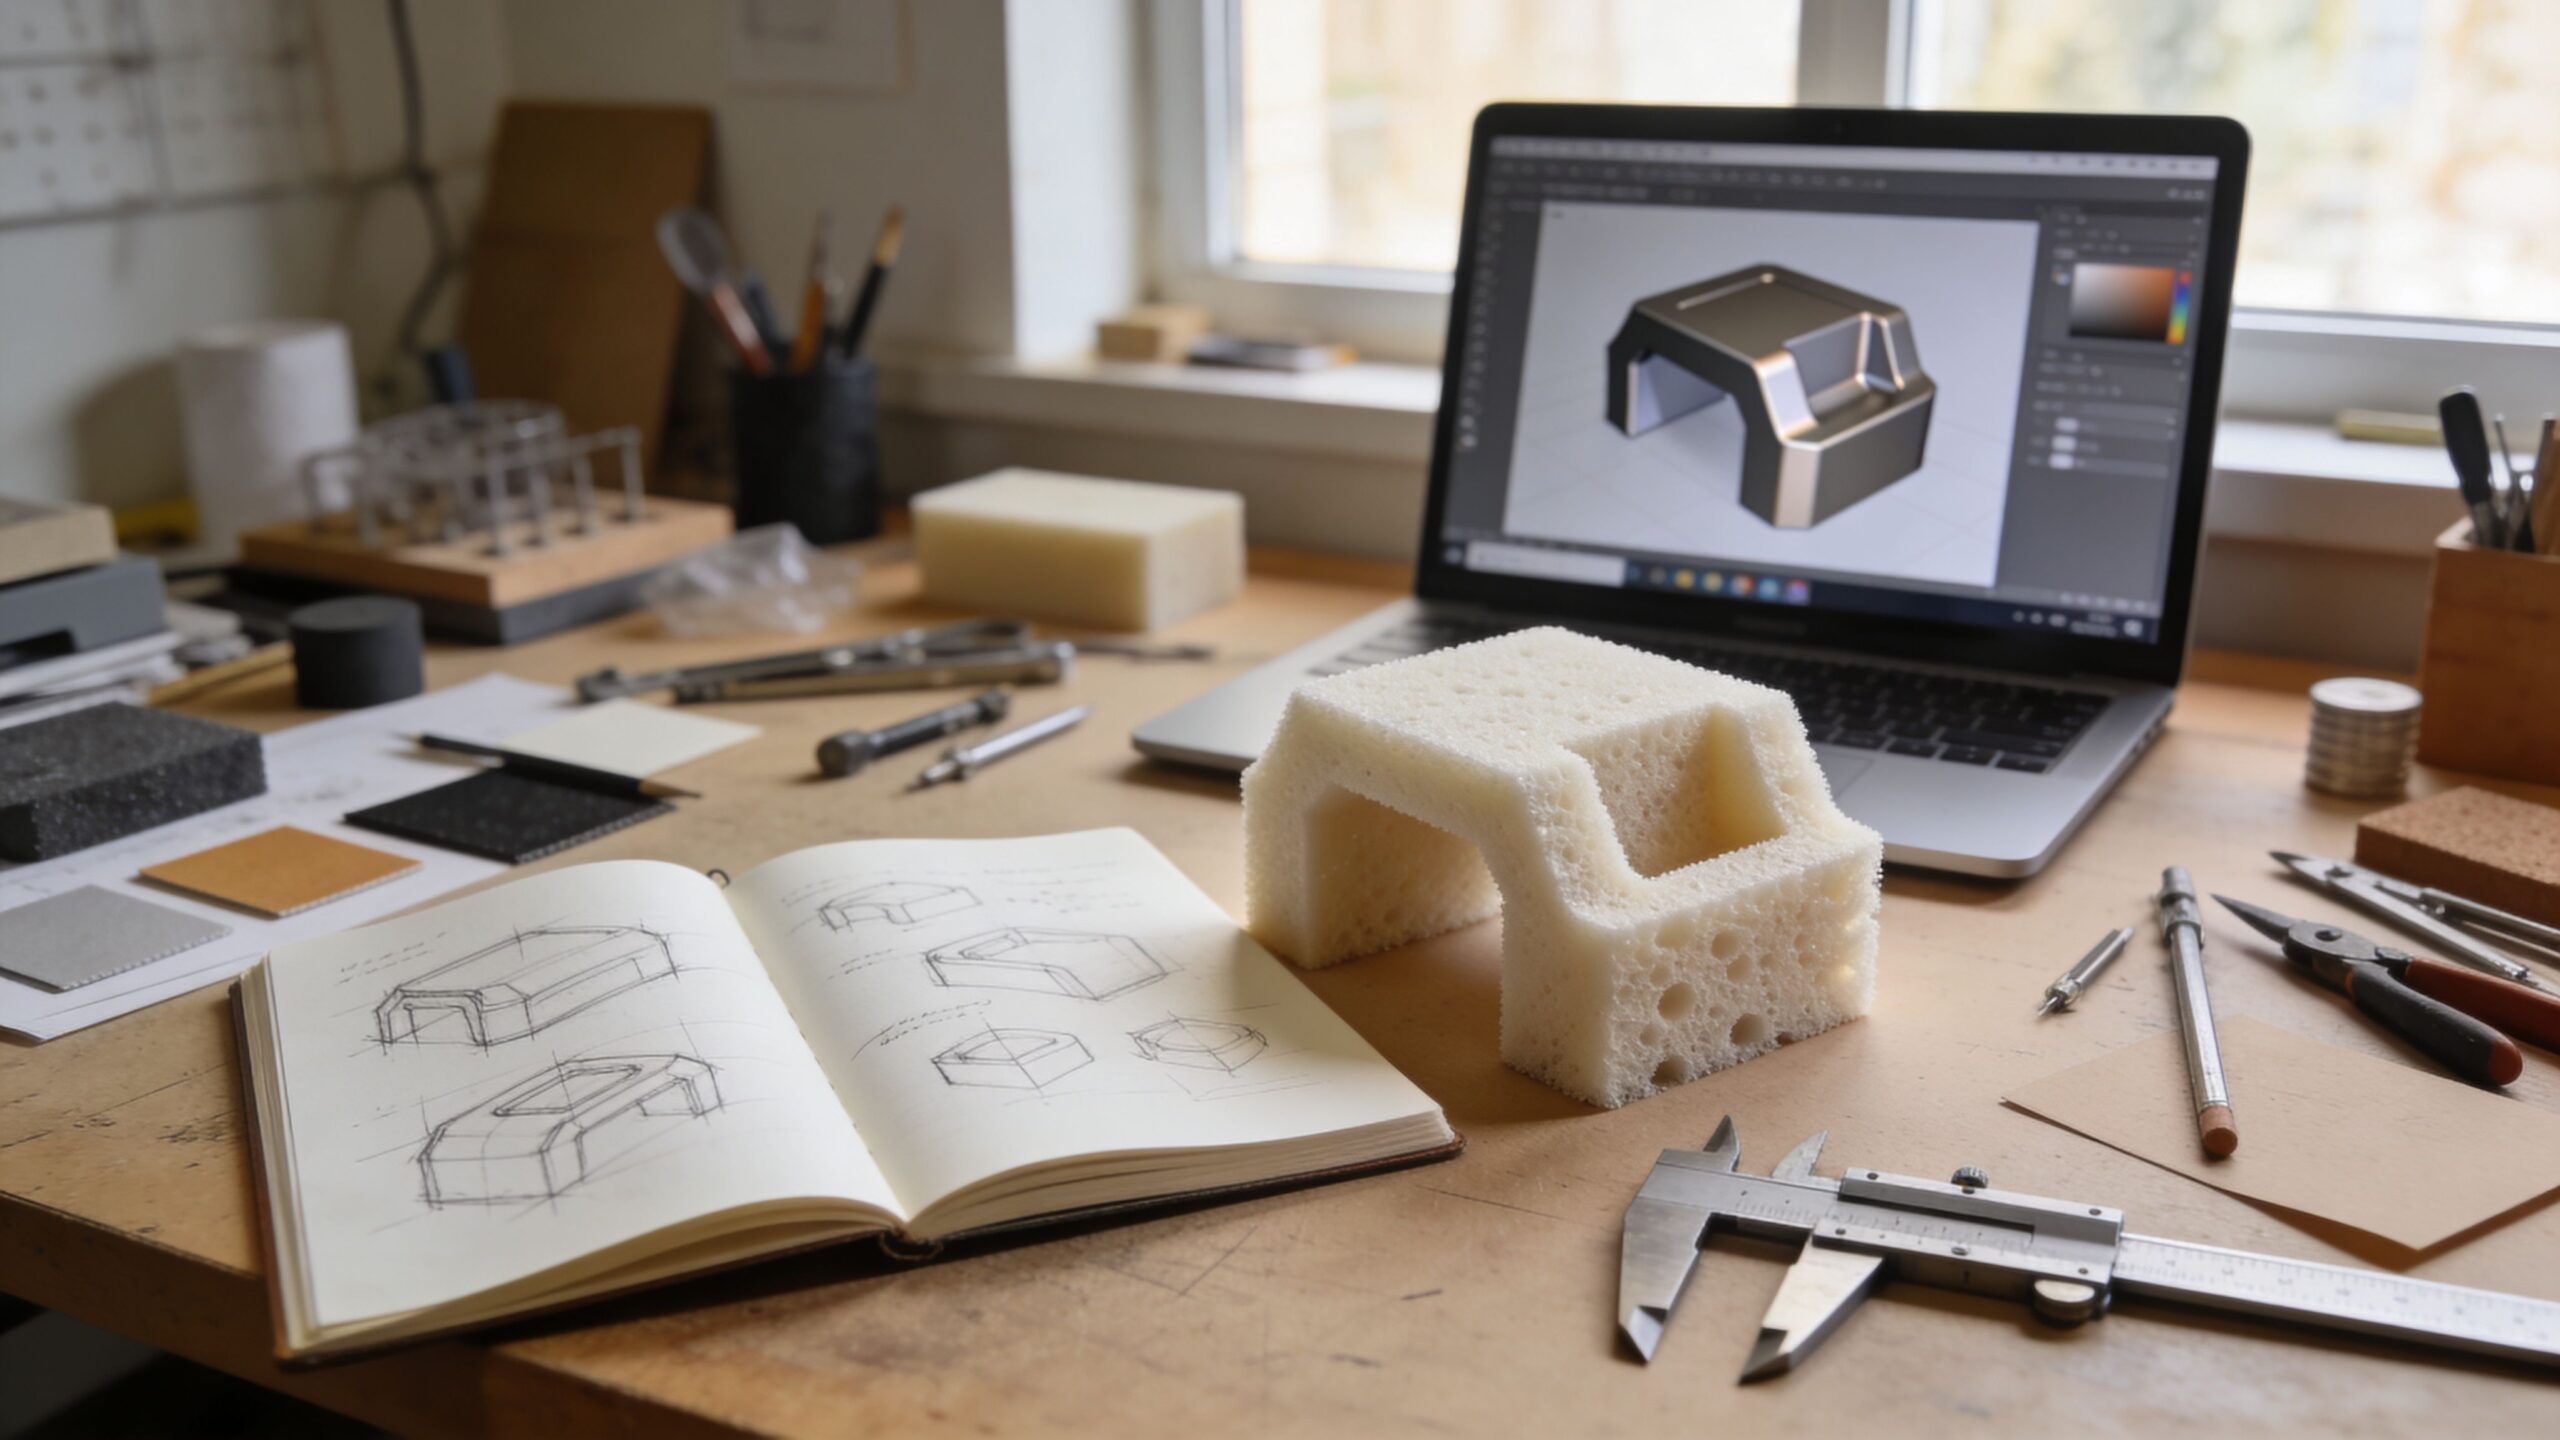
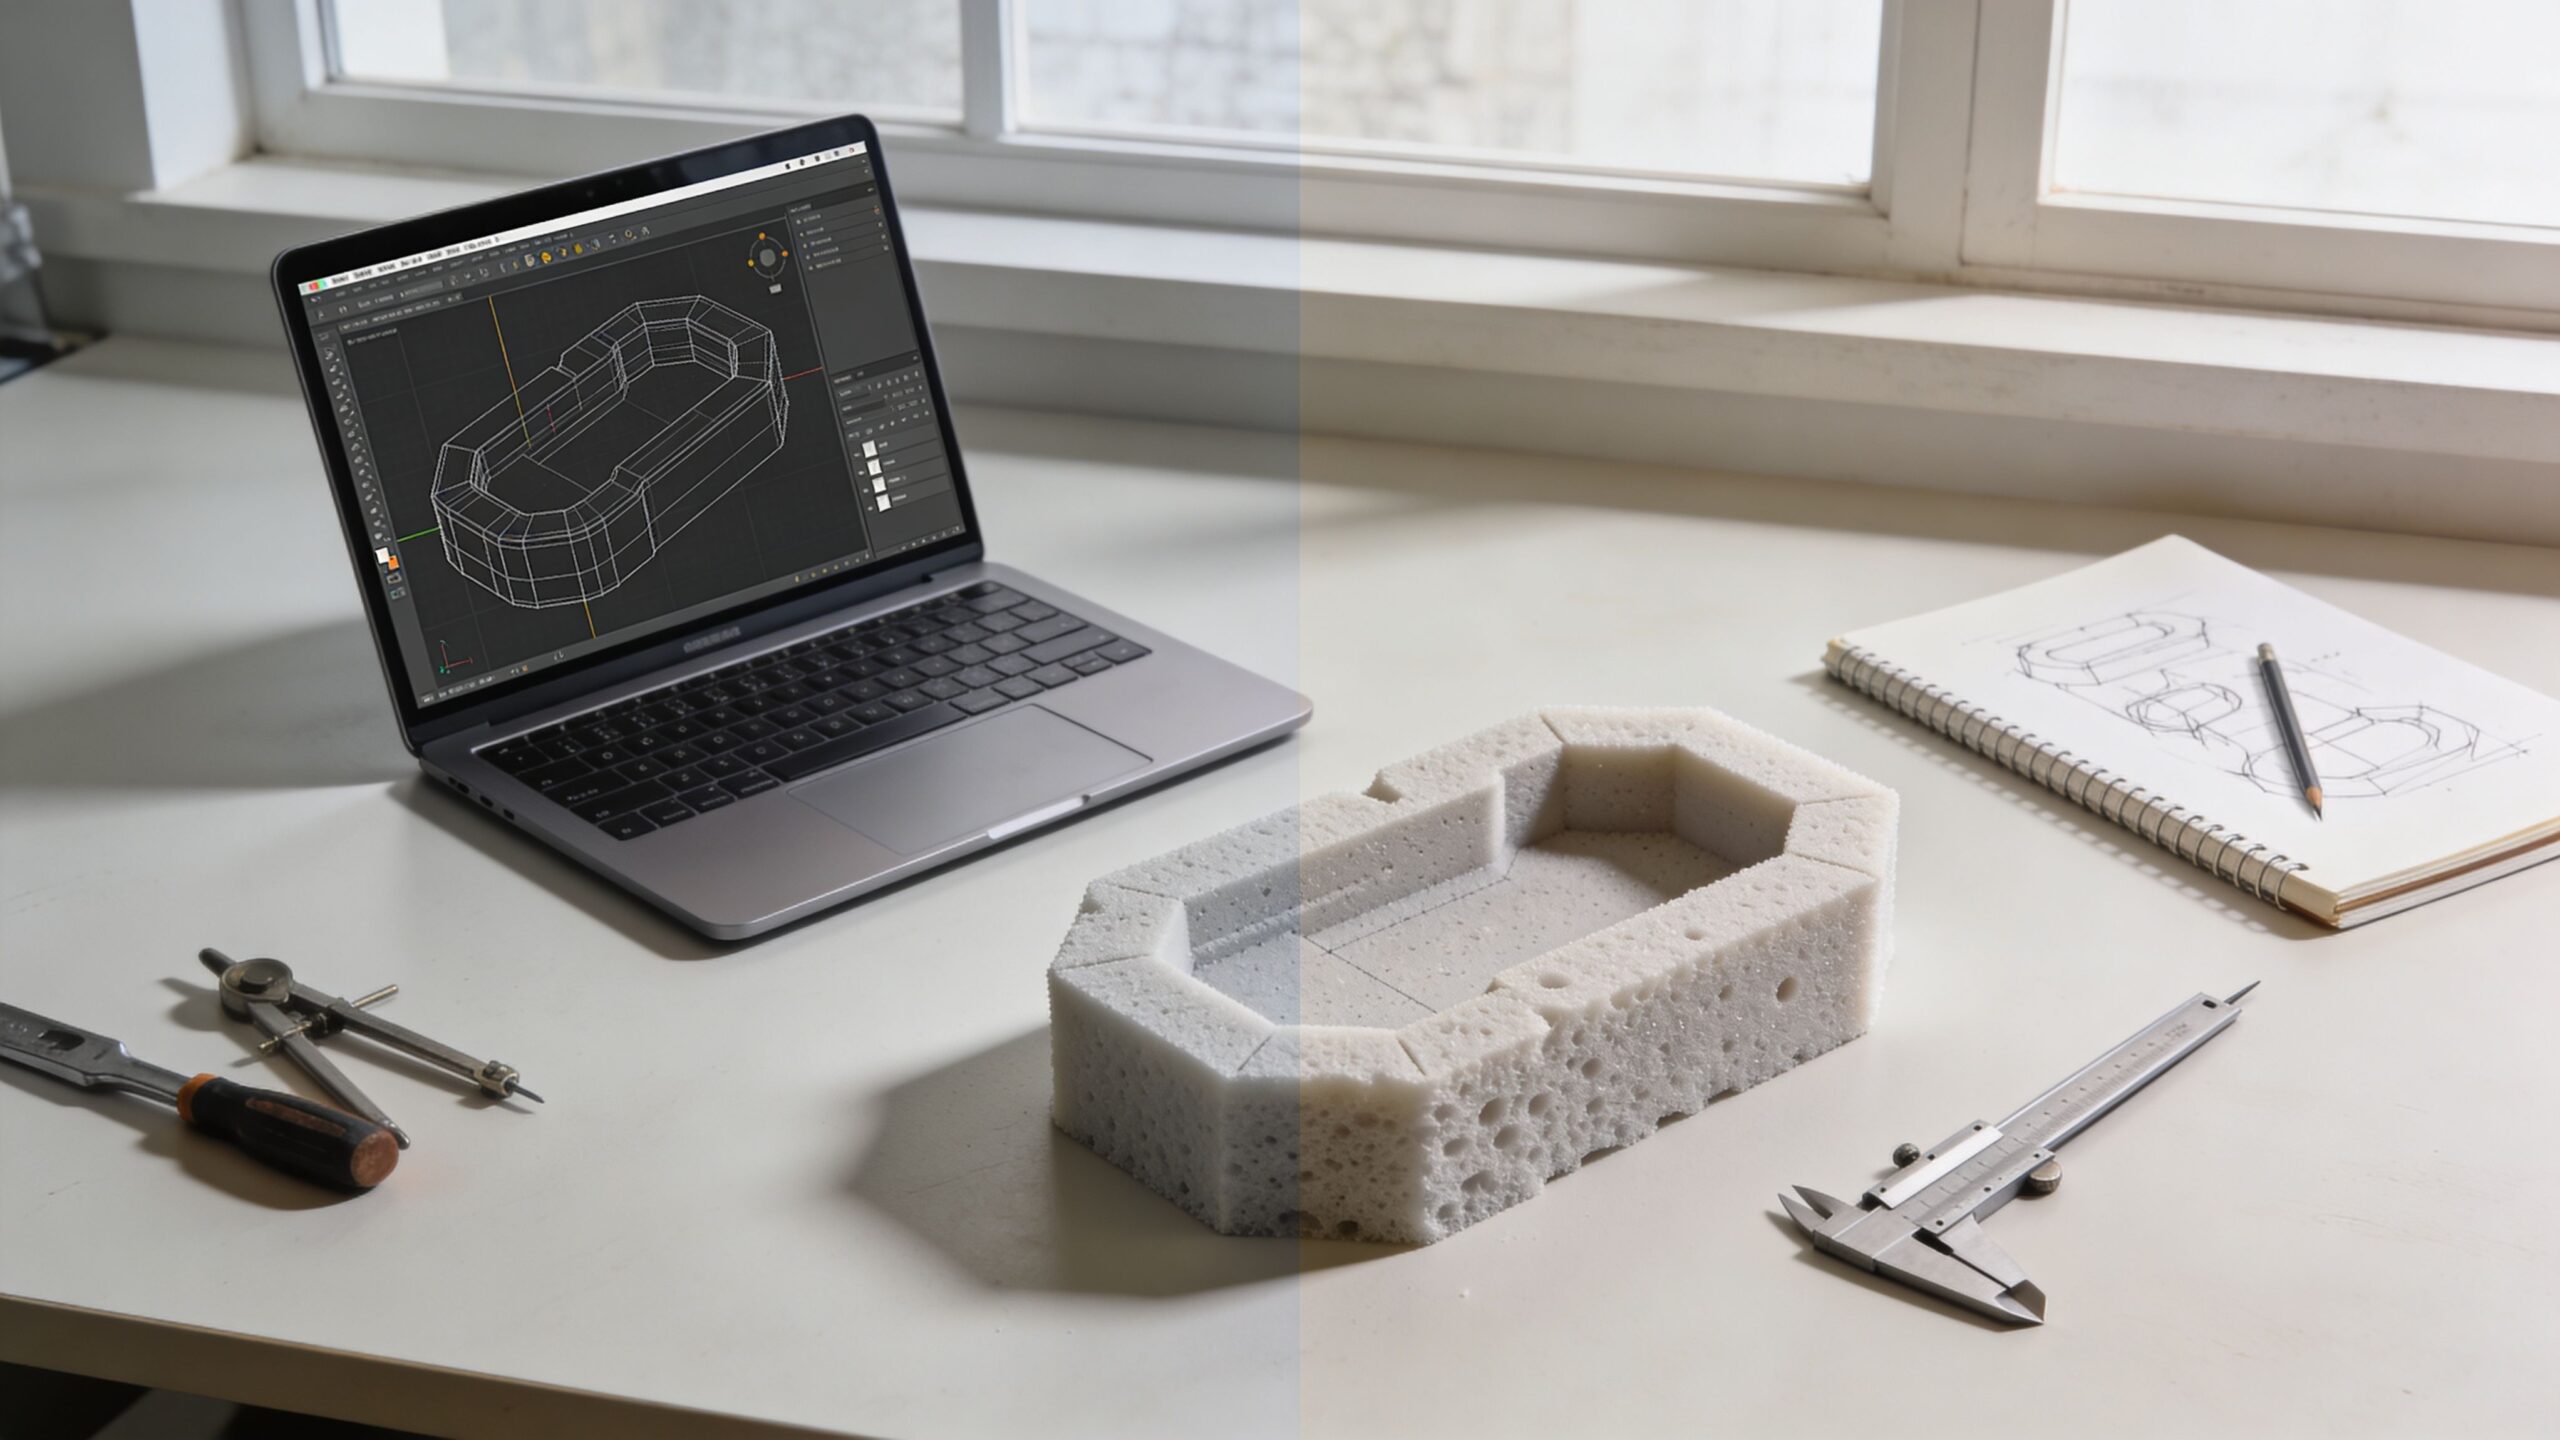
Step 3: Sketch the Concept Like You’re Explaining It to a Stranger
You don’t need to be an artist to sketch a prototype. You need to be a communicator. The best early sketches are clear enough that someone else could understand what you’re aiming for. Start with a simple three-view approach in your notebook: front, side, and top. Then add a quick perspective sketch to show the overall idea.
As you sketch, label what matters. Where does the user grip? Where does a part move? Where do forces apply? How does it open, close, lock, or attach? A beginner mistake is drawing only the outside. Your prototype will become dramatically easier to build if you also sketch what’s happening inside—especially if your product involves moving parts.
Sketching isn’t about precision. It’s about making decisions visible. Once decisions are visible, you can challenge them, improve them, and prototype them.
Step 4: Pick the Fastest Materials That Can Answer Your Question
Your first prototype materials should match your prototype goal and your learning speed. If you need to test size and shape, cardboard, foam board, insulation foam, clay, or even taped paper models can get you answers quickly. If you need to test ergonomics, softer materials like foam, EVA sheets, or clay can help you carve and adjust rapidly. If you need functional testing, you might combine simple materials with off-the-shelf components, fasteners, springs, or basic hardware.
Think in terms of “fast to change.” Early prototyping is not the time to lock yourself into slow materials that are hard to modify. If you choose metal too soon, each change becomes a project. If you choose a simple foam mockup first, you can adjust in minutes. The right material is the one that lets you learn at the highest speed with the lowest cost and stress.
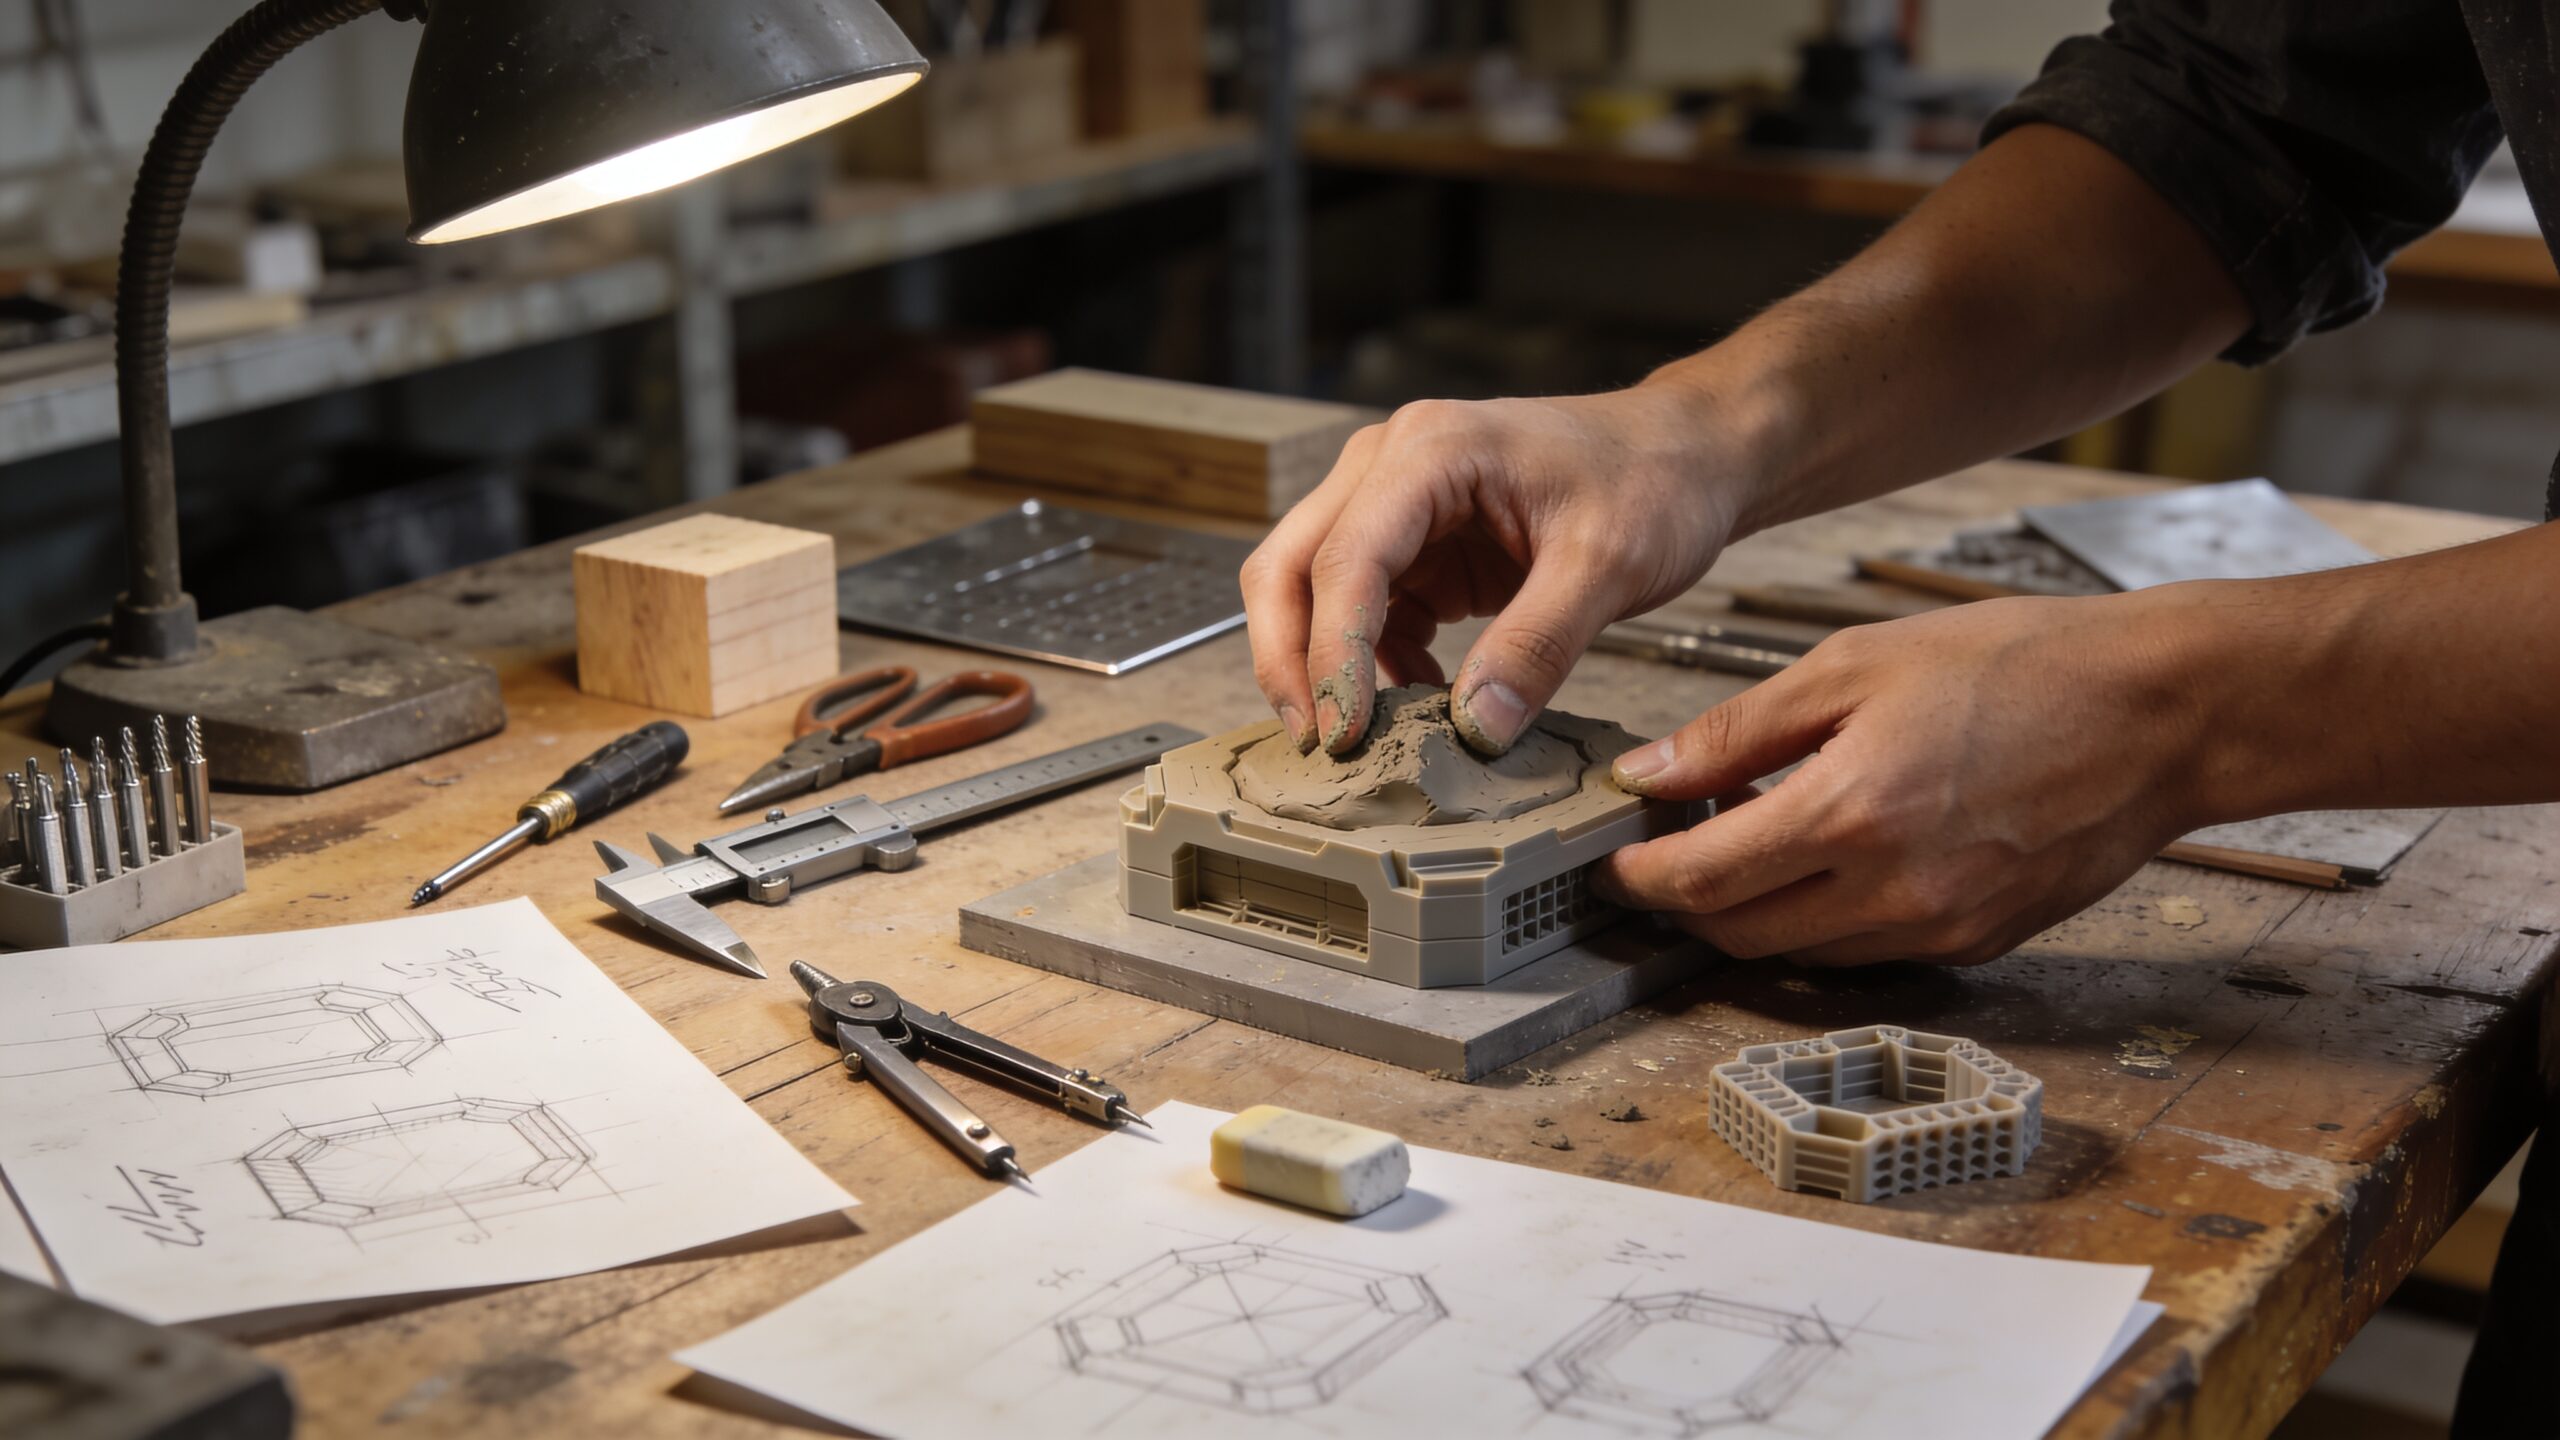
Step 5: Build a Rough Mockup That Gets the Scale Right
Your first build should usually be a rough mockup. The goal is to confirm scale and proportions before you invest time in details. This is where your idea becomes a real object you can compare to the human body and the real environment it will live in.
Build the simplest version that represents the outer envelope of your product. If it’s handheld, make sure it fits your grip. If it sits on a counter, confirm it occupies the space you expected. If it attaches to something, test the fit where it will actually be used. Many products fail at this stage because the real world is less forgiving than a drawing.
The mockup is also your first reality check for user experience. You’ll notice things immediately: edges that feel too sharp, sizes that feel bulky, placements that don’t make sense. These insights are pure value, and you only get them by building.
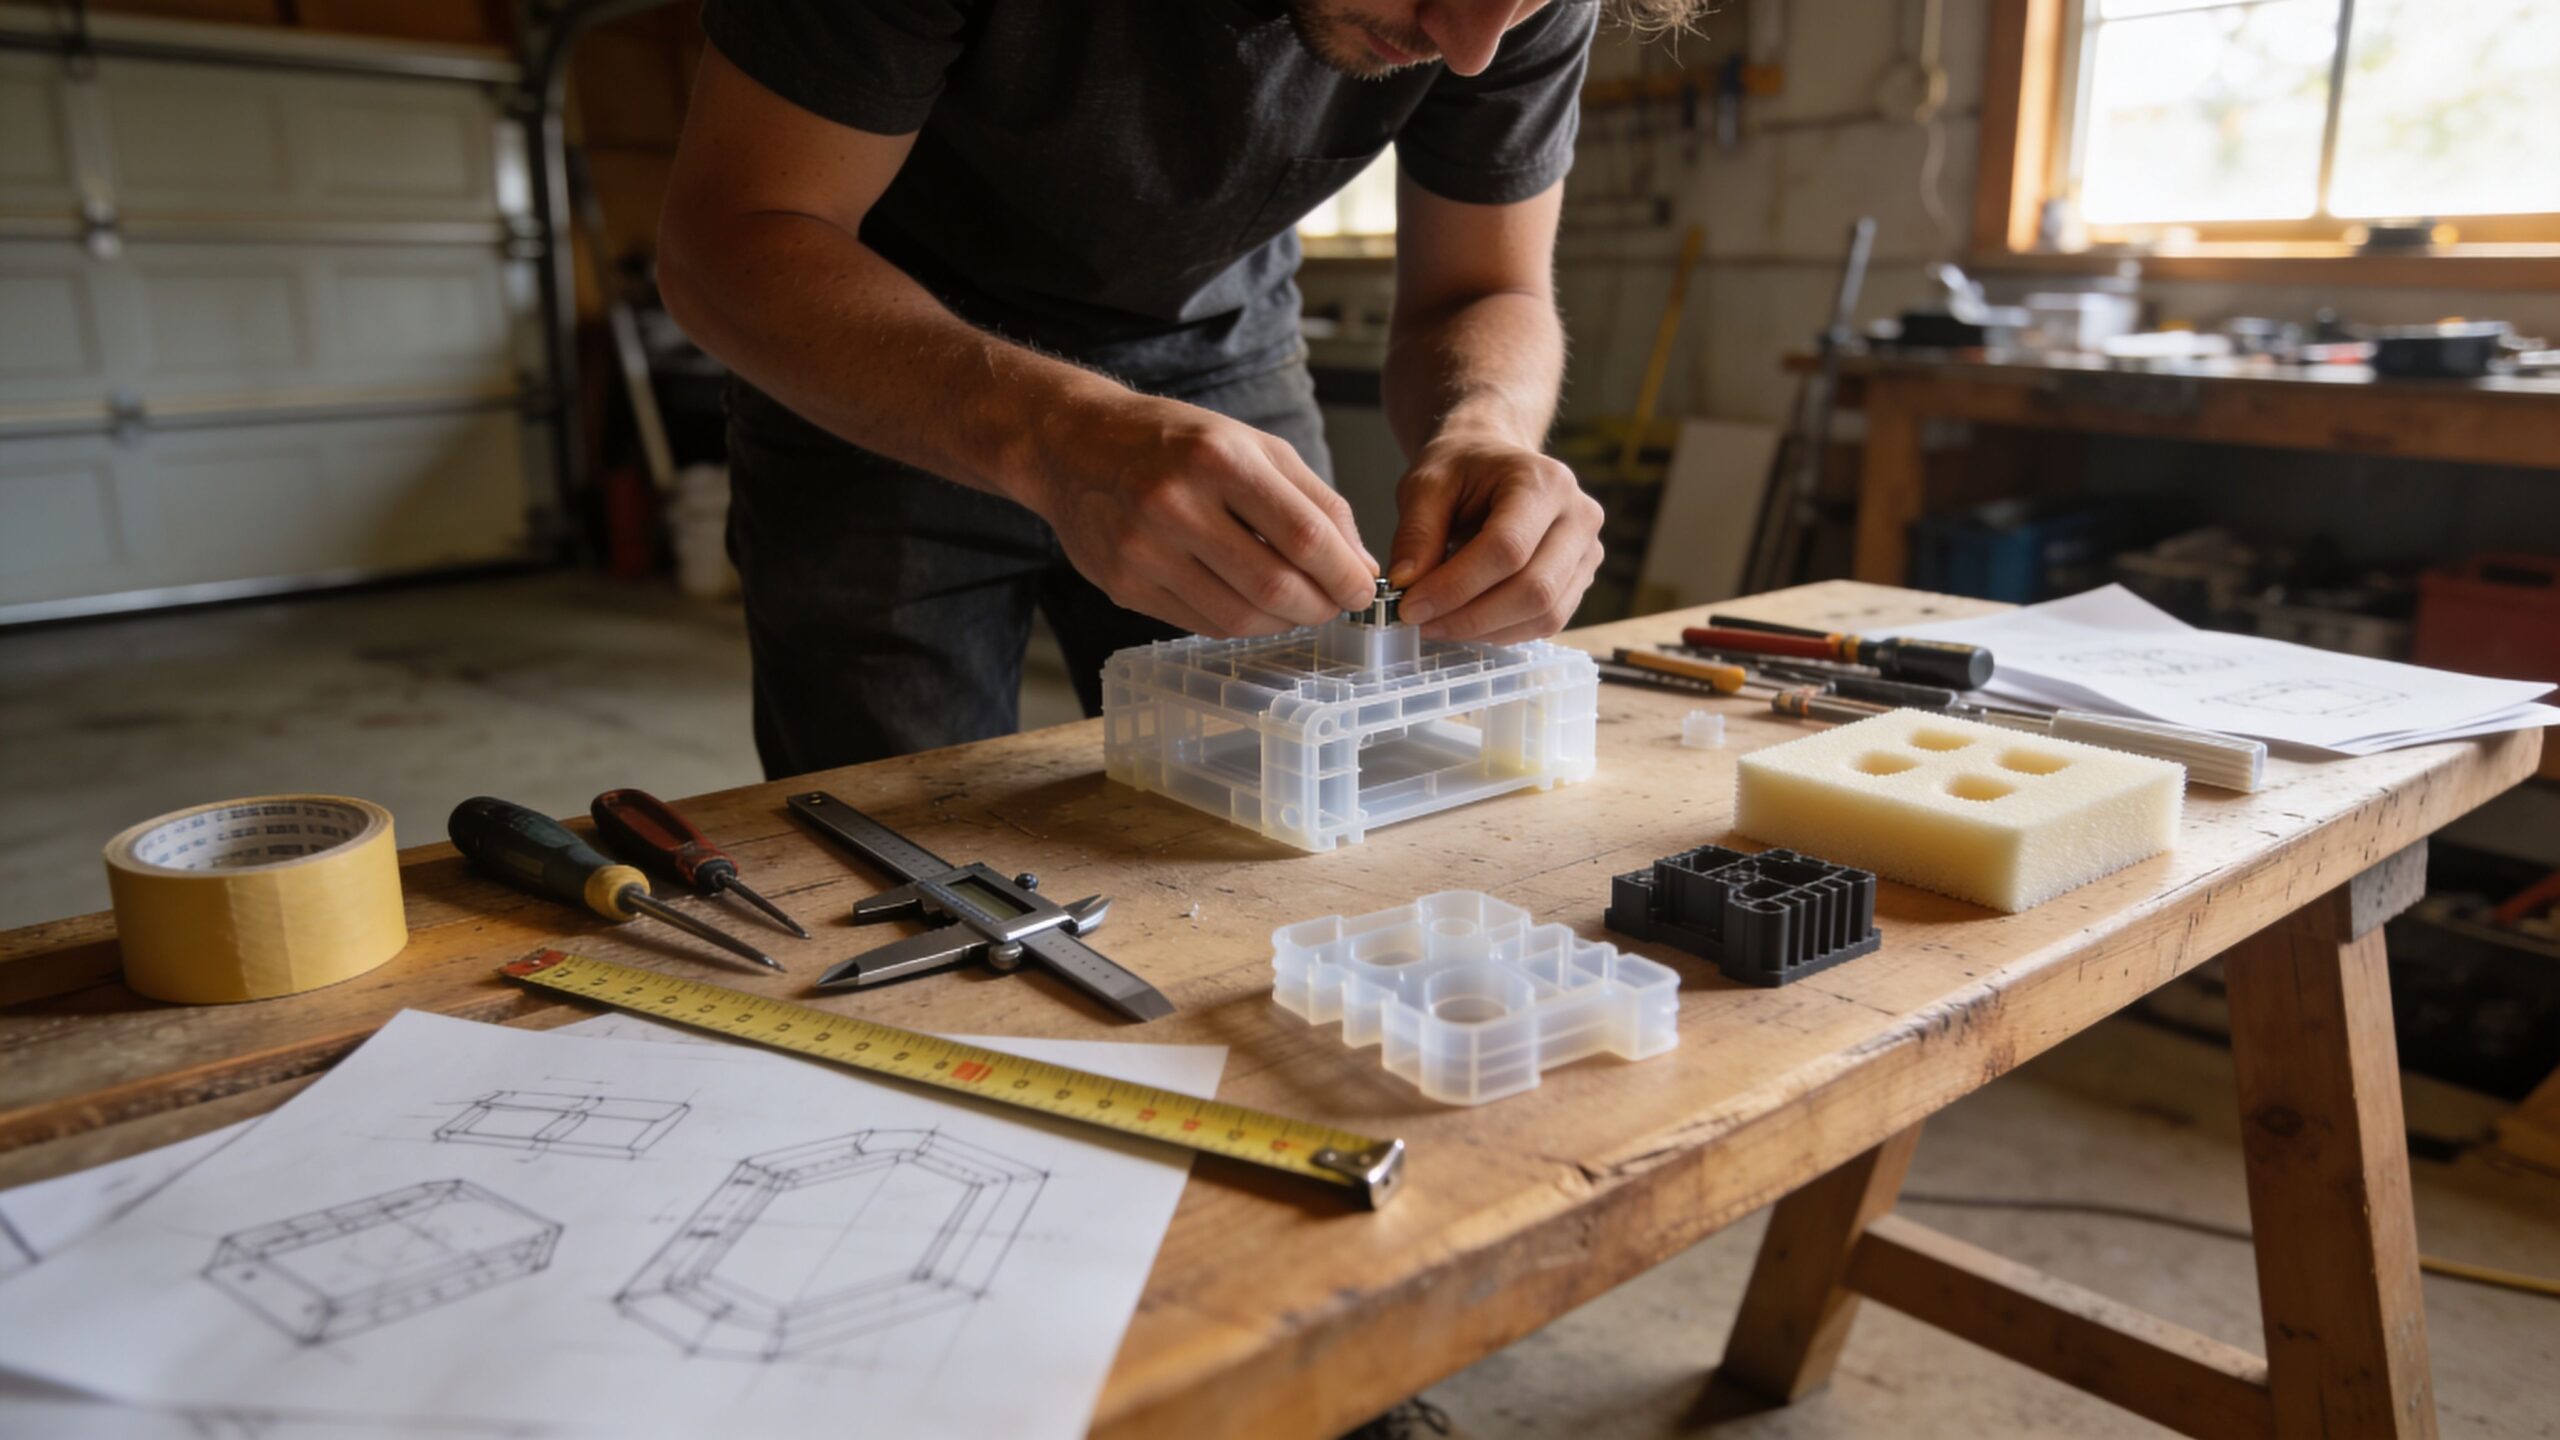
Step 6: Create a Simple “Core Mechanism” Prototype
Once your mockup confirms the general shape, isolate your product’s core mechanism—the one part that must work for the idea to matter. If your product relies on a hinge, prototype the hinge. If it relies on a latch, prototype the latch. If it relies on a sliding track, prototype the track. Keep it focused on the one moving or functional element you’re least certain about.
This approach saves beginners from building complicated prototypes that hide the real risk. You want to expose the risk. A mechanism prototype can be ugly, oversized, and built from scrap materials. What matters is whether it works reliably, whether it feels right, and whether it can survive repeated use. This is where prototyping shifts from “looks like a product” to “acts like a product,” and it’s a powerful moment.
Step 7: Combine Form and Function into a First Working Prototype
Now you’re ready for your first combined prototype—something that resembles the product and performs at least one key function. You’re not building a final unit. You’re building a first working version with enough detail to test meaningful behavior.
As you assemble this version, expect surprises. Parts will conflict. Clearances will be off. Fasteners will get in the way. That’s normal. Solve problems as they appear, but stay committed to learning rather than perfection. If you spend three hours polishing a surface you’ll change tomorrow, you’ve slowed down the whole process.
Your goal is a prototype that can be used, not displayed. If you can perform the main action the product is designed for—even clumsily—you’ve made real progress.
Step 8: Test It Like a User, Not Like a Designer
The most common prototyping trap is testing only what you already believe. Instead, test the prototype as if you’ve never seen it before. Pick it up. Try to use it without thinking. Put it in the environment it’s designed for. If it’s a kitchen tool, test it in a kitchen. If it’s workshop gear, test it in the workshop.
Pay attention to friction points. Where do you hesitate? What feels confusing? What feels uncomfortable? What fails under pressure? The prototype is telling you what needs improvement. Your job is to listen without defending the design. If possible, hand it to someone else and watch them use it. Don’t explain. Don’t coach. Observe. The moments where they struggle are where your design needs attention.
Step 9: Capture Feedback and Translate It into Changes
Prototype feedback is only valuable if it becomes action. After testing, capture what you learned immediately. Write down what worked, what didn’t, and what surprised you. Then translate those observations into specific changes.
Instead of vague notes like “handle is bad,” write actionable notes like “handle needs thicker grip diameter” or “thumb reach needs to move 10–15 mm closer.” Even if you don’t have exact measurements yet, turning feedback into directional changes keeps you moving.
This is also a great time to identify your biggest design constraint. Maybe it’s weight. Maybe it’s durability. Maybe it’s cost. Constraints shape decisions, and prototyping helps you discover what constraints matter most.
Step 10: Iterate Fast, Improve Small, and Repeat
Iteration is where beginners become builders. Your second prototype is rarely twice as hard as your first. It’s often easier because you now understand the product in three dimensions. You know what matters. You know what fails. You know where the design needs attention.
Make small improvements in each iteration. Change one or two variables at a time so you can understand what caused the improvement. If you change everything at once, you won’t know what helped and what hurt. The goal is a steady rhythm: build, test, refine, repeat. Each cycle tightens the design and moves you closer to a prototype that feels real and performs reliably.
Step 11: Decide When to Level Up Your Prototype
At some point, your prototype starts demanding better materials or tighter precision. That’s when you level up. Maybe you move from cardboard to 3D printing. Maybe you move from foam mockups to machined parts. Maybe you shift from a loose assembly to a more refined build.
A good sign it’s time to level up is when your prototype’s limitations are preventing meaningful testing. If your cardboard model can’t survive real use, you can’t evaluate durability. If your mechanism needs precise fit to work, you may need higher-accuracy fabrication.
Leveling up isn’t a reward. It’s a decision driven by what you need to learn next. When you approach it that way, you spend smarter and build more effectively.
Step 12: Prepare Your Prototype Story for Others
Once you have a prototype that demonstrates the concept, it becomes a storytelling tool. Whether you’re sharing it with a collaborator, manufacturer, or potential backer, the prototype helps people understand quickly. But the story matters, too.
Explain the problem first. Then show how your prototype addresses it. Highlight what you tested, what you learned, and what you improved. This positions you as someone who builds with intention and learns with discipline, not someone who just “made a thing.” A well-told prototype story creates credibility. It shows that your idea is more than an imagination—it’s an evolving solution.
Your First Prototype Is the Beginning of Real Momentum
Building your first product prototype is one of the most energizing steps in innovation. It takes courage to move from idea to object. It takes persistence to work through design friction. And it takes curiosity to treat mistakes as lessons rather than roadblocks. But once you’ve built your first prototype, you gain something that changes everything: proof that you can turn ideas into reality. That confidence carries into every future version, every improvement, and every new idea you decide to build. Start simple. Build fast. Learn honestly. Iterate boldly. Your first prototype doesn’t need to be perfect—it needs to exist.