Why Design Thinking Belongs in the Workshop
DIY culture is powered by optimism. You see a problem, you picture a fix, and you imagine that the first build will be the one that solves it. Sometimes that happens, but more often the project turns into a maze of adjustments. Materials don’t behave the way you expected. The tool is awkward in your hand. The “simple” mounting method fails under vibration. The workflow you planned feels clunky when you’re tired or wearing gloves. This is not a sign that you’re bad at building. It’s a sign that the real world is more complicated than your first idea. Design thinking is the antidote to DIY guesswork. It doesn’t replace hands-on skill; it amplifies it. It gives you a way to focus your creativity so you build the right thing, in the right order, for the right reasons. In maker projects, design thinking shows up as a habit: observe, define, explore, prototype, test, iterate. The magic is not that it guarantees success. The magic is that it helps you learn faster than frustration can slow you down.
A: No—solo makers can run small test loops.
A: Define one user task and prototype the riskiest part.
A: Ask one friend to try it without instructions.
A: When changes stop improving user success.
A: No—sketches and role-play prototypes work too.
A: Look for patterns, then prioritize the core need.
A: Not early—clarity matters more than polish.
A: Timebox, test one assumption, then expand.
A: Building details before confirming the concept.
A: Yes—especially when diagnosing the real issue.
Start With the “User Moment,” Even If the User Is You
Many maker projects begin as self-solves. You’re the user, so it feels like you already know what you need. But even when you’re building for yourself, you can still practice empathy by studying your own behavior. The trick is to focus on the moment when the problem actually happens. Not the story you tell yourself about the problem, but the real scene. What are you doing? What is in your hands? What time pressure exists? Are you distracted? Is the lighting bad? Are you moving quickly? Are you in a cramped space?
When you identify the user moment, the project becomes sharper. Instead of “I want a better organizer,” you get “I need to grab the right bit quickly while my other hand is holding a workpiece.” Instead of “I want a better dust collection setup,” you get “I need the connection to be fast, secure, and not leak when I move between tools.” These are solvable challenges with measurable success, and they stop you from building something impressive that doesn’t actually help.
Define Success as a Behavior, Not a Feature
DIY projects often drift because success is vague. You build until you’re tired, then you stop and call it “done.” Design thinking encourages a different definition: success is what the user can do easily because your solution exists. That framing changes everything. It’s not about adding features. It’s about removing friction. Imagine you’re building a clamp rack. A feature-based approach might chase capacity, fancy joinery, or aesthetic symmetry. A behavior-based approach asks, “Can I find the clamp I need in three seconds? Can I put it back with one hand? Can I do that when I’m rushing?” Suddenly the best design might be simpler, angled differently, and arranged by action instead of by size. When you define success as behavior, you build toward real utility.
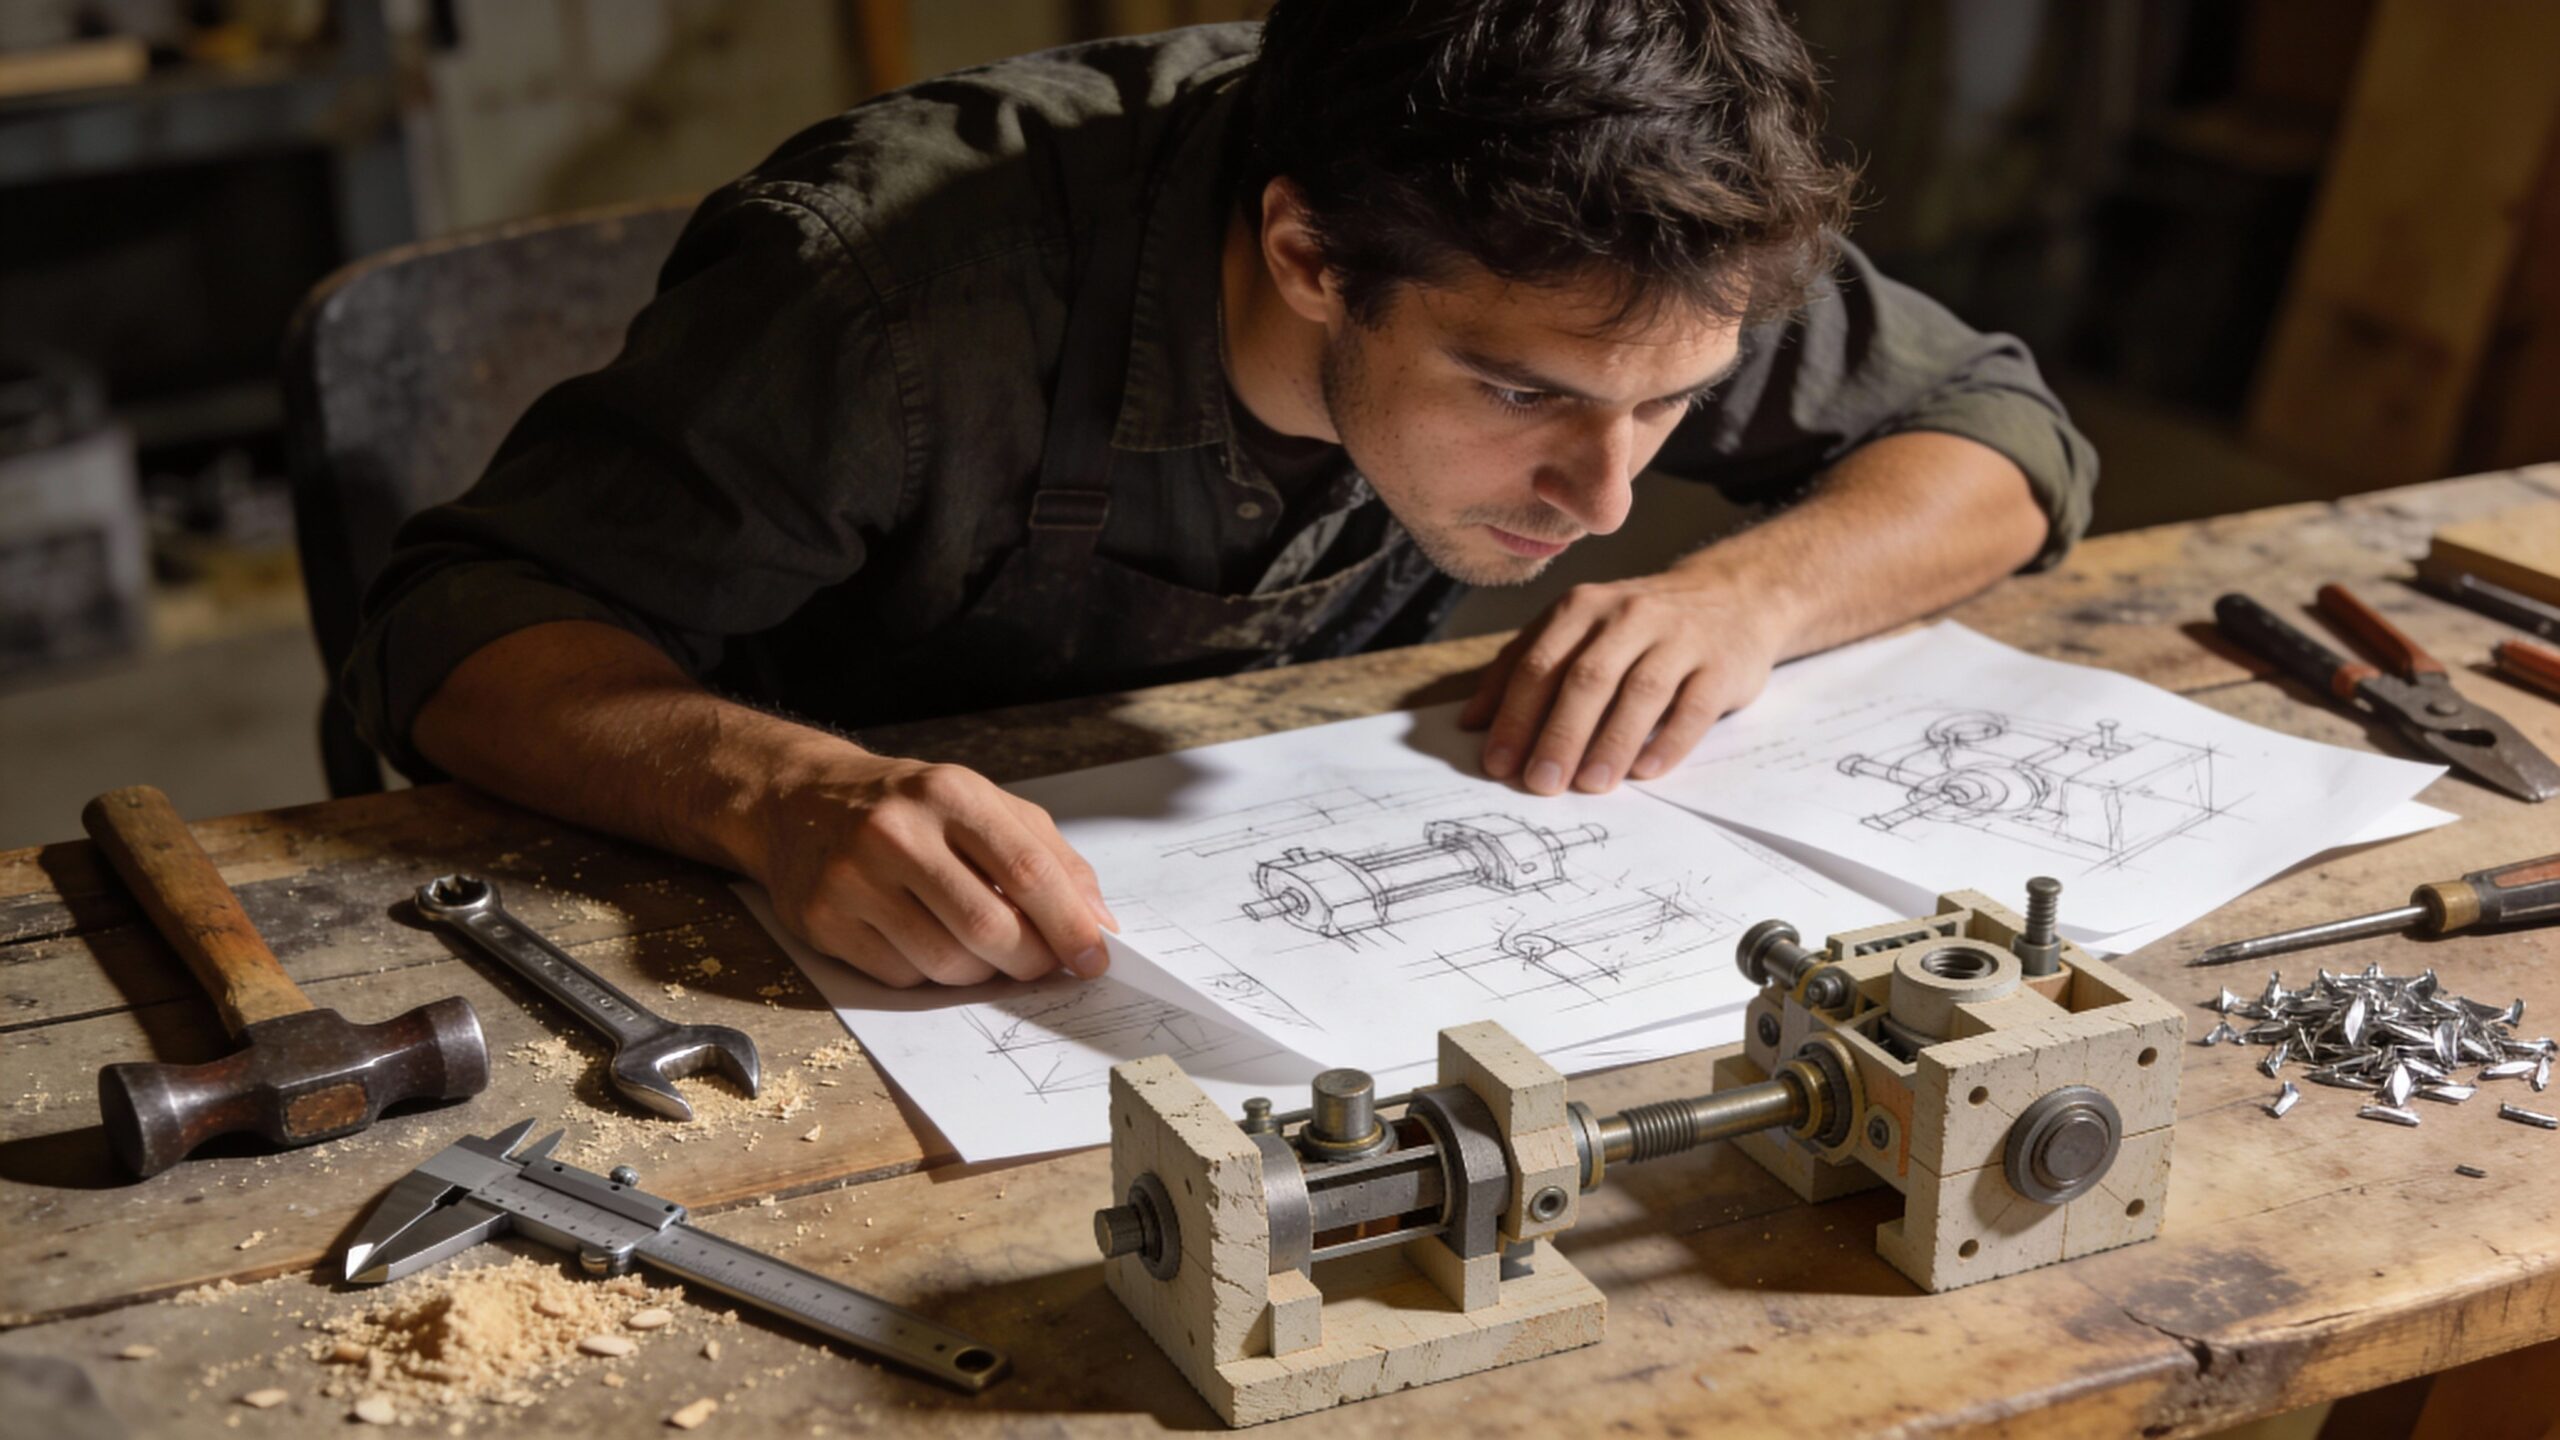
Find the Riskiest Assumption and Test It First
Every DIY build contains assumptions. Some are obvious, like “this material will be strong enough.” Others are sneaky, like “this grip shape will feel comfortable after ten minutes,” or “this mounting method will survive vibration,” or “this workflow is faster than the old one.” The riskiest assumption is the one most likely to ruin the project if it’s wrong. Design thinking teaches you to identify that assumption early and test it before you invest heavily.
This approach is a superpower for makers because it prevents wasted effort. If your project depends on an enclosure being ergonomic, test the enclosure shape before you spend hours wiring electronics. If your project depends on a hinge working smoothly, prototype the hinge first. If your project depends on a tool being accessible, mock up the placement with cardboard and tape. In design thinking terms, you are validating the core concept before polishing the edges.
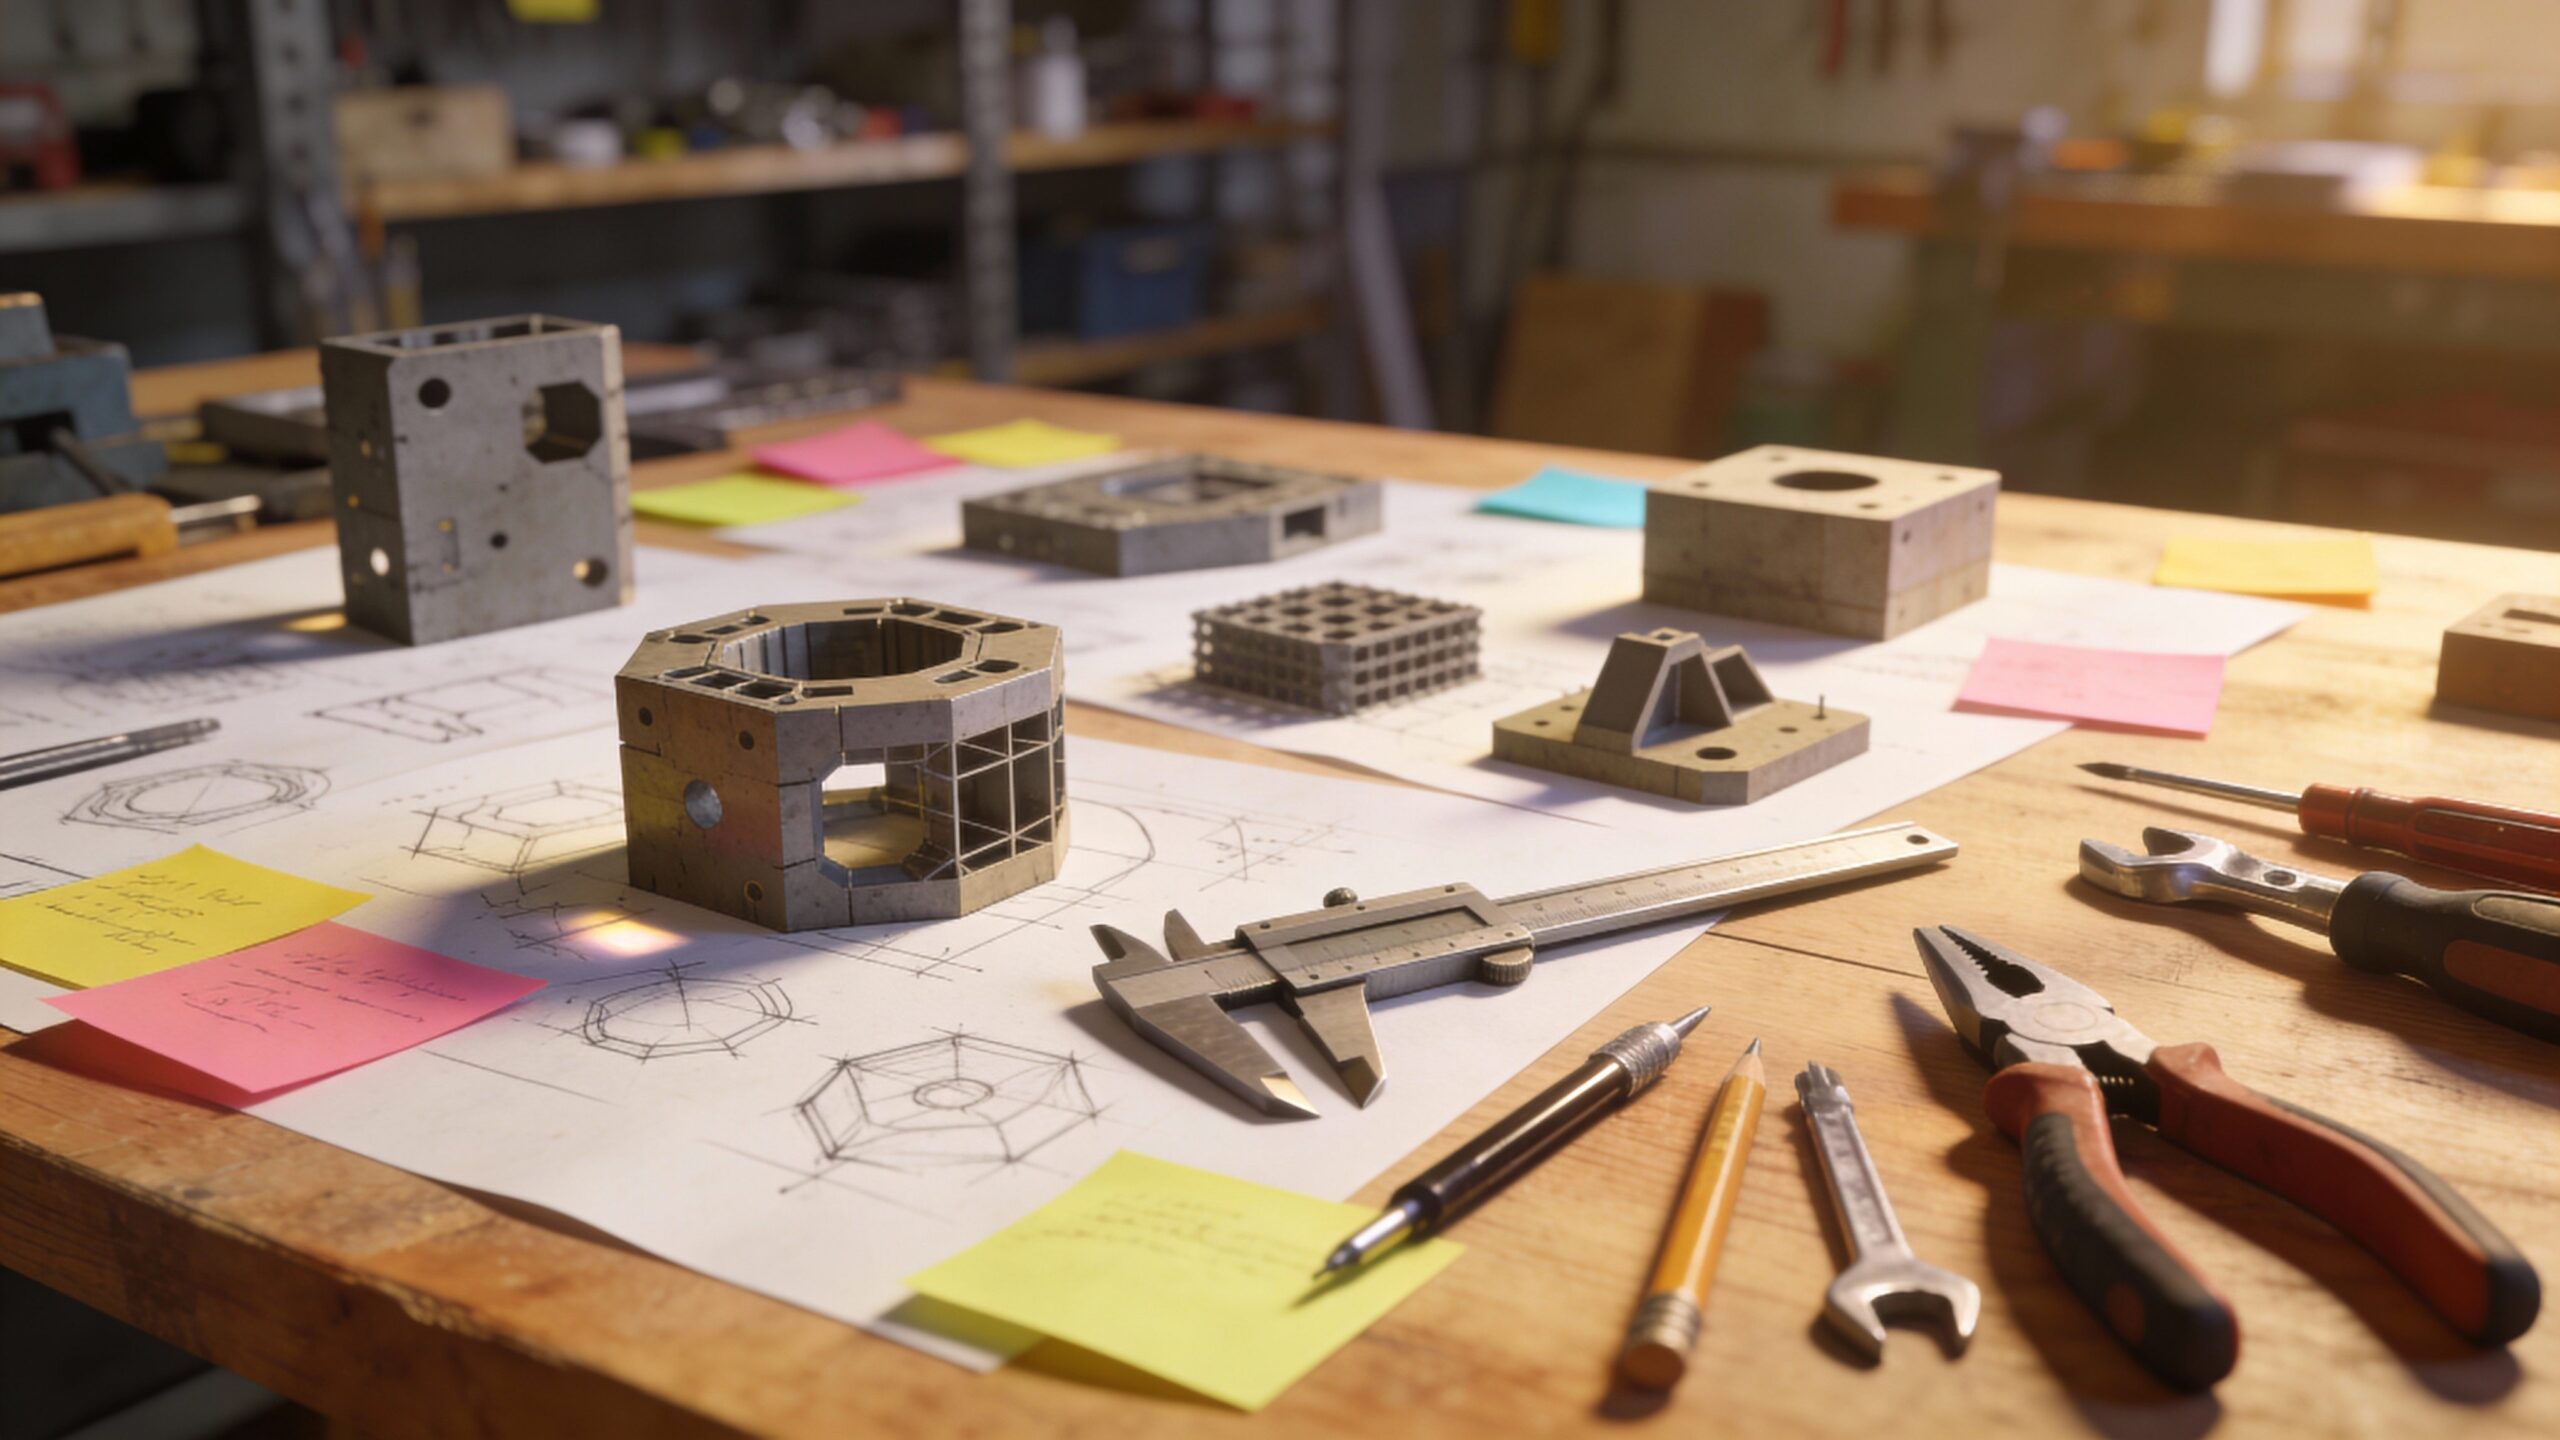
Prototype Fast With “Ugly Materials” on Purpose
In DIY culture, there’s a temptation to build the final version right away. Good wood, clean cuts, perfect measurements, and a finish you’ll be proud of. But design thinking suggests a different rhythm. Build the cheap version first. Build the fast version first. Build the version that answers a question. Cardboard, foam, scrap plywood, painter’s tape, zip ties, and hot glue are not signs of laziness. They are tools of learning. They allow you to iterate without regret. They also make it psychologically easier to accept feedback because nothing looks precious. When a prototype is obviously temporary, you feel freer to change it. That freedom accelerates progress more than precision ever could.
Test in the Environment Where It Will Live
A maker project can work beautifully on a clean bench and fail completely in the place it’s meant to be used. Design thinking pushes you to test in context because context is part of the design. If the build is used in a garage, test it with dust and noise. If it’s used outdoors, test it with temperature and glare. If it’s used while wearing gloves, test it with gloves. If it’s used when you’re tired at the end of a day, test it when you’re tired.
This is how you uncover real constraints. A button that felt fine becomes impossible when your hands are cold. A latch that seemed secure pops open under vibration. A storage system that looked organized becomes chaotic when you’re rushing. Real testing exposes the truth early, when changes are cheap.
Use “Silent Testing” to Reveal the Real Problems
One of the simplest design thinking tactics for makers is silent testing. Ask someone to use your prototype without explaining it. Watch what they do. Don’t rescue them. Don’t narrate. Just observe. This can be humbling, but it’s incredibly useful. Silent testing shows you where your design communicates clearly and where it relies on your personal knowledge. If someone can’t figure out how to open a latch or where to grab a handle, that’s not a user failure. That’s design feedback. The goal is not to make users smarter. The goal is to make the thing more obvious. In DIY projects, this often leads to small changes with huge impact: a grip moved two inches, a chamfer added to guide alignment, a magnet repositioned, or an angle adjusted for visibility.
Iterate in Small Loops Instead of Big Overhauls
Makers often iterate, but they sometimes do it in big dramatic swings. They tear everything apart, rebuild, and hope the next version is “the one.” Design thinking encourages small loops instead. Change one thing, then test again. That method keeps learning clear. You know what caused the improvement. You can keep what works and discard what doesn’t.
Small-loop iteration also protects motivation. Big overhauls can feel like failure. Small loops feel like progress. They turn the project into a series of manageable steps, each one building confidence. Over time, these small loops compound into a design that feels inevitable.
Balance Function, Feel, and Trust
DIY builds succeed when they do the job, but great builds also feel right. Design thinking helps makers notice that “feel” is not just aesthetics. It’s ease, comfort, predictability, and confidence. A tool that works but feels unpredictable won’t get used. A jig that improves accuracy but takes too long to set up will be ignored. A storage system that looks clean but makes items hard to retrieve will decay into disorder. Trust is the quiet goal. When you build something you trust, you stop thinking about it. It becomes part of your workflow. That’s the level you’re aiming for: a design that fades into the background because it simply works.
Make Documentation Part of the Design
Many DIY projects become one-off solutions because the maker forgets what they learned. Design thinking treats documentation as part of the process because learning is the real output of early work. This doesn’t need to be fancy. A notebook page, photos, a quick video, or a simple version label can preserve insight.
Documentation also helps you communicate if the project grows beyond you. If you share it in a maker community, clear documentation invites better feedback and stronger improvements. It transforms your project from a personal build into a collaborative design journey.
A Practical Walkthrough: Applying Design Thinking to a Common DIY Build
Imagine you want to build a mobile tool cart. A traditional approach might start with measurements and materials. A design thinking approach begins with observation. You notice that the problem isn’t storage; it’s movement. You waste time walking between tools. You need a cart that moves smoothly, doesn’t tip, and keeps essentials within reach while you work. You define success as behavior. You want to roll the cart one-handed, park it without drifting, and grab tools without bending or searching. You identify the riskiest assumption: stability under load. You prototype that first with scrap wood and the wheels you plan to use. You load it with weight and push it across your shop floor. You discover the wheels chatter over cracks. You revise the wheel size and placement. You test again. You realize the top surface needs a lip so parts don’t fall off. You add it with temporary strips. You test again. Only after these learnings do you commit to final materials. The cart becomes better not because you’re more skilled, but because you learned the truth earlier.
When to Stop Iterating and Call It Done
Design thinking can make you feel like everything is always improvable. That’s true, but practical makers need stopping points. A good rule is to stop iterating when changes no longer significantly improve user success. If each revision creates new problems or only produces tiny gains, you’ve reached diminishing returns.
You can also stop when your build meets the original behavior-based success definition. If you can perform the task smoothly, consistently, and confidently, you’ve won. Future iterations can happen later, driven by new insights rather than perfectionism.
The Maker-Friendly Design Thinking Mindset
Design thinking isn’t a rigid corporate method. In the DIY world, it’s a practical way to build smarter with fewer regrets. It helps you focus on real needs, prototype quickly, test honestly, and iterate without losing momentum. It turns your workshop into a learning lab where every build teaches you something valuable. When you apply design thinking to maker projects, your results change. You spend less time rebuilding the wrong parts and more time refining what matters. You create tools and systems that fit real life instead of ideal scenarios. And you begin to experience the best feeling a maker can have: not just “I built this,” but “this actually works.”